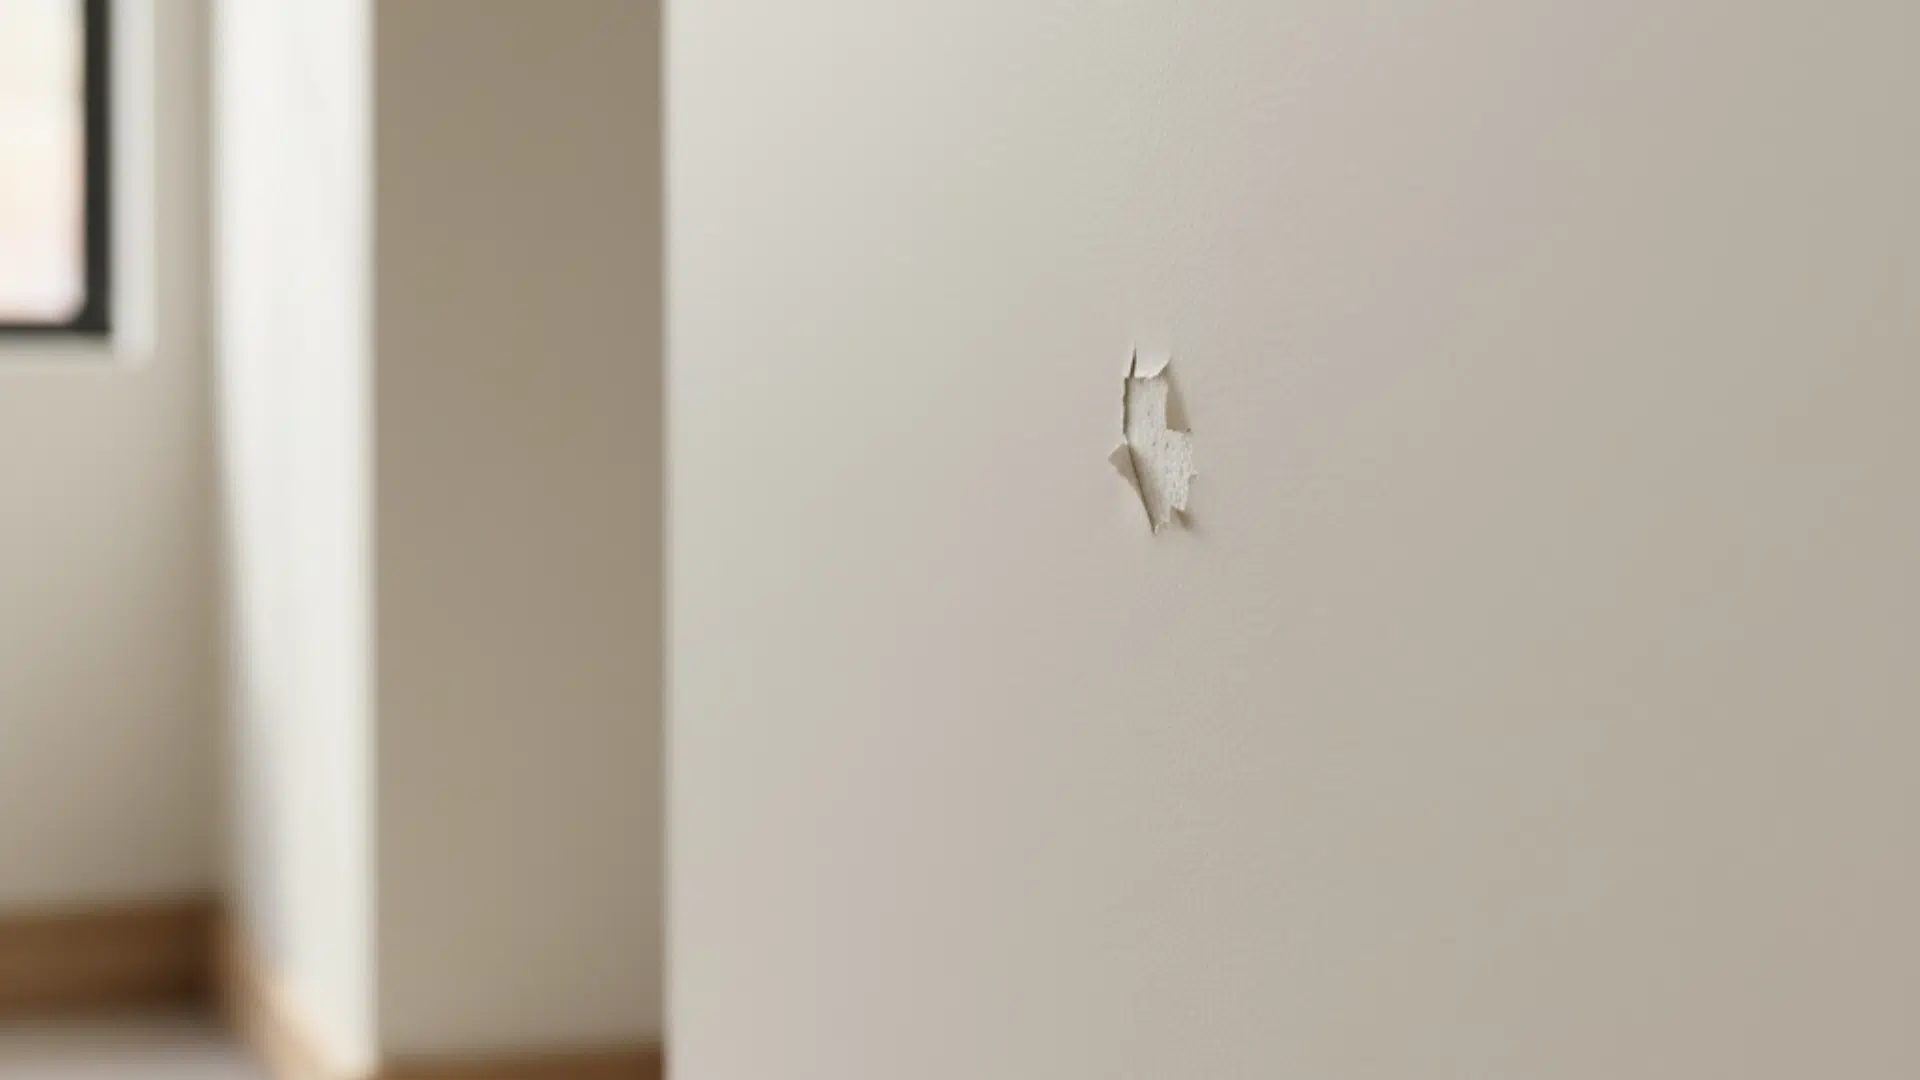
You walk into the living room and spot it. A white chip on the wall where the chair bumped yesterday. Then you notice three more near the doorway. Chipped paint happens in every home.
Kids, pets, and moving furniture all leave marks on walls. You don’t need to repaint the whole room, though. Fixing those chips takes less time than most people think.
Learning how to fix paint chips on wall surfaces means having walls that look fresh again without the mess of a full paint job.
What follows shows exactly how to fix chipped paint on wall areas using basic supplies most people already own.
The process works for tiny nicks or bigger damage. Even beginners get great results.
Ready to make those chips disappear? Let’s get started.
What Causes Paint to Chip on Walls?
Understanding why paint chips help prevent future damage. The most common culprit is simple impact and everyday wear.
Door handles, furniture bumps, energetic kids, and active pets all contribute to paint damage over time. High-traffic areas naturally show more wear.
Weak adhesion causes paint to chip more easily than it should. This happens when walls weren’t properly prepared before painting, dusty surfaces, greasy spots, or skipped primer all compromise the paint’s grip on the wall.
Moisture remains one of the most damaging factors for painted walls. Water seeping through walls, high humidity without proper ventilation, or direct leaks soften the paint layer, causing it to separate from the surface beneath.
Supplies to Fix Chipped Paint on Walls
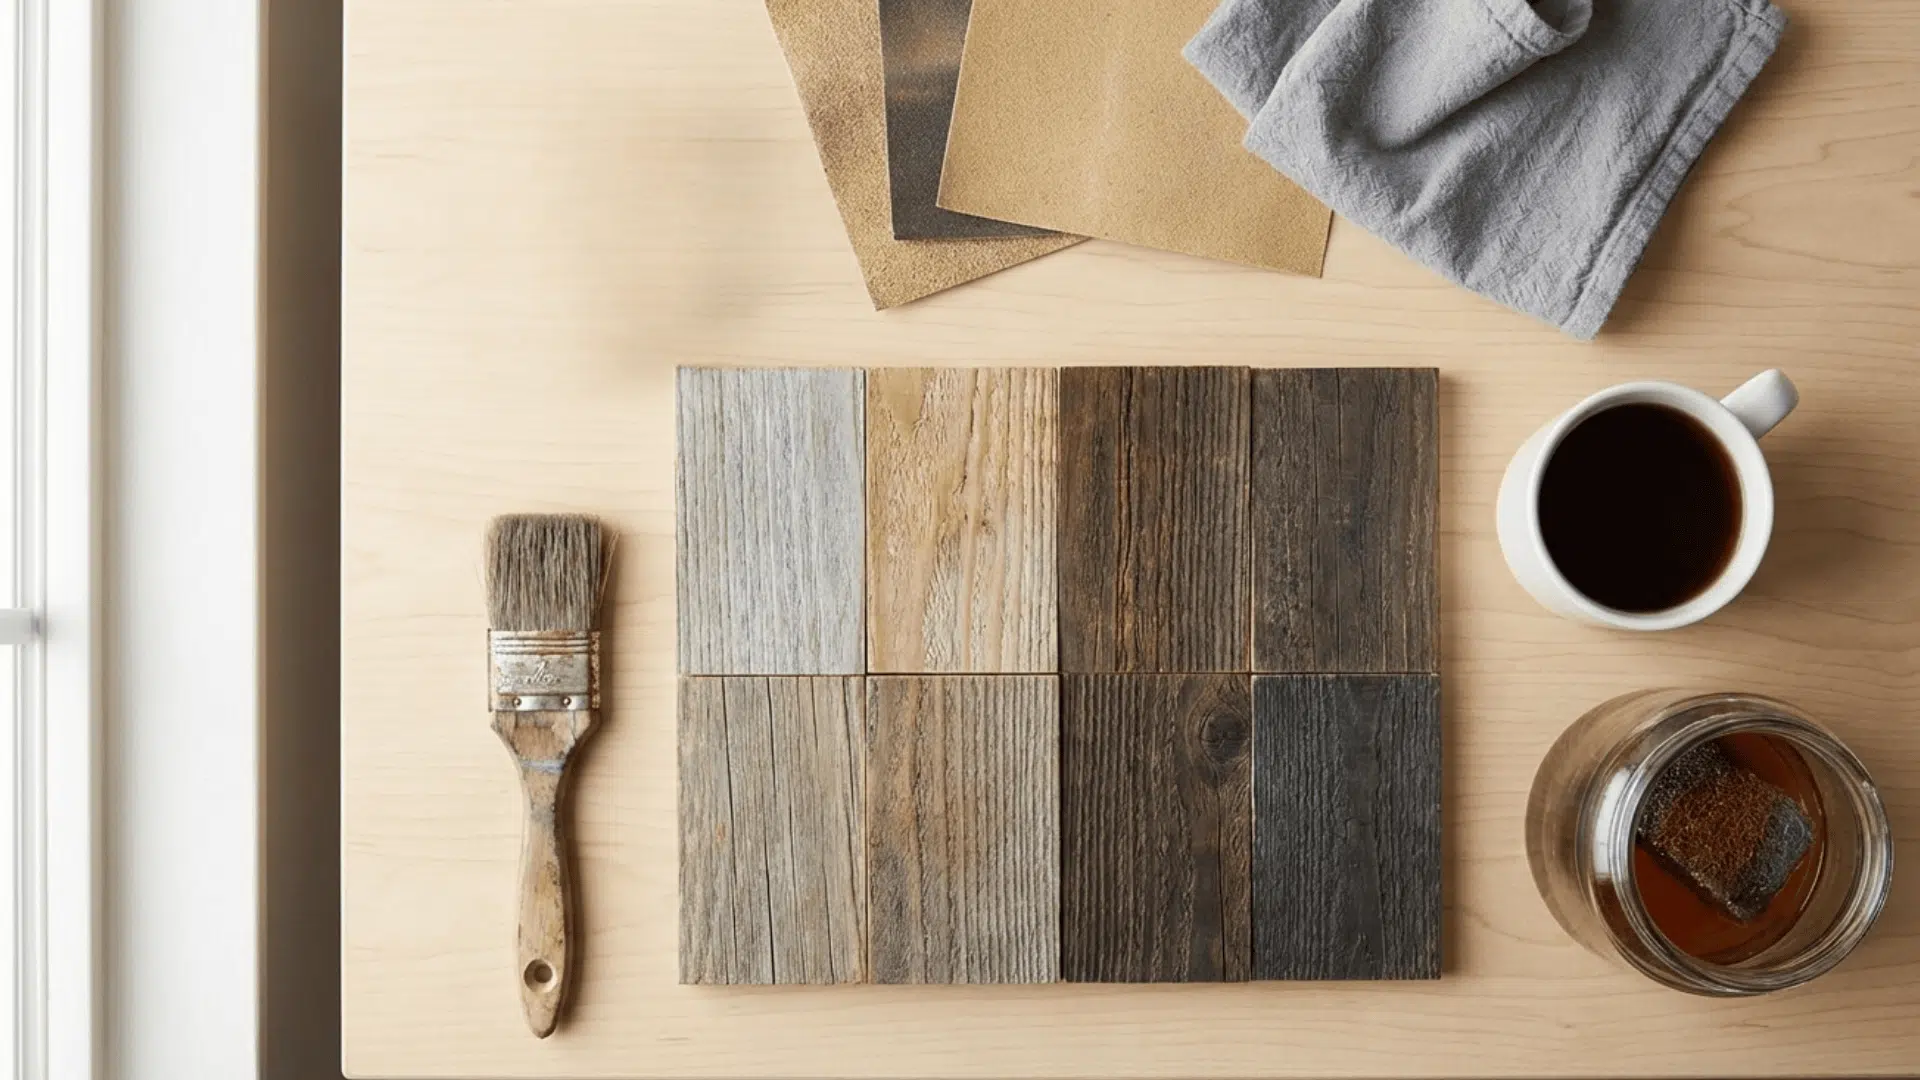
Having the right supplies on hand makes fixing chipped paint on walls faster, easier, and more professional-looking.
With a few basic tools and materials, you can restore damaged areas and help the new paint blend seamlessly with the existing wall.
| Supplies | Used For |
|---|---|
| Putty knife | Scrapes loose paint and spreads filler smoothly; a flexible blade gives better control. |
| Spackle or lightweight joint compound | Fills small chips and shallow dents; dries fairly fast and sands easily. |
| Fine-grit sandpaper or sanding sponge (120-grit, then 220-grit) | 120-grit shapes the patch; 220-grit smooths and feathers edges for a flush finish. |
| Primer | Seals the patch and helps the touch-up paint blend so the repair doesn’t stand out. |
| Matching wall paint | Covers the repaired spot; use a small brush for tiny chips or a mini roller to match the wall texture. |
How to Fix Paint Chips on The Wall
Follow these six steps to repair chipped paint properly, from cleaning and filling to priming and painting for invisible results.
Step 1: Clean the Area so Filler Sticks
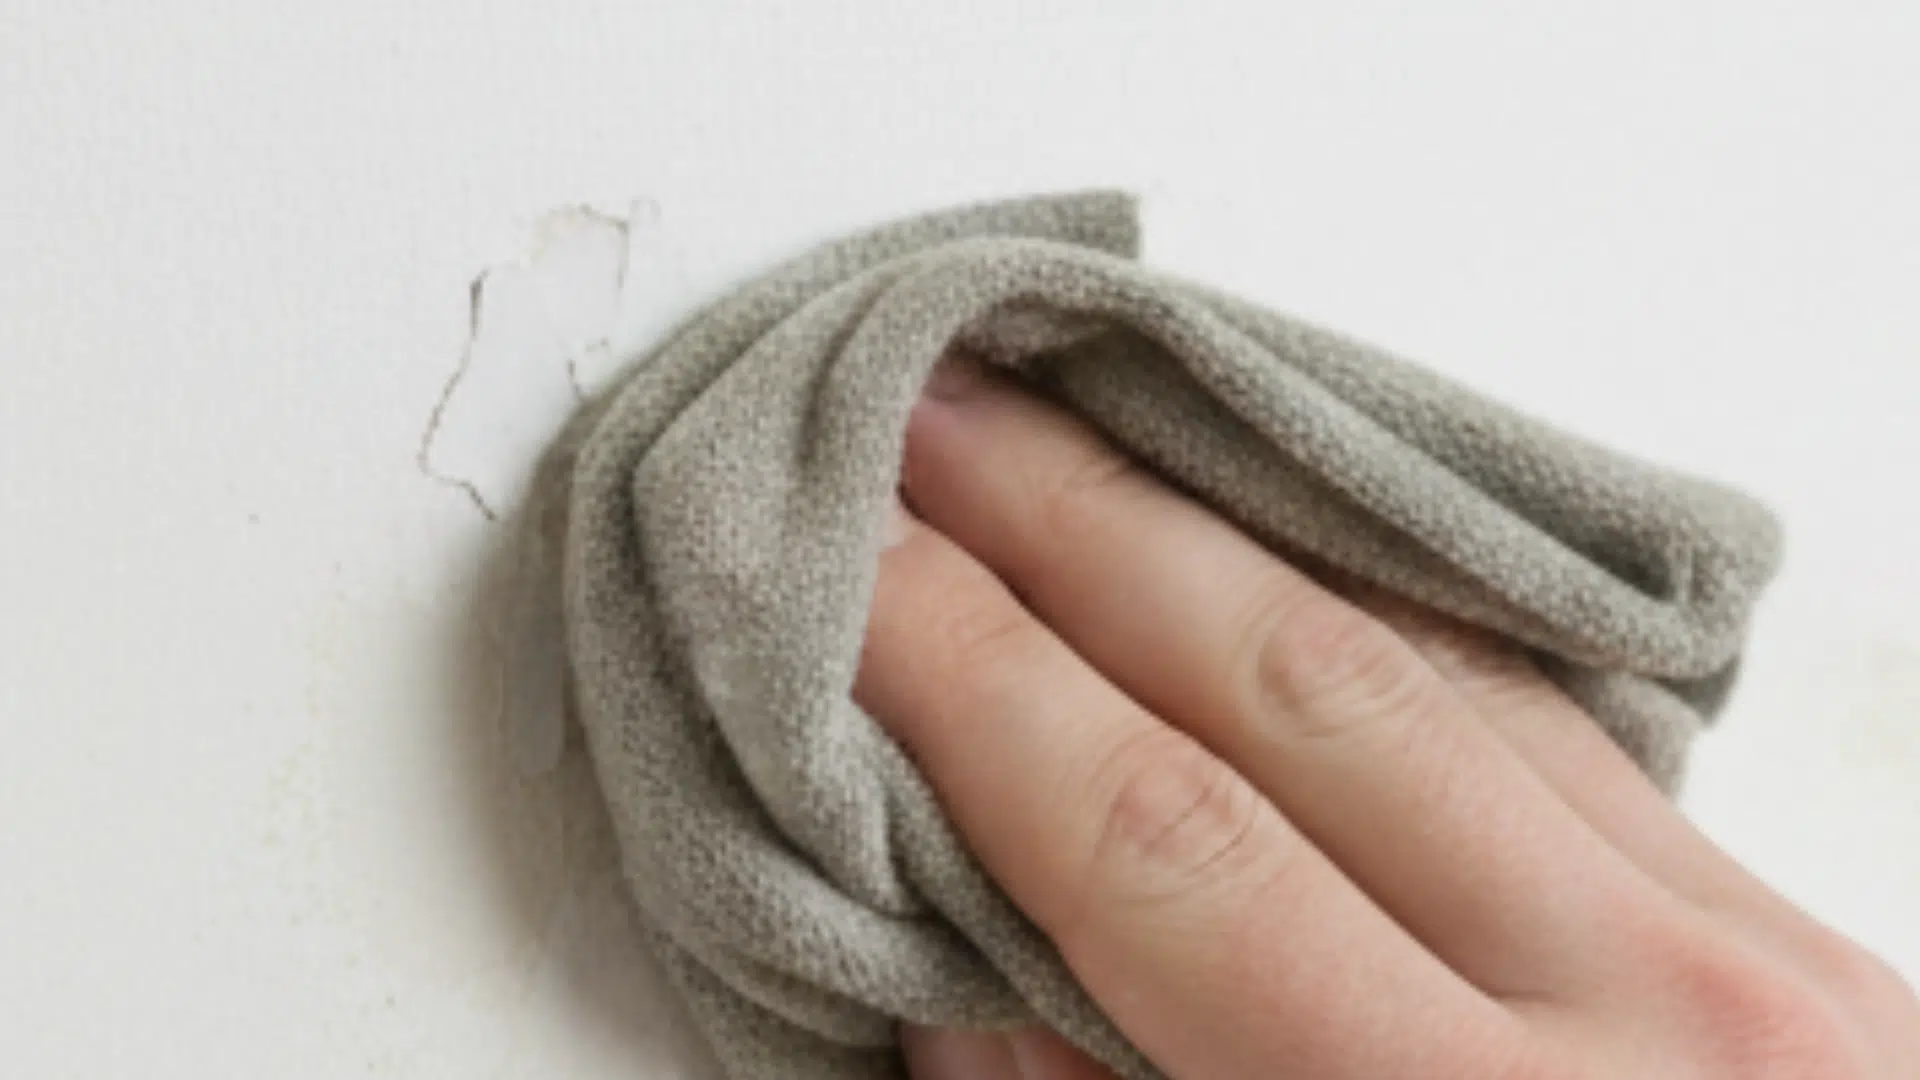
Start with a clean surface. Wipe the chipped area with a damp cloth to remove dust, dirt, and grime. Even a thin layer of dust prevents proper adhesion.
Let the area dry completely before moving forward; applying filler to a damp surface causes future problems.
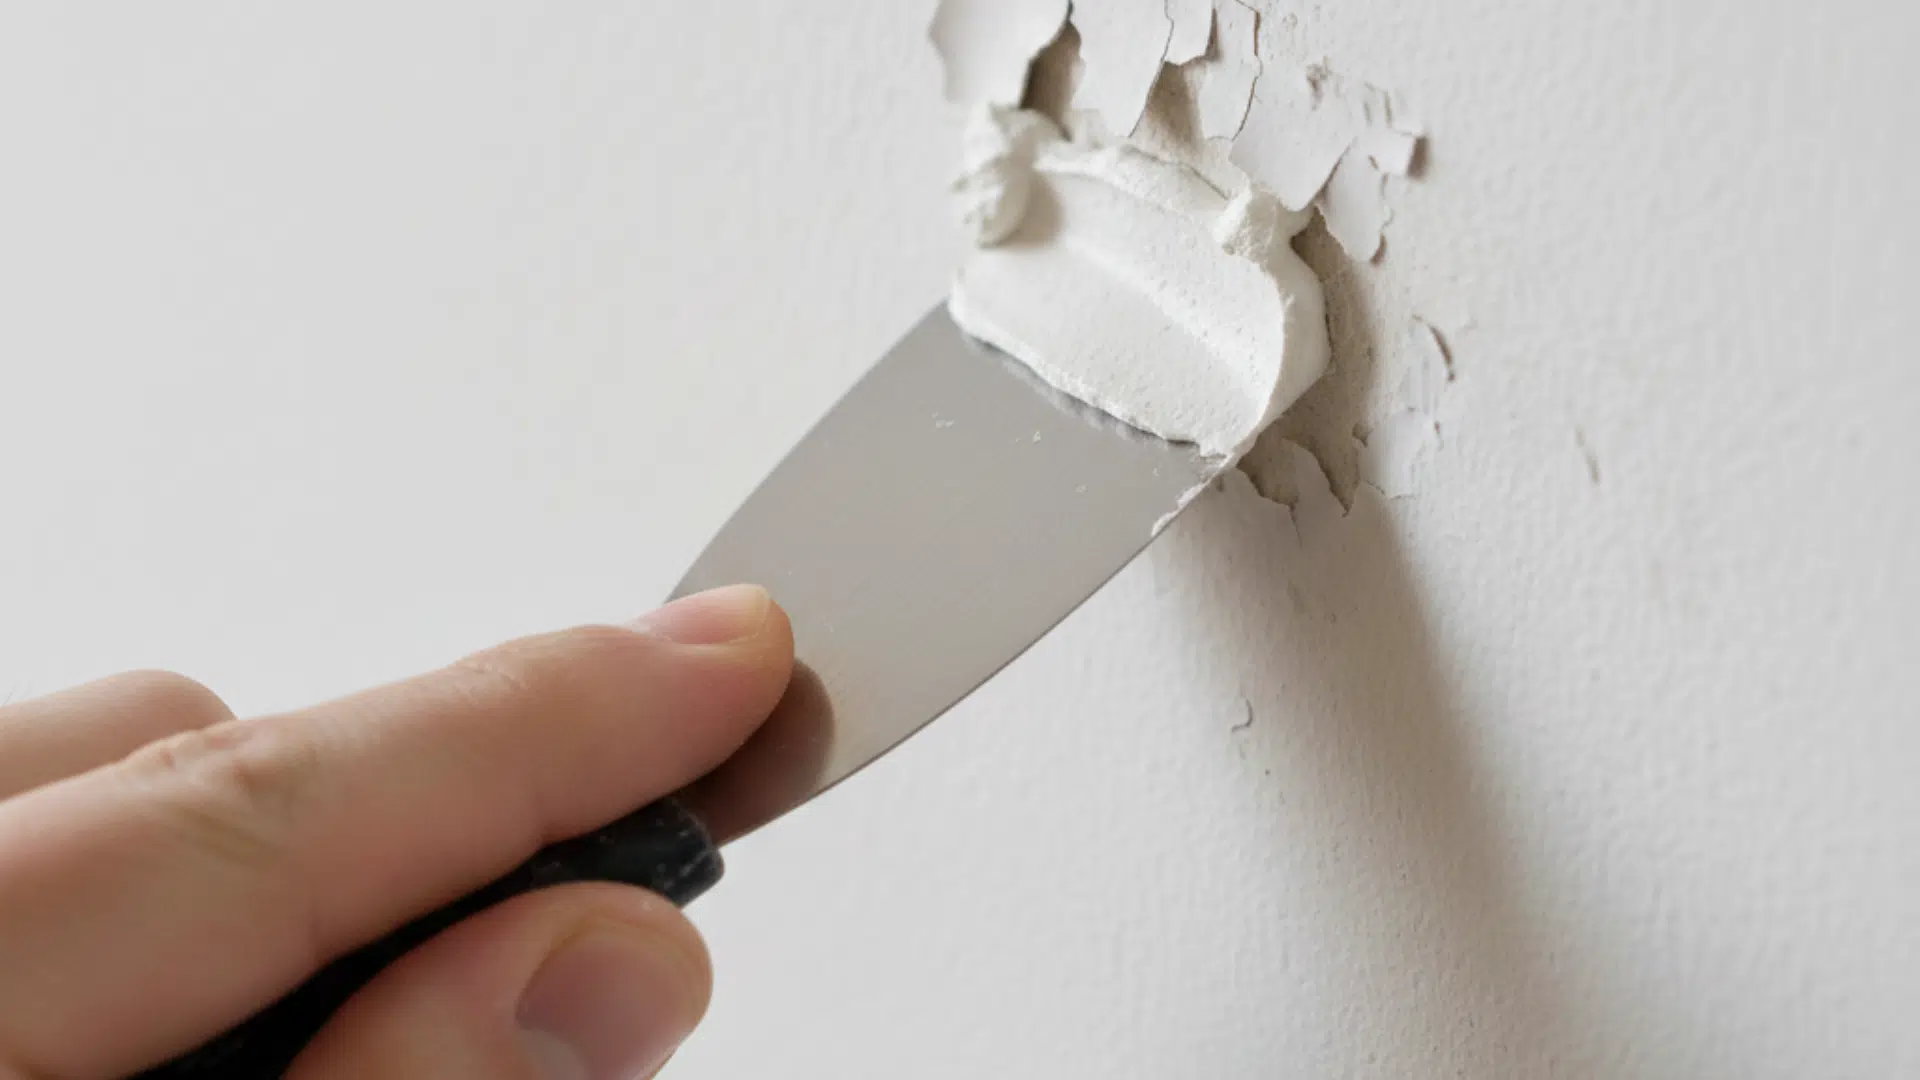
Step 2: Scrape Loose Paint and Smooth the Edges
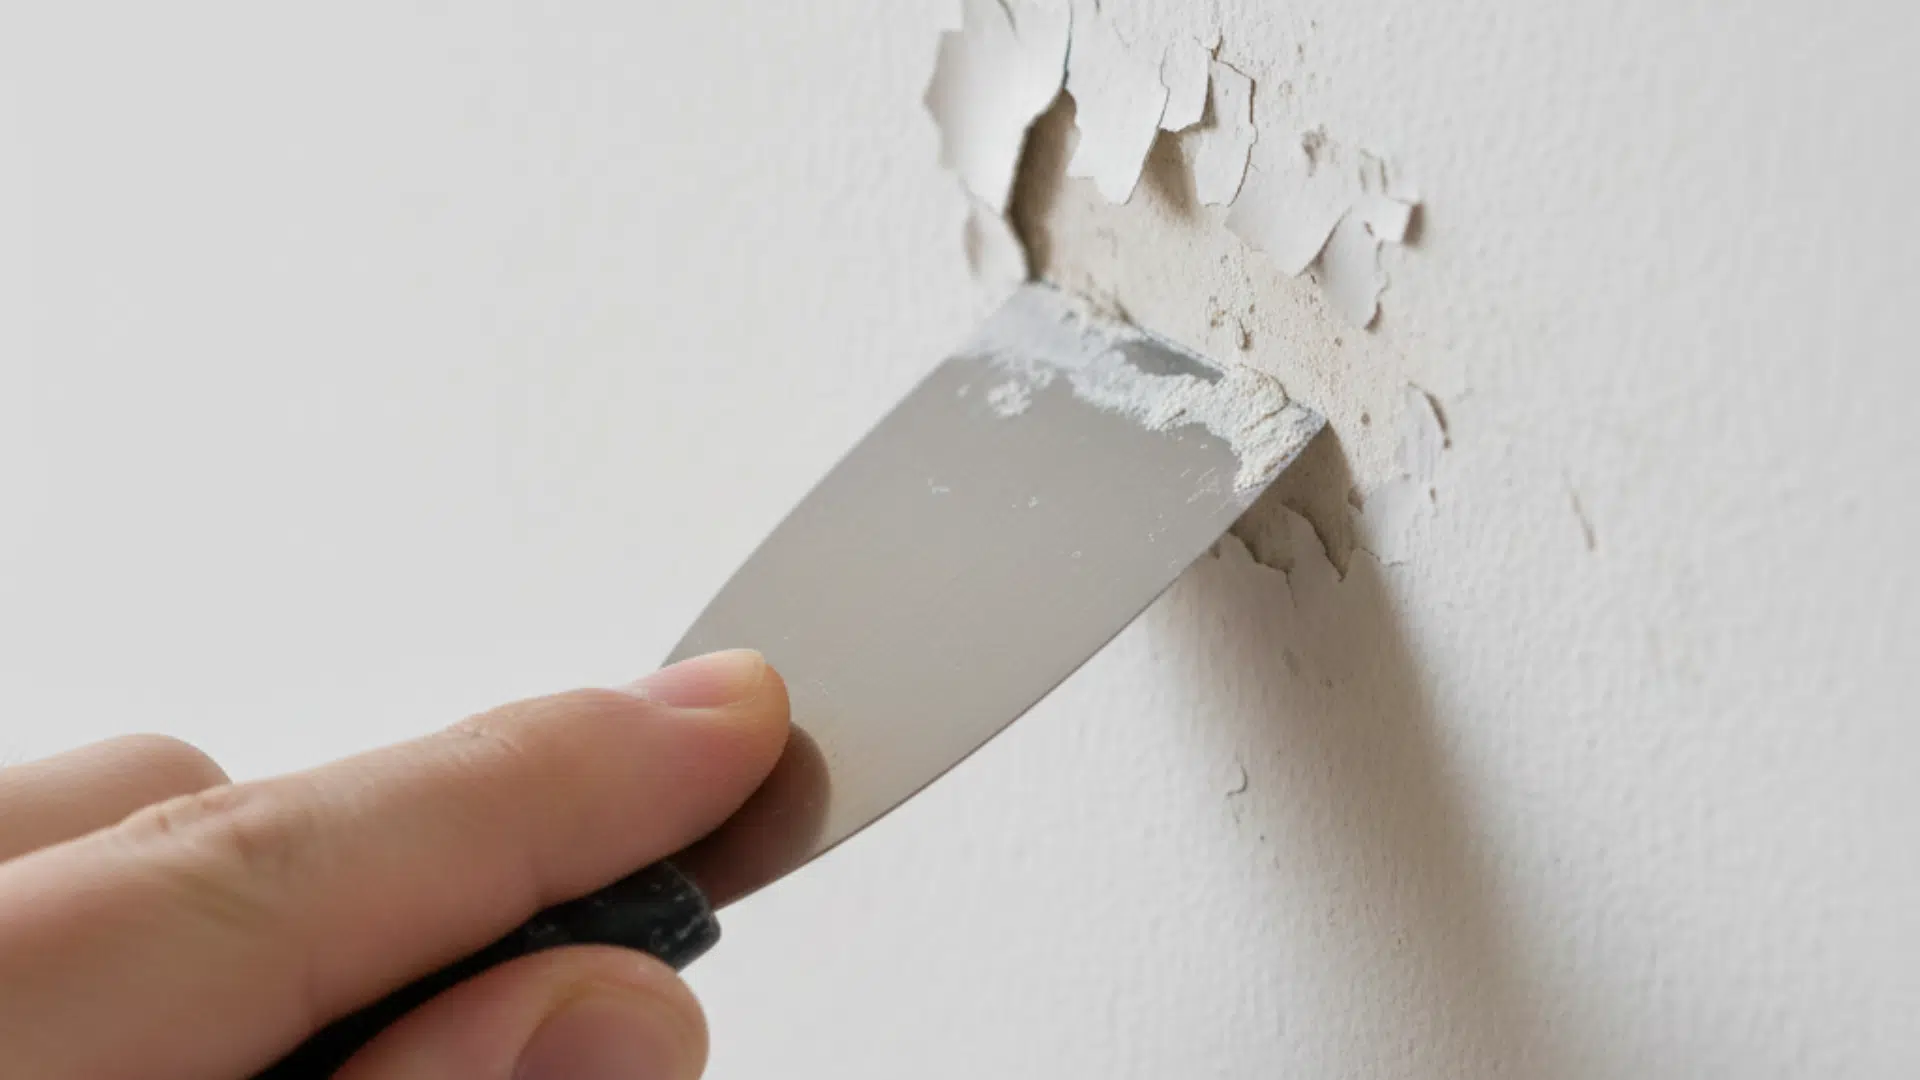
Use your putty knife to gently scrape away any loose or lifting paint around the chip. Press the knife flat against the wall and work outward from the damaged area.
Pay attention to the edges of the remaining paint. Sharp transitions create visible ridges that show through your repair. Feather the edges by holding the putty knife at a low angle and scraping gently until the transition feels smooth.
Step 3: Fill the Chip
Press filler into the chip using your putty knife. For shallow chips, one application usually suffices. More serious damage requires multiple thin layers rather than one thick application.
Apply slightly more filler than needed, and keep it just proud of the wall surface. The material will shrink slightly as it dries. For deep chips, let each layer dry completely before adding the next (typically two to four hours between coats).
Step 4: Sand until The Patch Feels Flush
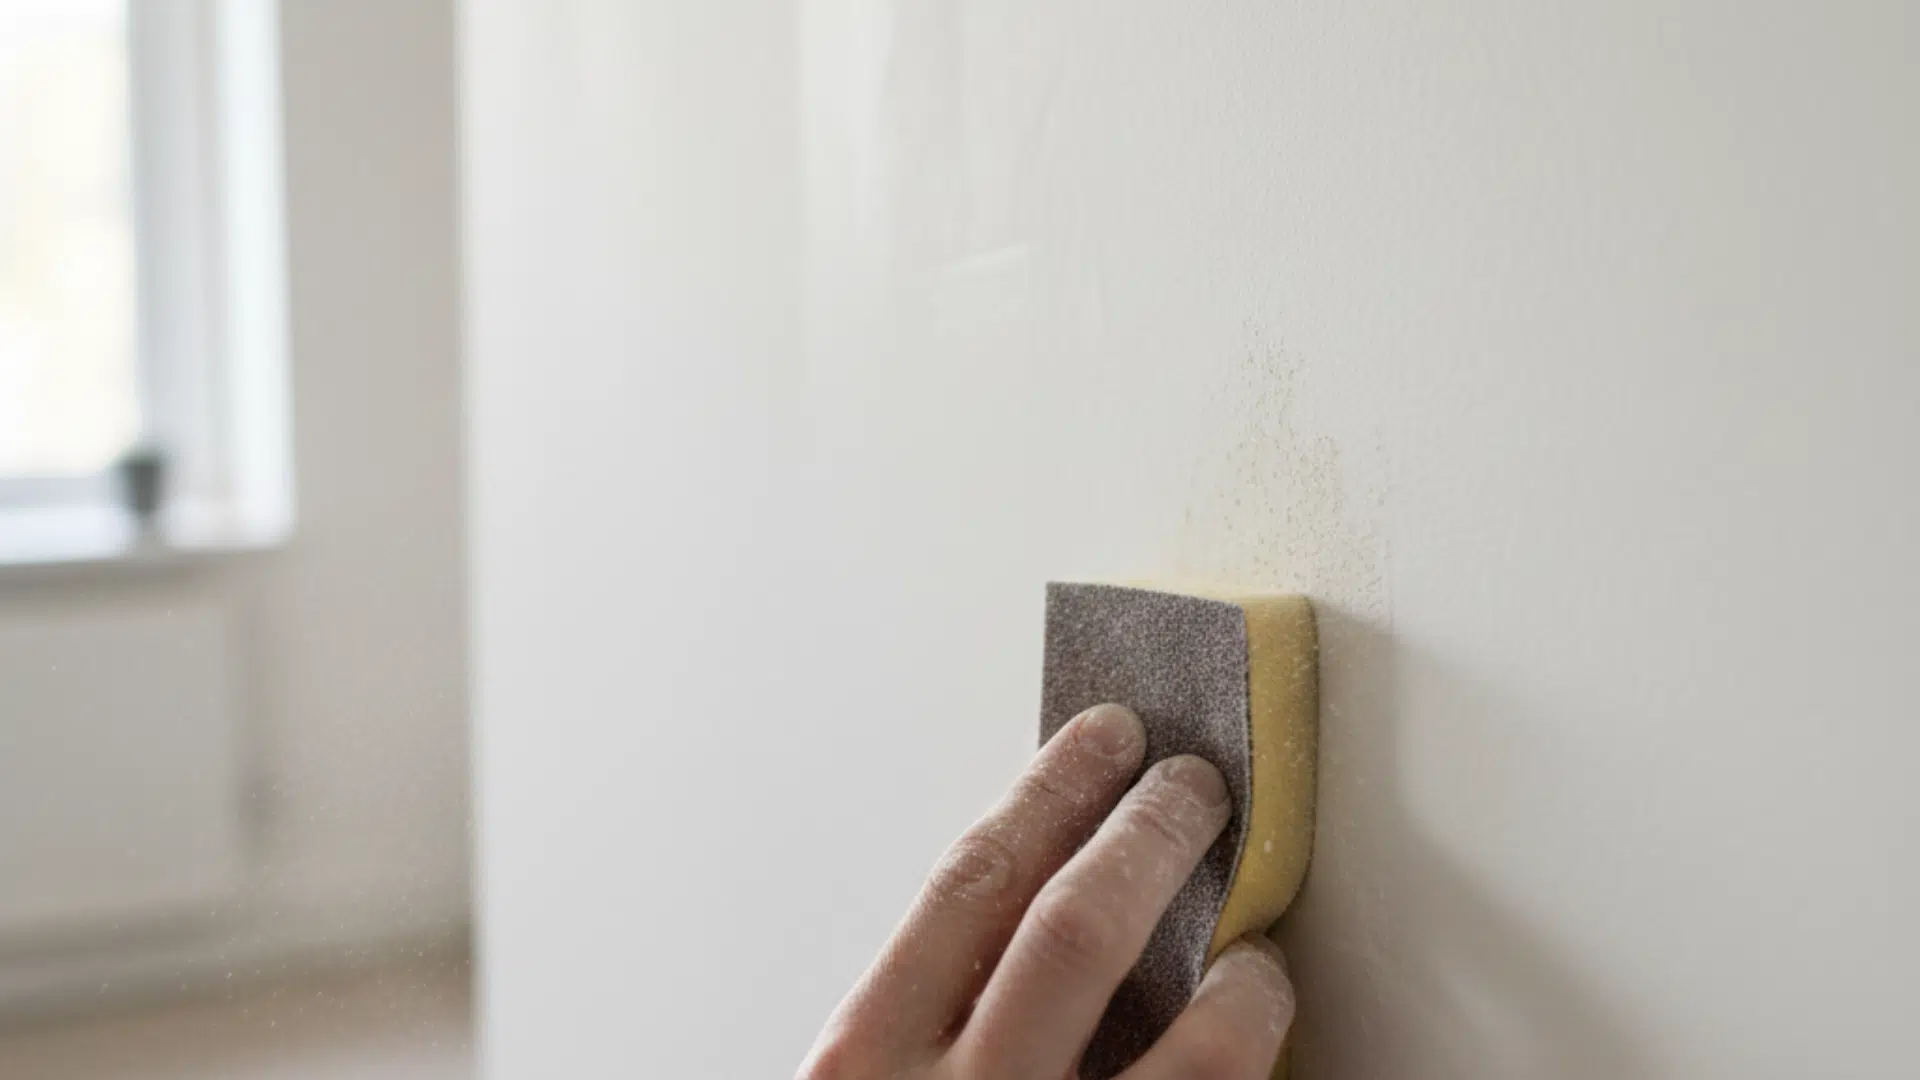
Once the filler is completely dry, sand the area until it feels flush with the surrounding wall. Run your hand over the repair. If you can feel a ridge or bump, keep sanding.
Focus on feathering the edges where filler meets the wall. The transition should be imperceptible to the touch. Wipe away sanding dust with a slightly damp cloth or tack cloth.
Step 5: Prime the Patch
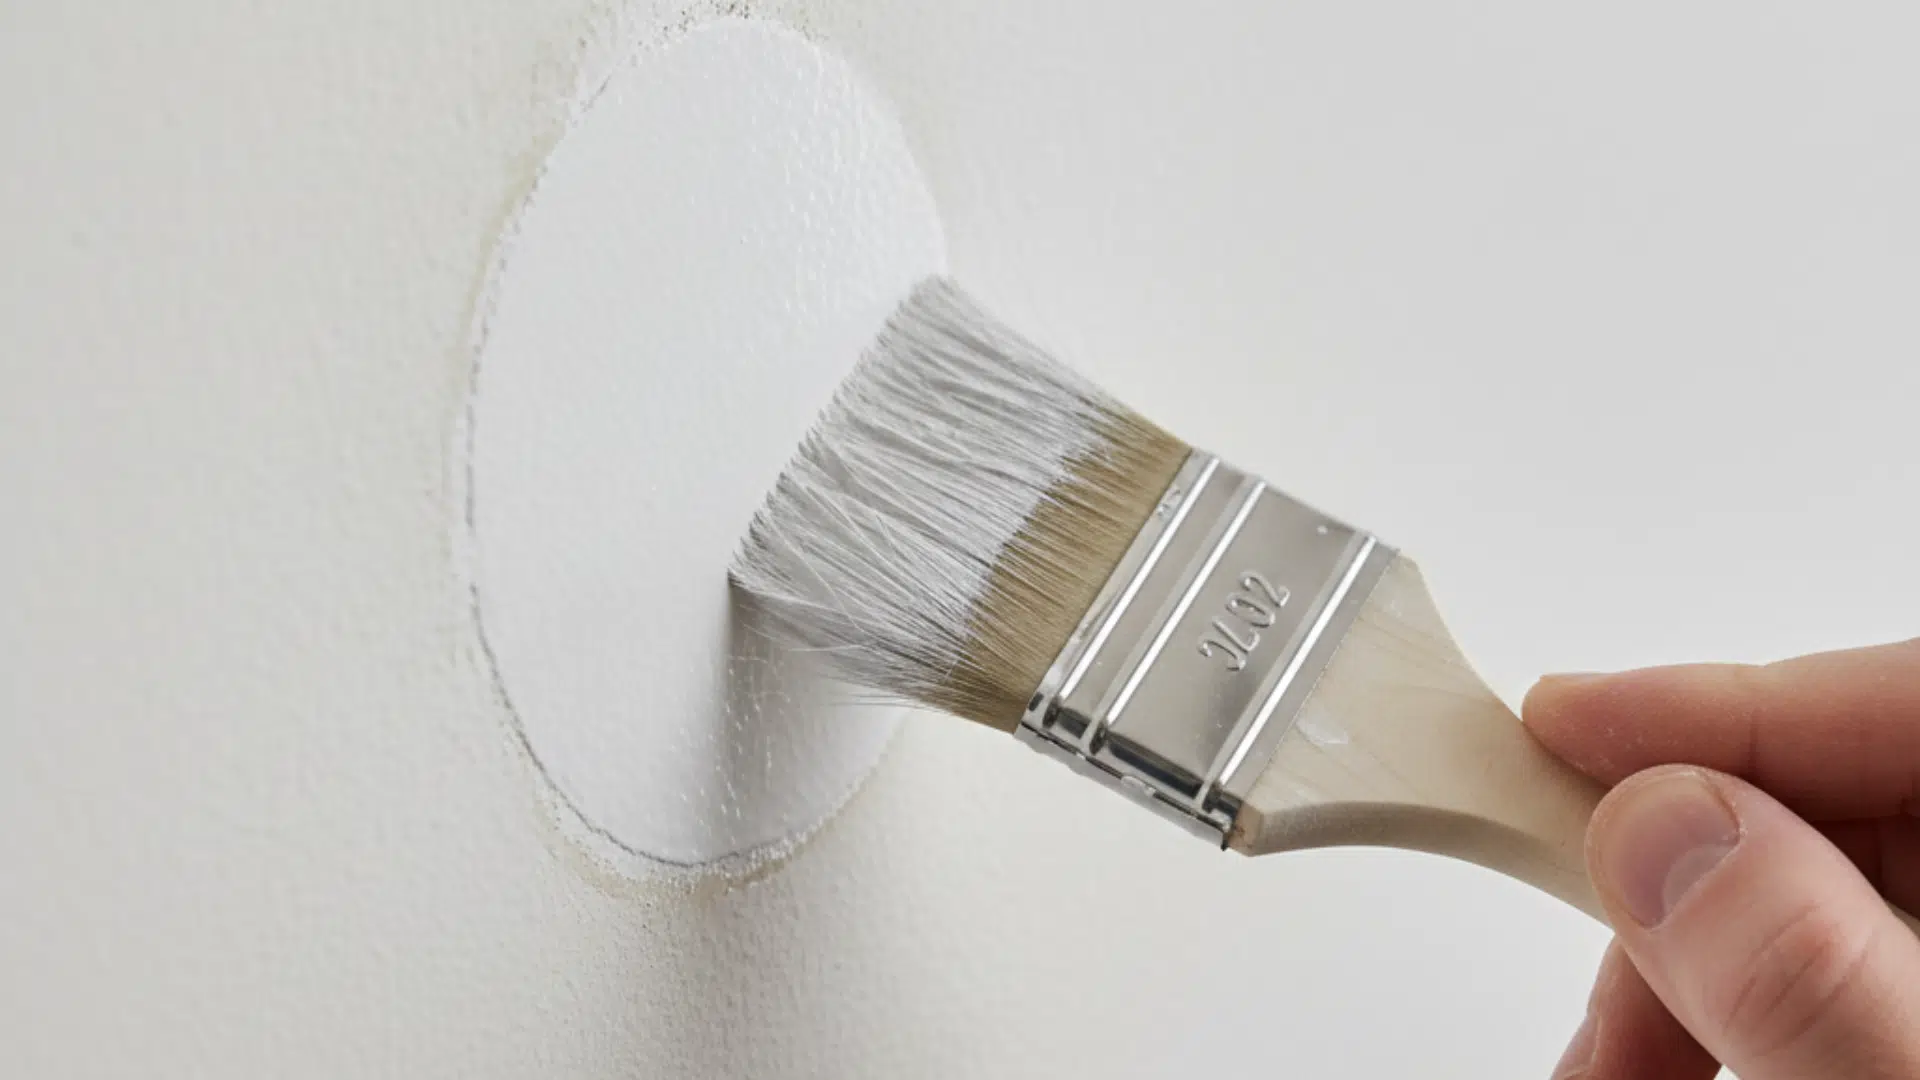
Apply primer to the repaired area. This seals the porous filler, provides a consistent base for your paint, and dramatically improves color matching. Unprimed filler absorbs paint differently than the surrounding wall, creating a visible dull spot.
Extend the primer slightly beyond the filled area onto the existing paint to help blend the repair. Let the primer dry according to the product label before painting.
Step 6: Paint the Spot and Blend It In
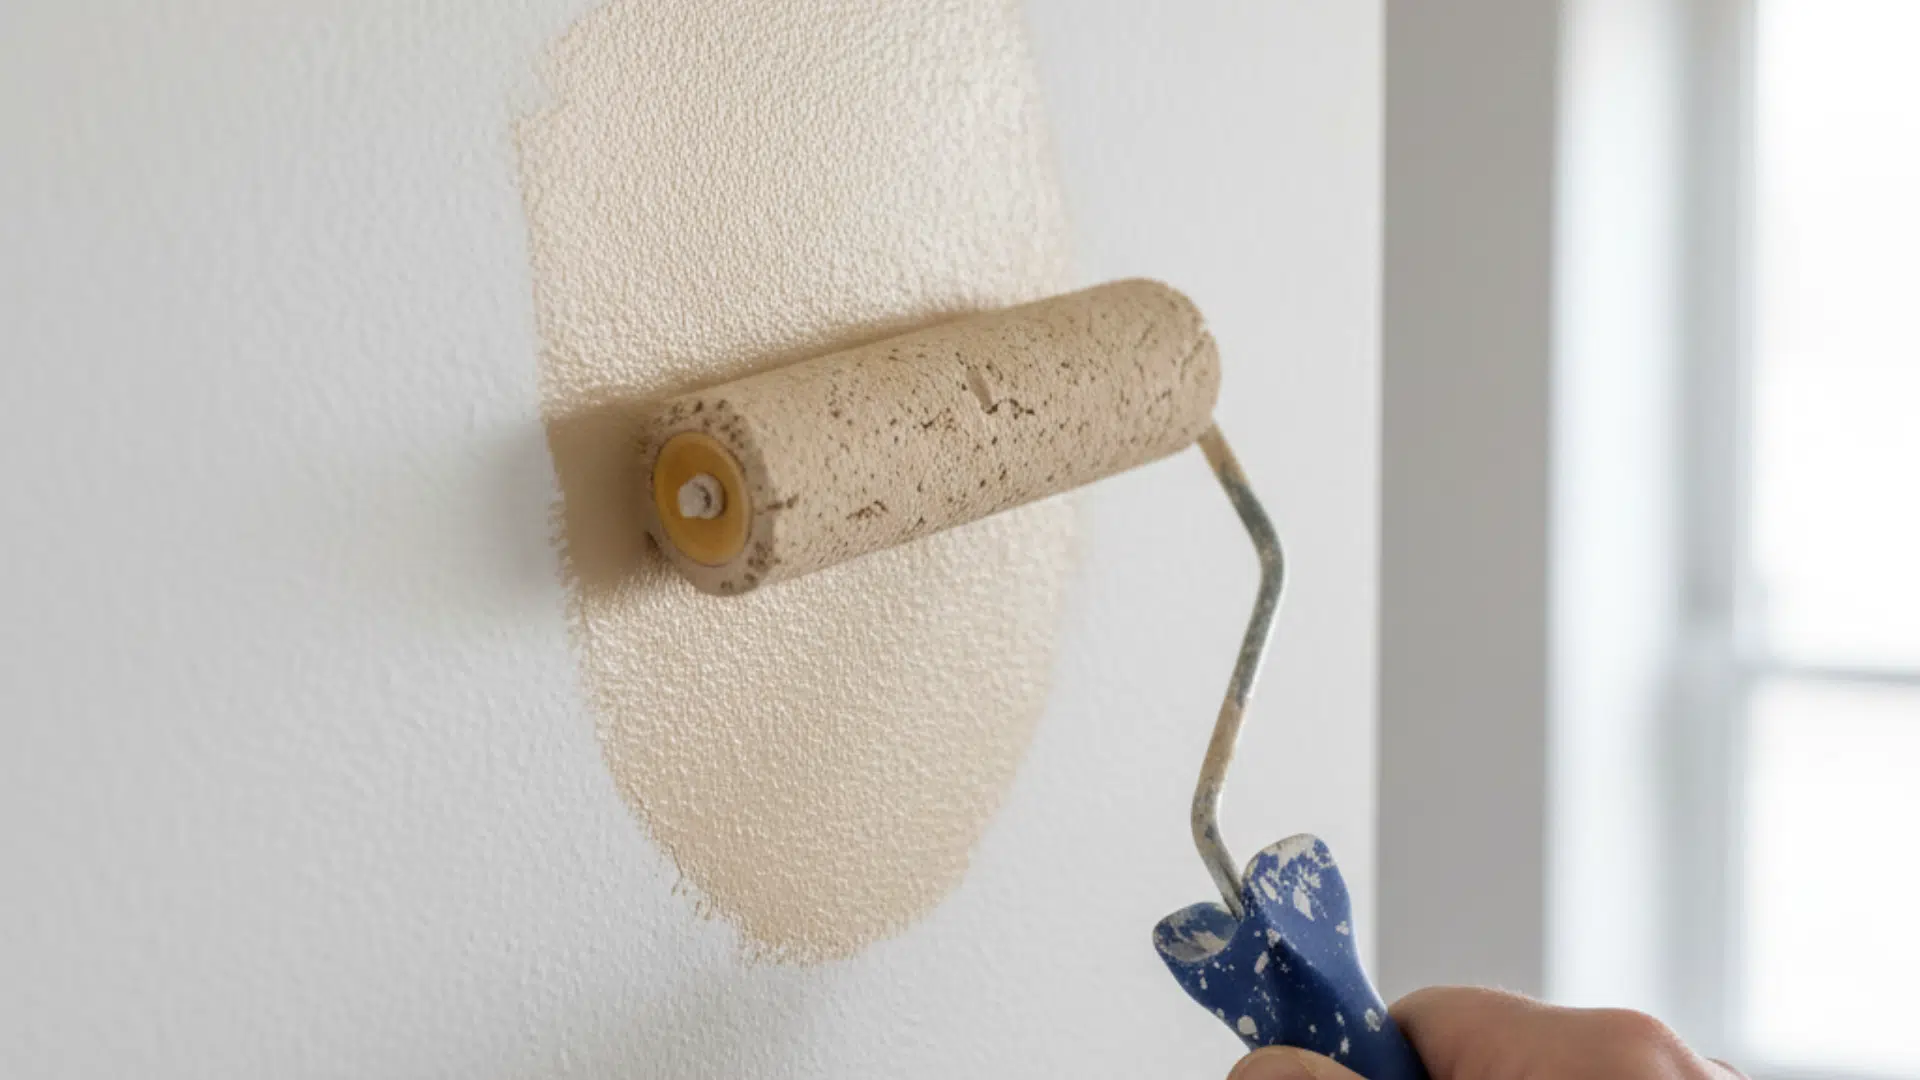
Use a small brush for tiny chips or a mini roller for larger patches to match the wall texture. Apply the feathering technique: start in the center with good coverage, then gradually reduce pressure toward the edges for a smooth transition.
Use two or three thin coats rather than one thick coat, letting each dry completely before applying the next. Fixing paint chips on the wall is a simple DIY task that can make a big difference in how your space looks and feels.
By following the right steps and using the right materials, you can achieve a smooth, long-lasting finish without repainting the entire wall.
Drying and Curing Times
Filler products typically dry to the touch in 30 minutes to two hours, but full curing takes longer. Check product labels; most recommend waiting at least two hours before sanding, though overnight is better for deep fills.
Paint recoat times vary by product. Latex paint usually allows recoating in two to four hours, but full cure takes several weeks. Oil-based products take longer between coats.
Avoid cleaning or scrubbing newly painted areas for at least two weeks. The paint film continues hardening during this time and remains vulnerable to damage.
Mistakes to Avoid when Fixing Chipped Paint
Avoid these common errors to ensure your paint repair blends smoothly with the surrounding wall rather than standing out awkwardly.
- Painting without priming: Creates dull spots that stand out from the surrounding wall. The few minutes saved skipping primer cost hours redoing the repair.
- Not removing loose paint first: Guarantees failure. Paint that’s already separating from the wall will continue lifting, taking your new paint with it.
- Over-sanding the repair: Creates a dip in the wall surface. Sand just enough to make the repair flush, not more.
- Applying filler to a wet or dusty surface: Prevents proper adhesion and causes the repair to fail within weeks or months.
- Not feathering the edges: Creates hard lines and visible ridges where the repair meets the existing wall.
When to Call a Pro Painter Instead
Some situations exceed typical DIY repairs. Widespread peeling or cracking across entire walls suggests serious adhesion failure or moisture problems requiring professional assessment.
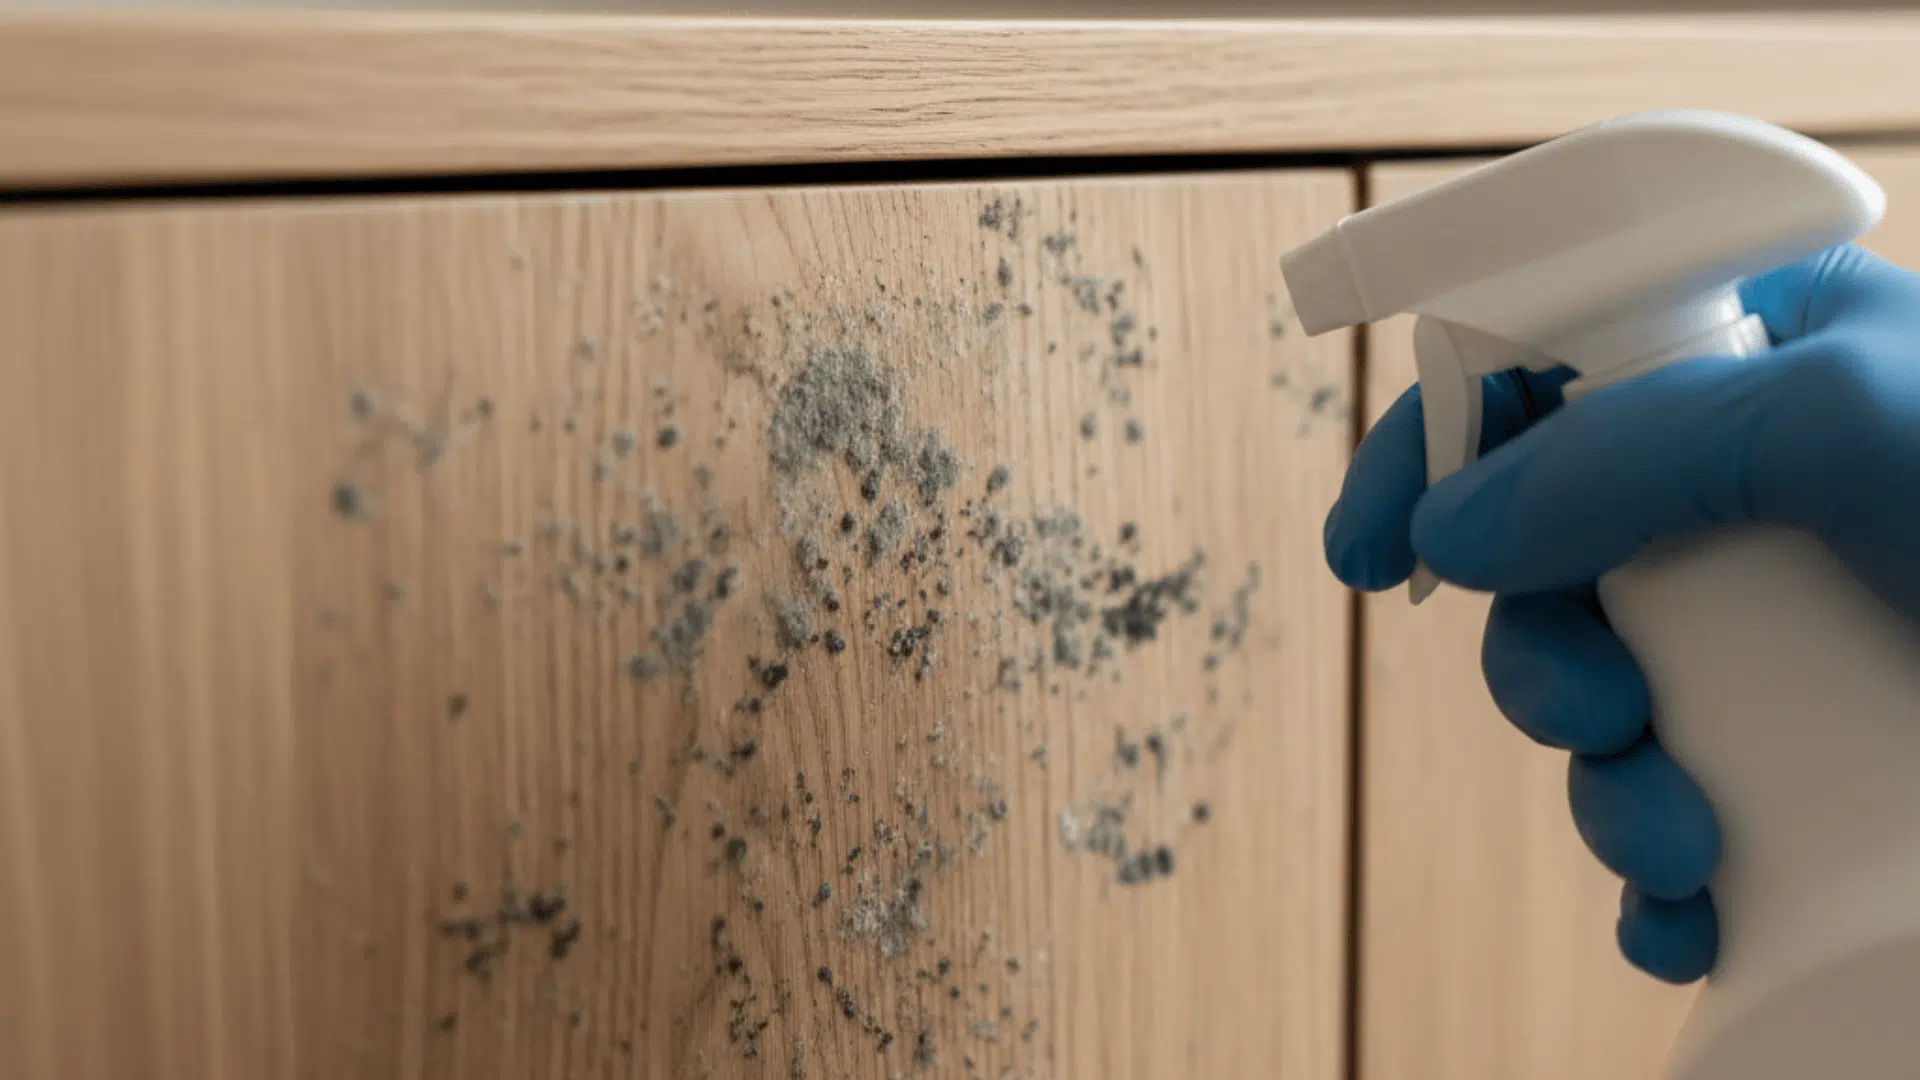
Water damage, soft drywall, or mold concerns need proper remediation before cosmetic repairs. Painting over these issues creates health risks and wastes money.
If your repairs repeatedly fail despite proper preparation, underlying problems may require professional diagnosis. A single well-done professional repair often costs less than multiple failed DIY attempts.
Most paint chips, however, respond well to careful DIY repair with proper preparation, quality materials, and patient technique.
How to Prevent Paint Chips from Coming Back
Protect your fresh repair and stop future damage by addressing root causes and adding simple protective measures to vulnerable areas.
- Fix moisture issues first: Improve ventilation in bathrooms and kitchens. Fix leaks immediately. Moisture causes more paint failure than any other factor.
- Use the right primer for problem areas: Moisture-resistant primers help in bathrooms. Stain-blocking primers prevent tannin bleed-through from wood or water damage.
- Add protection in high-traffic areas: Install corner guards where furniture regularly contacts walls. Door stops prevent door handles from damaging walls.
- Store leftover paint properly: Label cans with the room name, date, and paint information. Paint lasts for years when sealed well and stored in moderate temperatures.
Final Thoughts
Fixing chipped paint does not require expensive tools or painting experience. Clean the area, remove loose paint, apply thin coats, sand smooth, prime, and finish with a few light coats of matching paint.
If you take your time with drying and blending, your repair will look smooth and natural. That is the key to fixing chipped paint on a wall without leaving a visible patch.
Most repairs fail because people skip the primer or try to cover everything with one thick coat of paint. Take your time, follow these steps, and your repair will blend right in.
Have you tried any of these techniques before? Share your paint repair experiences in the comments below, and bookmark this page for the next time a chip appears on your wall.
Frequently Asked Questions
What Is the Best Filler for Chipped Paint?
Spackle works best for small chips. Use lightweight joint compound for larger chips. Both dry quickly, sand smoothly, and bond well to drywall when applied properly.
What Happens if You Don’t Fix Paint Chips?
Chips grow larger as the loose paint continues peeling. Moisture seeps in, damaging drywall underneath. The repair becomes more expensive and time-consuming the longer you wait.
How Big a Paint Chip Can Be Repaired?
You can repair chips up to several inches wide with spackle and paint. Larger damaged areas or widespread peeling need skim coating or full wall repainting.