I remember staring at my living room walls, thinking a fresh coat of paint would be simple. Just roll it on, right? Wrong. That’s when I learnt that wall-painting techniques can completely change a space or ruin it if you don’t know what you’re doing.
Over the years, I’ve learned that the difference between a professional-looking finish and a messy DIY disaster comes down to technique.
Some methods create texture, others give you glass-smooth surfaces, and a few can even hide those annoying imperfections you thought were permanent.
But here’s the thing most people don’t realize: the best painters have a secret weapon, and it’s not what you’d expect.
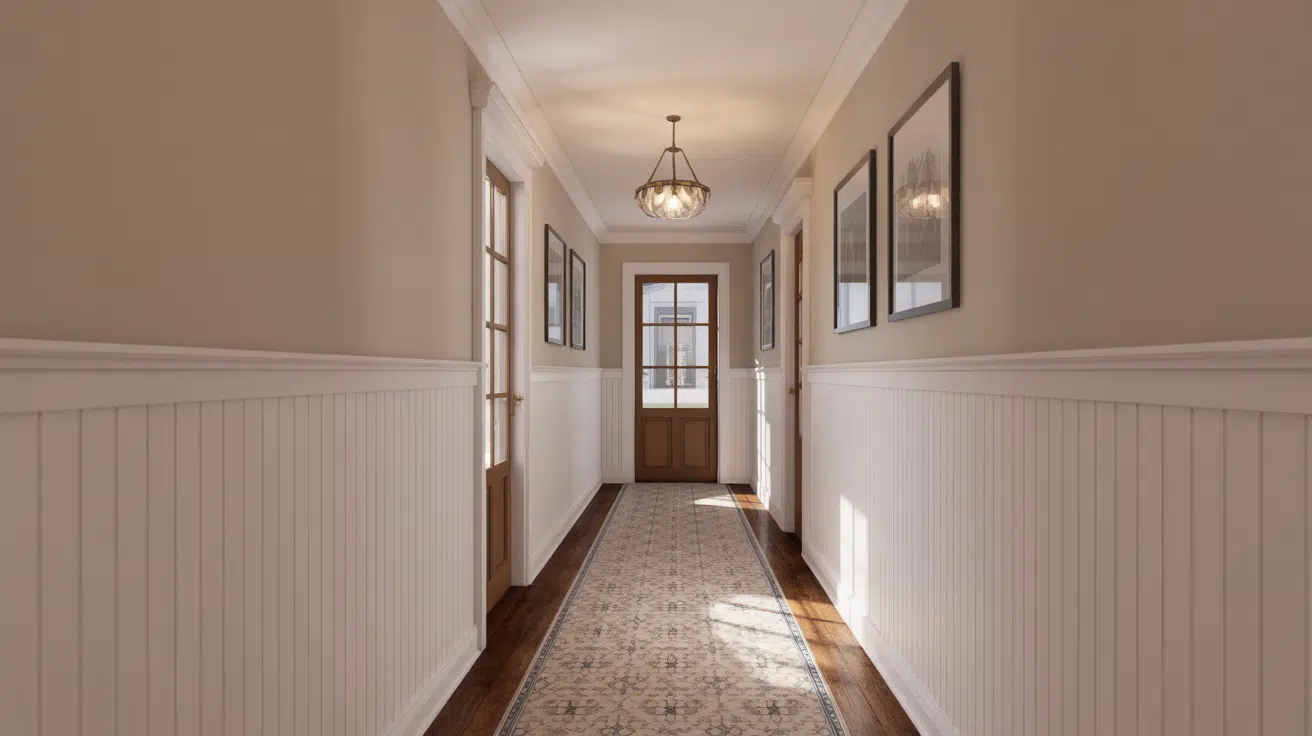
Why Proper Painting Matters
Painting walls seems straightforward: apply color, let it dry, done. Reality proves more complex. Proper painting techniques protect your investment and prevent costly do-overs.
Skipped preparation leads to peeling paint within months. Wrong application creates streaks, uneven coverage that looks amateur.
Poor-quality results mean repainting sooner, wasting time, money, and effort. Done right, painted walls last for years without touch-ups. They resist daily wear, clean easily, and maintain their fresh appearance.
Professional results come from following proven methods: thorough prep, quality materials, and correct application techniques.
Whether you’re refreshing one room or transforming your entire home, taking time to paint properly delivers beautiful, durable results that make the effort worthwhile. Your walls deserve better than shortcuts.
Simple Wall Painting Techniques
Standard painting methods cover basic application styles. These techniques work for most interior projects, ranging from simple single-color coverage to multiple-coat applications for durability.
1. Solid Color Painting
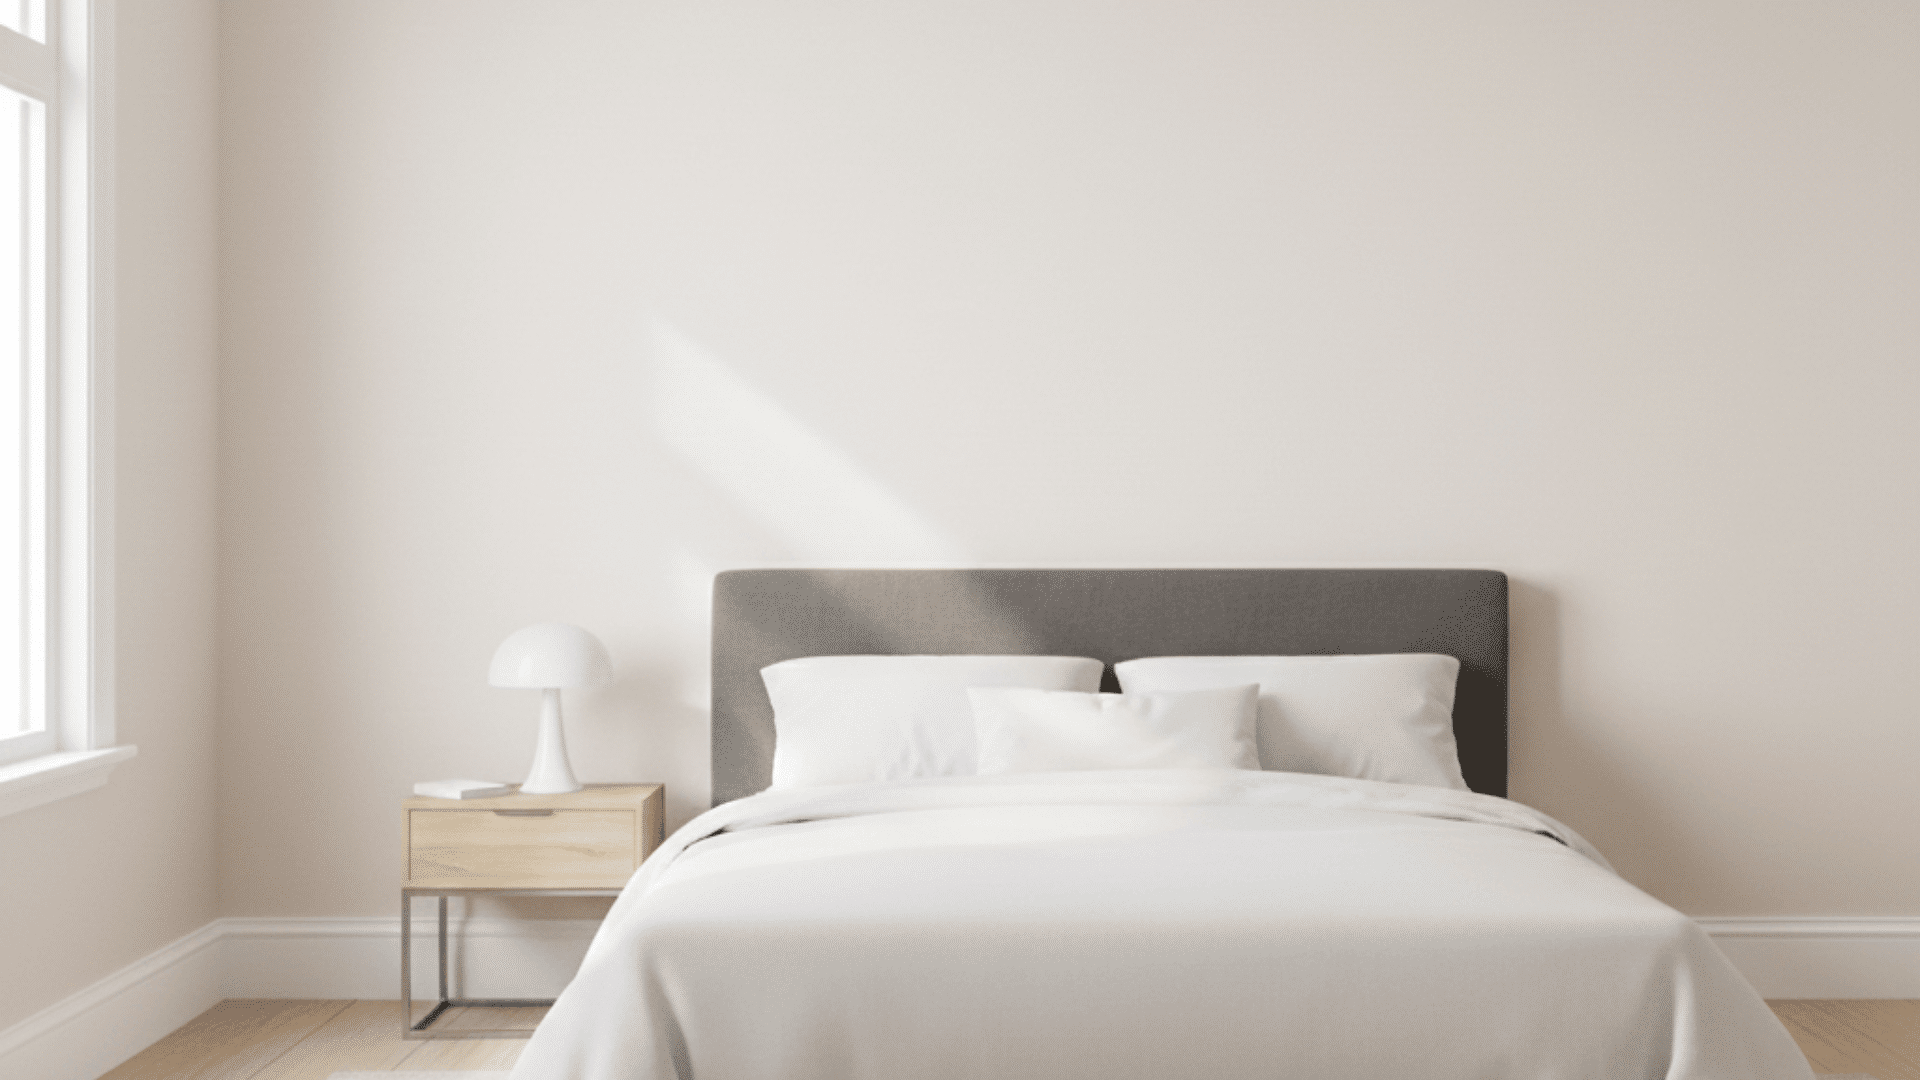
The most common method for painting walls. Apply one consistent color across entire surfaces for clean, uniform coverage. Perfect for beginners, works in any room style.
- Tools and materials needed: Paint roller, roller tray, angled brush, painter’s tape, drop cloths, and interior paint in chosen color.
- Steps to follow: Prep walls, brush in the edges, roll paint in a W pattern, and apply a second coat after the first coat has dried.
2. Cut-In Painting
Careful brushwork along edges where rollers can’t reach. Creates clean lines at the ceiling, corners, trim, and baseboards. Requires steady hands and practice to achieve professional-looking borders.
- Tools and materials needed: 2-3 inch angled brush, quality paint, steady hand, good lighting, and optional painter’s tape for guidance.
- Steps to follow: Load the brush lightly, paint a 2-3 inch band along the edges using steady strokes, and feather into unpainted areas.
3. Roller Painting
Fast coverage for large wall surfaces. Uses a paint roller to apply an even coat across open areas. Most efficient method for standard wall painting projects.
- Tools and materials needed: Paint roller with extension pole, appropriate nap cover, roller tray with liner, and interior paint.
- Steps to follow: Load the roller evenly, apply in a W or M pattern, fill gaps with vertical strokes, and maintain a wet edge throughout.
4. Two-Coat Painting Method
Standard approach for full color coverage. The first coat provides a base, and the second coat ensures a rich, even color. Most paint jobs require two coats for professional results.
- Tools and materials needed: The same basic painting supplies as the solid color method, plus patience for drying time between coats.
- Steps to follow: Apply the first coat completely, wait the recommended dry time (2-4 hours), lightly sand if rough, and apply the second coat.
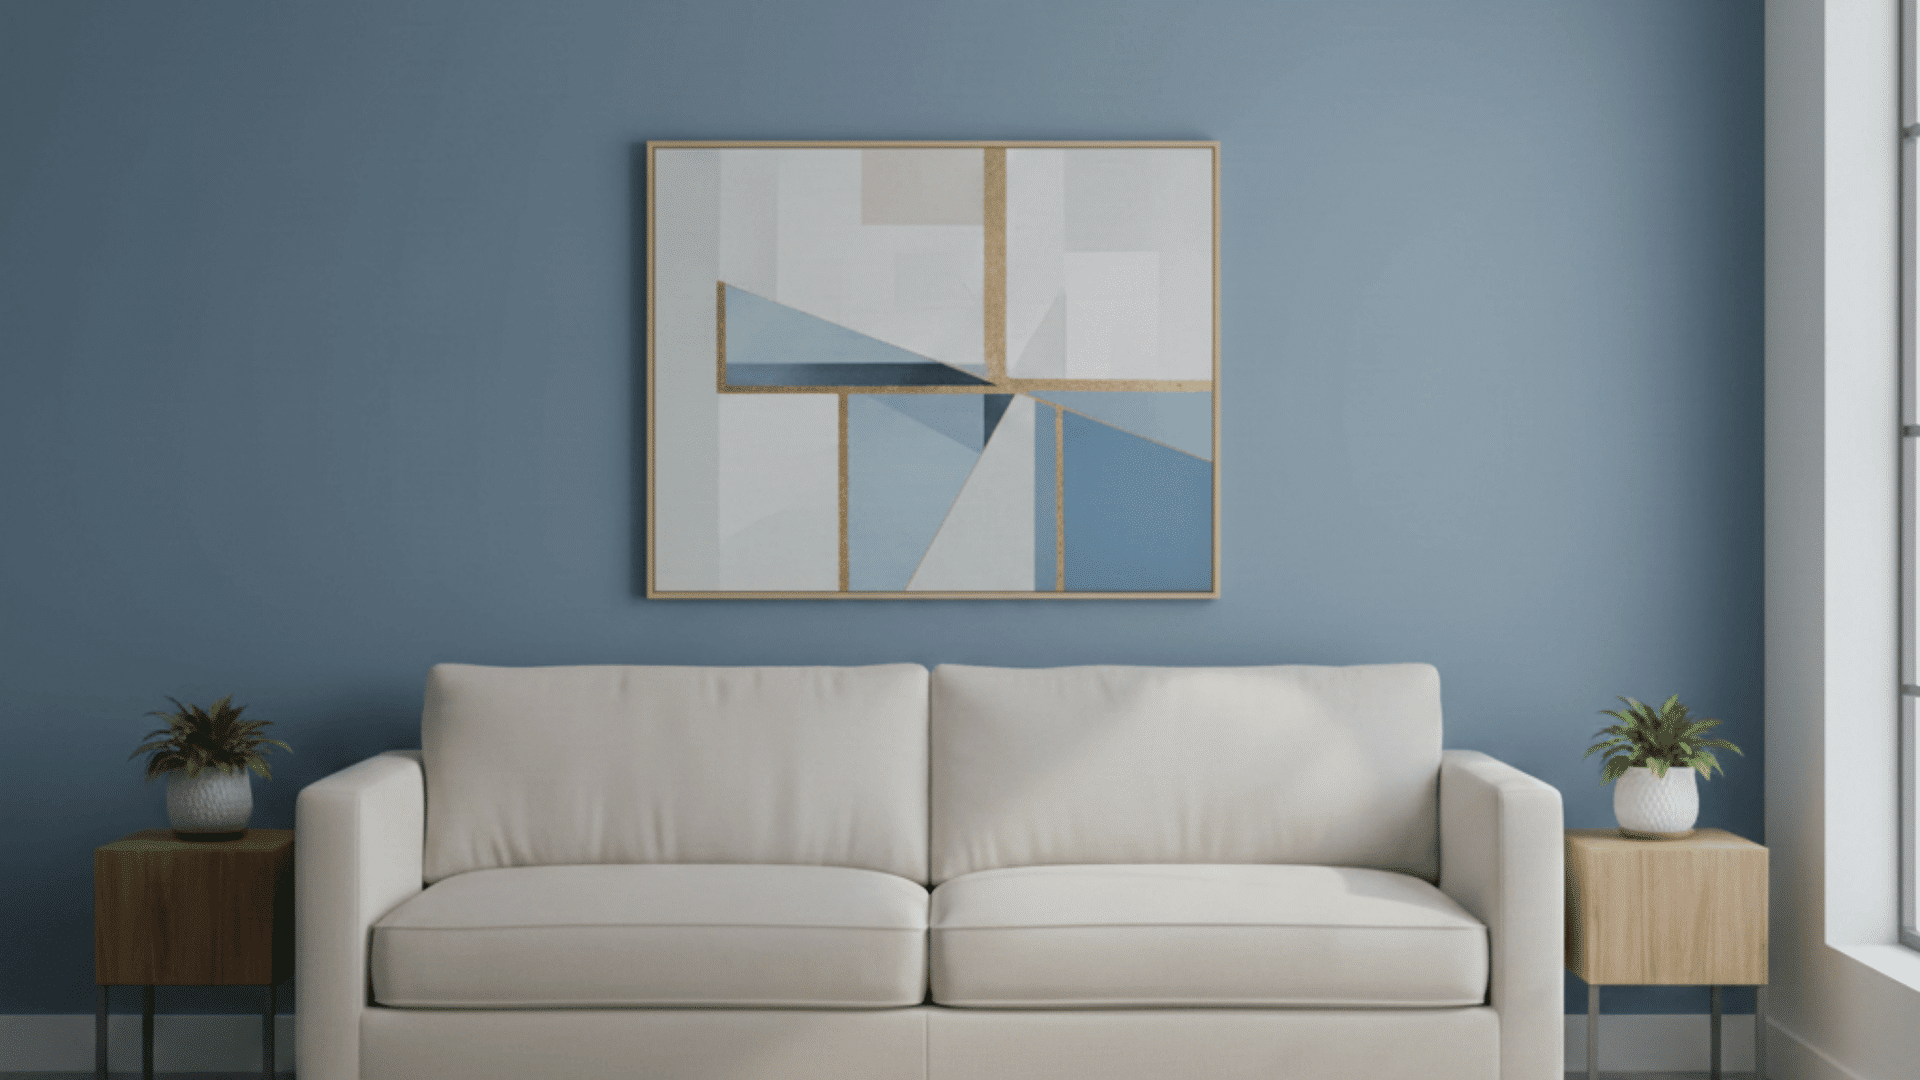
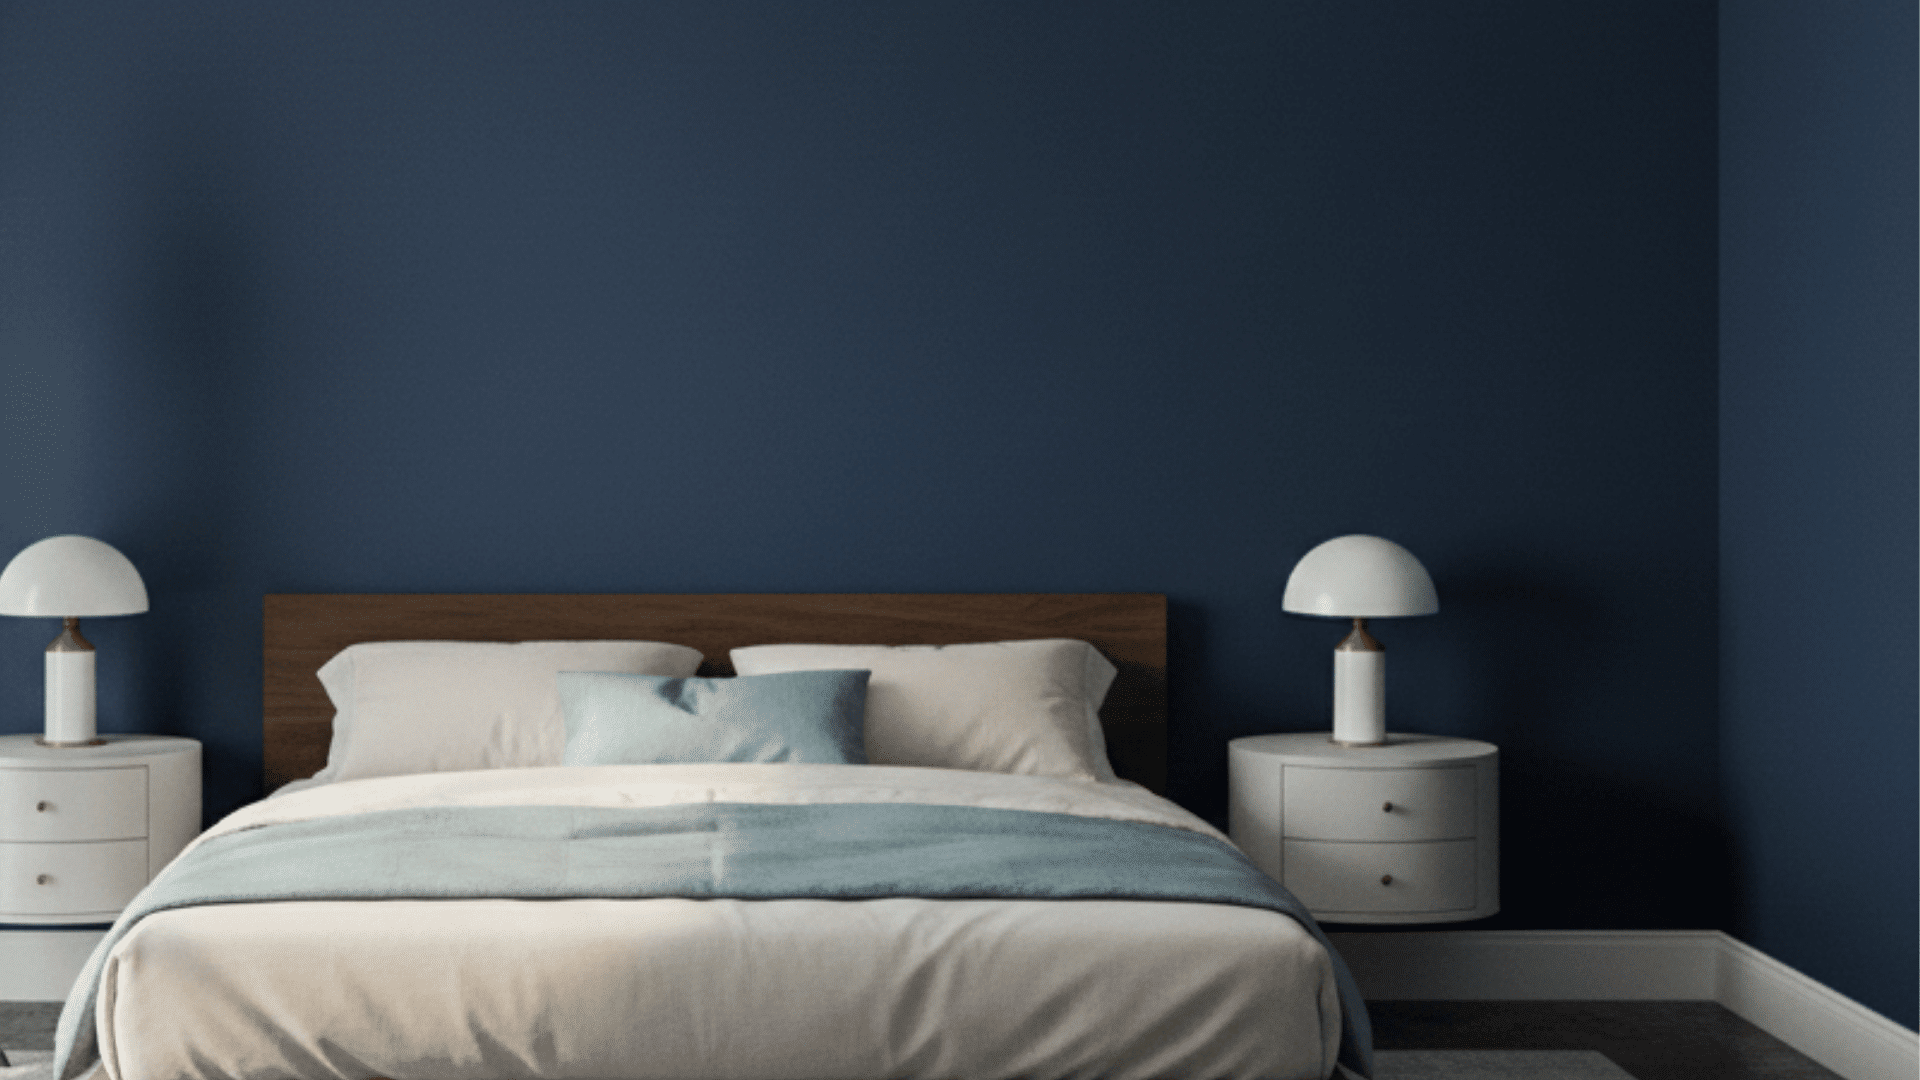
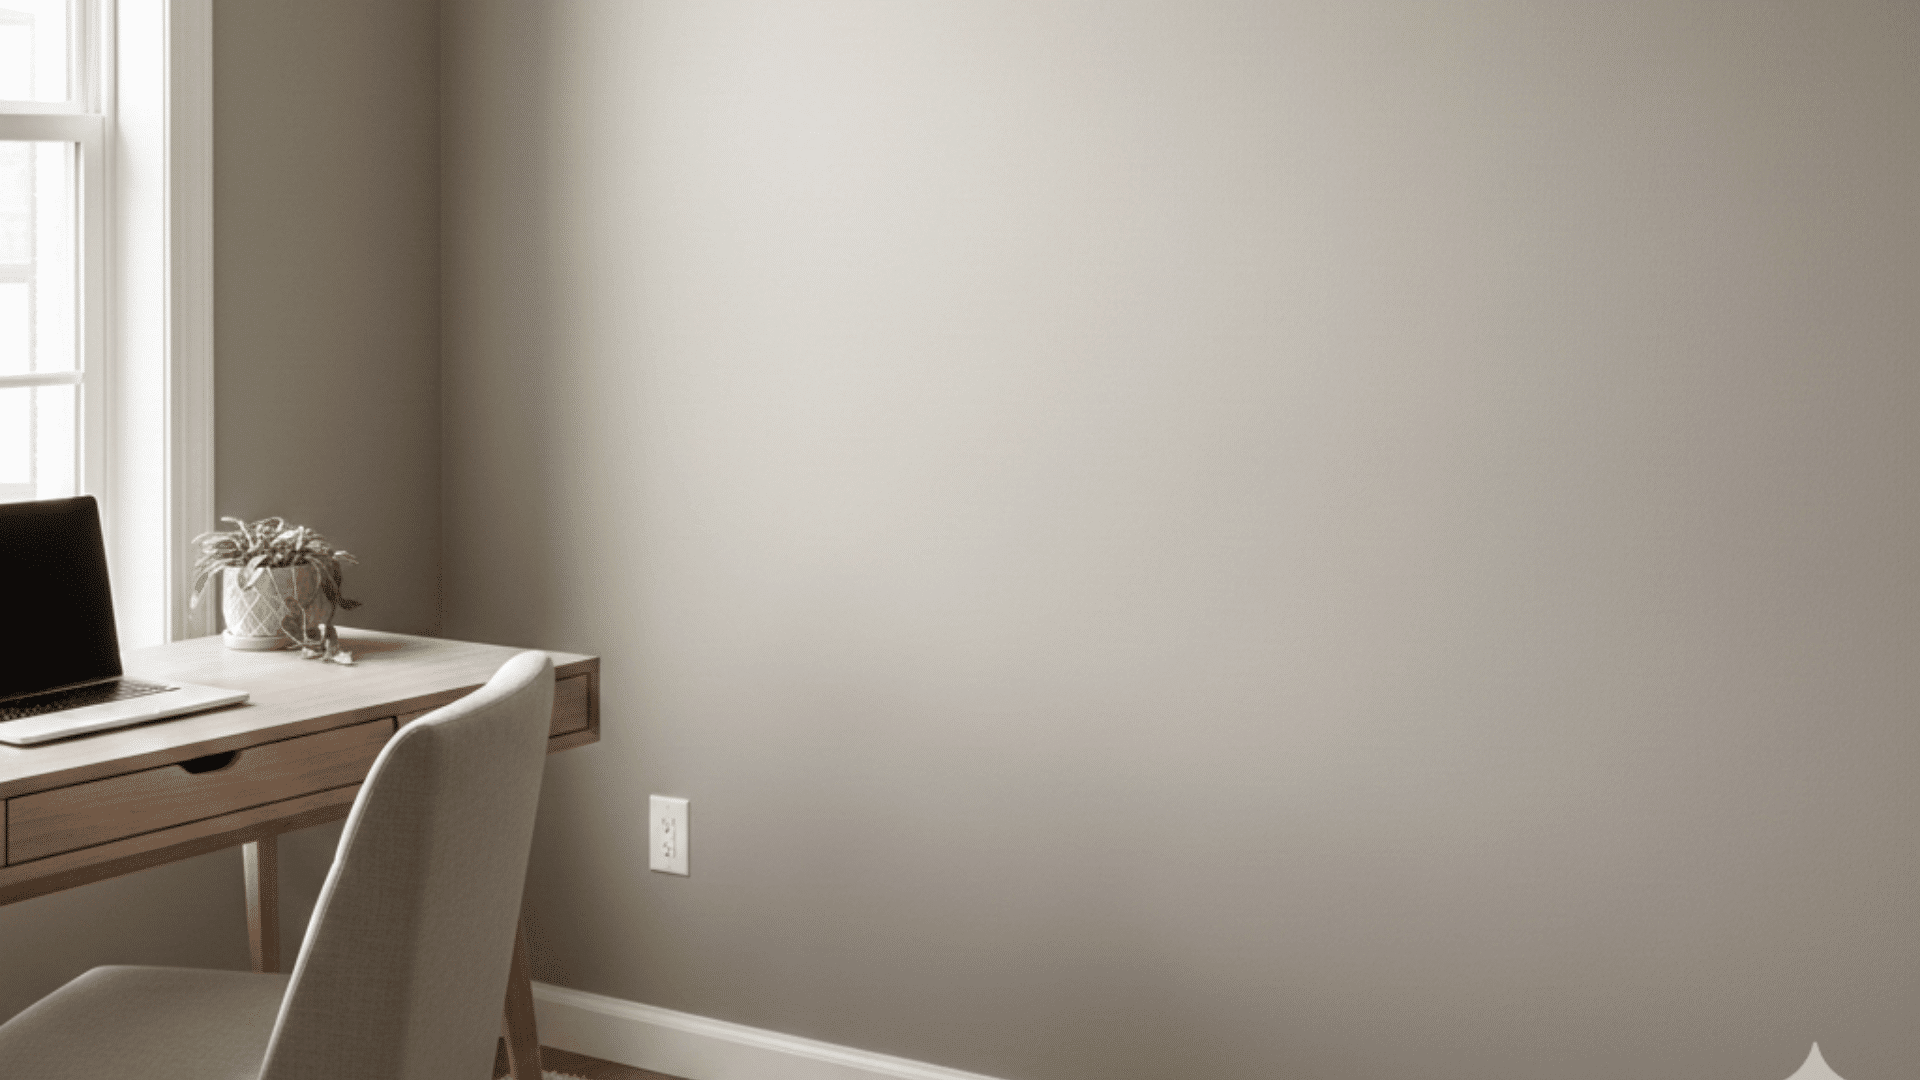
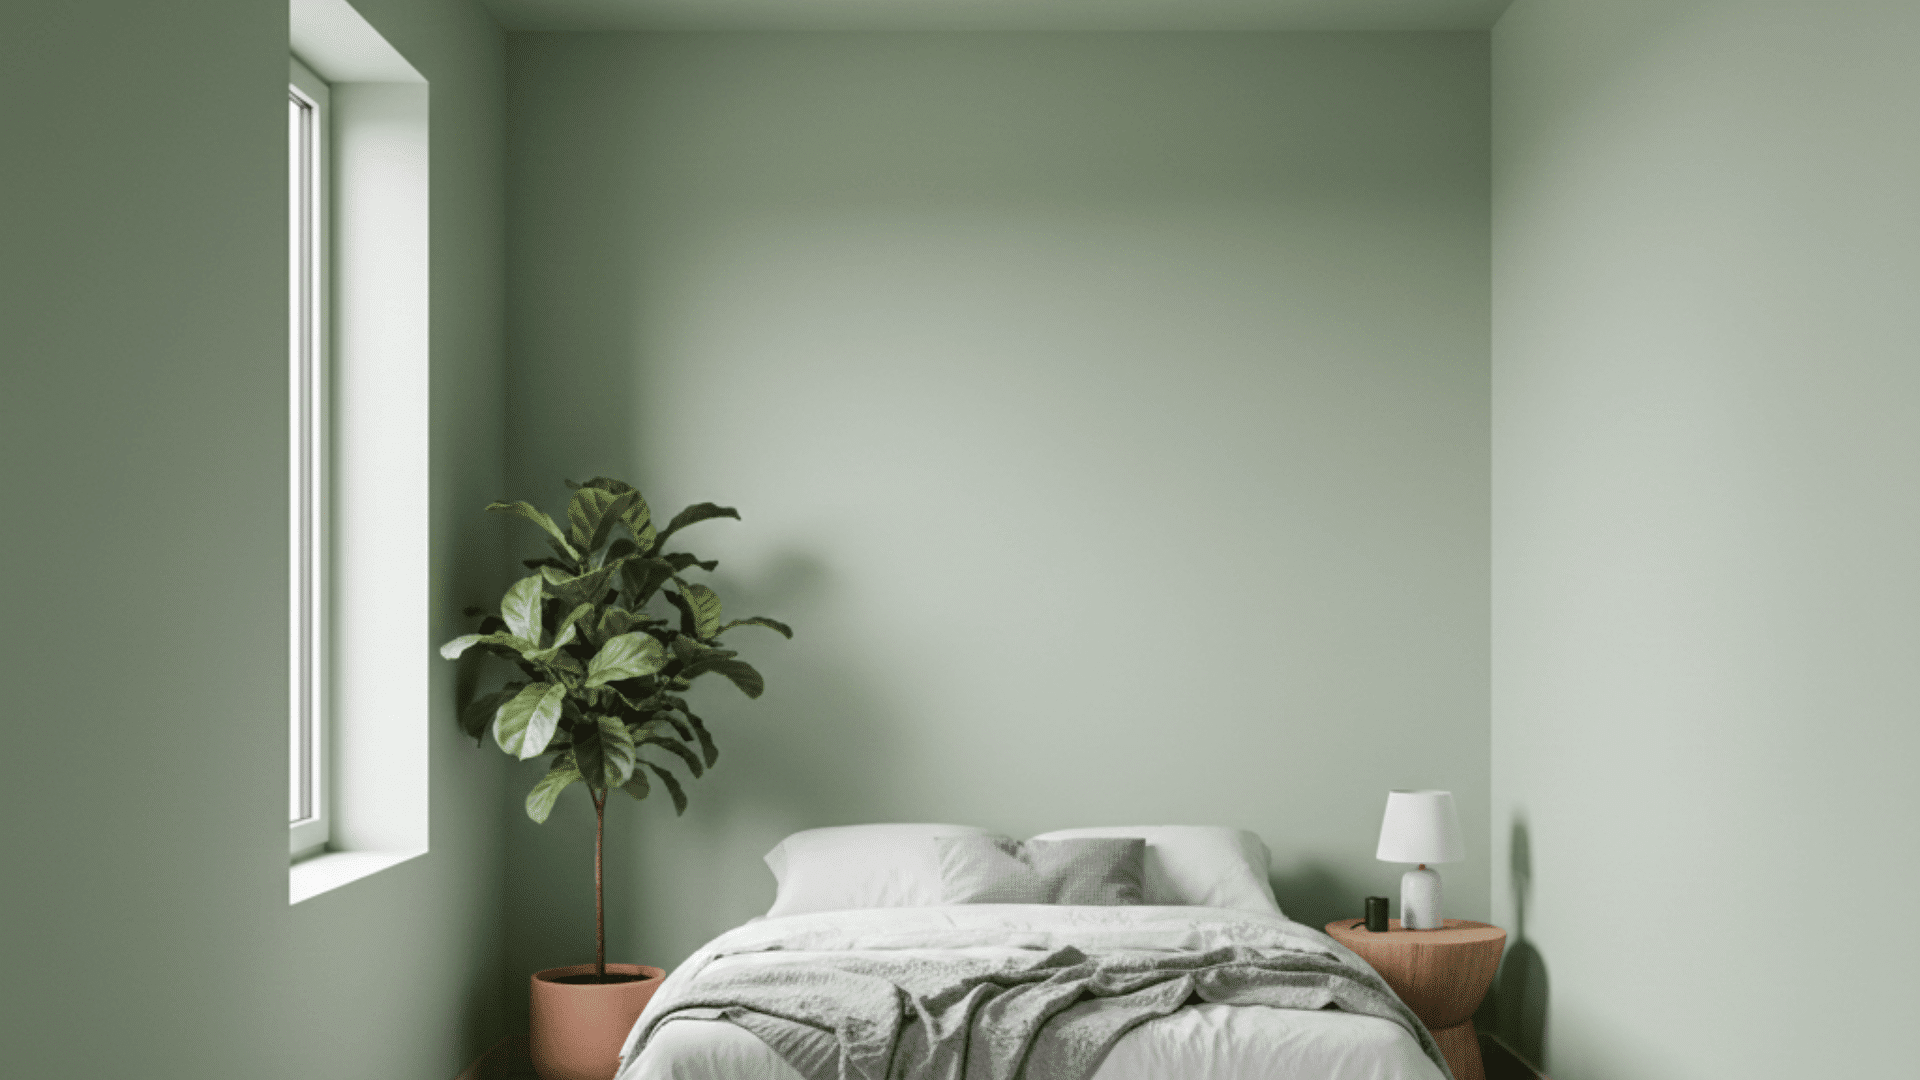
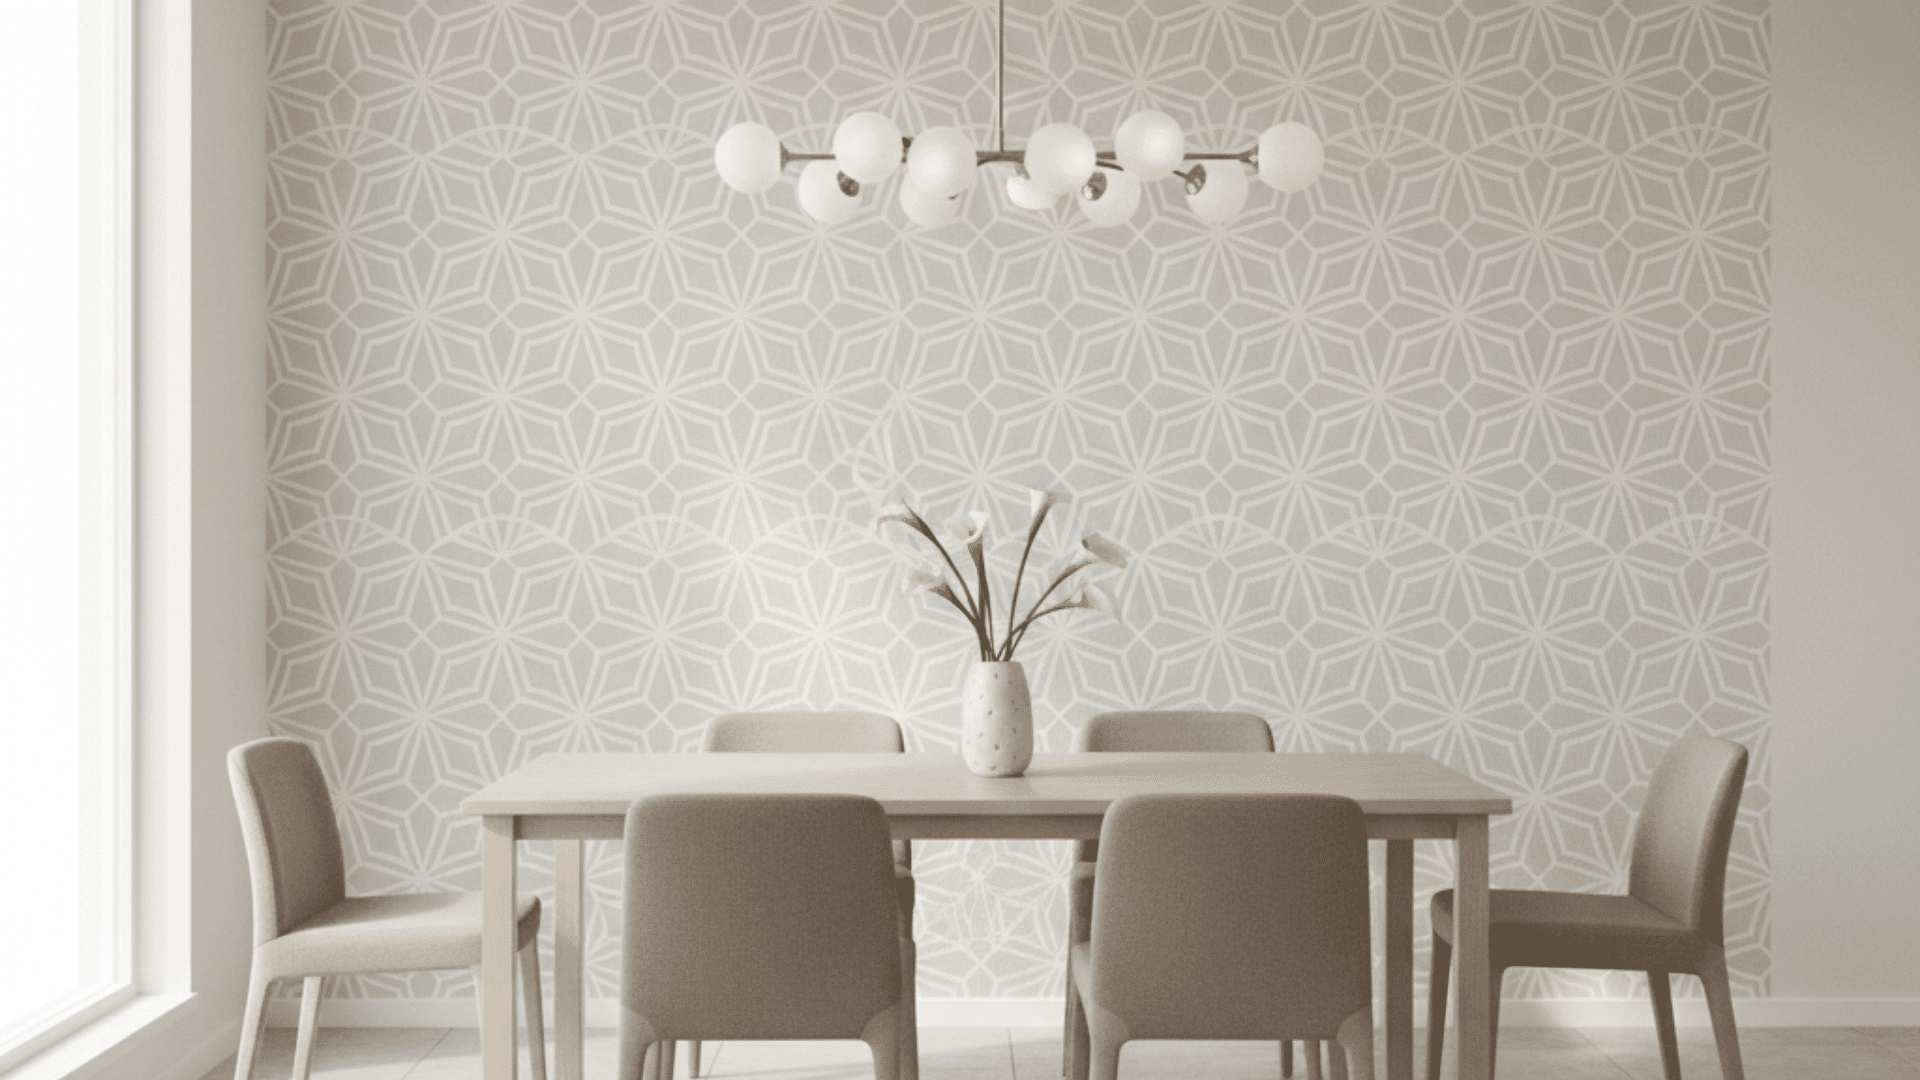
5. Accent Wall Painting

Paint one wall a different color from the others. Creates a focal point, adds visual interest without overwhelming the space. Popular for bedrooms, living rooms, and dining areas.
- Tools and materials needed: Two paint colors, standard painting tools, painter’s tape for clean edges where colors meet.
- Steps to follow: Choose a focal wall, tape the edges carefully, paint the accent wall completely with the chosen color, and remove the tape while it’s still wet.
6. Primer and Paint Technique
Applies primer coat before paint for better adhesion and coverage. Essential for new drywall, repairs, and dark-to-light color changes. Creates a uniform base for the topcoat.
- Tools and materials needed: A primer appropriate for your surface, topcoat paint, standard rollers and brushes, and other painting supplies.
- Steps to follow: Apply primer evenly to all surfaces, let it dry completely (1-4 hours), and apply paint coats as usual.
7. Vertical or Horizontal Color Blocking
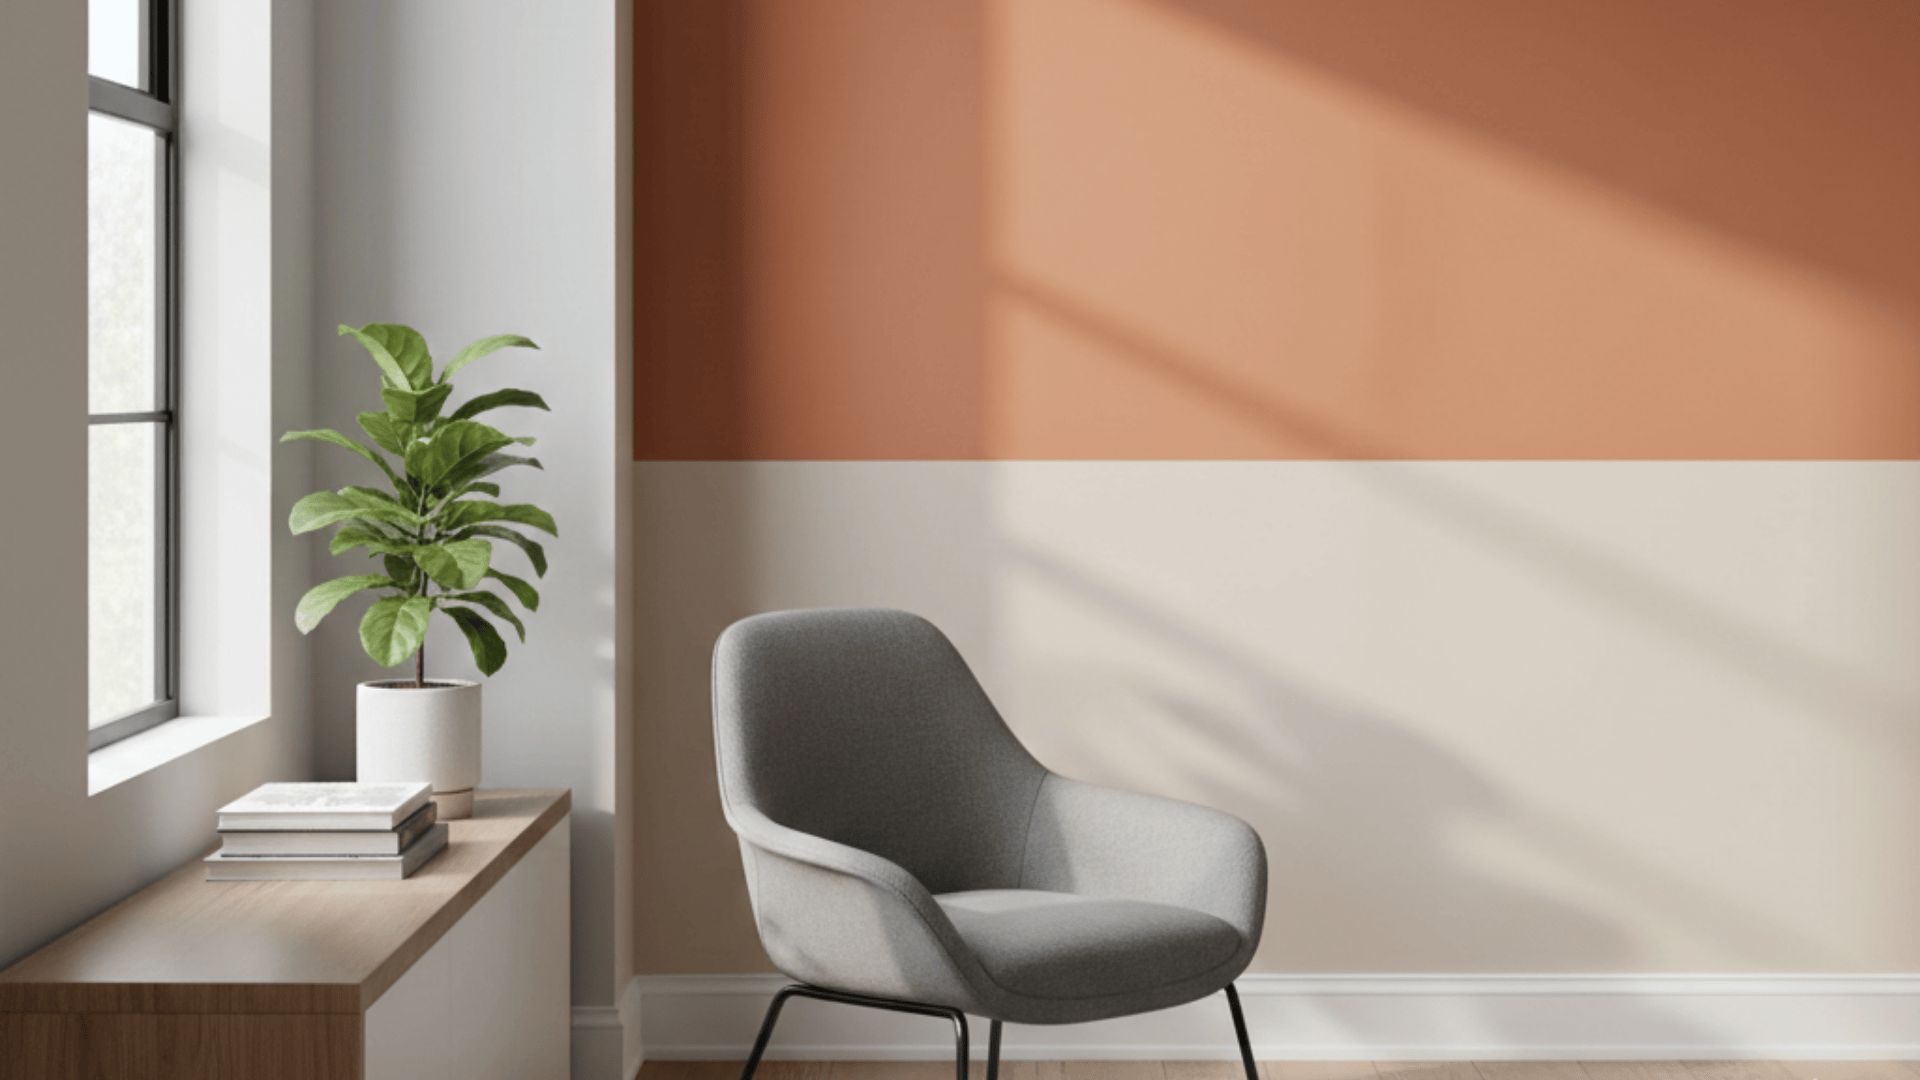
Creates bold geometric sections using multiple colors. Divides the wall into blocks separated by straight lines. Modern, graphic look for contemporary spaces.
- Tools and materials needed: Two or more paint colors, a level, a measuring tape, high-quality painter’s tape, and a pencil for marking lines.
- Steps to follow: Measure, mark sections with a level, tape edges precisely, paint each block separately, and remove tape at the proper time.
8. Ceiling-to-Wall Continuous Painting
Extends wall color onto the ceiling for a seamless, modern effect. Makes rooms feel taller and eliminates the ceiling line entirely. Popular in small spaces, modern designs.
- Tools and materials needed: Single paint color for both surfaces, extension pole, angled brush, drop cloths covering floors completely.
- Steps to follow: Paint the ceiling first, including several inches down the wall, and continue painting the walls up to meet the ceiling color overlap.
Simple wall painting techniques are perfect for beginners and anyone looking for a clean, polished look with minimal effort.
Decorative Wall Painting Techniques
These methods add texture, pattern, and visual interest beyond flat color. Perfect for accent walls, feature spaces, and rooms needing character. Test on sample boards before applying to the entire wall.
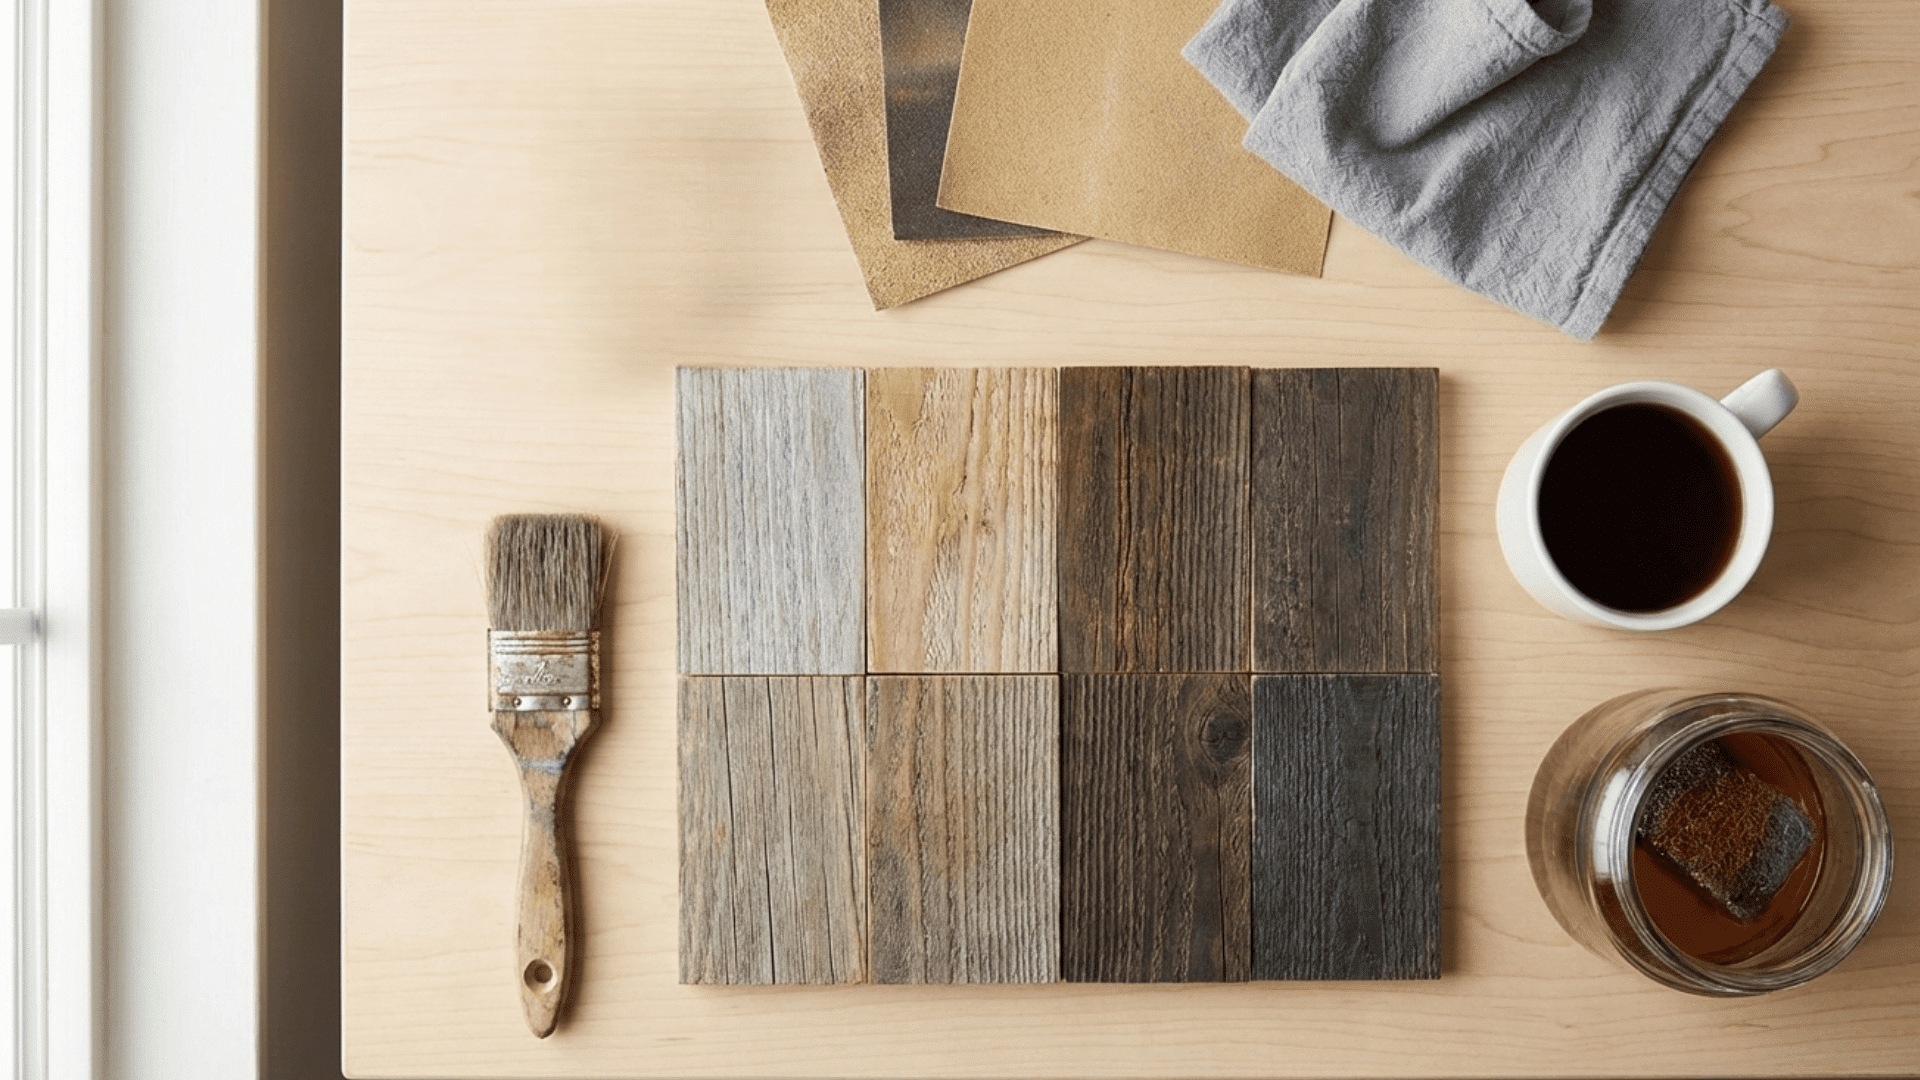
9. Ombre Wall Painting
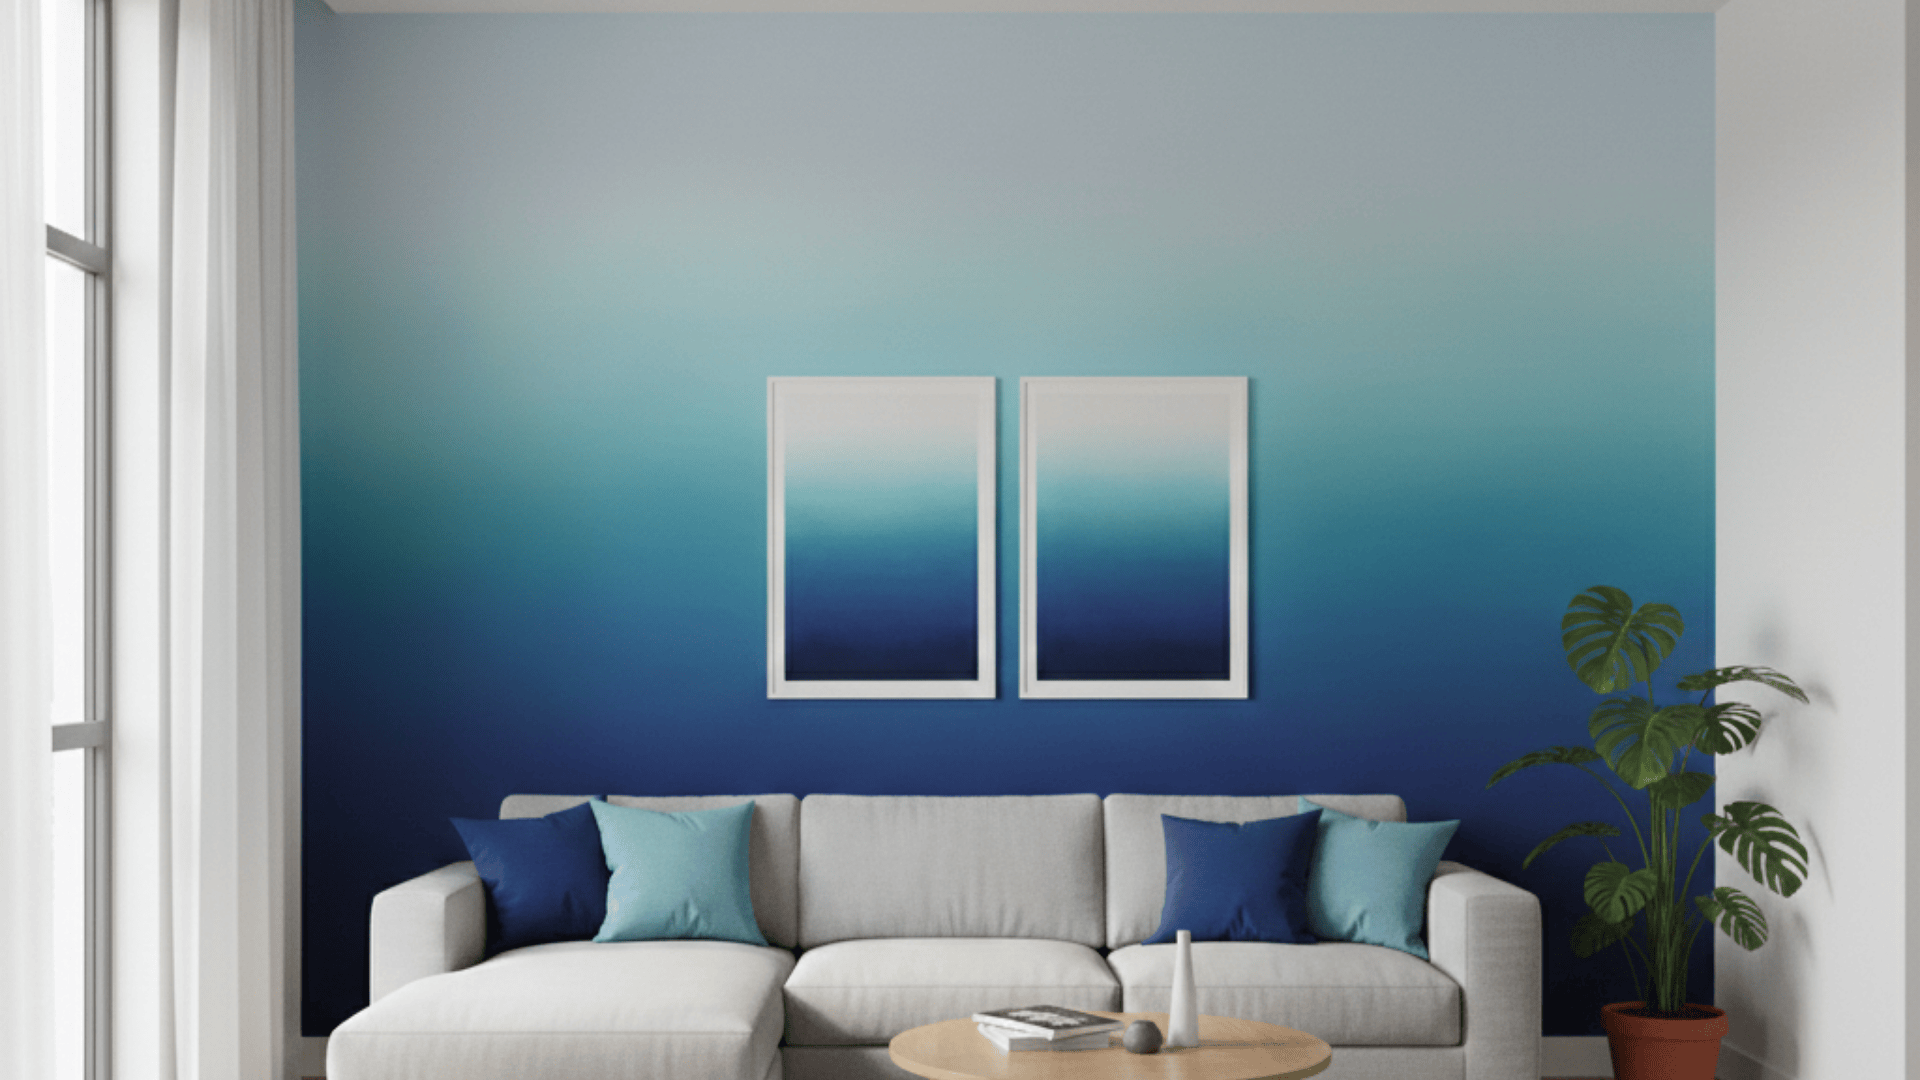
Creates a gradual color fade from dark to light, typically top to bottom. Blends multiple shades of the same color family for a soft transition effect. Popular in bedrooms, nurseries, and feature walls.
- Tools and materials needed: 3-4 paint shades in the same color family, multiple rollers or brushes, blending brush, mixing trays.
- Steps to follow: Apply the darkest shade at the top, lighter shades below, and blend where the colors meet while the paint is wet, using a dry brush.
10. Sponging Technique
Applies paint using a natural sea sponge for a mottled, textured appearance. Creates organic, random patterns that hide wall imperfections. The forgiving method is ideal for beginners trying decorative finishes.
- Tools and materials needed: Natural sea sponge, base coat paint, glaze or contrasting paint color, paint tray, protective gloves.
- Steps to follow: Apply a base coat, let it dry, dip the sponge in the glaze mixture, and dab randomly across the wall, rotating the sponge between presses.
11. Rag Rolling Technique
Uses twisted cloth to create irregular texture patterns on walls. Roll the fabric through the wet glaze to remove some material, revealing the base color underneath. Produces organic, natural-looking finish.
- Tools and materials needed: Clean, lint-free rags, base coat paint, glaze mixed with paint, a roller for applying the glaze, and protective gloves.
- Steps to follow: Apply base coat, let dry, roll glaze over the section, and immediately roll a twisted rag through the glaze in varying directions.
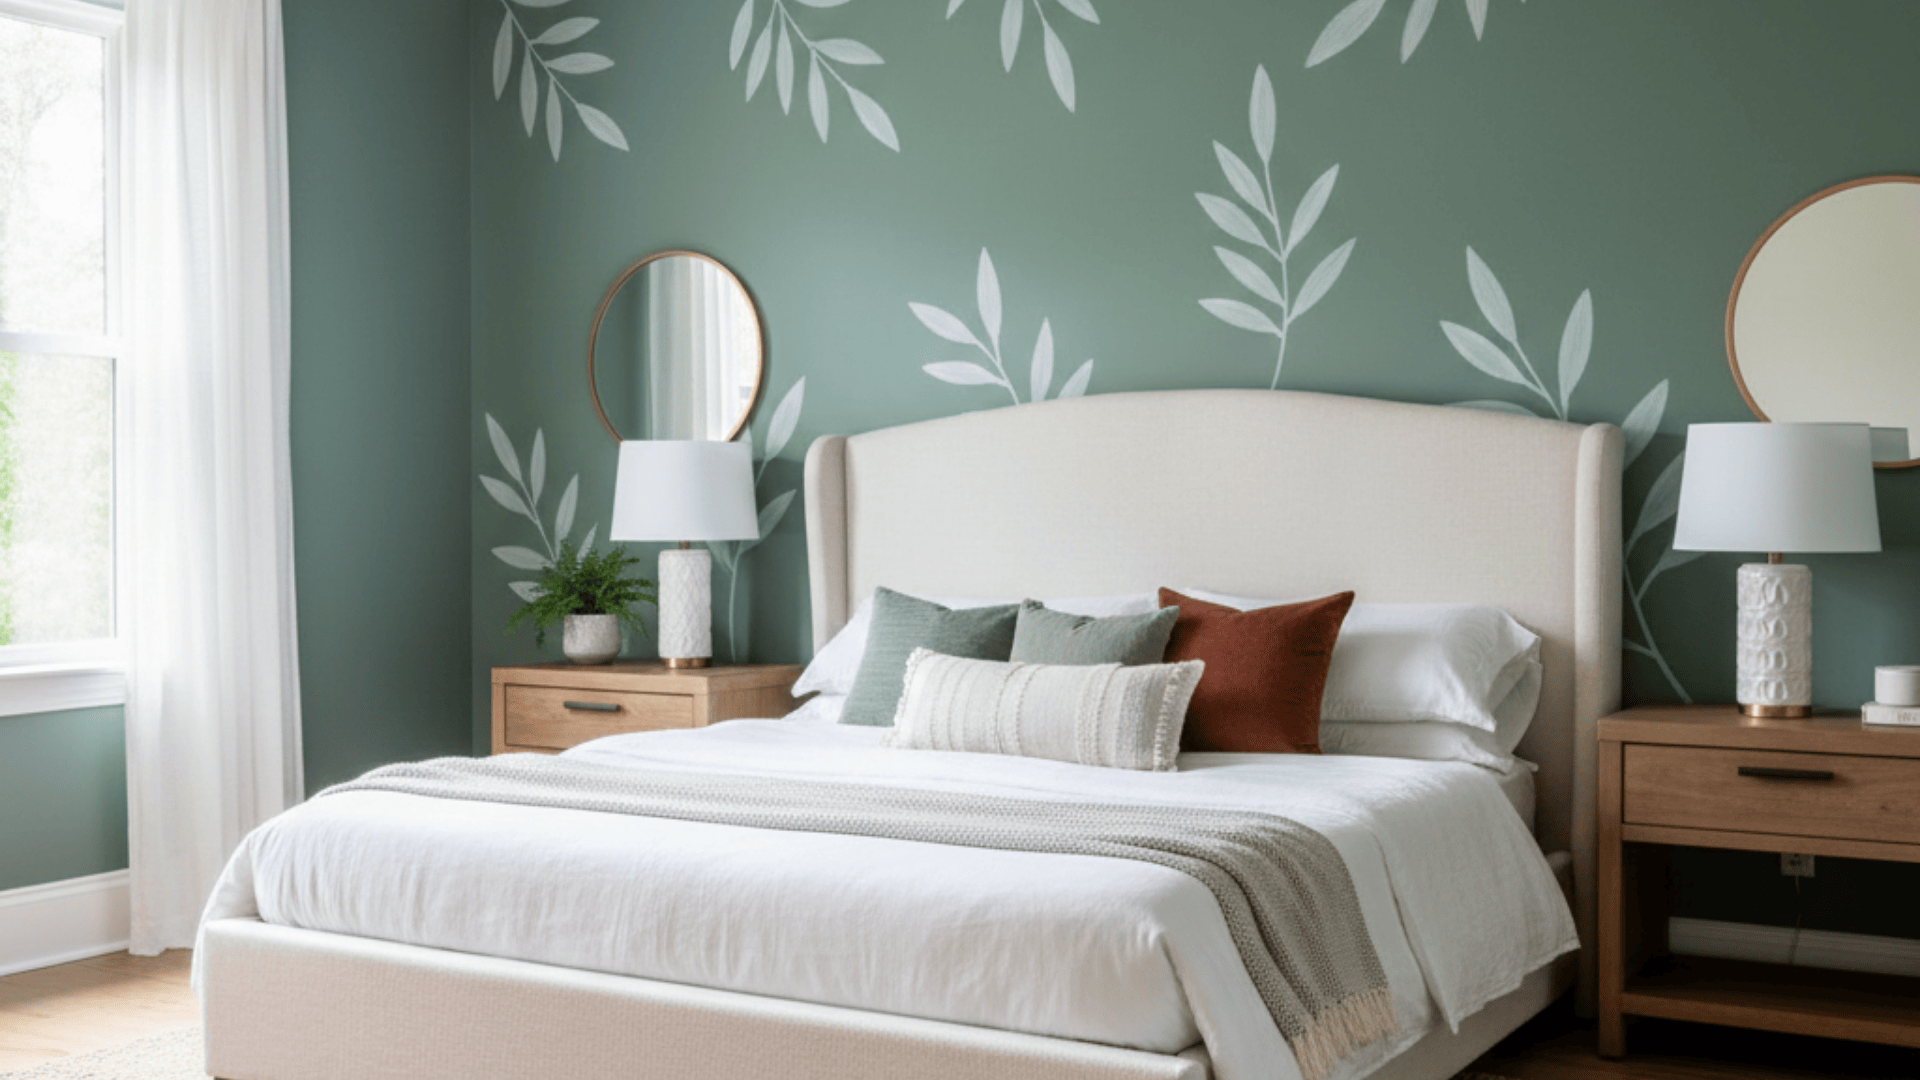
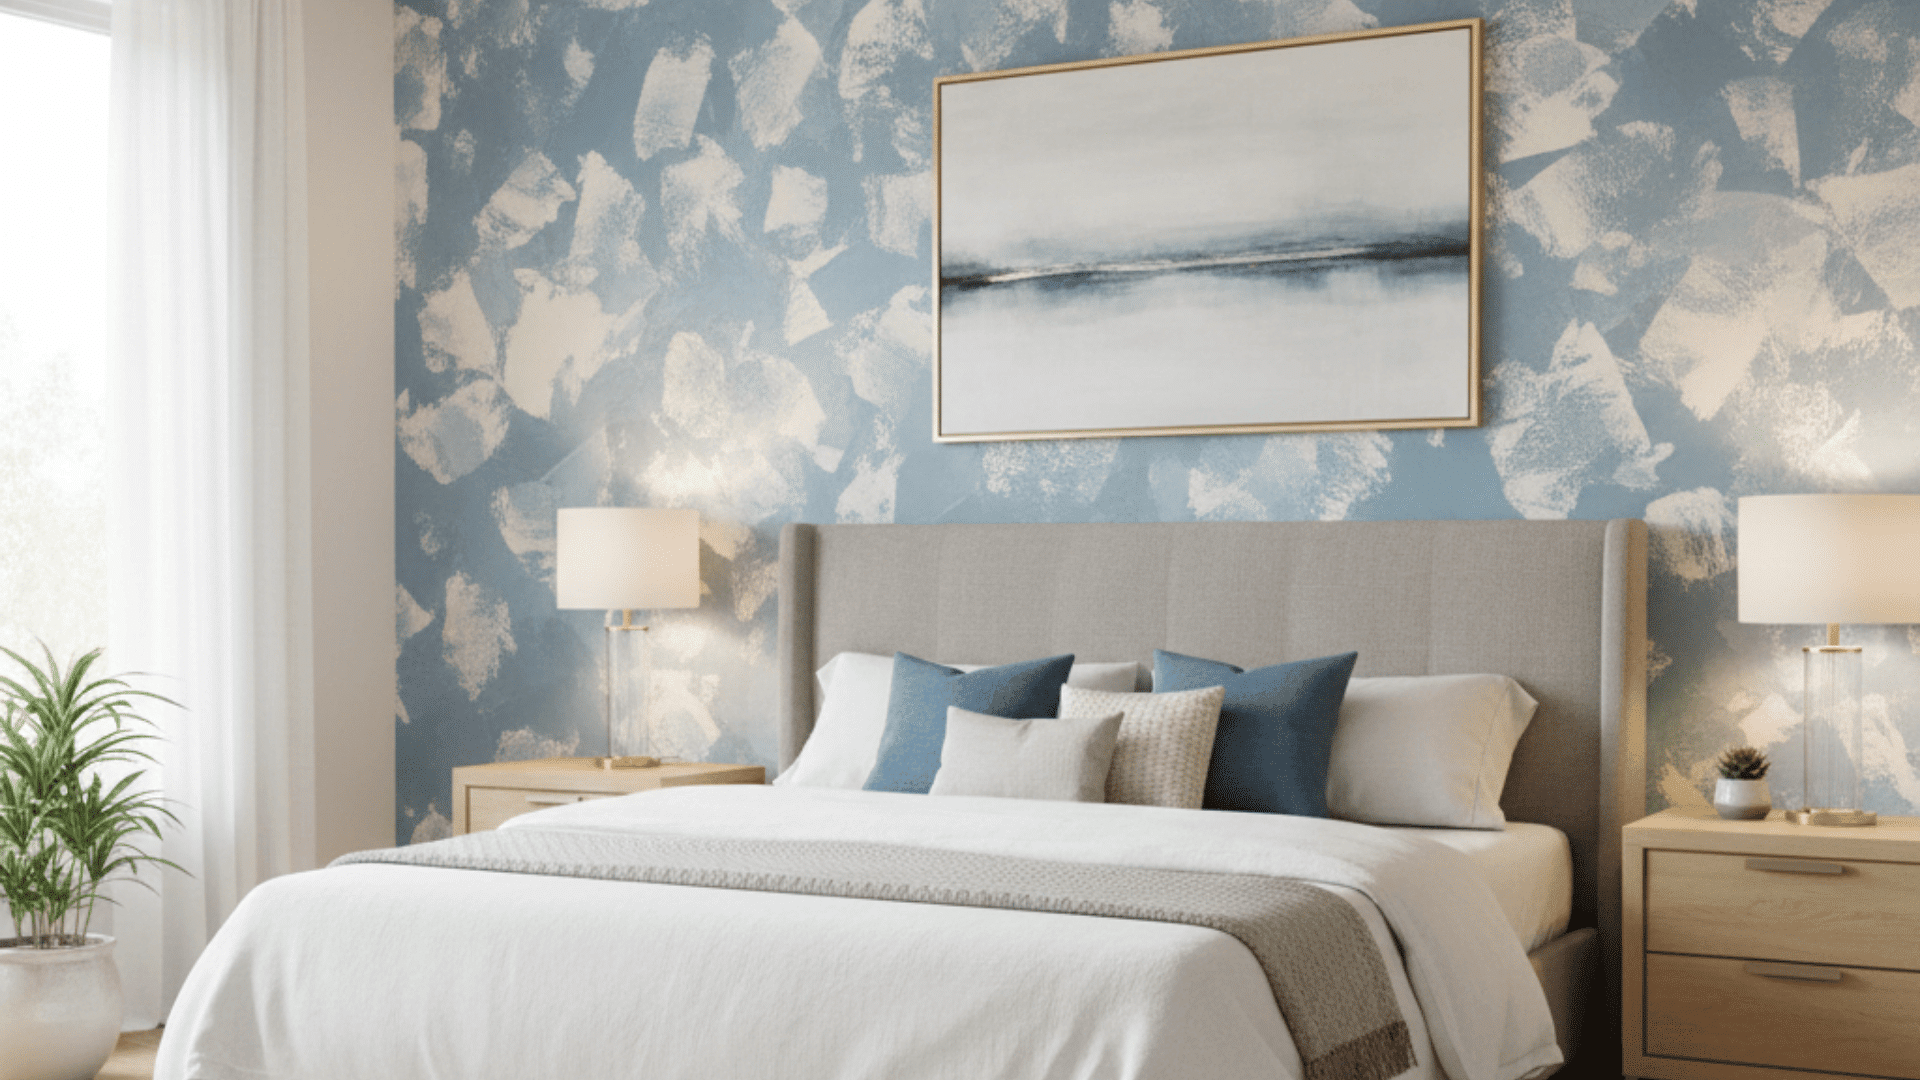
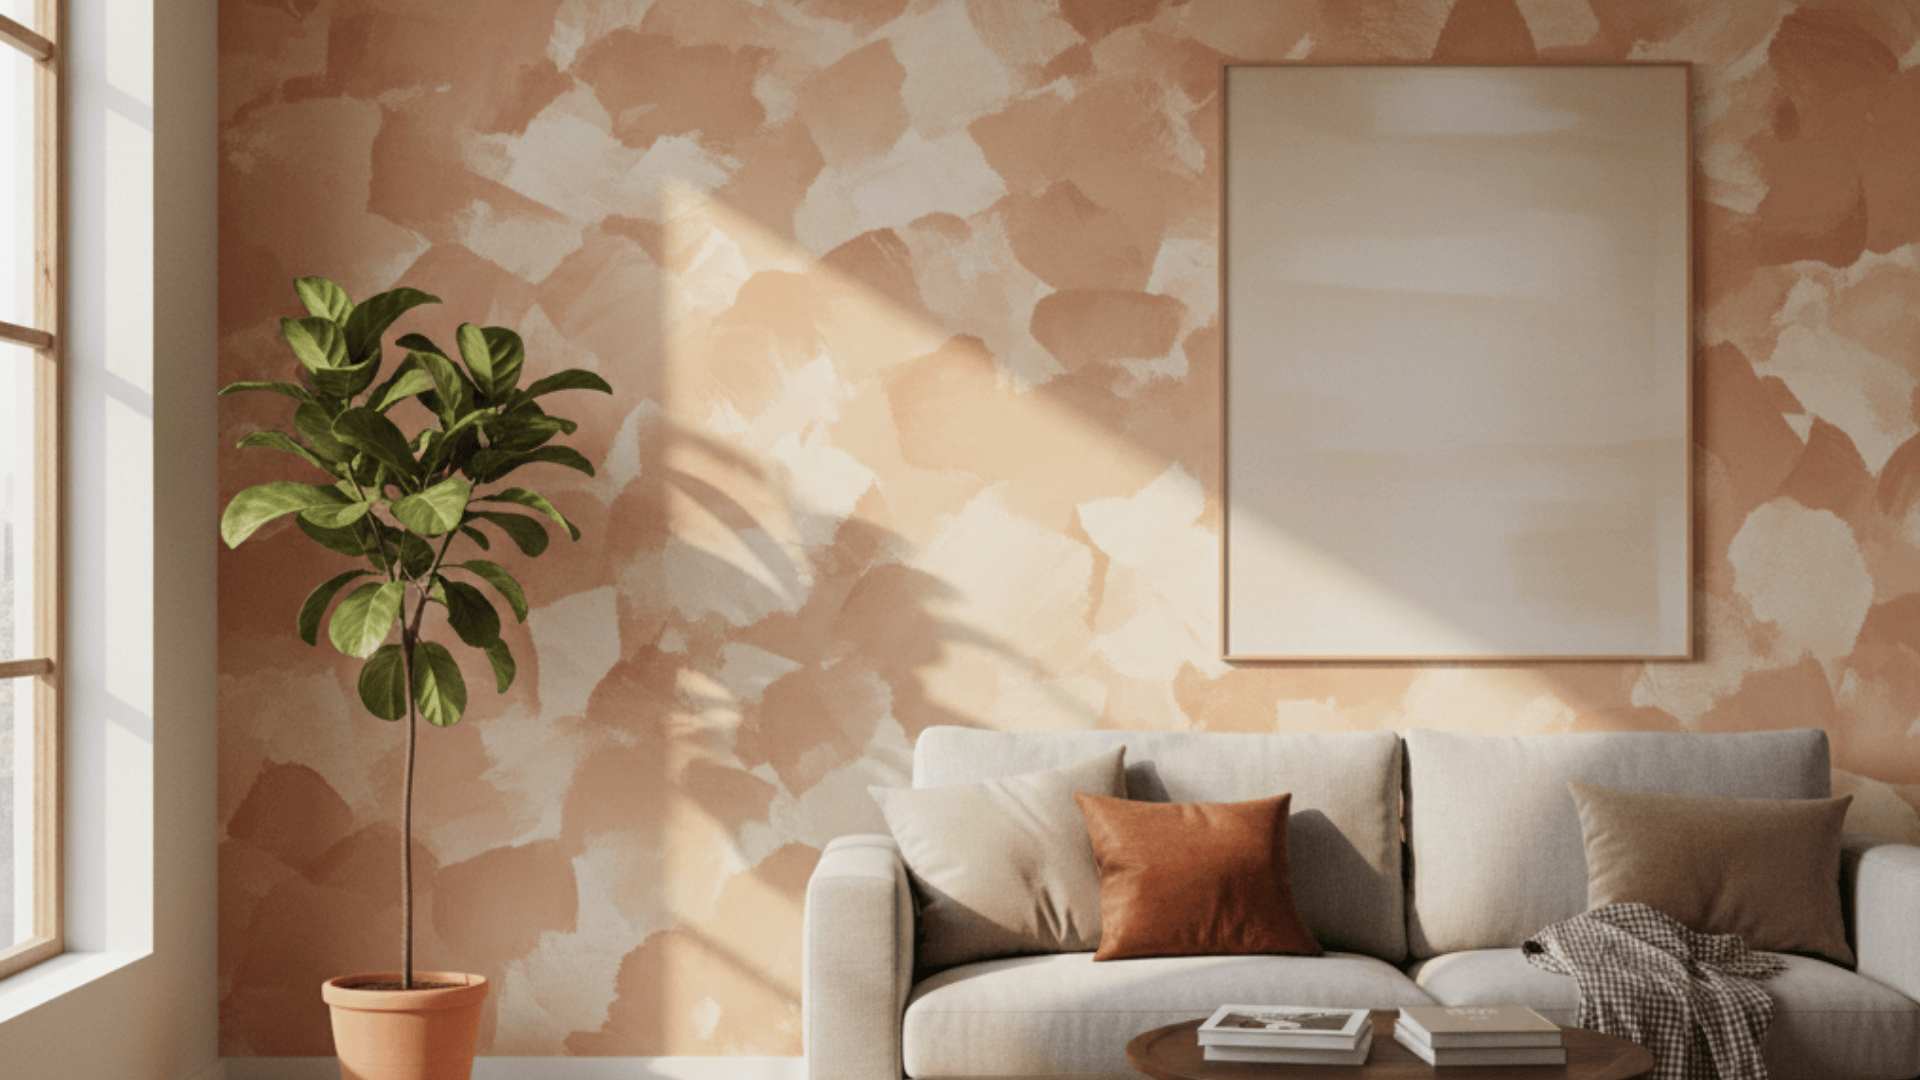
12. Stenciling
Creates repeating patterns using pre-cut templates. Applies paint through stencil openings for precise designs without freehand drawing skills. Works for borders, all-over patterns, and accent motifs.
- Tools and materials needed: Stencil design, stencil brush or small foam roller, painter’s tape or spray adhesive, paint in chosen colors.
- Steps to follow: Secure the stencil to the wall, apply minimal paint using a stippling motion, remove the stencil while wet, reposition, and repeat the pattern.
13. Color Washing (Faux Finish)
Applies translucent glaze layers in crisscross strokes for a soft, watercolor effect. Creates subtle color variations similar to aged plaster or old-world walls. Beautiful in Mediterranean, traditional spaces.
- Tools and materials needed: Base coat paint, glaze mixed with paint (4:1 ratio), large brush or sponge, clean rags for softening.
- Steps to follow: Apply a base coat, let it dry, brush the glaze mixture in random crisscross strokes, and soften harsh lines with a dry brush.
14. Metallic Wall Painting
Adds shimmer and a reflective quality using metallic paint or glaze. Creates a glamorous, contemporary look that changes appearance with light. Popular for accent walls, dining rooms, and modern spaces.
- Tools and materials needed: Metallic paint or additive, base coat if needed, quality roller or brush, mixing tools for even distribution.
- Steps to follow: Apply a base coat if using an additive, mix metallic paint thoroughly, and apply in a consistent direction, maintaining a wet edge.
15. Strié (Brush Stroke) Technique
Drag the dry brush vertically through the wet glaze to create a fine linear texture. Creates a subtle striped effect resembling linen fabric or fine wallpaper. Requires steady hand, consistent pressure throughout.
- Tools and materials needed: Base coat paint, glaze mixture, wide dry brush or special strié brush, roller for applying glaze.
- Steps to follow: Apply base coat, let dry, roll glaze on section, drag dry brush vertically, ceiling to floor in continuous strokes.
16. Geometric Pattern Painting
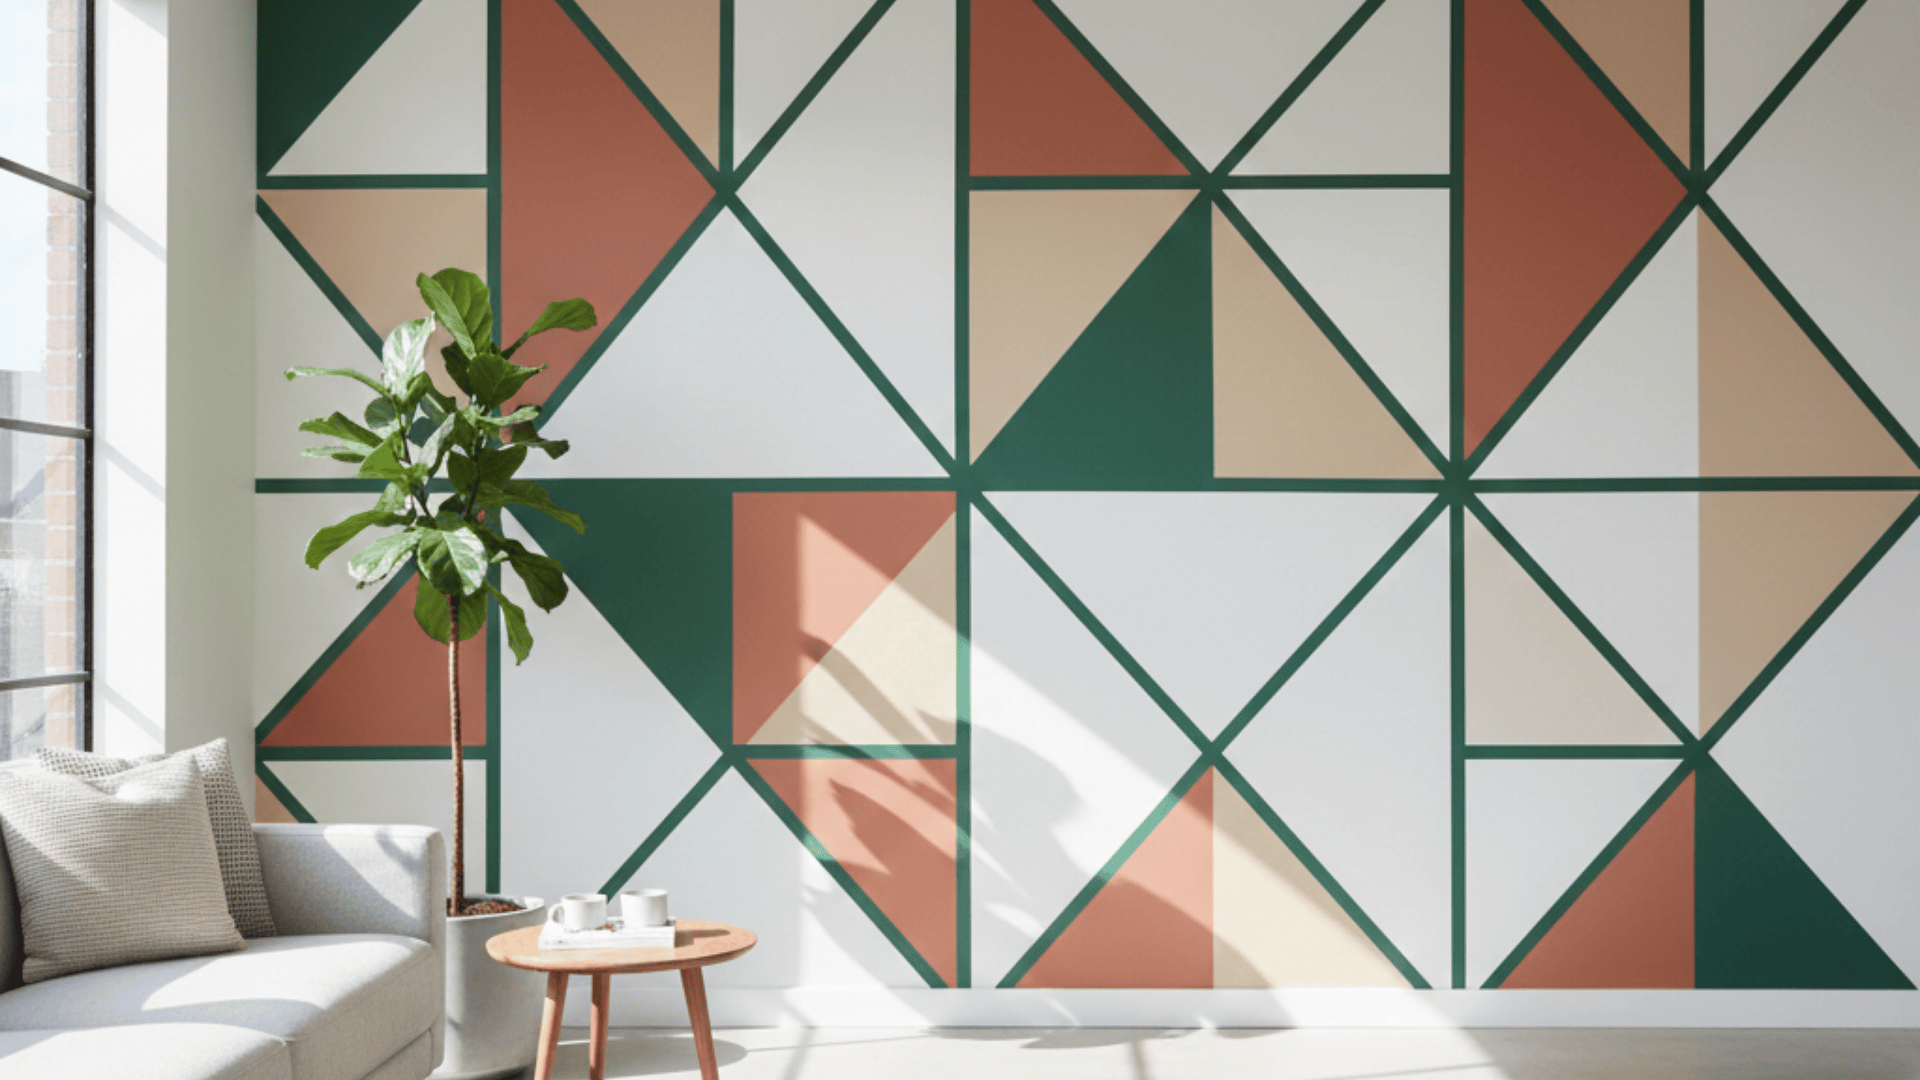
Uses painter’s tape to create crisp lines and shapes such as triangles, hexagons, and chevrons. Produces bold, modern graphic designs with multiple colors. Requires careful measuring and precise taping for clean results.
- Tools and materials needed: Multiple paint colors, high-quality painter’s tape, level, measuring tape, pencil, and standard painting supplies.
- Steps to follow: Measure, mark the pattern with a pencil, tape the edges precisely, paint each section separately, and remove the tape while slightly wet.
17. Textured Wall Painting
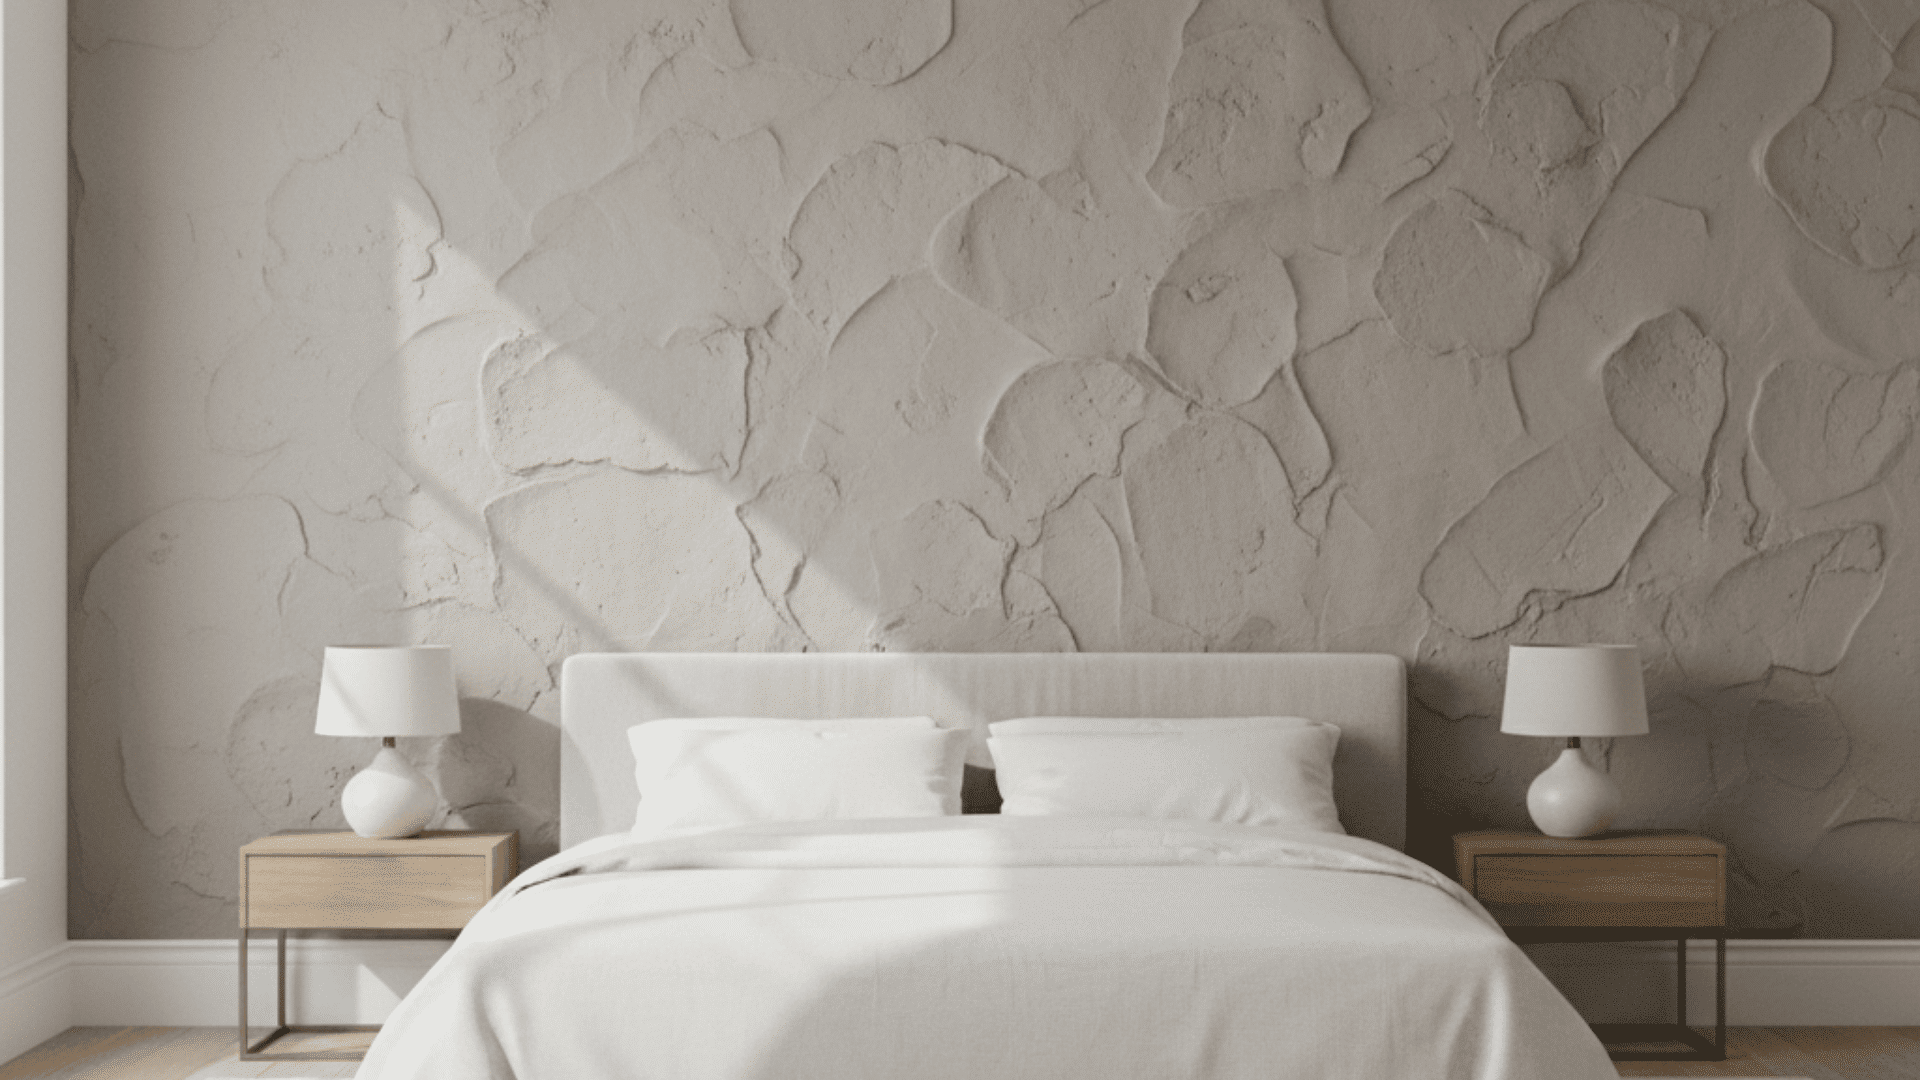
Adds physical dimension using thick paint, joint compound, or textured additives. Creates raised patterns and rough surfaces for visual and tactile interest. Hides imperfections while adding architectural character.
- Tools and materials needed: Textured paint or joint compound, texture combs or trowels, base coat, and sealing topcoat if needed.
- Steps to follow: Apply a base coat, apply the texture material thickly, manipulate it with tools to create a pattern, and seal when dry, if required.
Decorative wall painting techniques can add personality, texture, and visual interest to your space. These creative methods are ideal for changing plain walls into statement features that reflect your style.
Tools and Materials Needed
Before you start painting, having the right tools and materials is essential for achieving a smooth, professional-looking finish. Proper equipment not only makes the job easier but also helps avoid common issues like streaks, drips, and uneven coverage.
| Category | Checklist Items |
|---|---|
| Essential Tools | Drop cloths or plastic sheeting, painter’s tape, paint roller with extension pole, roller covers, angled brush for cutting in, paint tray and liners, stir sticks |
| Preparation Materials | Spackling paste or joint compound, sandpaper, tack cloth or damp rag, painter’s caulk, TSP cleaner or mild detergent |
| Paint Products | Primer, wall paint in your chosen finish, and additional glaze for decorative techniques |
| Safety And Cleanup | Ladder or step stool, rubber gloves, rags, bucket for water, screwdriver for removing switch plates |
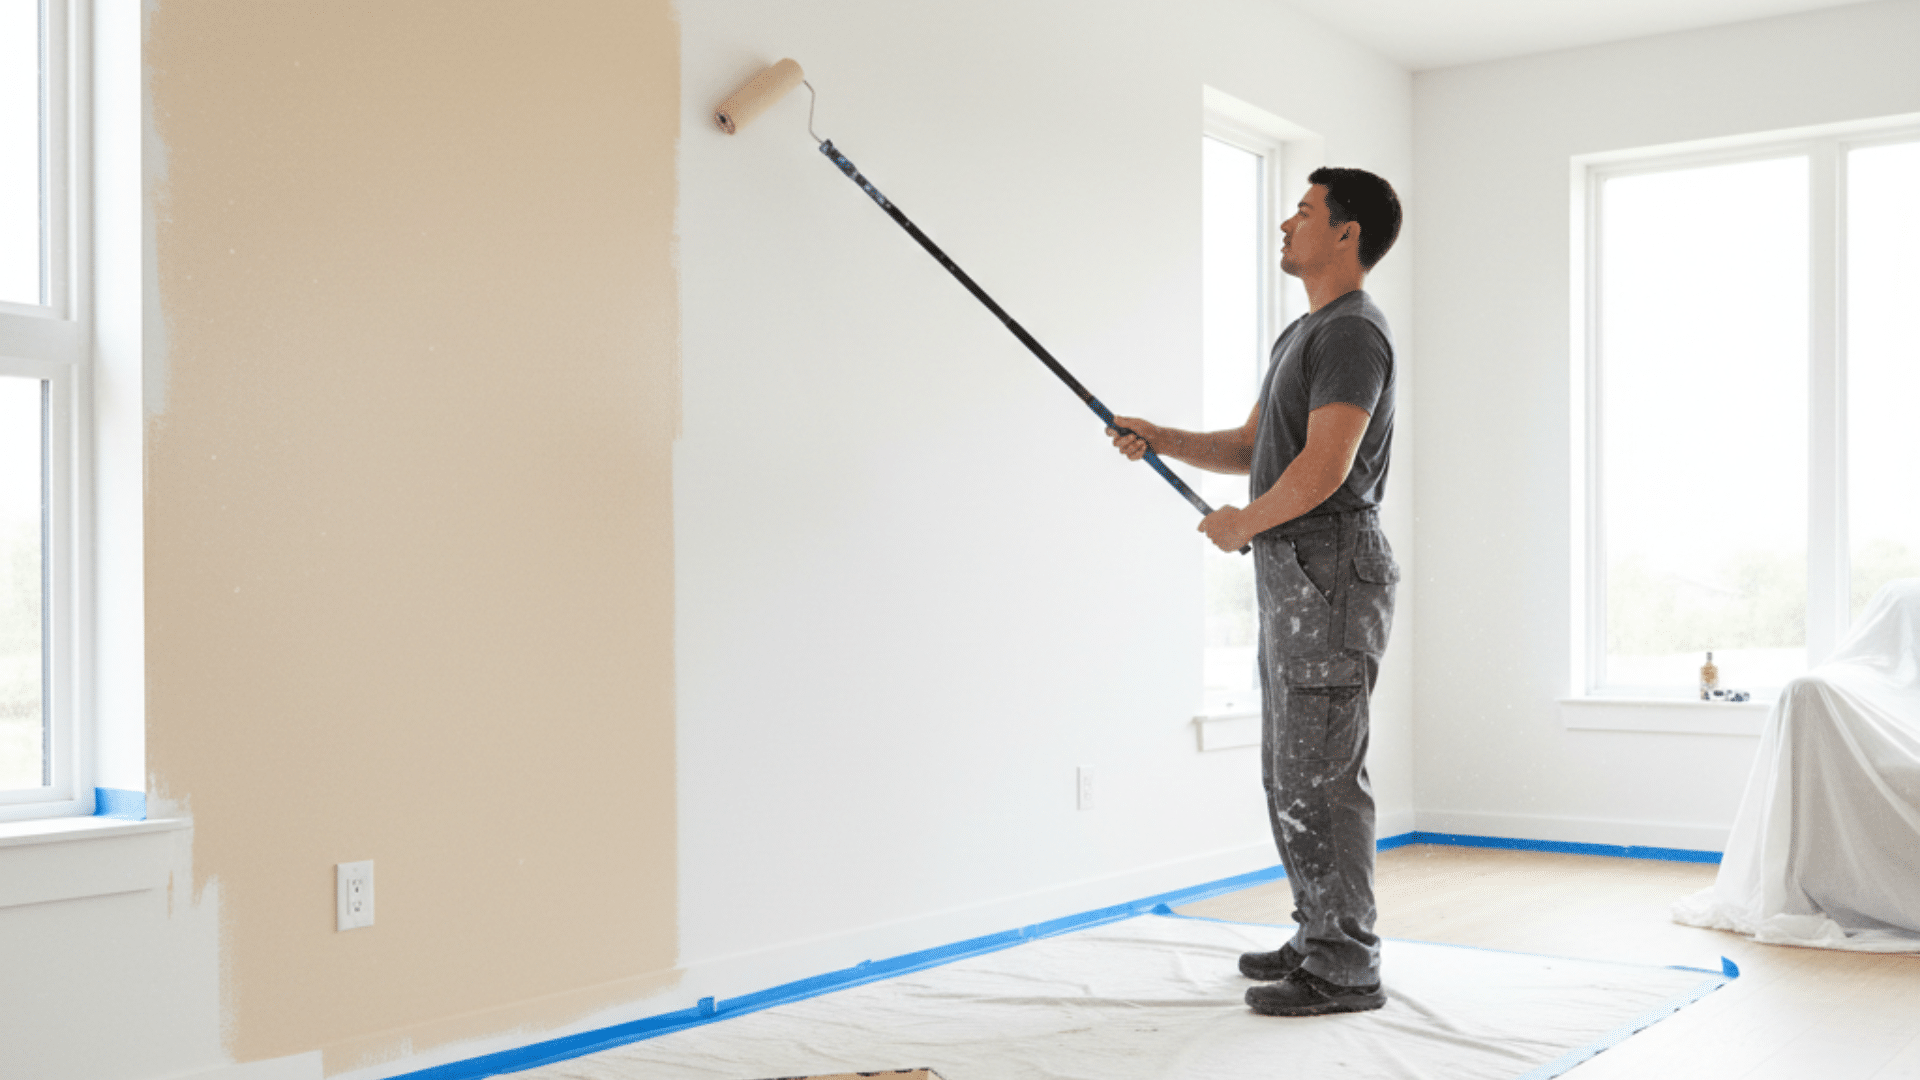
How to Paint Walls Step by Step
Follow these simple steps to prep, prime, cut in, roll smoothly, and finish strong for clean, long-lasting painted walls.
Step 1: Prepare the Room and Clean Walls
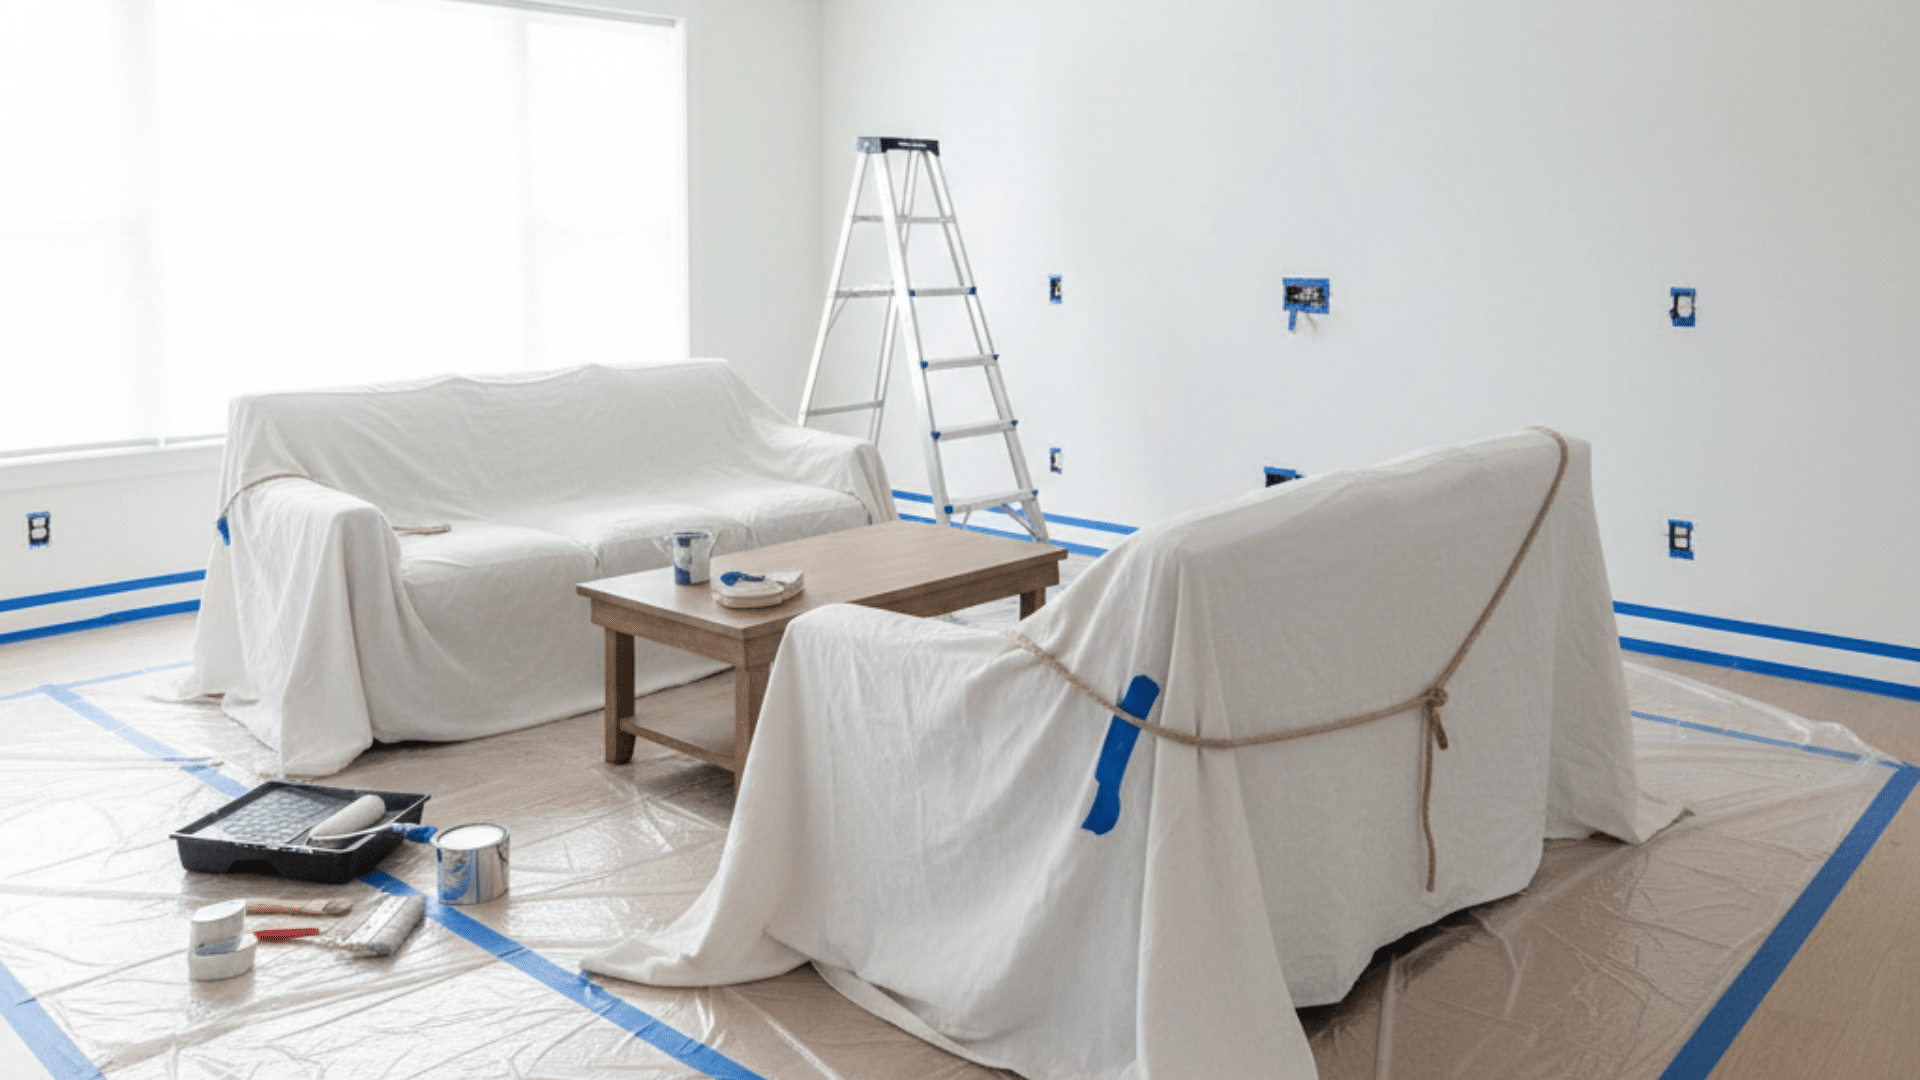
Move furniture to the center of the room or out of the room entirely. Cover floors with drop cloths, remove outlet covers, switch plates, and hardware.
Clean walls thoroughly with a mild detergent solution to remove dust, grease, and oils that prevent paint adhesion. Let walls dry completely. Fill holes and cracks with spackling paste, sand smooth once dry, and wipe away dust with a damp cloth.
Step 2: Apply Primer When Needed
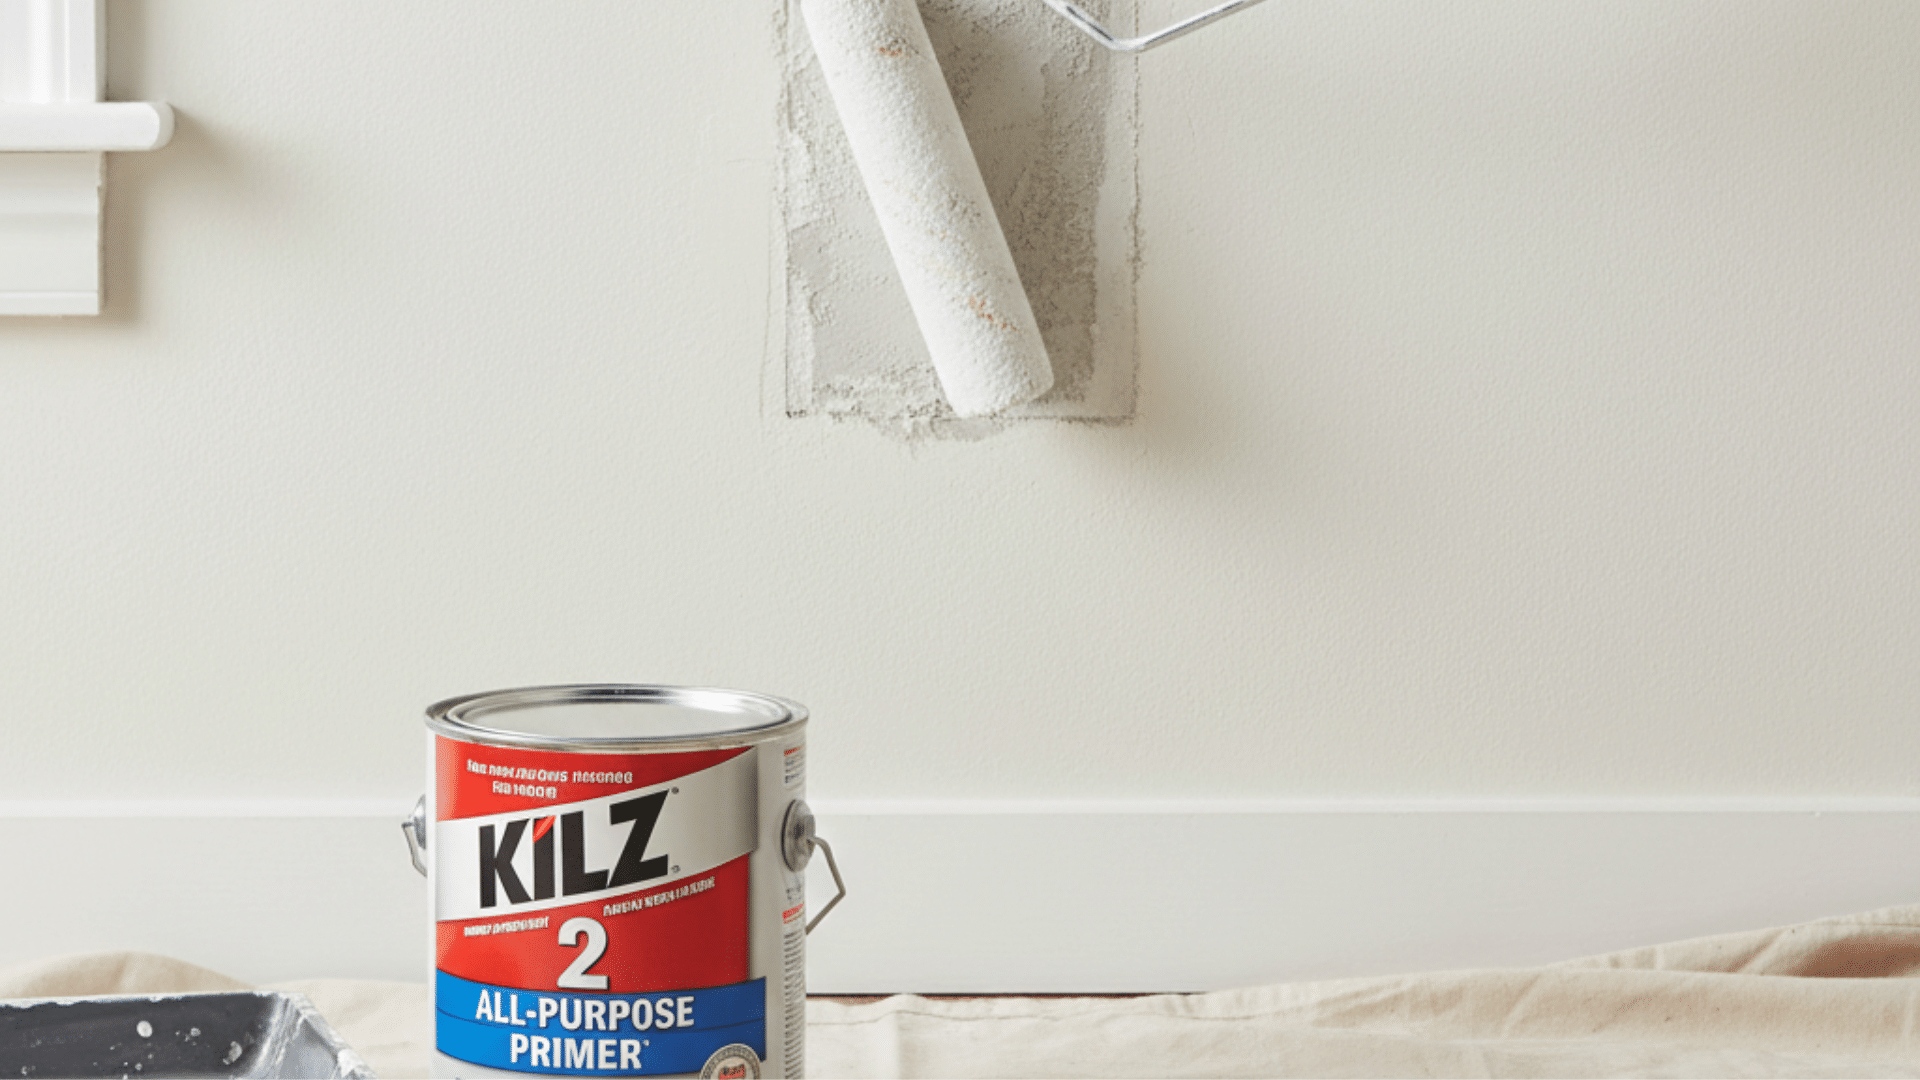
Use primer when covering dark colors with lighter shades, painting over stains, working with new drywall, or dealing with patchy surfaces. Primer seals the surface, improves paint adhesion, creates an even base coat, preventing color variations.
Apply primer evenly with a roller; cut in the edges with a brush. Let dry 1-4 hours before painting. Skip primer only if painting similar colors over existing paint in good condition.
Step 3: Cut in Edges and Corners
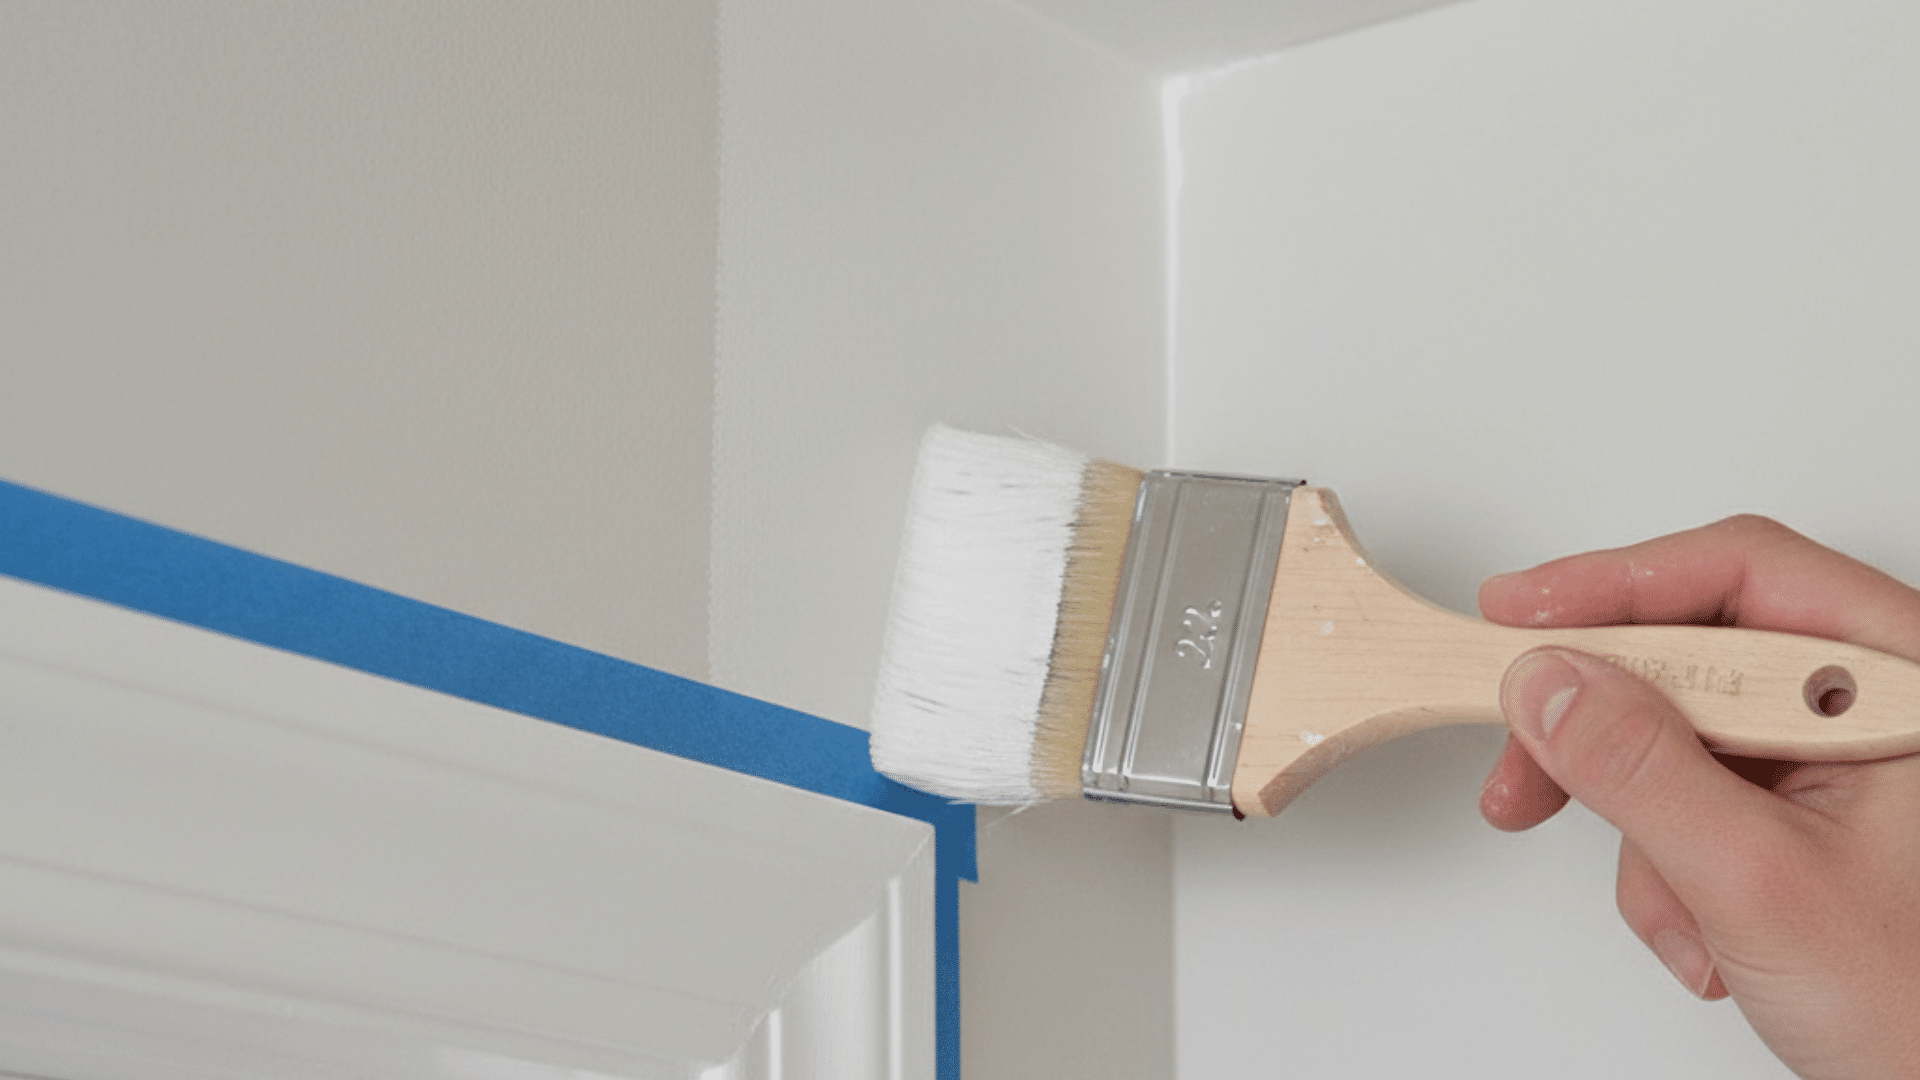
Load an angled brush with paint, carefully paint a 2-3 inch band along the ceiling line, corners, trim edges, and around outlets where rollers can’t reach. Use steady, controlled strokes for clean lines.
Work one wall at a time, cutting in then immediately rolling while cut-in edges stay wet. This prevents visible lines where brushwork meets roller application, ensuring a smooth blended finish throughout.
Step 4: Roll Paint on Walls
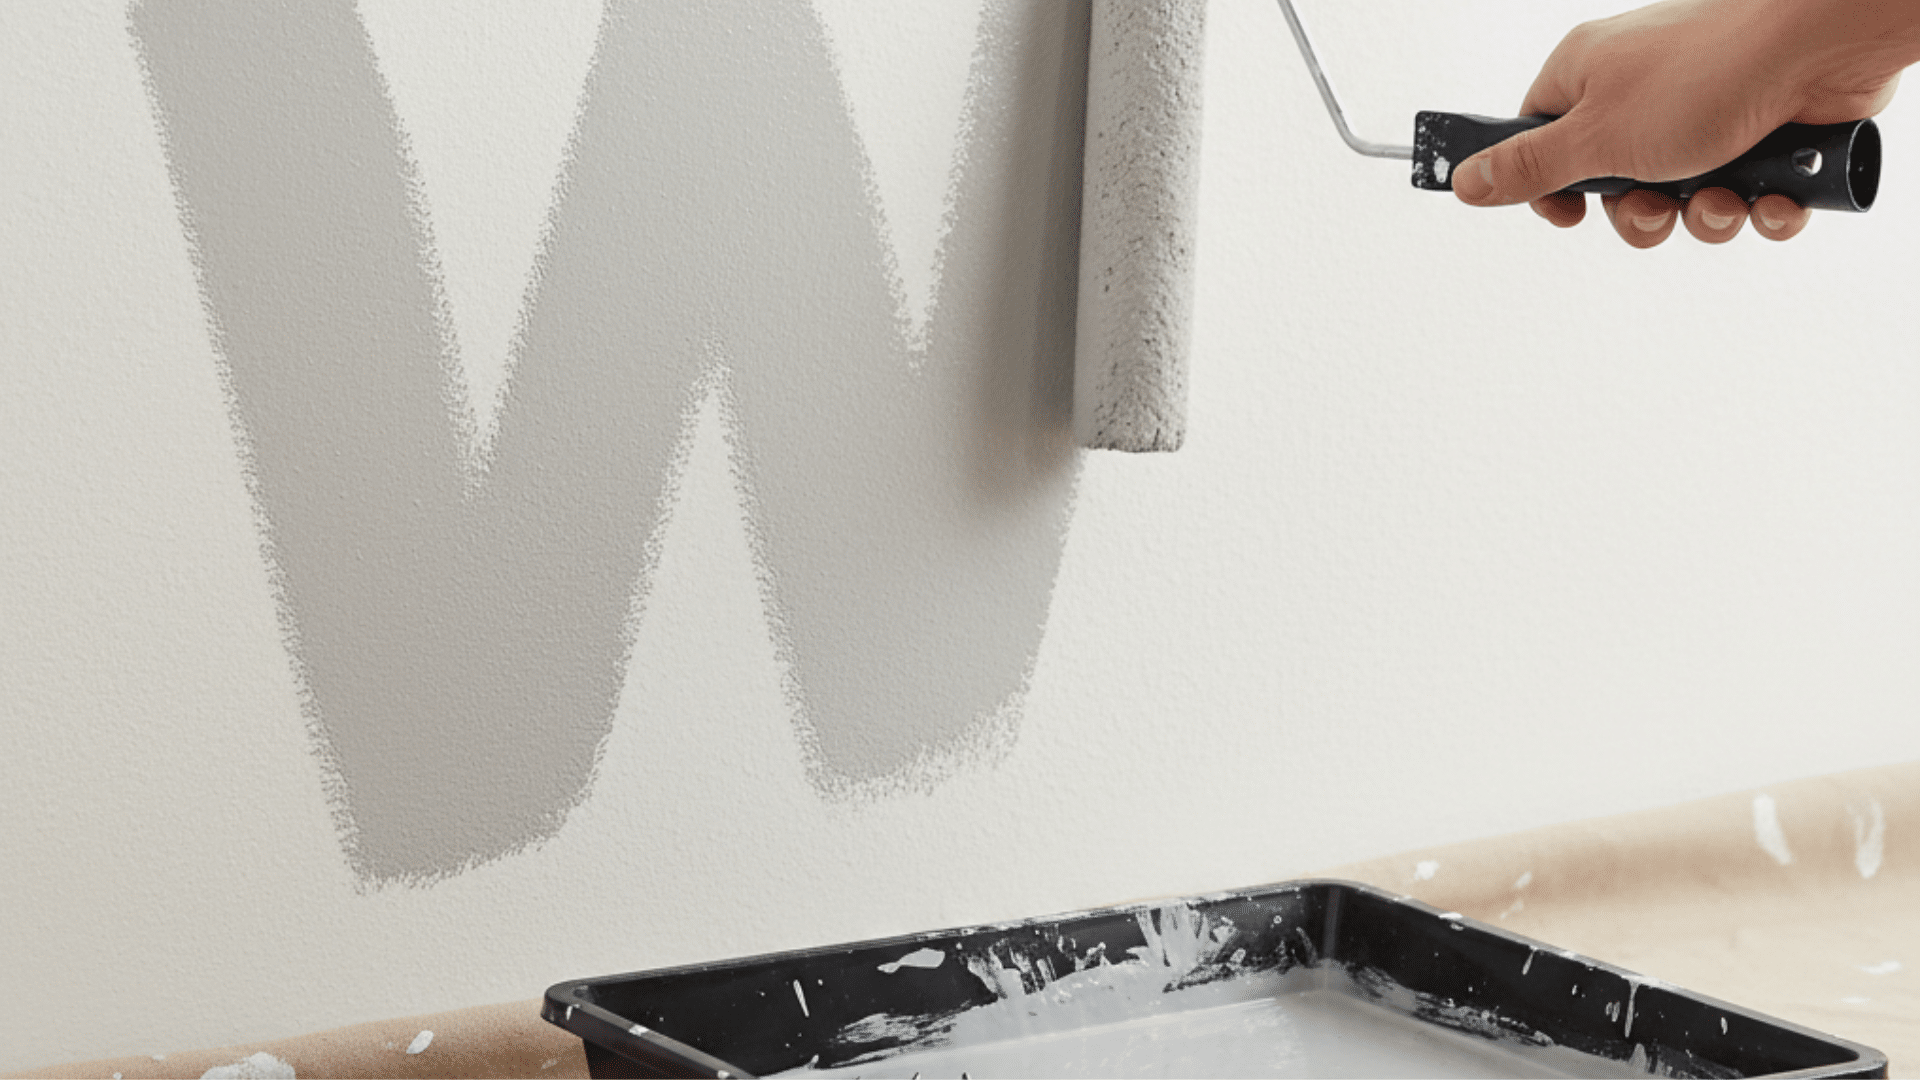
Load the roller evenly without dripping, and apply paint in a W or M pattern across 3×3-foot sections to distribute it evenly. Fill gaps with vertical strokes using light, consistent pressure. Maintain a wet edge by rolling into just-painted areas while the paint is still workable.
Don’t overwork the drying paint or press too hard during the final smoothing strokes. Work systematically across the wall until complete, keeping a consistent rhythm and technique throughout the application.
Step 5: Apply Second Coat and Final Touches

Wait 2-4 hours for the first coat to dry completely. Most colors require two coats for full coverage and a rich color. Lightly sand with 220-grit sandpaper if the first coat feels rough, wipe clean. Apply a second coat using the same cut-in-then-roll technique.
Remove painter’s tape 1-2 hours after the final coat, while it is slightly wet, pulling at a 45-degree angle. Touch up any missed spots, and clean tools immediately with warm water.
Common Mistakes When Painting Walls
Skipping prep leads to visible flaws and poor durability. Invest time in preparation; it determines your results more than any other factor.
- Streaks or roller marks: Caused by pressing too hard, using low-quality rollers, or paint drying too fast. Keep a wet edge, use lighter pressure.
- Flashing (patchy sheen): Uneven primer application or spot priming without feathering edges. Prime entire walls or feather spot primer well beyond repair areas.
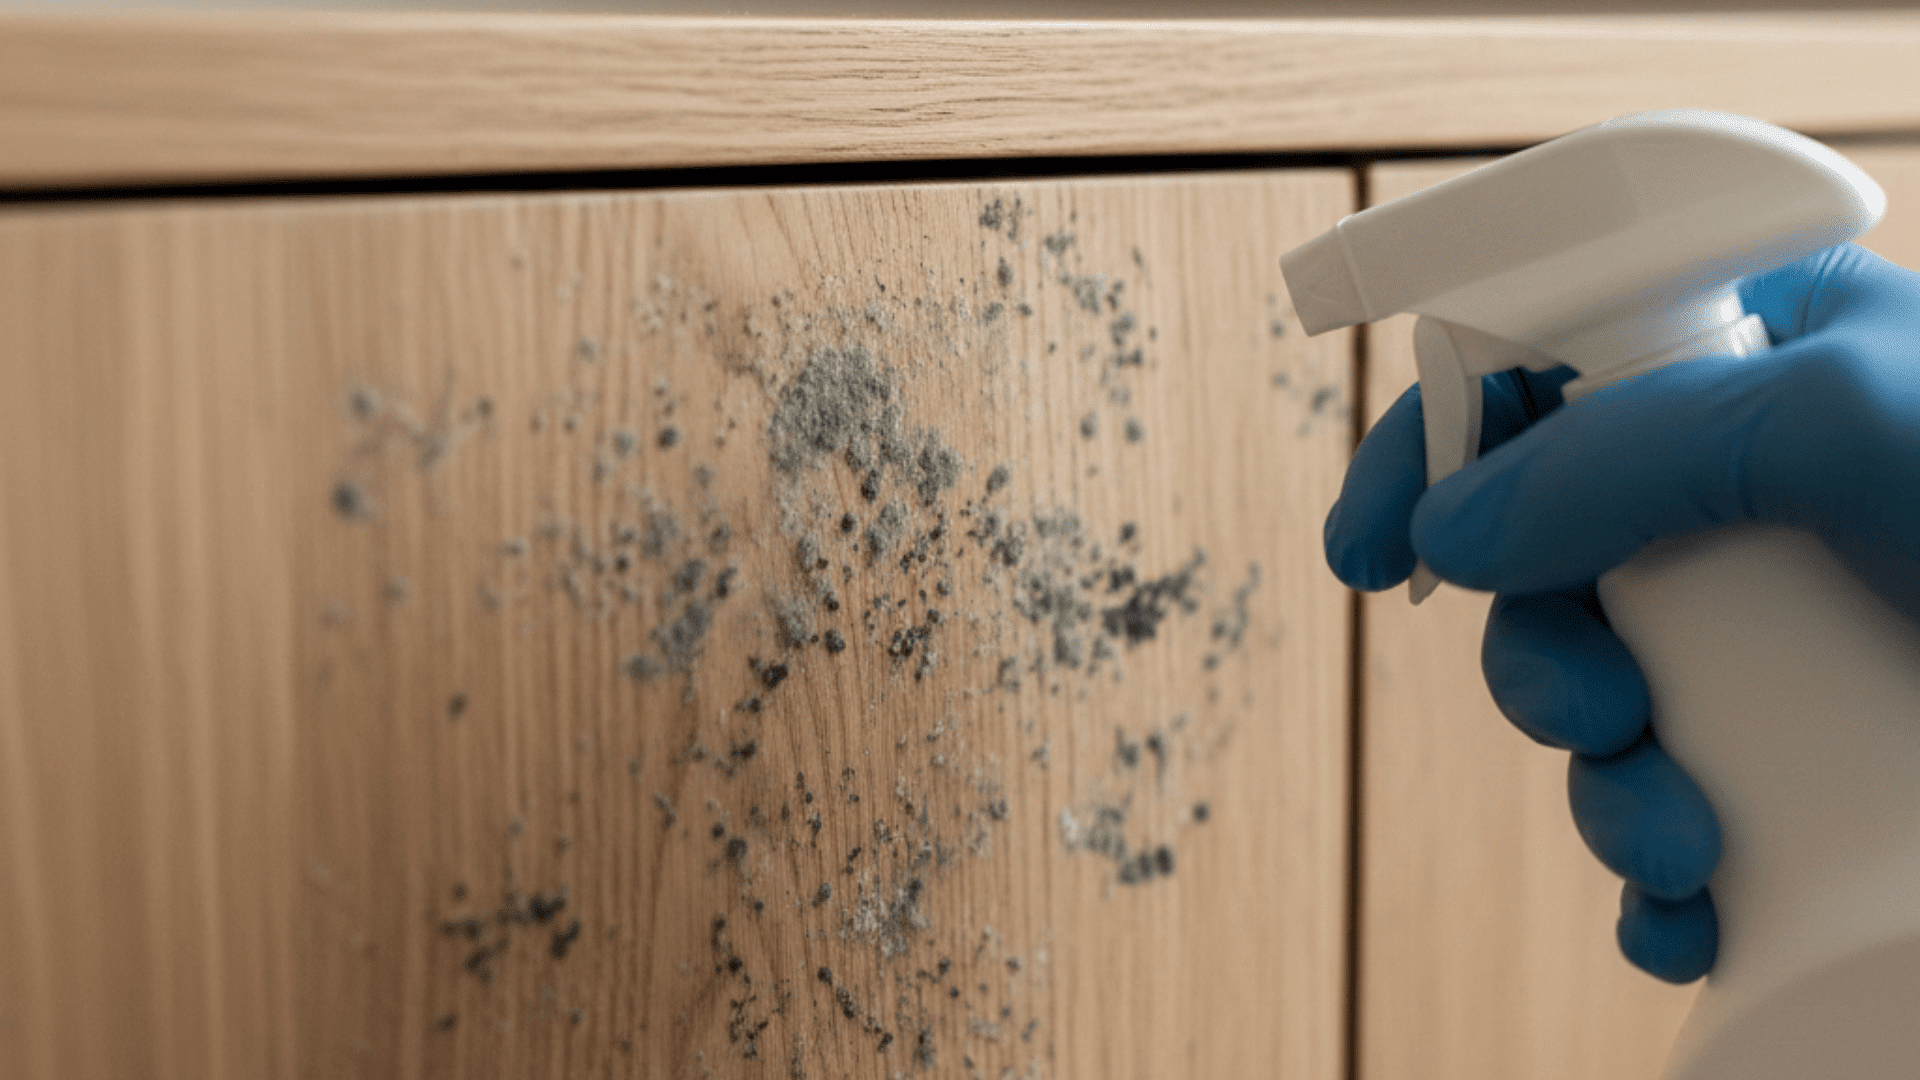
- Peeling: Results from painting over dirty surfaces or skipping primer where needed. Always clean thoroughly, and degloss glossy surfaces by sanding lightly.
- Bleed-through stains: Water stains, smoke damage, and tannins can penetrate regular primer. Use stain-blocking primer for your specific stain type.
- Lap marks: Visible lines where sections dried before painting adjacent areas. Maintain a wet edge by working quickly in appropriately-sized sections.
Conclusion
You’ve just learned something most DIYers figure out the hard way: painting techniques for walls make all the difference between amateur and professional results.
But now you’ve got the knowledge to tackle any project with confidence. You know which methods work for different surfaces, how to avoid common mistakes, and most importantly, you understand that good technique beats expensive paint every single time.
These skills will save you money, frustration, and countless hours of touch-ups down the road. So grab that brush or roller and give it a shot.
Your walls are waiting, and honestly, the only way to truly master these techniques is by doing. Start small if you need to, maybe a closet or accent wall first.
Ready to transform your space? Pick one technique from this guide and try it this weekend. You’ve got this!
Frequently Asked Questions
Is It Better to Brush or Roll Paint?
Rolling covers large wall areas faster with even texture. Brushing works best for edges, corners, and trim where rollers can’t reach. Use both methods together for the best results.
Can I Prime Over Old Paint?
Yes, you can prime over old paint if it’s in good condition. Clean the surface first, then lightly sand glossy finishes. Primer helps new paint adhere better, especially when changing colors drastically.
What Happens if You Paint without Primer?
Paint may peel, show streaks, or reveal old colors underneath. Stains can bleed through. Coverage becomes uneven, requiring more coats. Primer seals surfaces, helps paint stick better.