Ever built a deck, fence, or outdoor frame and paused to ask, “Can you paint pressure treated wood? I’ve been there, and it’s a common question for anyone working with outdoor lumber.
Pressure-treated boards are strong and long-lasting, but they don’t behave like regular wood when it comes to paint or stain.
People often ask me, “Can you paint pressure-treated lumber, how long should they wait before painting or staining, and what happens if you stain pressure-treated wood too soon.
As you will read on, I’ll share clear answers to all of that. I’ll cover when it’s safe to paint, how long to wait before staining, and what problems can happen if you rush the process, so you can get better results and fewer issues.
What Is Pressure-Treated Wood?
Pressure-treated wood is regular lumber that’s been filled with protective chemicals using high pressure so it can resist rot, insects, and decay.
I usually see it used for outdoor projects like decks, fences, pergolas, and garden frames because it holds up better in rain, sun, and soil than normal wood.
The treatment process pushes liquid preservatives deep into the boards, so the wood starts with a high moisture content. That’s important to know, because this extra moisture is the main reason you can’t paint or stain it right away and expect good results.
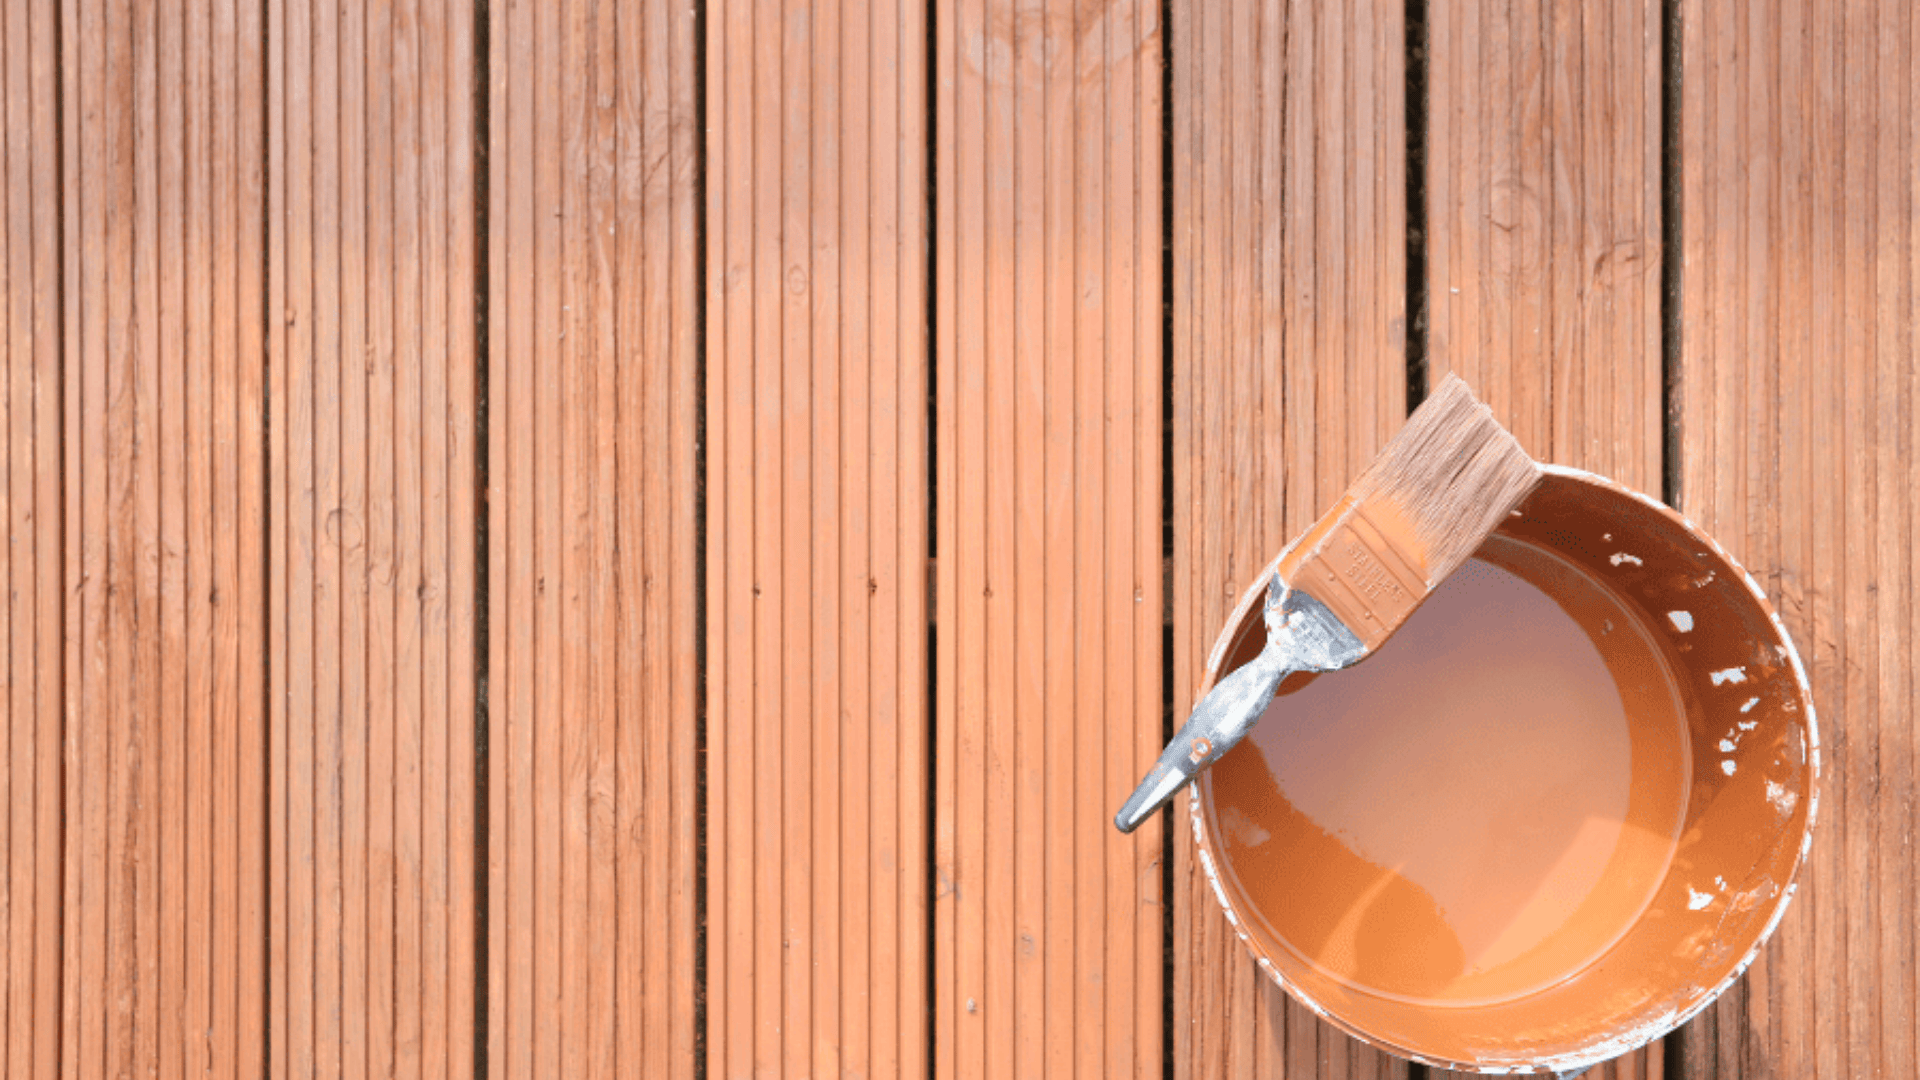
Can You Paint Pressure Treated Wood?
Yes, you can paint pressure treated lumber, but timing and prep really matter. From what I’ve seen, painting it right away usually doesn’t work well because the wood is still too wet from the treatment process.
The moisture and chemicals inside the boards can stop the paint from sticking the way it should. When that happens, the finish doesn’t last long, paint can peel, bubble, or wear off much faster than expected.
If you want a smooth, long-lasting result, letting the wood dry first and preparing it properly makes a big difference.
Key Considerations Before Painting Pressure-Treated Wood
Before I grab my brush, I like to check a few key things about pressure-treated wood. Getting the timing and prep right can save a lot of headaches later and help the paint stick, look good, and last longer.
- Freshly Treated Wood Needs Time: New pressure-treated boards are still full of moisture. Painting too soon can make the finish bubble, peel, or crack as the water pushes its way out.
- Moisture Content Matters: Paint only bonds properly to dry wood. Damp boards prevent proper adhesion, which can cause the finish to wear out faster.
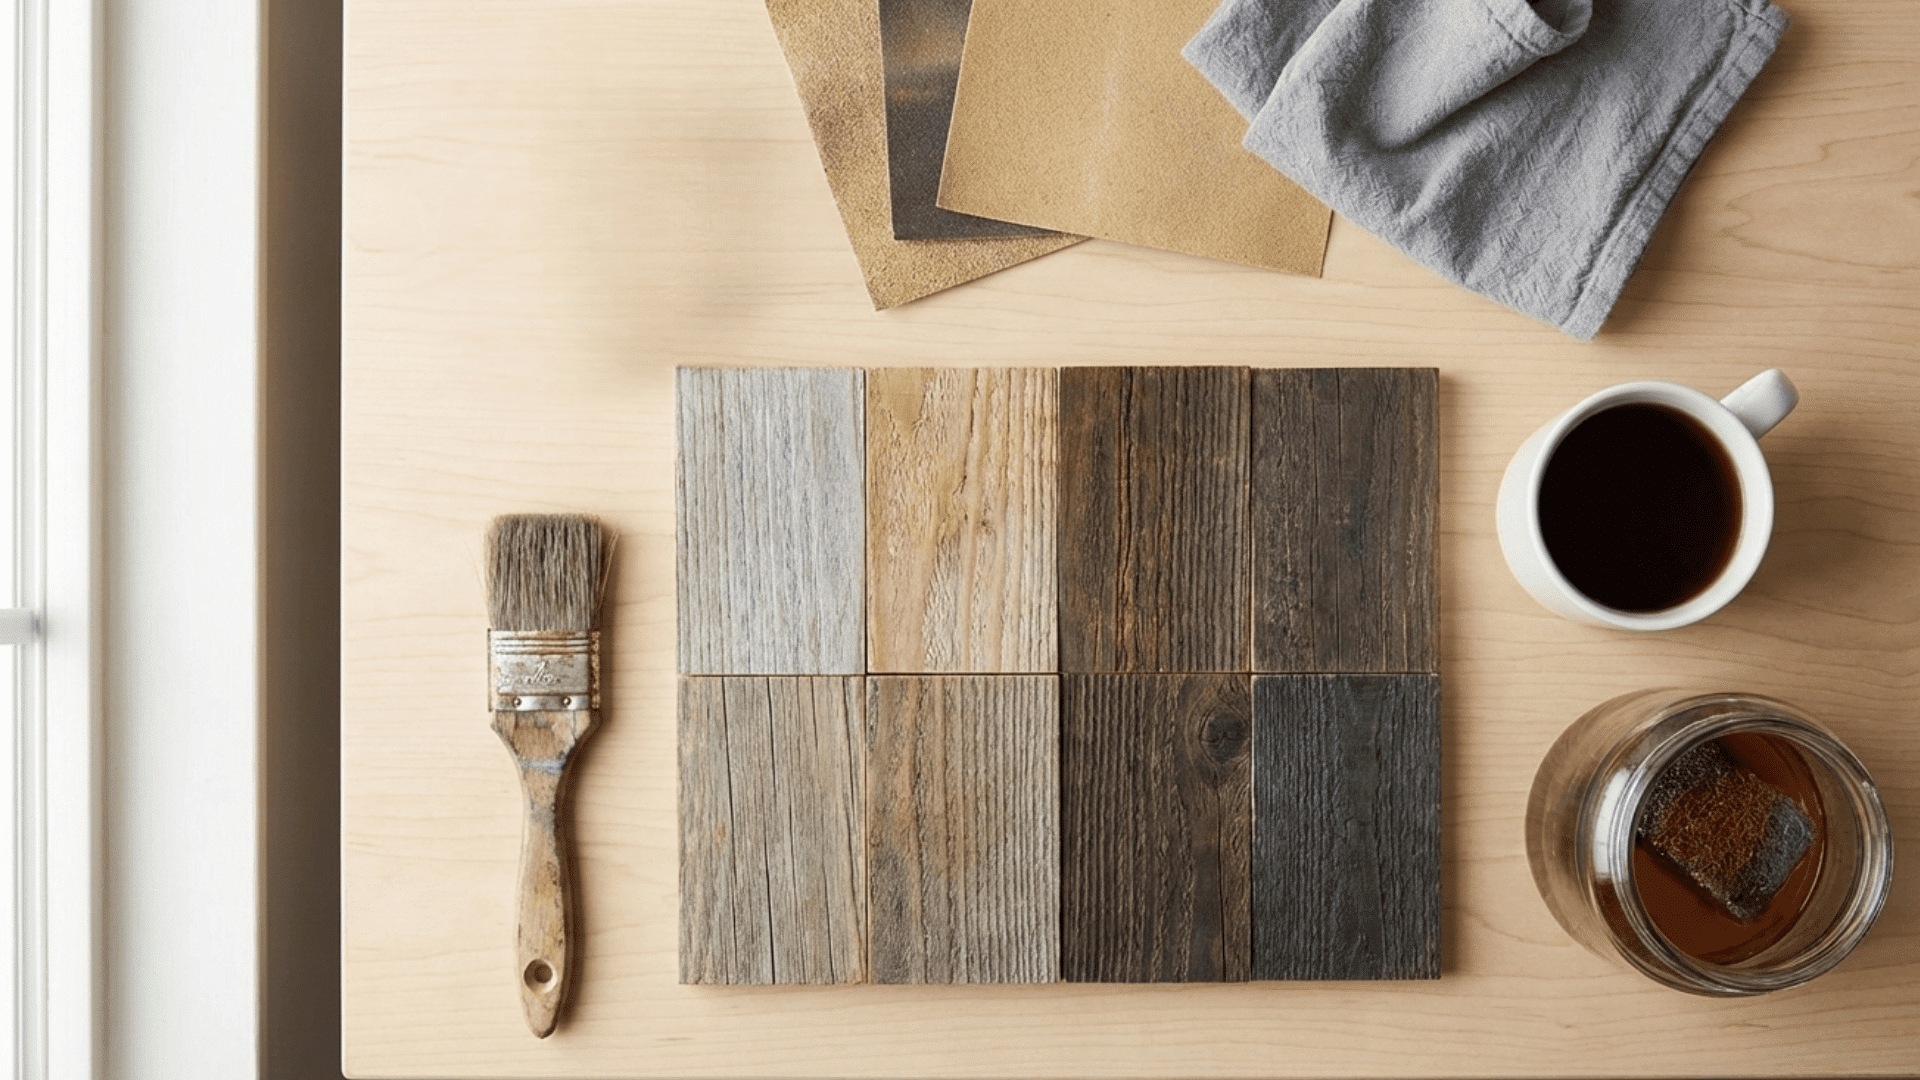
- Paint vs. Stain: Paint forms a solid layer and gives a uniform color, but needs fully dry wood and more prep. Stain soaks in, lets the wood breathe, and can handle slight dampness better.
- Long-Term Durability: Letting wood dry completely before painting helps the finish cure correctly, keeping the surface protected and saving time on touch-ups later.
Keeping these points in mind makes painting pressure treated wood easier, and the results last longer without peeling or cracking.
How Long Should You Wait Before Painting Pressure Treated Wood?
There’s no exact waiting period that works for every project, but in general, pressure-treated wood usually needs about 3-6 months to dry before it’s ready for paint.
When it comes to painting pressure-treated wood, drying time can really vary. I’ve noticed that the type of treatment makes a big difference; some boards absorb more moisture and require extra patience.
Weather and climate matter too: warm, sunny days with low humidity speed things up, while cool, rainy, or humid conditions slow it down. Thicker boards naturally hold more water, so they take longer to dry than thinner ones.
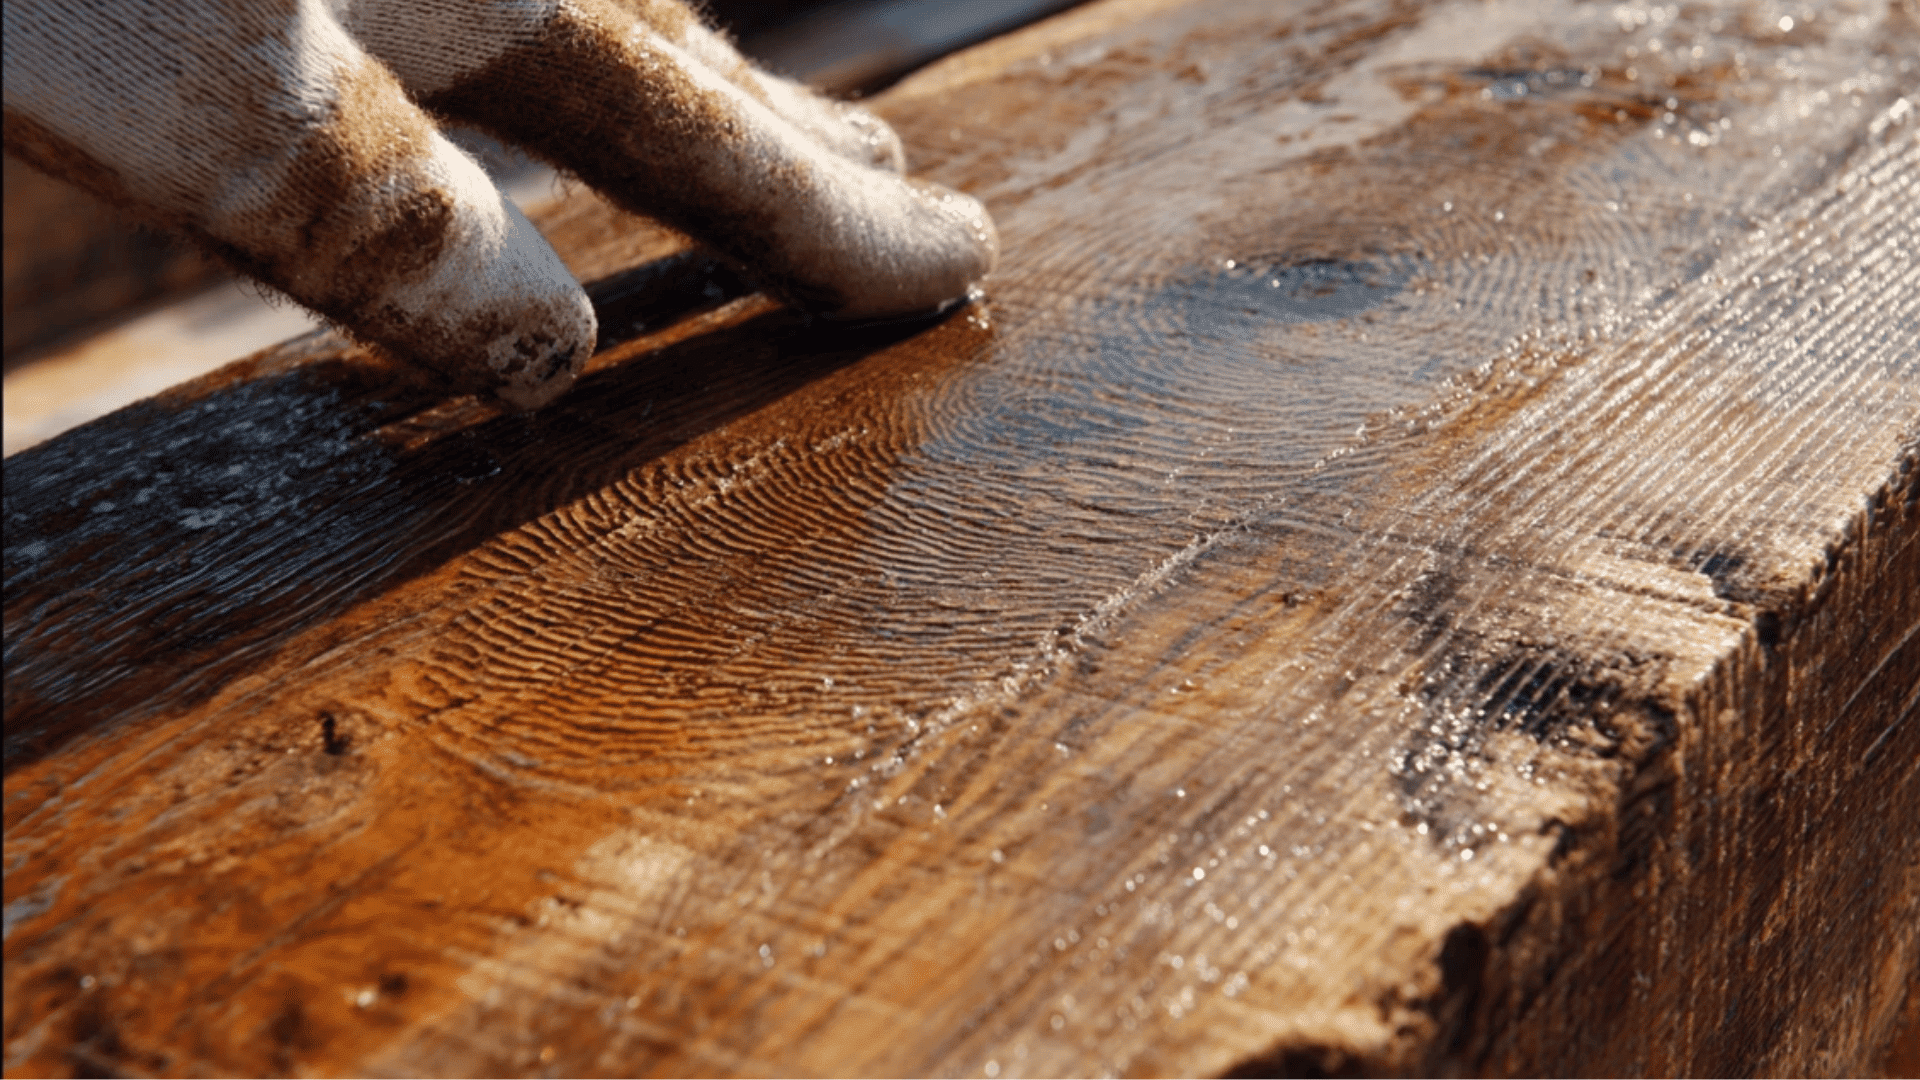
Where the wood sits matters as well; sunlight and airflow help, while shaded, stuffy spots delay drying. I usually check with a simple water test; if drops soak in, it’s good.
Touching it should feel dry, and a moisture meter below 15% is the safest sign it’s ready to paint.
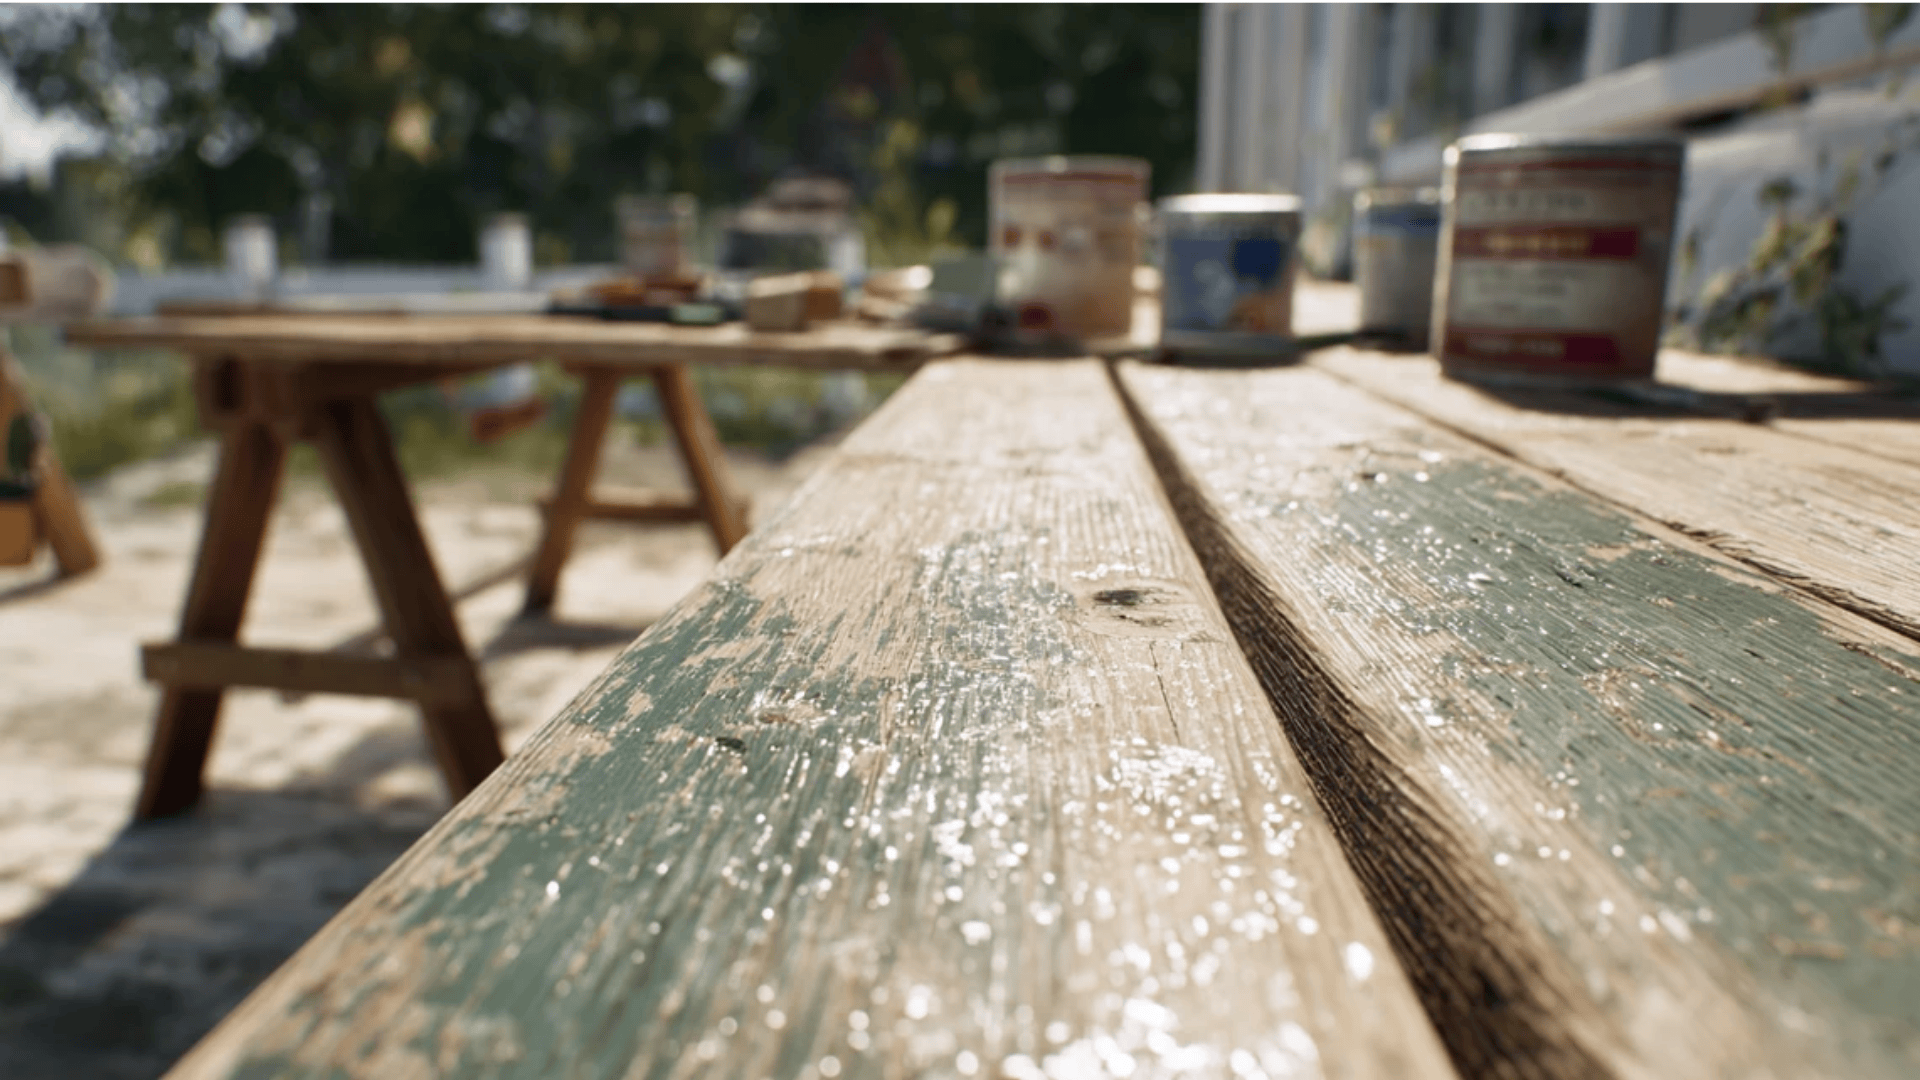
Prepare Your Woods For Long Lasting Paint Finish
Before you apply any paint, pressure-treated wood needs time, proper preparation, and the right products to ensure the finish holds up.
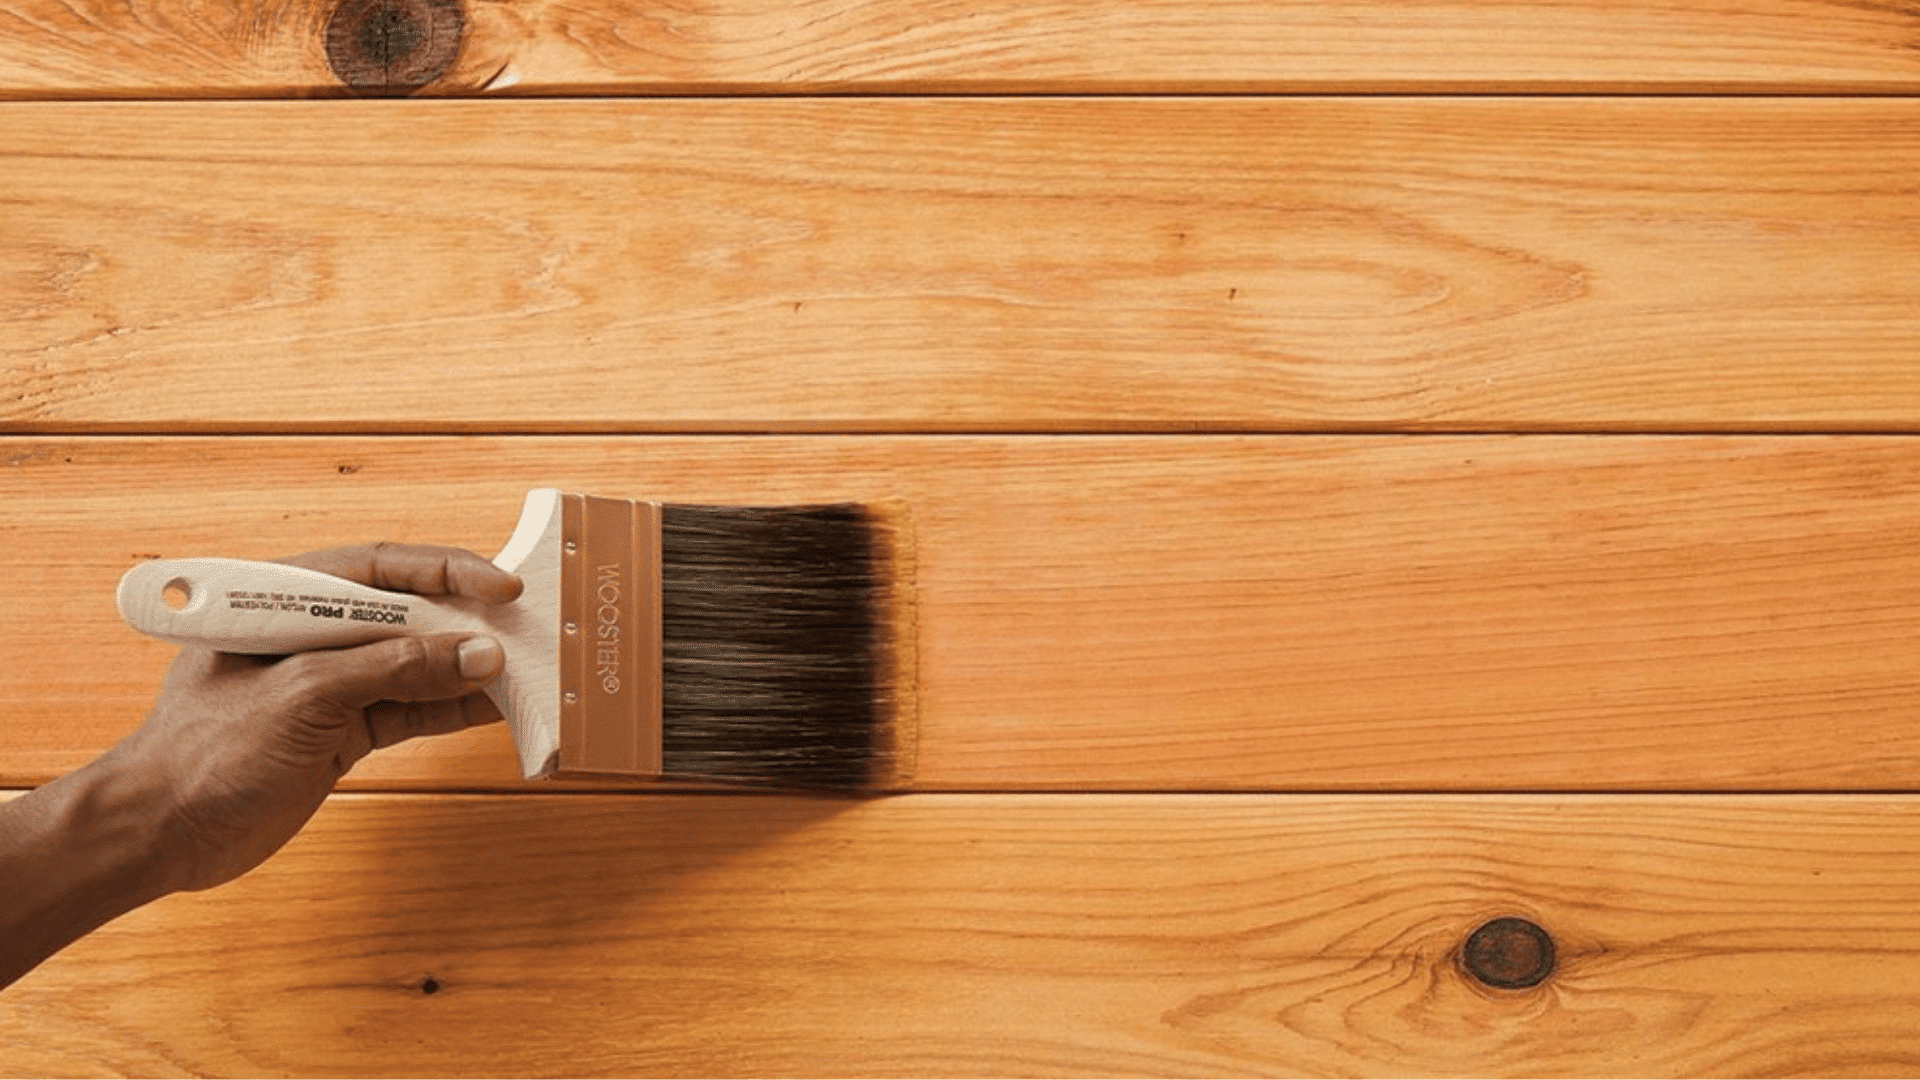
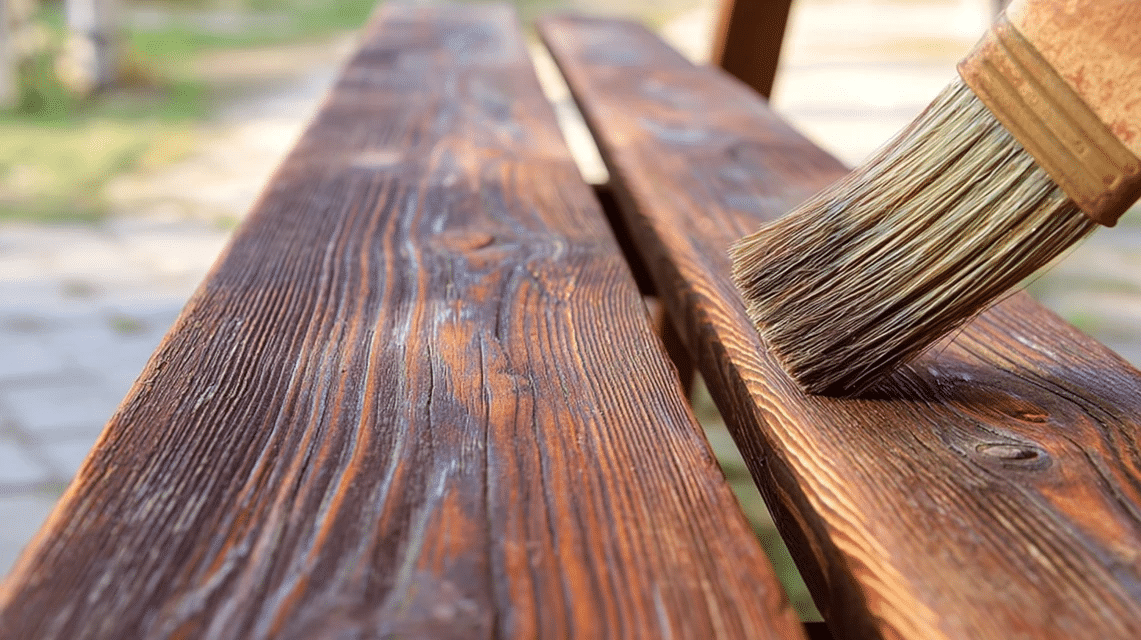
1. Preparing Pressure-Treated Wood For Painting
When I take the time to prep the wood, the finish holds up better against weather, foot traffic, and daily wear without cracking or peeling. I always start by cleaning the wood.
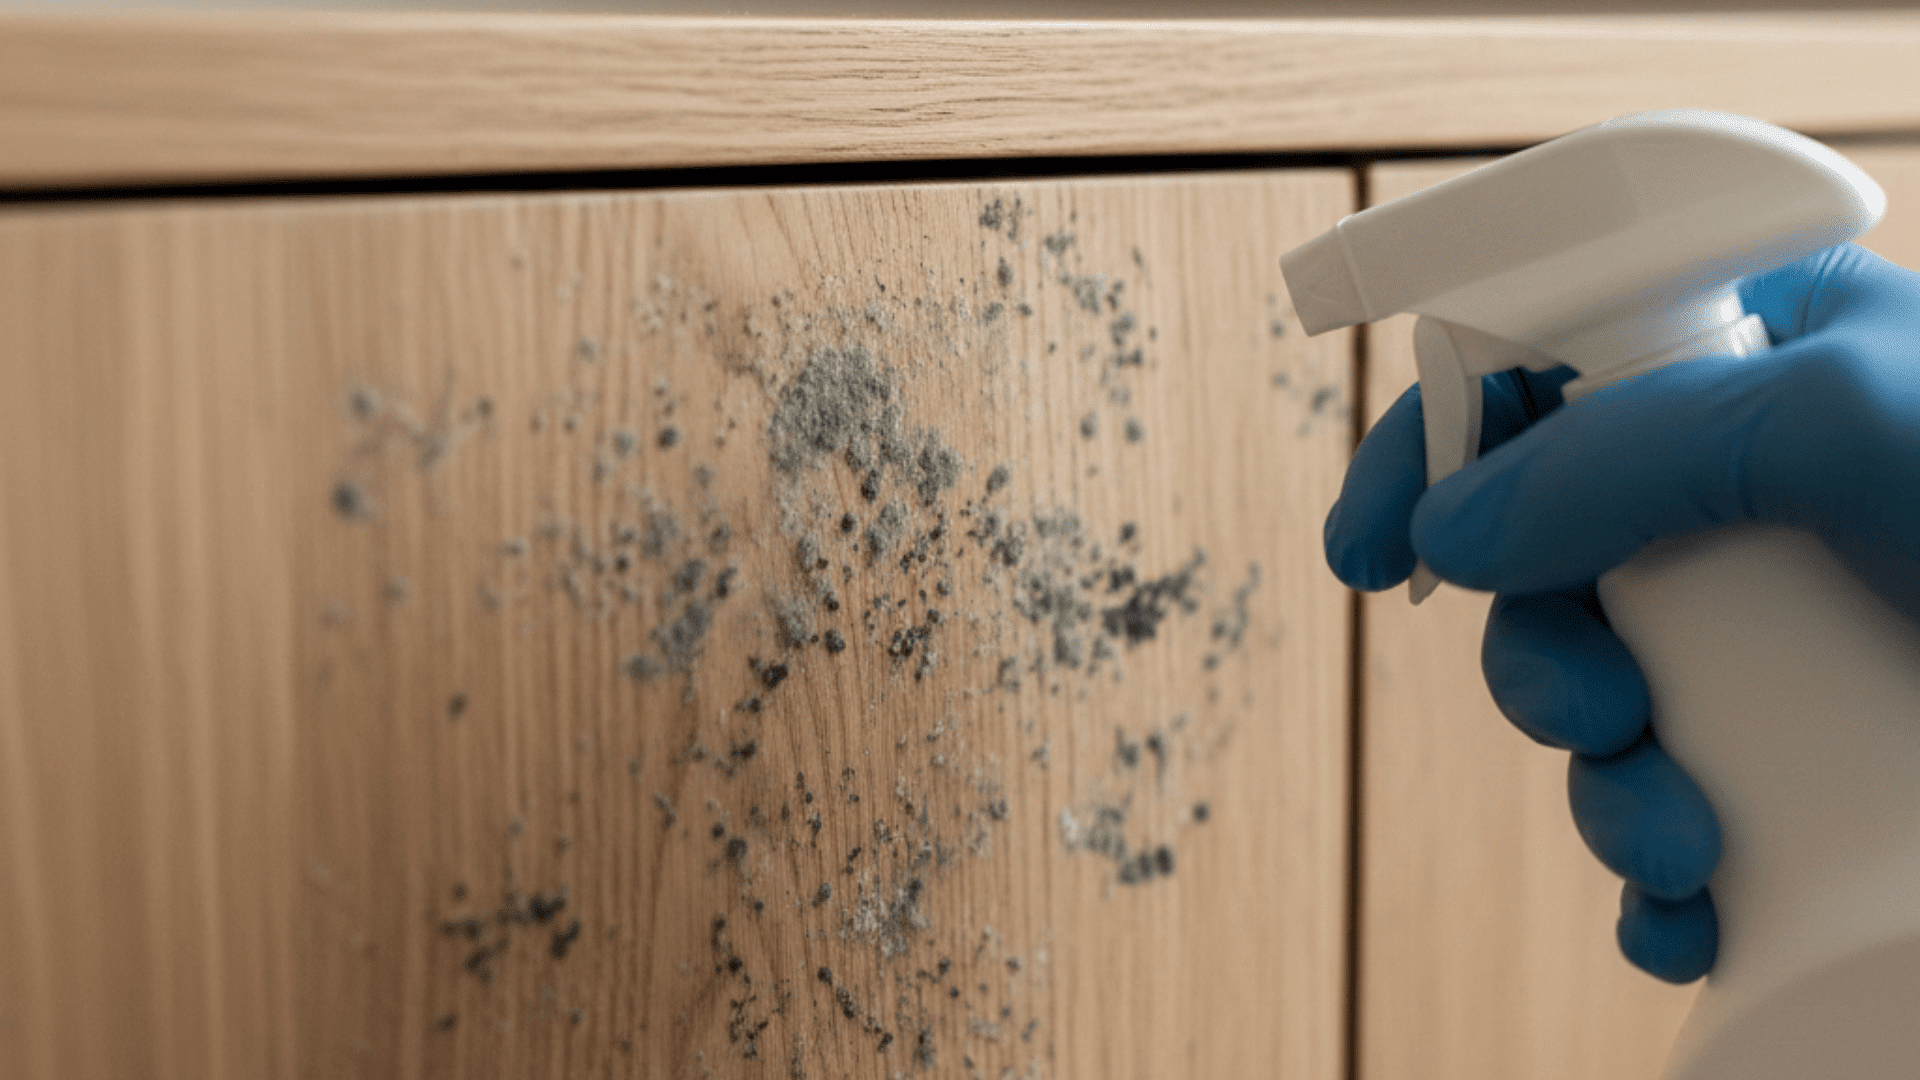
Removing dirt, mildew, and residue helps prevent the paint from lifting or wearing unevenly later.
After washing, I make sure the wood is fully dry before painting, because trapped moisture can cause bubbling and peeling over the. Sanding is another step I don’t skip.
It slightly opens the surface and gives the paint something to grip, which helps it stay in place longer. When these prep steps are ignored, I’ve seen paint fail fast, peeling, flaking, and needing a repaint much sooner than expected.
2. Choosing The Right Paint & Primer
I always pay attention to primer and paint quality because they play a big role in how long the finish lasts.
- Using a Quality Primer: Use a good primer to seal the wood, improve paint grip, and create a strong base for the topcoat.
- Choosing the Right Paint Type: Stick with high-quality exterior latex paint because it’s flexible, breathable, and better handles the natural movement of outdoor wood.
- Focusing on Exterior Durability: I choose paint made for outdoor use because it resists moisture, sun exposure, and temperature changes, helping the finish last longer.
- Oil-Based vs. Latex Paints: I’ve found that oil-based paints adhere well but become less flexible over time, while latex paints dry faster, allow moisture to escape, and are easier to maintain on pressure-treated wood.
What Happens If You Paint Pressure Treated Wood Too Soon?
I’ve seen a lot of paint jobs fail simply because the wood wasn’t ready. When pressure-treated wood is still holding moisture, painting it too early causes problems that show up quickly and only get worse over time.
The paint doesn’t stick well because moisture and treatment chemicals push it away from the surface, and as the wood dries, the boards shift, making the paint bubble, crack, or peel.
Trapped moisture can also cause twisting or splitting under the paint, and the finish may stay soft or sticky because it can’t dry properly.
Giving the wood enough time to dry first saves a lot of trouble later and helps the finish last longer.
Best Practices For Painting Pressure Treated Wood
Once the wood is fully dry and prepped, how you apply the paint matters just as much as the materials you choose. Following a few basic best practices helps the finish look better and last longer outdoors.
- Choose the Right Weather: I paint pressure-treated wood on dry, mild days when temperatures are moderate, and humidity is low. This helps the paint dry properly and stick better.
- Apply Paint Evenly: I use smooth, steady strokes and avoid loading too much paint on the brush or roller, which helps prevent drips and patchy spots.
- Use Two Coats: Most of the time, I apply two coats, making sure the first one is fully dry before adding the second for better grip and longer life.
- Plan for Maintenance: I keep the finish looking good by cleaning the surface now and then and touching up worn areas so the wood stays protected over time.
These simple habits make a noticeable difference. When painting is done under the right conditions and maintained over time, pressure-treated wood stays protected and looks good for years, rather than peeling early.
Common Mistakes To Avoid
Paying attention to these common mistakes can save time, effort, and the need to repaint sooner than expected.
- Painting Too Soon After Installation: Trapped moisture causes peeling and bubbling.
- Skipping Primer: Paint won’t adhere properly or last as long.
- Painting Damp or Dirty Wood: Results in poor adhesion and an uneven finish.
- Using Interior or Low-Quality Paint: not built for outdoor conditions and prone to failure.
Avoiding these mistakes helps the paint hold better, look cleaner, and last much longer on pressure-treated wood.
Final Thoughts
Working with outdoor lumber gets much easier when timing comes first. I’ve learned that you really can paint or stain pressure-treated wood; you just have to let it dry properly.
If you’re wondering, can you paint pressure treated wood or can you paint pressure-treated lumber, the key is patience, not speed.
Don’t guess the wait time; use the moisture test to know when the wood is ready. It saves a lot of effort later. I’ve also seen firsthand what happens if you stain pressure-treated wood too soon: peeling, bubbling, and a finish that doesn’t last.
Take a little extra time, prep it well, and you’ll get better results that hold up longer. Ready to start your project the right way? Get your tools ready and do it once properly.
Frequently Asked Questions
What’s the Best Type of Paint for Pressure-treated Wood?
High-quality exterior water-based (latex) paint, paired with the right primer, is generally recommended for greater durability.
How Do You Know When Pressure-Treated Wood Is Dry Enough to Paint?
A simple water drop test (water absorbs rather than beads) or a moisture meter reading shows when it’s ready.
Can You Paint Pressure-Treated Wood Without Letting It Fully Dry?
No. Painting before the wood dries traps moisture, leading to peeling, bubbling, and a finish that fails much sooner.