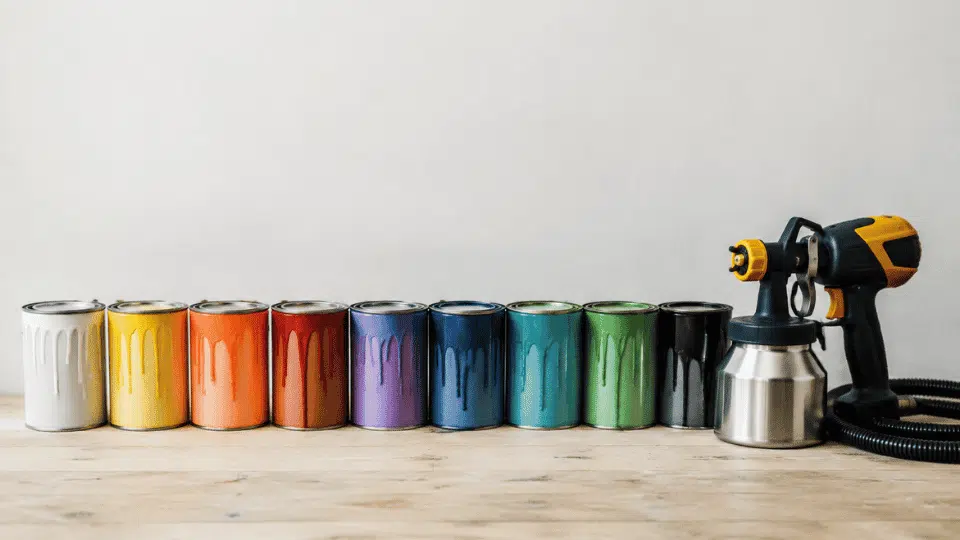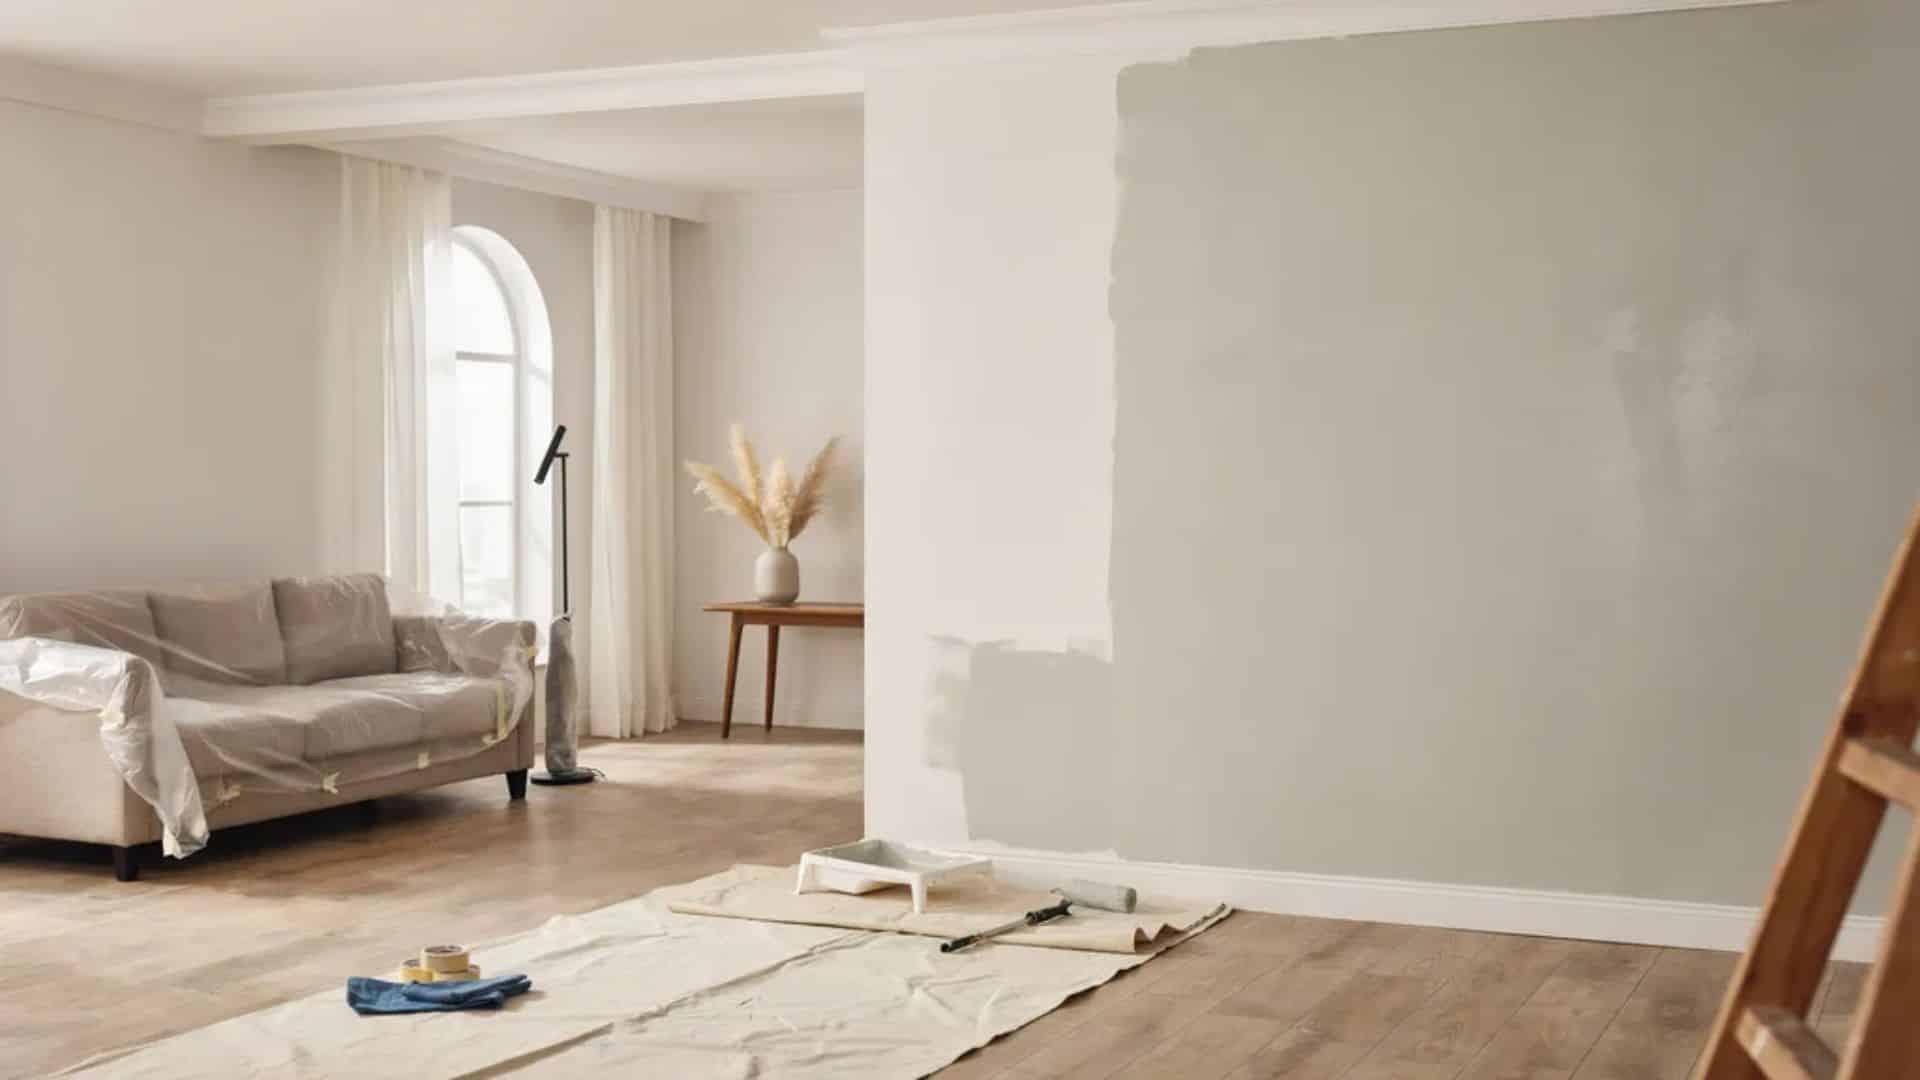
That old dresser in the garage has great bones, but the chipped paint makes it look terrible. Or maybe the bathroom walls have layers of paint that need to go before starting fresh.
Removing old paint sounds simple until things go wrong. Scratches, gouges, and chemical burns can ruin a perfectly good surface in minutes. Learning how to strip paint the right way saves time, money, and heartache.
The good news? It doesn’t take fancy skills or expensive tools. Different surfaces need different approaches. Wood requires gentle treatment. Metal can handle tougher methods. Walls need careful attention to avoid damage.
Here are the best ways to remove paint for every situation. Expect straightforward steps that actually work. Here you’ll get practical methods that protect surfaces while getting the job done right.
Why You Need to Remove Paint
Before you start stripping paint, it’s helpful to understand why this step matters. Knowing your “why” will help you choose the right removal method for your specific project.
- Multiple layers create uneven surfaces: When paint builds up over decades, it fills in beautiful details and creates a bumpy, unattractive finish that looks sloppy.
- Peeling or cracking paint damages your surface: Old paint traps moisture underneath, which can rot wood or cause rust on metal over time.
- Natural wood is more valuable than painted surfaces: Stripping reveals gorgeous grain patterns that increase your furniture’s beauty and worth
- New paint won’t stick to old, flaky finishes: You’ll get better adhesion and longer-lasting results when you start with a clean, bare surface.
- Lead paint poses serious health risks: If your home was built before 1978, removing old paint safely protects your family from toxic exposure.
Now that you know why paint removal is important, let’s see the best methods to get the job done safely and effectively.
Best Ways to Remove Paint
Every paint removal job needs the right approach. Some surfaces handle strong chemicals. Others need gentle scraping. Picking the wrong method causes damage. These five techniques work.
1. Chemical Paint Strippers
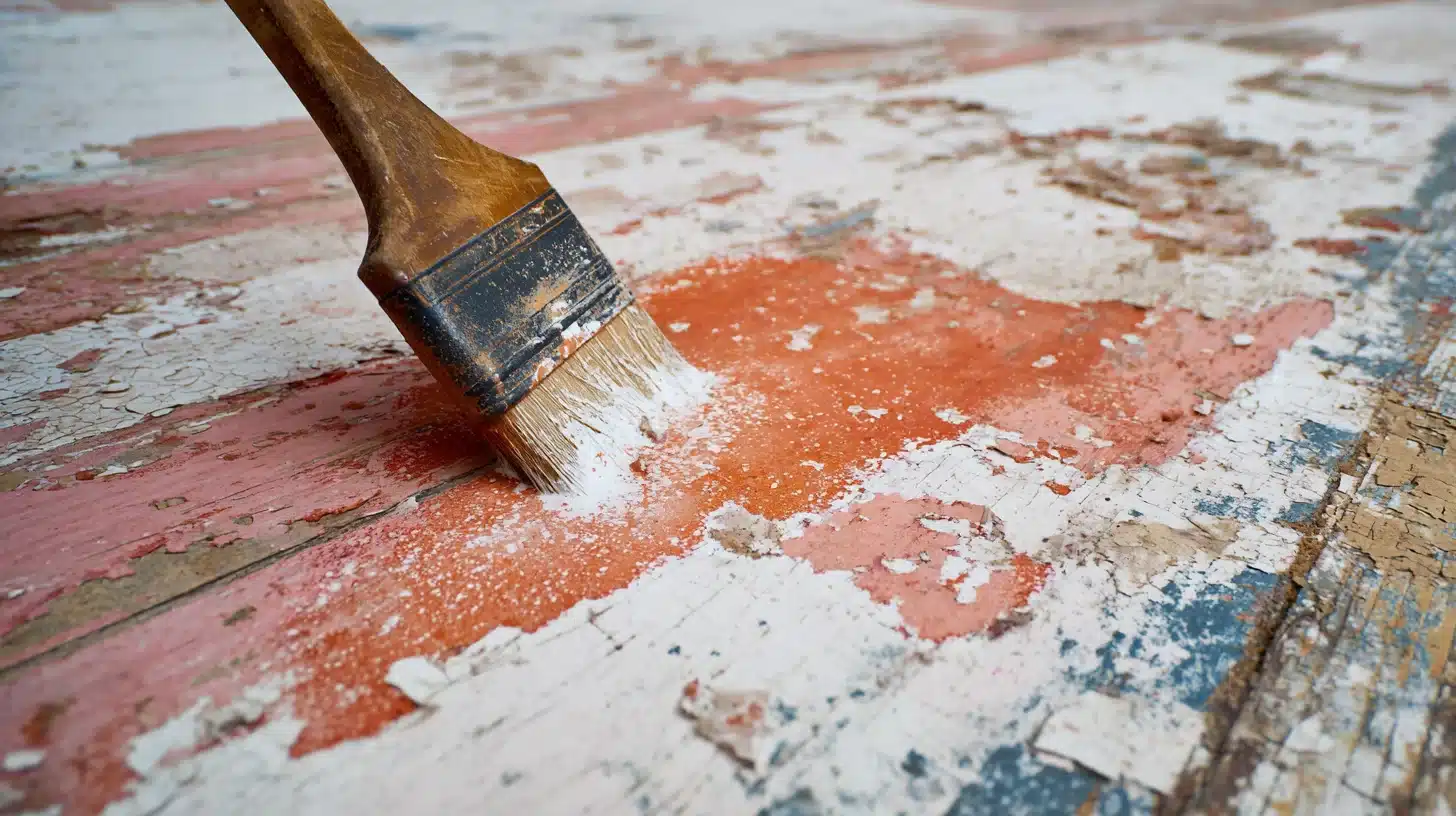
Chemical strippers dissolve paint layers without heavy scraping. They work fast and reach into cracks and details. The thick gel clings to vertical surfaces. Strong fumes require good airflow and safety gear.
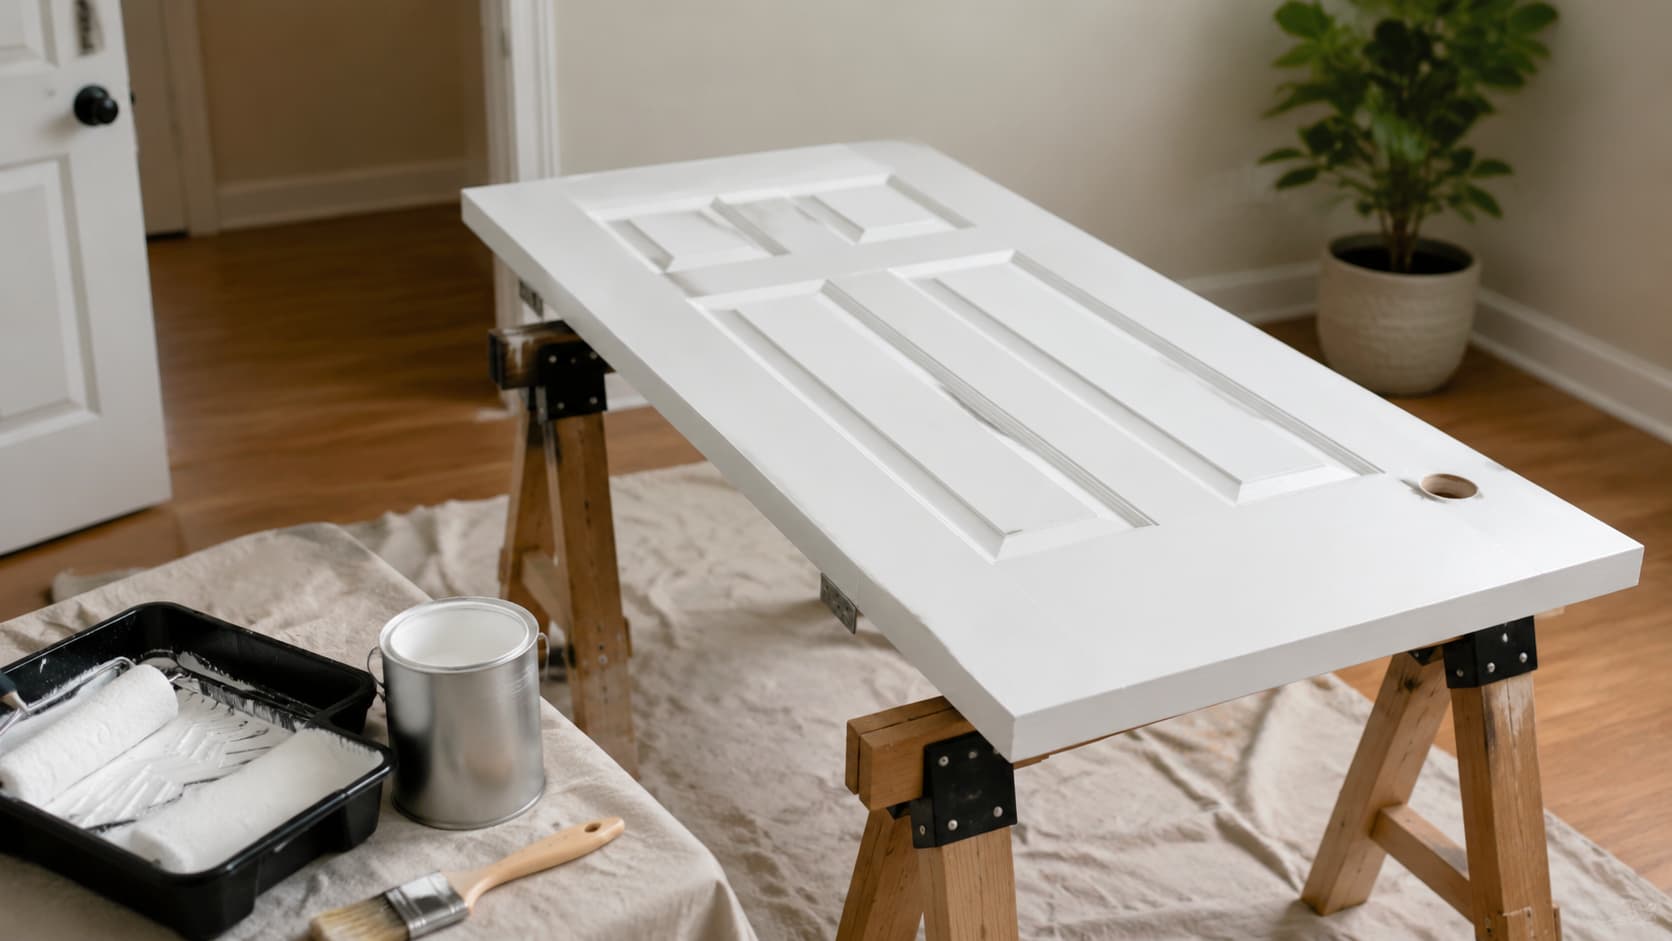
- Best for: Wood furniture, trim, doors, and intricate carved details with multiple paint layers
- Tools and materials needed: Chemical stripper, putty knife, steel wool, wire brush, safety goggles, gloves, drop cloths, mineral spirits
- Step-by-step process: Apply thick stripper coat, wait 15-30 minutes for bubbling, scrape softened paint, use steel wool for stubborn spots, wipe clean, let dry
- Pro tips: Work in small sections, apply a second coat for thicker layers, cover the surface with plastic wrap to boost effectiveness, and neutralize the surface after stripping.
- Time required: 30 minutes to 2 hours, depending on paint thickness and layers
2. Heat Gun Stripping
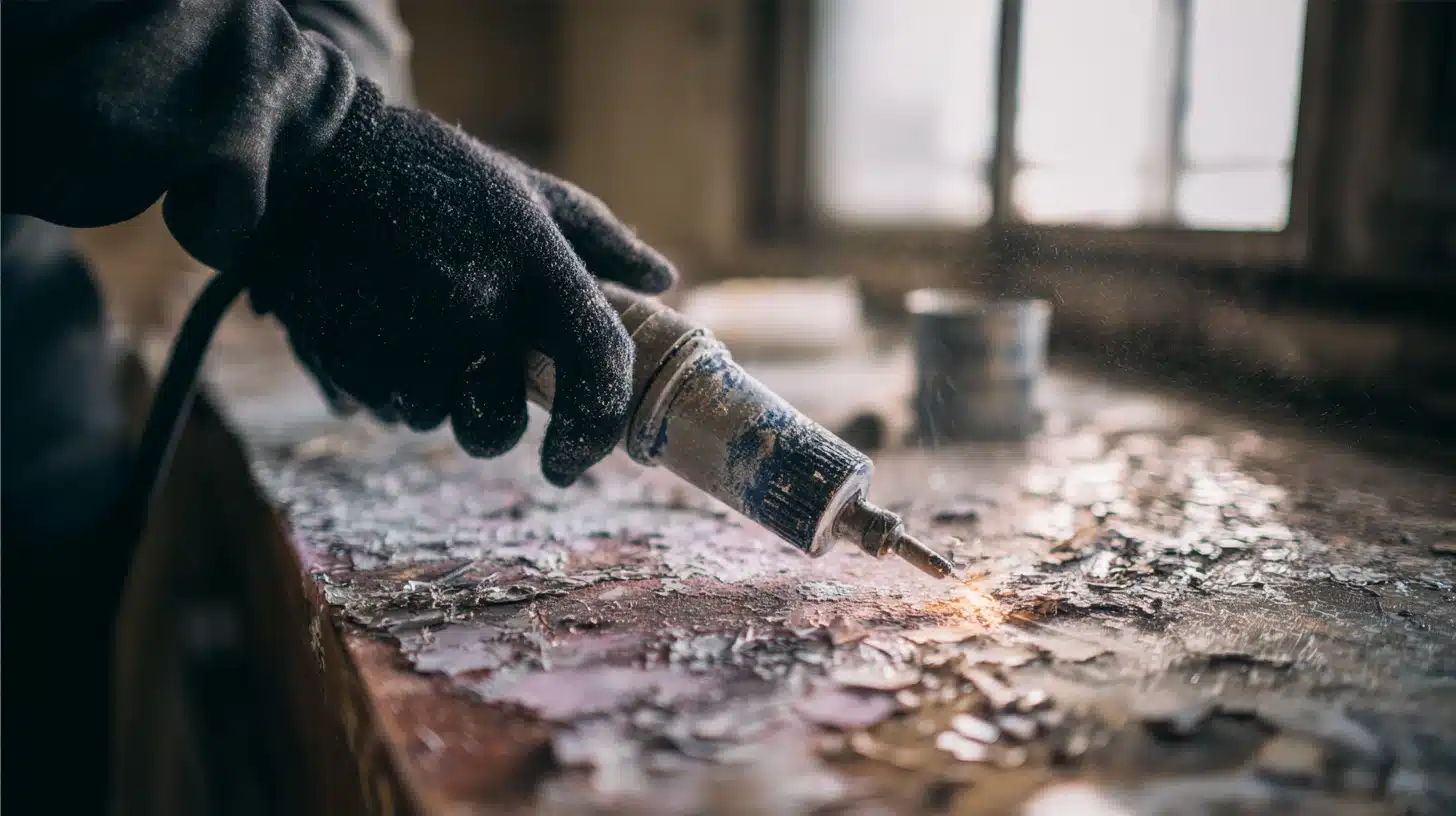
A heat gun softens paint so it peels right off. No chemicals needed. The hot air makes the paint bubble up quickly. Keep moving to avoid burning the surface underneath.
- Best for: Flat wood surfaces, exterior siding, window frames, and metal doors without intricate details
- Tools and materials needed: Heat gun, putty knife or scraper, wire brush, safety goggles, heat-resistant gloves, drop cloths, dust mask
- Step-by-step process: Hold the heat gun 2-3 inches from the surface, move slowly until paint bubbles, scrape off softened paint immediately, repeat on small sections, brush away residue
- Pro tips: Keep the heat gun moving constantly to prevent scorching, work at a low temperature first, then increase if needed, scrape at an angle to protect the surface
- Time required: 1 to 3 hours, depending on surface area and paint thickness
3. Sanding
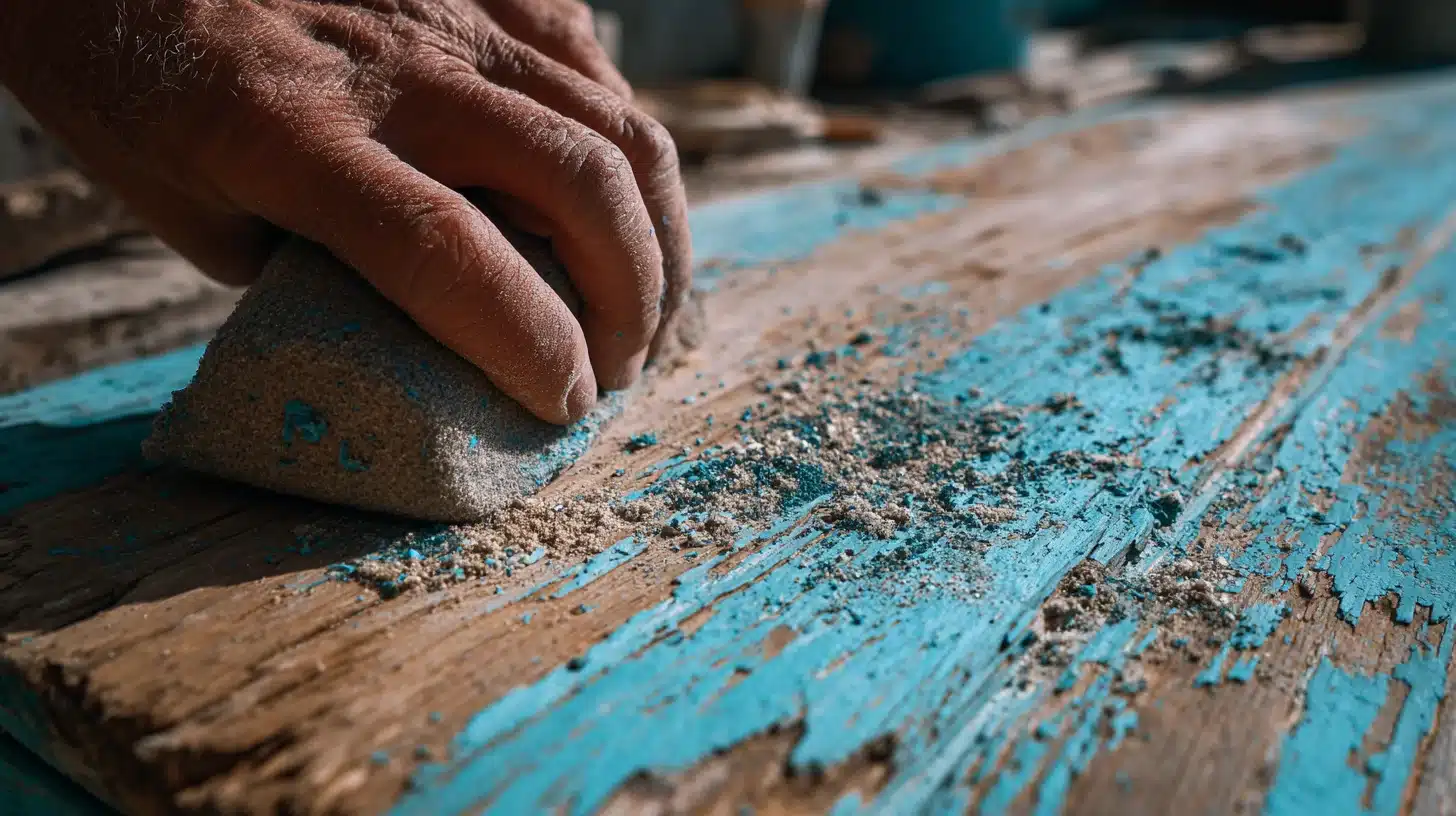
Sanding removes paint through friction and elbow grease. It creates a smooth surface ready for new paint. This method works best on small areas. Dust control is important here.
- Best for: Small wood projects, furniture touch-ups, smooth flat surfaces, and removing thin single paint layers
- Tools and materials needed: Sandpaper (coarse to fine grits), power sander or sanding block, dust mask, safety goggles, drop cloths, vacuum, tack cloth
- Step-by-step process: Start with coarse-grit sandpaper, sand in the direction of the wood grain, switch to finer grits gradually, vacuum dust between grits, and wipe with a tack cloth
- Pro tips: Use a power sander for large flat areas to save time, hand sand corners and edges, wear a dust mask always, vacuum frequently to see progress clearly
- Time required: 1 to 4 hours, depending on project size and paint layers
4. Pressure Washing
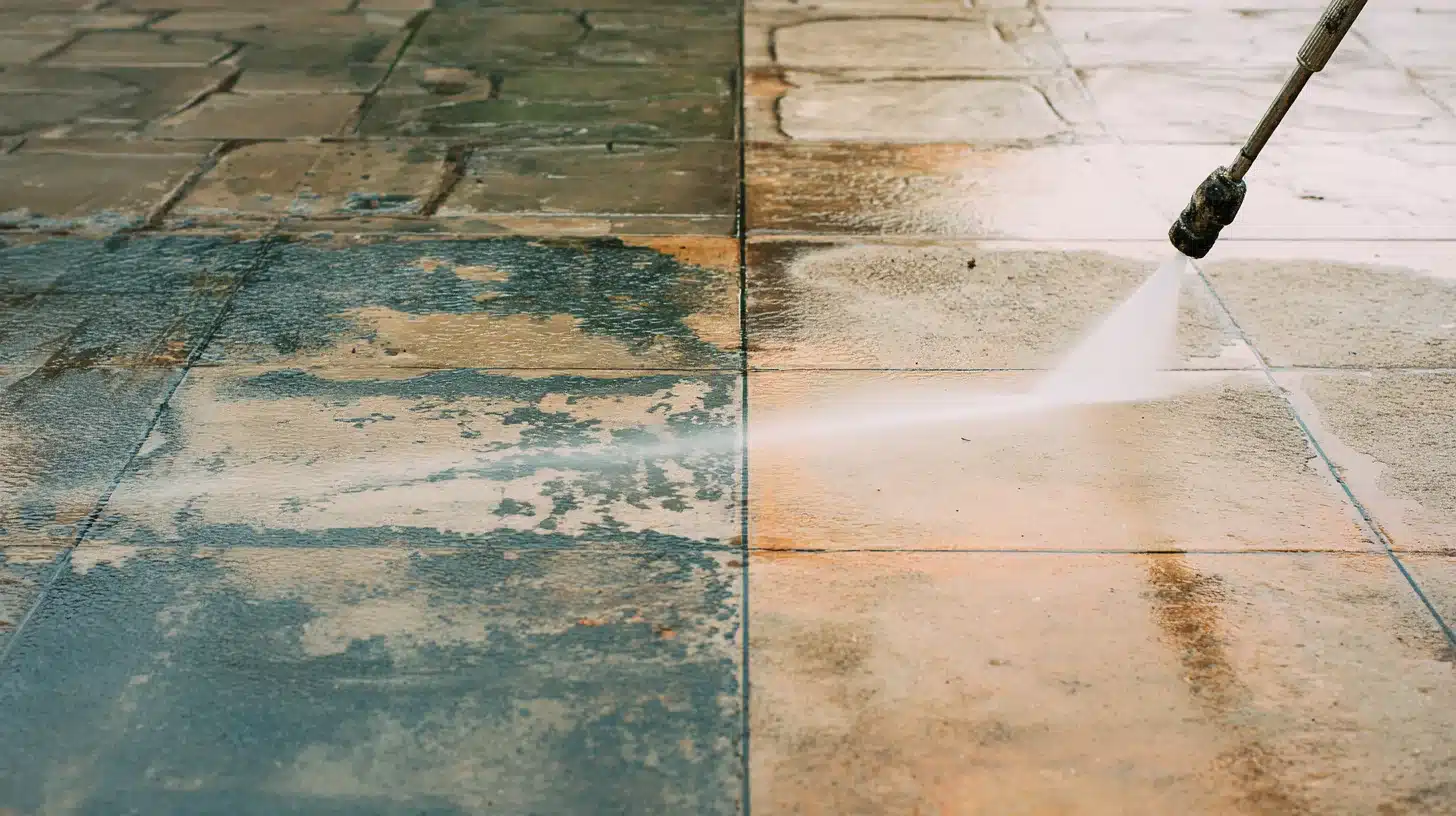
High-pressure water blasts away loose and peeling paint fast. Perfect for big outdoor jobs. The strong spray reaches hard-to-reach spots. Water does all the work here.
- Best for: Concrete driveways, brick walls, metal fences, vinyl siding, and exterior wood decks with peeling paint
- Tools and materials needed: Pressure washer (2000-3000 PSI), appropriate nozzle tip, safety goggles, water source, garden hose, plastic sheeting to protect plants
- Step-by-step process: Set pressure washer to medium setting, hold nozzle 12 inches from surface, spray at angle, move in sweeping motions, let surface dry completely
- Pro tips: Test pressure on hidden spots first, usea wider spray pattern for delicate surfaces, avoid spraying near windows or electrical outlets, work from top to bottom
- Time required: 30 minutes to 2 hours, depending on surface size and paint condition
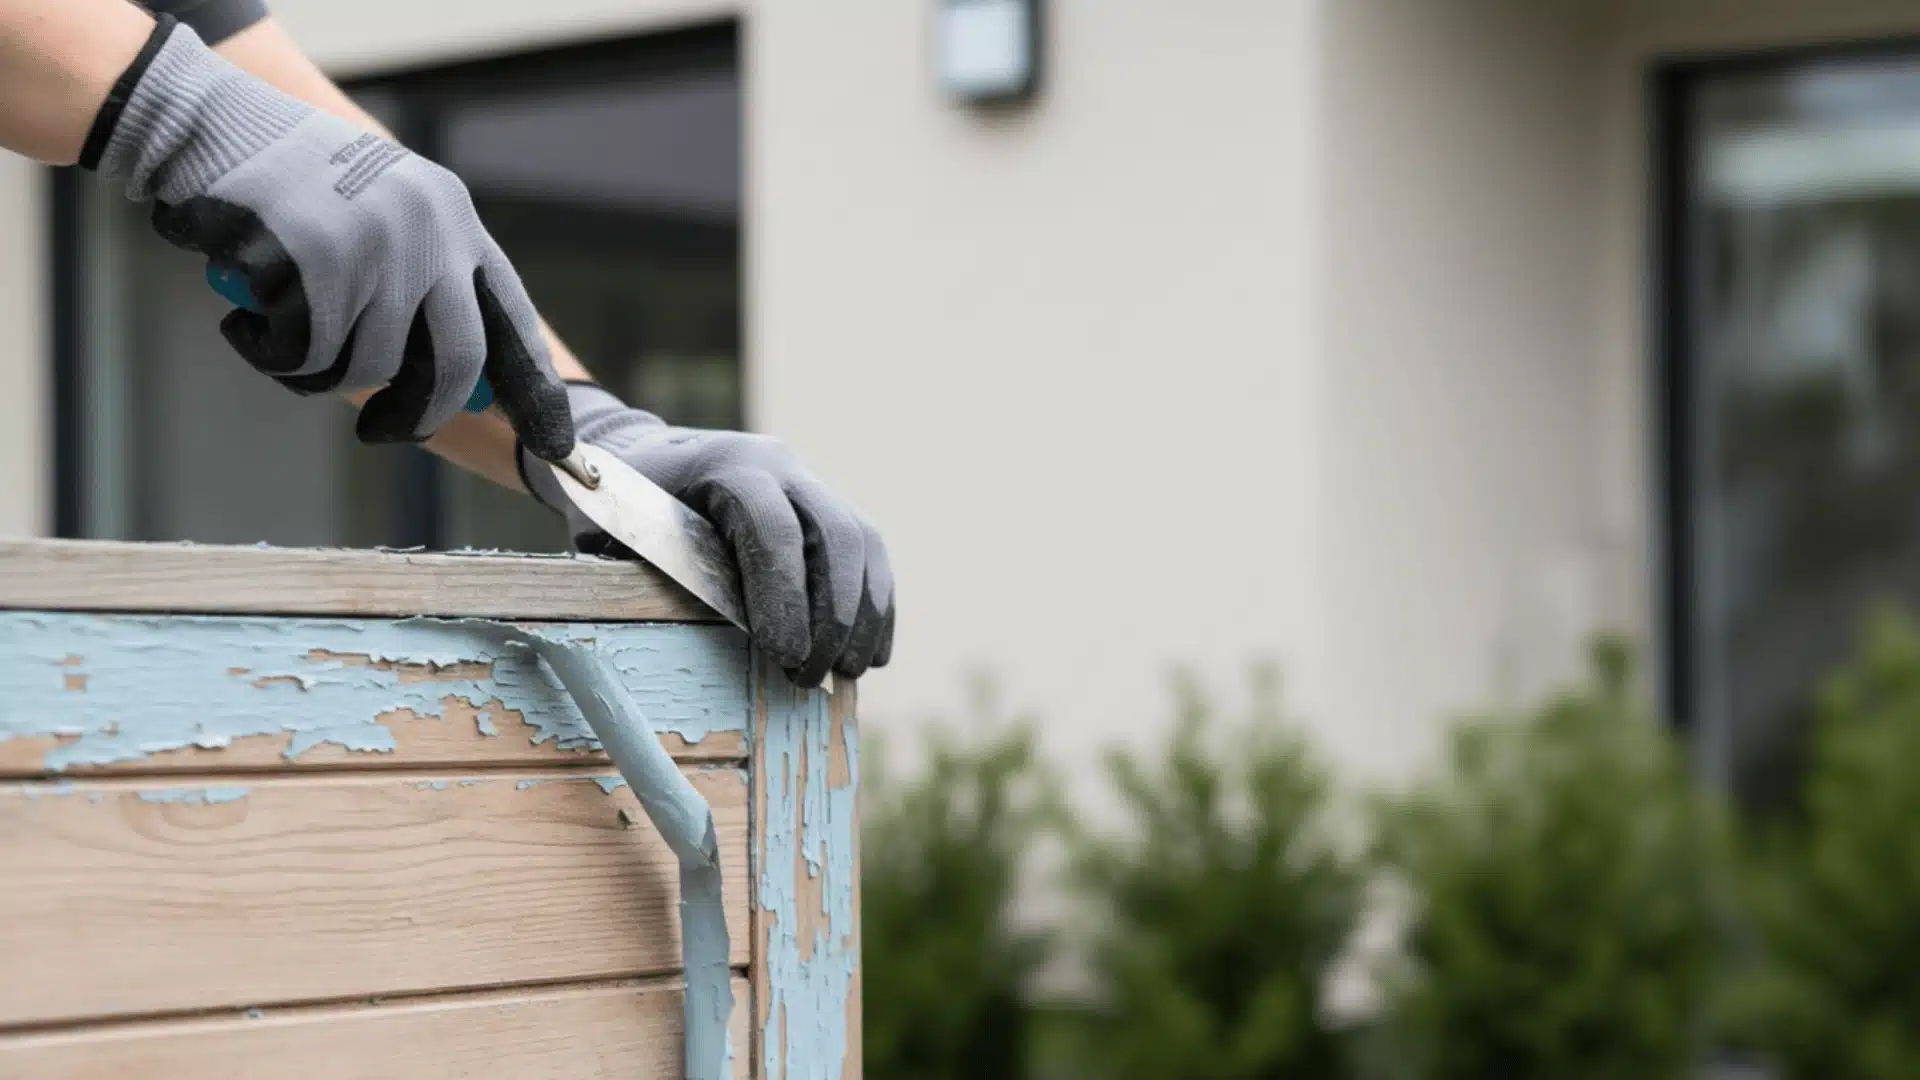
5. Manual Scraping
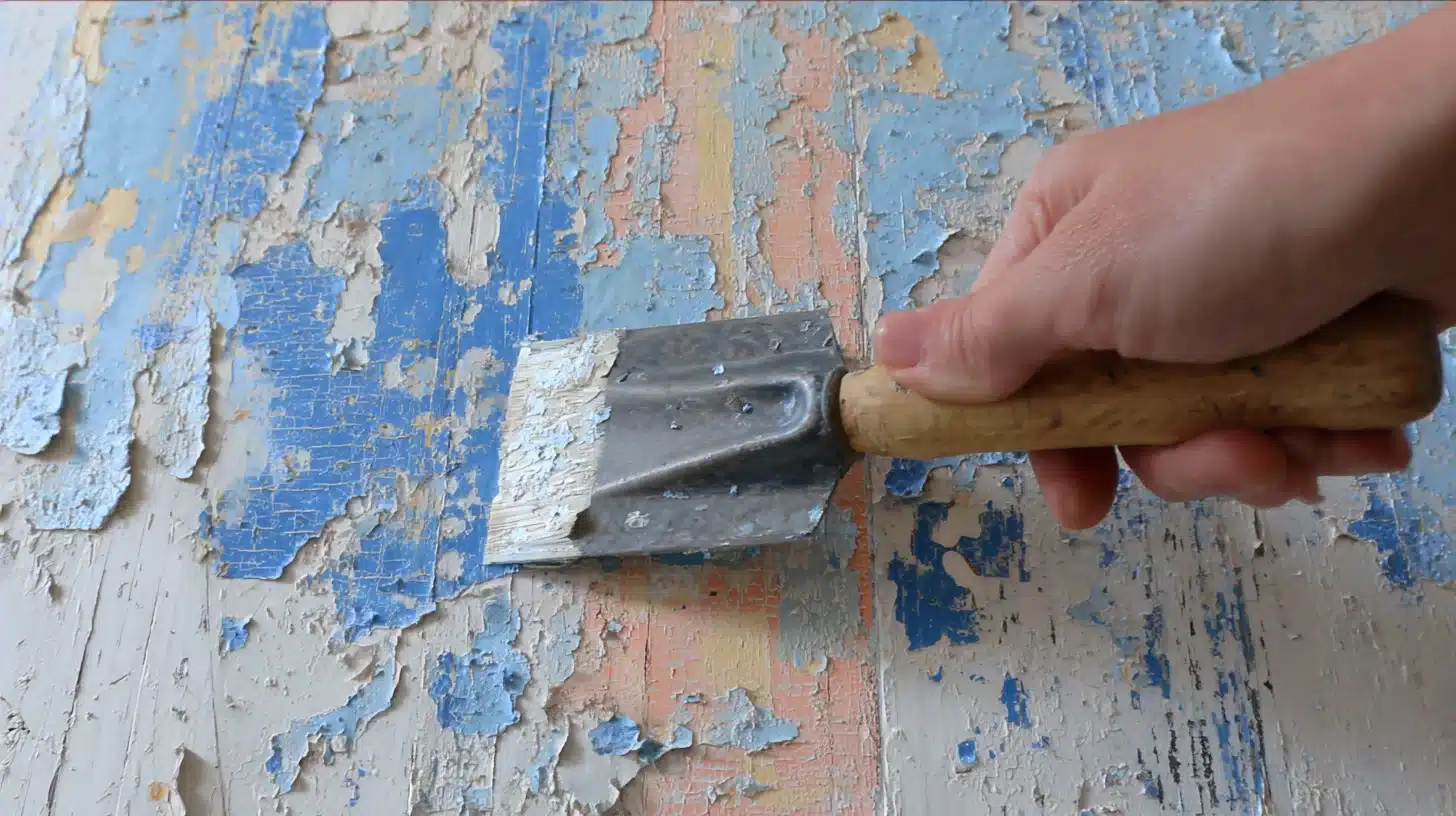
Manual scraping uses basic hand tools to remove paint. No power tools or chemicals needed. This method costs almost nothing. Perfect for small touch-ups and tight spaces that other methods can’t reach.
- Best for: Small areas, loose peeling paint, corners, edges, window glazing, and spot repairs on any surface type
- Tools and materials needed: Putty knife, paint scraper, wire brush, sandpaper, safety goggles, work gloves, drop cloth, bucket for paint chips
- Step-by-step process: Push scraper under loose paint edges, apply steady pressure at a low angle, peel away paint sections, use a wire brush for stubborn bits, sand smooth
- Pro tips: Sharpen scraper blade regularly for easier work, scrape in the direction of wood grain, avoid digging into surface, work in small sections for better control
- Time required: 30 minutes to several hours, depending on area size and paint adhesion strength
Removing paint doesn’t have to feel confusing once you know your options. The best method depends on the surface, the type of paint, and how much time you want to invest.
How to Strip Paint from Different Surfaces
Taking off old paint isn’t a one-size-fits-all job. You need the right approach for each surface so you don’t leave any damage behind.
| Surface | Best Method | Quick Tip |
|---|---|---|
| Wood | Heat gun + scraper or light sanding | Keep the heat moving so you don’t scorch the wood. |
| Metal | Chemical stripper or wire brush | Clear rust first, then wipe clean before repainting. |
| Concrete | Paint remover or pressure washer | Test a small spot to avoid surface marks. |
| Plastic | Mild solvent or gentle scraping | Skip harsh chemicals that can melt it. |
| Glass | Razor blade + soapy water | Hold the blade flat to prevent scratches. |
| Drywall | Light sanding or careful scraping | Don’t dig in too hard, or you’ll damage the paper layer. |
When you match the method to the material, you protect the surface and get smoother results. Take your time, test first, and you’ll avoid costly repairs later.
Post-Stripping Steps
Removing paint is only half the job. The surface needs proper preparation before applying a new finish. Skipping these steps leads to poor results. Follow these four simple steps for success.
- Clean the Surface Thoroughly: Remove all dust, paint chips, and stripper residue with a vacuum. Wipe down with an appropriate cleaner. Chemical strippers need neutralizing agents. Heat gun work needs soap and water. Let dry completely.
- Sand Smooth: Run your hand across the surface to find rough spots. Use medium-grit sandpaper to smooth these areas. Sand along the wood grain. Wipe away sanding dust with a damp cloth.
- Fill Imperfections: Look for gouges, dents, or holes in the surface. Apply wood filler or an appropriate filler for your material. Let filler dry per package directions. Sand-filled areas are flush with the surface.
- Prime the Surface: Primer seals the surface and helps new paint stick better. Choose a primer that matches your surface type. Apply a thin, even coat with a brush or roller. Allow 24 hours to dry.
Taking a few extra minutes after stripping makes a big difference in the final result. When you clean, smooth, and properly prep the surface, you set yourself up for a finish that looks better and holds up over time.
When to Hire a Professional vs. DIY
Some paint-stripping jobs are fine for beginners. Others need expert skills and equipment. Knowing the difference saves money and prevents costly mistakes. Consider project size, surface type, and safety risks before deciding.
| Situation | DIY | Hire Professional |
|---|---|---|
| Project Size | Small furniture, single room, doors, trim | Whole house exterior, multiple rooms, commercial buildings |
| Paint Type | Regular latex or acrylic paint | Lead paint (pre-1978), industrial coatings, unknown paint types |
| Surface Condition | Solid, stable surfaces in good shape | Damaged surfaces, historic woodwork, antique furniture, delicate materials |
| Tools Available | Basic scrapers, sandpaper, and a heat gun | Specialized equipment is needed, like sandblasters, commercial strippers, and scaffolding. |
| Time Available | Flexible schedule, can work over weekends | Tight deadline, need quick completion |
| Health Concerns | Good ventilation, no respiratory issues | Poor ventilation, breathing problems, pregnancy, and children in the home |
| Experience Level | Comfortable with basic home repairs | Never done paint removal, unsure about methods |
| Budget | Limited funds, willing to invest time | Can afford professional rates, value guaranteed results |
Knowing when to call in a pro can save you time, money, and a lot of stress. If the job feels too big, risky, or complicated, it’s okay to step back and get expert help. But for smaller, manageable projects, a careful DIY approach can work just fine.
Common Paint Stripping Mistakes to Avoid
Even simple paint removal jobs can go wrong fast. Small mistakes create big problems. Damaged surfaces cost time and money to fix. Learning what not to do saves frustration and project headaches.
- Skipping Safety Gear: Many people skip gloves, goggles, and masks to save time. Chemical strippers burn skin. Paint dust harms lungs. Always wear proper protection regardless of project size.
- Not Testing First: Jumping straight into stripping without testing causes surface damage. Try your method on a hidden spot first. Adjust your approach before working on visible areas.
- Using Too Much Heat: Cranking up the heat gun scorches wood and warps surfaces. High heat creates toxic fumes from old paint. Start with low temperature settings and increase gradually.
- Ignoring Ventilation: Working in closed spaces traps harmful fumes and dust. Chemical strippers release strong vapors. Open windows and doors. Use fans to move air outside during stripping.
- Rushing Between Coats: Chemical strippers need time to work properly. Scraping too soon wastes product and effort. Read product labels. Wait the full recommended time before scraping.
- Forgetting Surface Protection: Paint chips and stripper drips ruin floors, plants, and nearby surfaces. Lay down drop cloths before starting. Cover everything within six feet of the work area.
Avoiding simple mistakes can make your project smoother and far less frustrating. When you take your time and use the right tools, you protect the surface and get better results. A little patience upfront saves you from costly fixes later.
Wrapping It Up
Stripping paint doesn’t have to feel scary or complicated. Each method covered here works for different situations. Chemical strippers handle detailed woodwork. Heat guns tackle flat surfaces fast.
Sanding smooths small projects. Pressure washing blasts away exterior paint. Manual scraping fixes tight spots and edges. The key is picking the right approach for the job. Always test first on hidden areas.
Wear safety gear every single time. Take breaks to avoid rushing through steps. Clean and prep surfaces properly before adding new paint. Start with a small project to build confidence.
That old chair or picture frame makes perfect practice. Once comfortable with the basics, bigger jobs become manageable. Ready to bring new life to that painted surface?
Grab your tools and get started today. Share your results and tips with others tackling similar projects.
Frequently Asked Questions
What Is the Easiest Way to Strip Paint?
The easiest way depends on the surface. For small areas, a paint scraper and light sanding often work well. For thicker layers, a chemical paint stripper softens the paint so you can scrape it off with less effort.
Does WD-40 Remove Paint?
WD-40 can help loosen fresh paint splatters on hard surfaces like metal or glass. It is not strong enough to remove dried, thick layers. Wipe the area clean after use so it does not leave a residue.
Can Rubbing Alcohol Strip Paint?
Rubbing alcohol can remove some water-based paint, especially when it is still fresh. It works best on small spots. It will not remove heavy or old paint layers easily.
What Do Professional Painters Use to Remove Paint?
Professionals often use chemical strippers, heat guns, power sanders, or pressure washers. The method depends on the surface and the size of the job. They also use proper safety gear to protect themselves and the area.