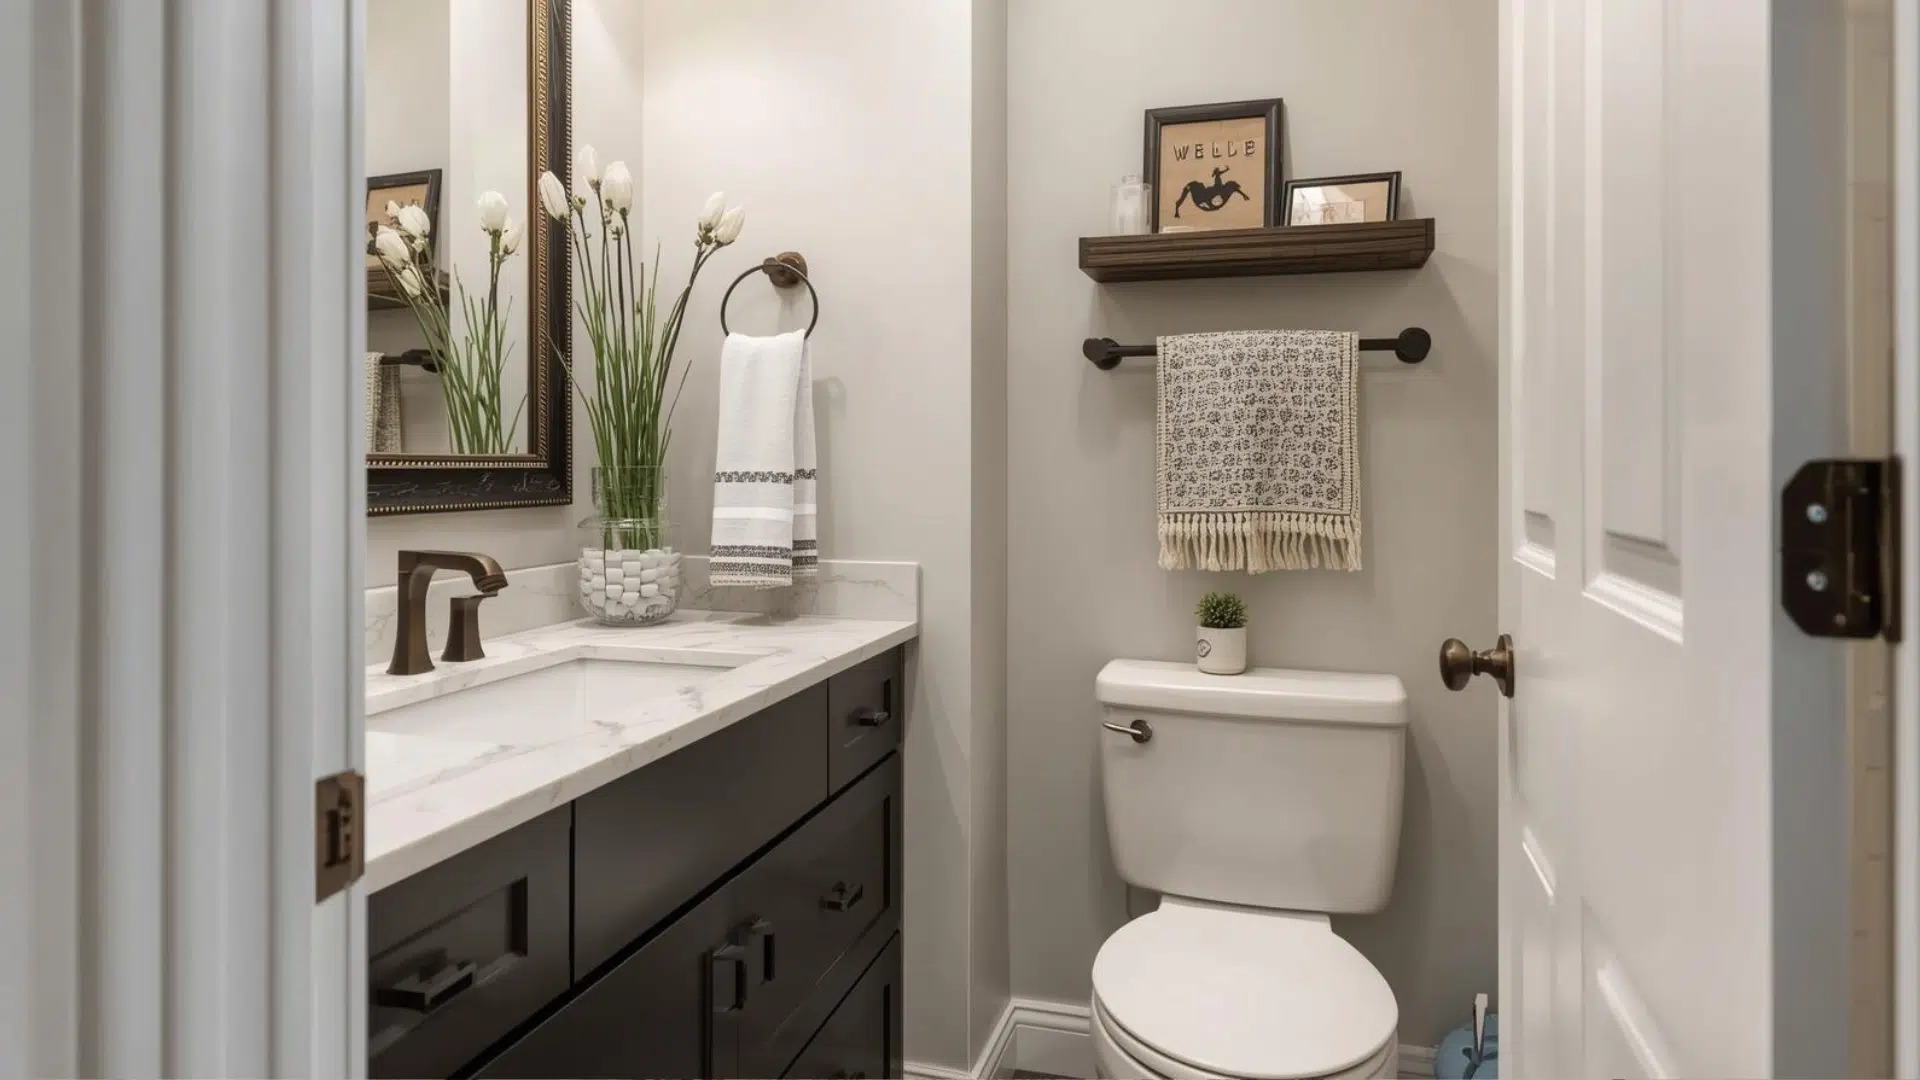
Do you have a tight bathroom space? You’re not alone. Many homeowners struggle to fit everything they need into a cramped bathroom. The good news? A compact, small wet room might be your perfect solution.
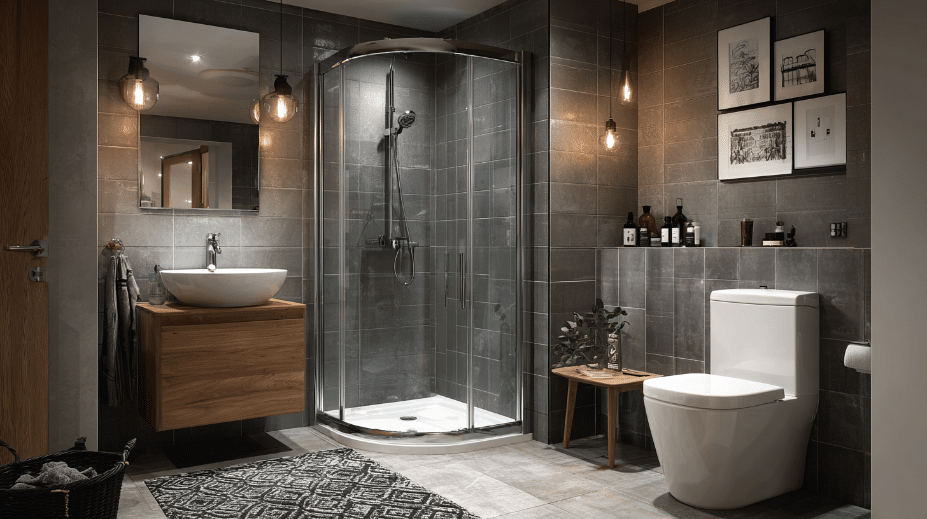
A wet room is a fully waterproofed bathroom without traditional shower cubicles or bulky enclosures. Everything happens in one open space. The floor slopes toward a drain, and water flows away naturally.
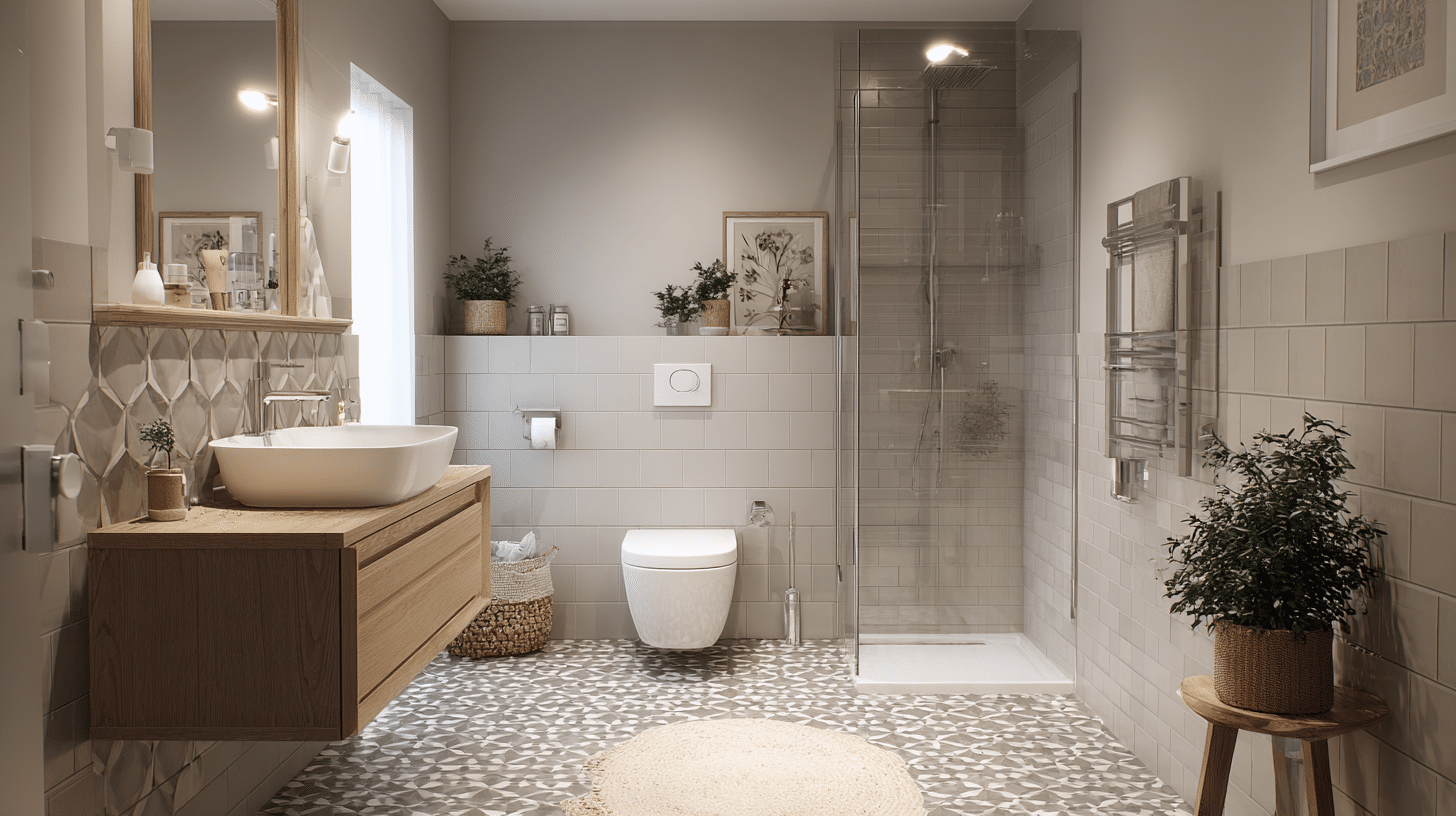
A well-planned wet room can make a tiny bathroom feel more open and easier to use. It can also give the space a clean, modern look.
Here, you’ll find practical layout ideas that maximize every inch. You’ll learn essential waterproofing tips. And you’ll get plenty of style inspiration to create a wet room you’ll love.
What Is a Compact Small Wet Room?
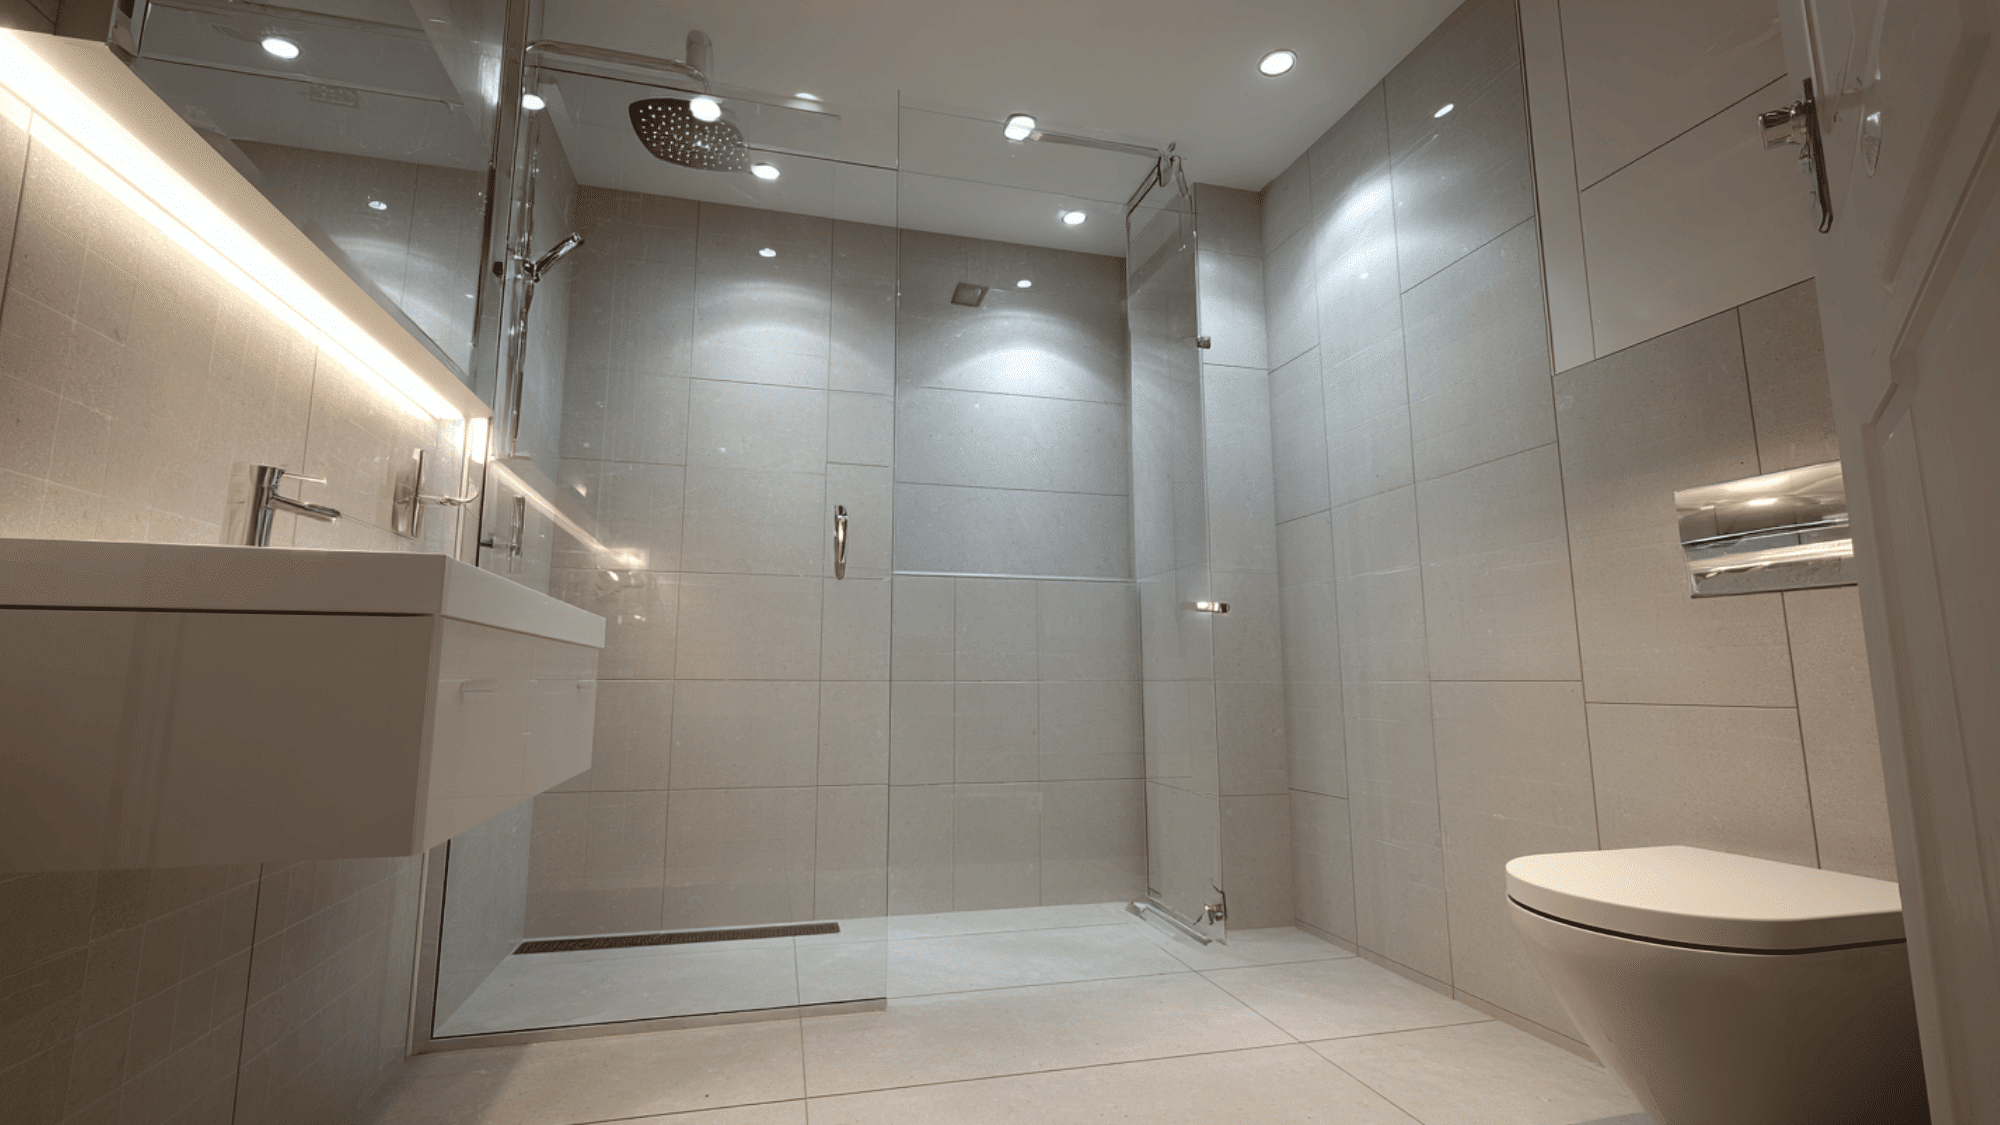
A compact, small wet room is a fully waterproofed bathroom designed without a separate shower enclosure or tray. The entire room becomes a single open shower space, with water draining through the floor.
Key features include:
- Open-plan layout with no shower doors or barriers.
- Complete waterproofing from floor to ceiling.
- Built-in drainage system with sloped flooring.
The main benefits are significant in small bathrooms. Removing bulky enclosures frees up space, makes the room feel larger, and simplifies cleaning by reducing the number of seals and corners. The level-entry design can also improve accessibility while creating a sleek, modern, spa-like finish.
Benefits of Compact Small Wet Rooms
Compact wet rooms deliver practical advantages and visual appeal that go far beyond simple space savings. These innovative bathroom solutions solve multiple challenges at once.
- Space efficiency: Removing bulky shower enclosures creates more usable floor area and better traffic flow throughout your bathroom.
- Easier maintenance: Fewer joints, corners, and glass doors mean less scrubbing. You can quickly wipe down smooth surfaces.
- Improved accessibility: Level entry with no barriers works perfectly for children, elderly family members, and people with mobility challenges.
- Modern appeal: The contemporary aesthetic increases your property value and attracts potential buyers when you sell.
- Improved safety: Non-slip flooring and open layouts reduce the risk of falls compared to traditional shower trays with raised edges.
- Design flexibility: You can customize tiles, fixtures, and layouts to match your style preferences or functional needs.
Small Wet Room Ideas to Maximize Space
Wise design choices can make even the tiniest wet room feel spacious and functional. These proven ideas help you make the most of every inch while creating a beautiful bathroom you’ll enjoy using every day.
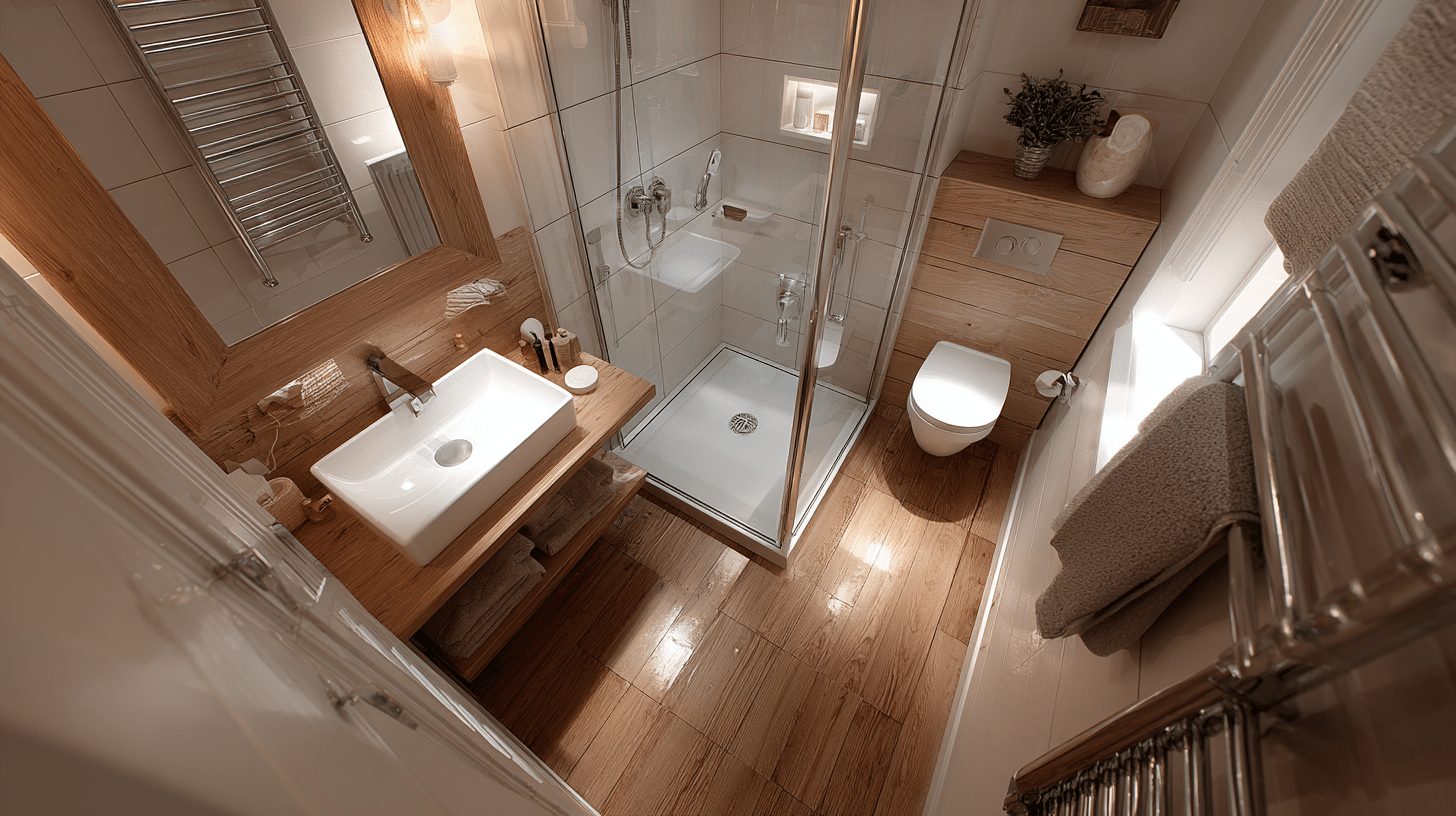
1. Wall-Hung Fixtures
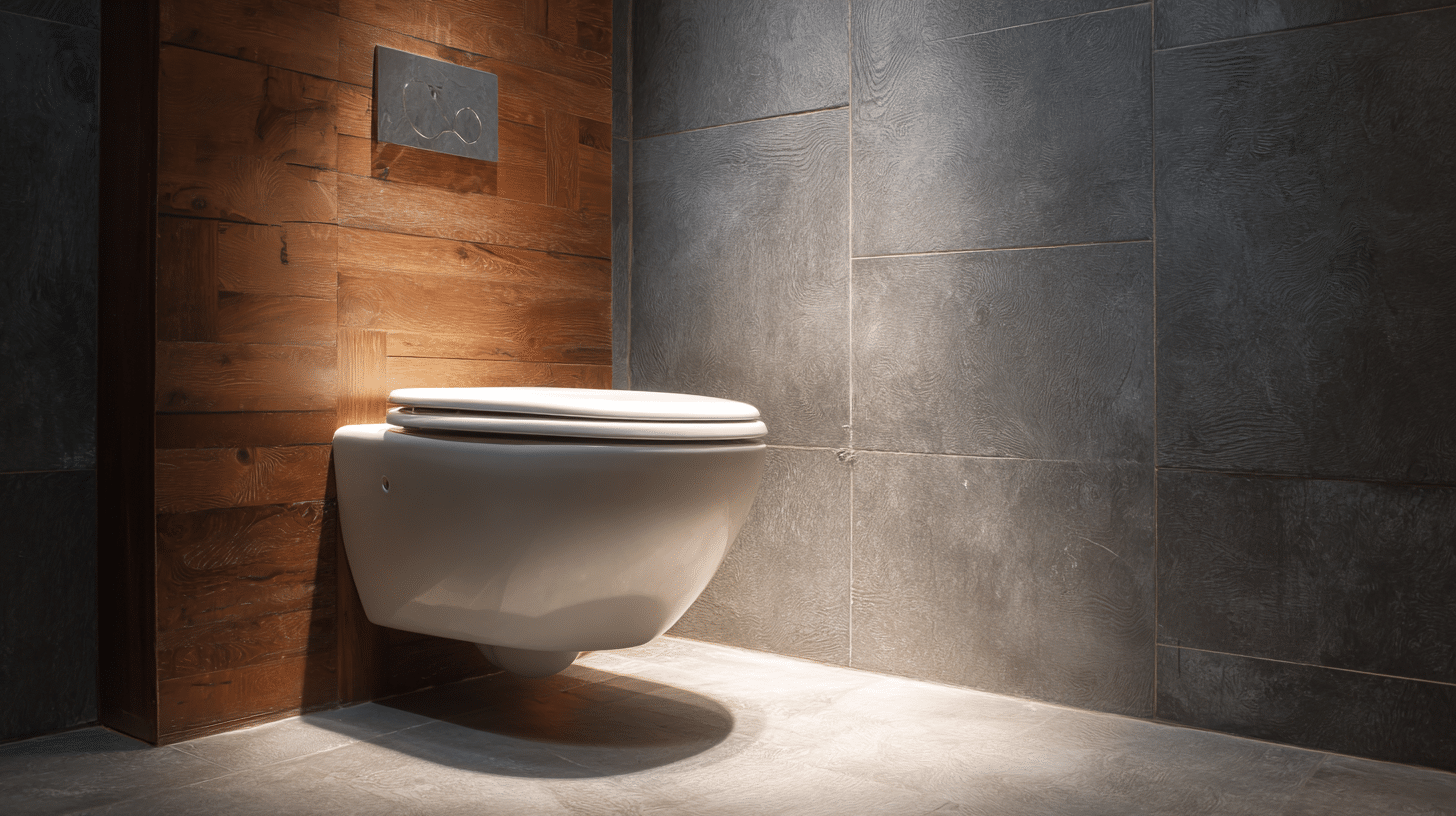
Wall-mounted toilets and vanities turn cramped wet rooms into airy, spacious retreats. Floating fixtures free up valuable floor space while creating a sleek, modern look that makes your bathroom feel larger and more open.
Layout Tips: Mount toilets 40-45cm high and vanities 80-85cm, install reinforced support frames inside walls, and leave 60cm between fixtures, with 20-30cm of side clearance.
2. Vertical Storage Solutions
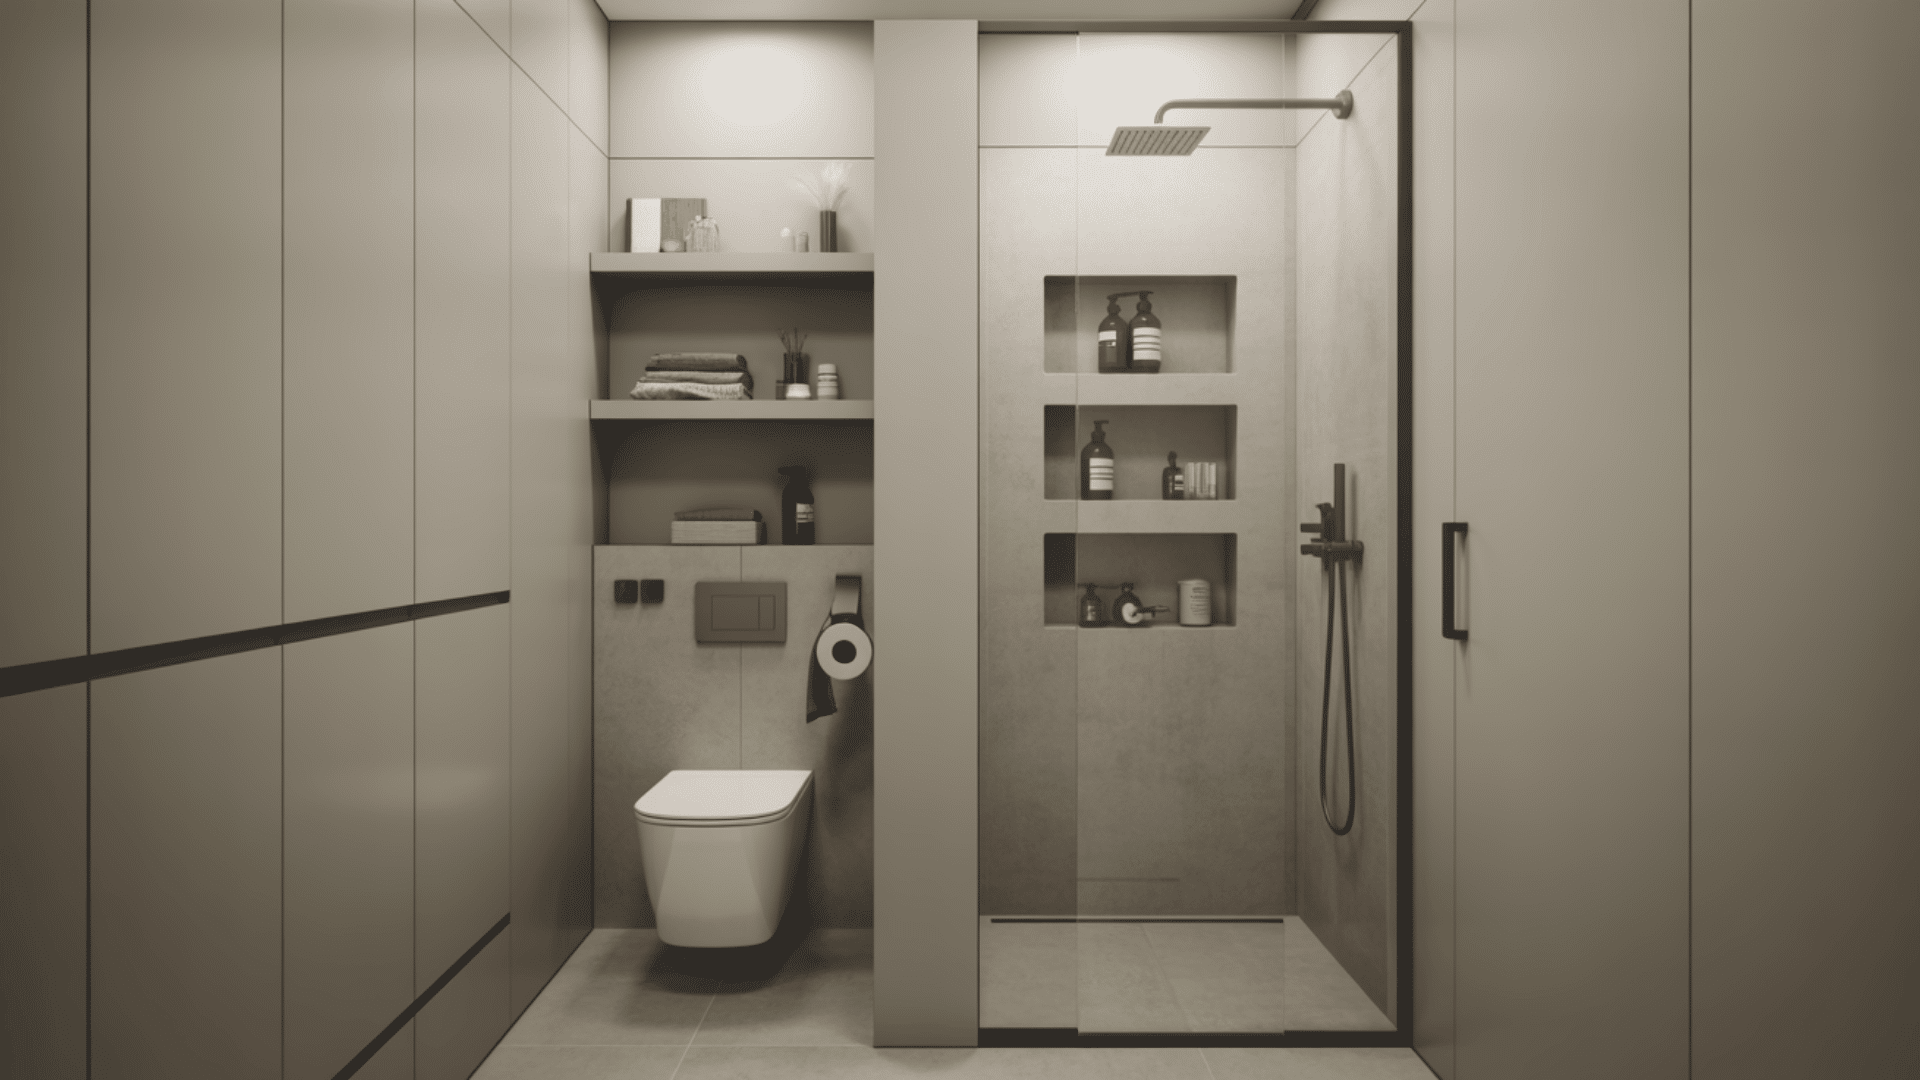
Smart vertical storage turns wasted wall space into valuable storage in small wet rooms. Built-in niches, floor-to-ceiling cabinets, and floating shelves keep toiletries organized without cluttering the limited floor area or blocking movement paths.
Layout Tips: Position recessed shower niches at 100-120cm above the floor for easy reach; install slim cabinets in corners that extend to the ceiling; and add floating shelves 30-40cm above sinks or toilets for frequently used items.
3. Large-Format Tiles
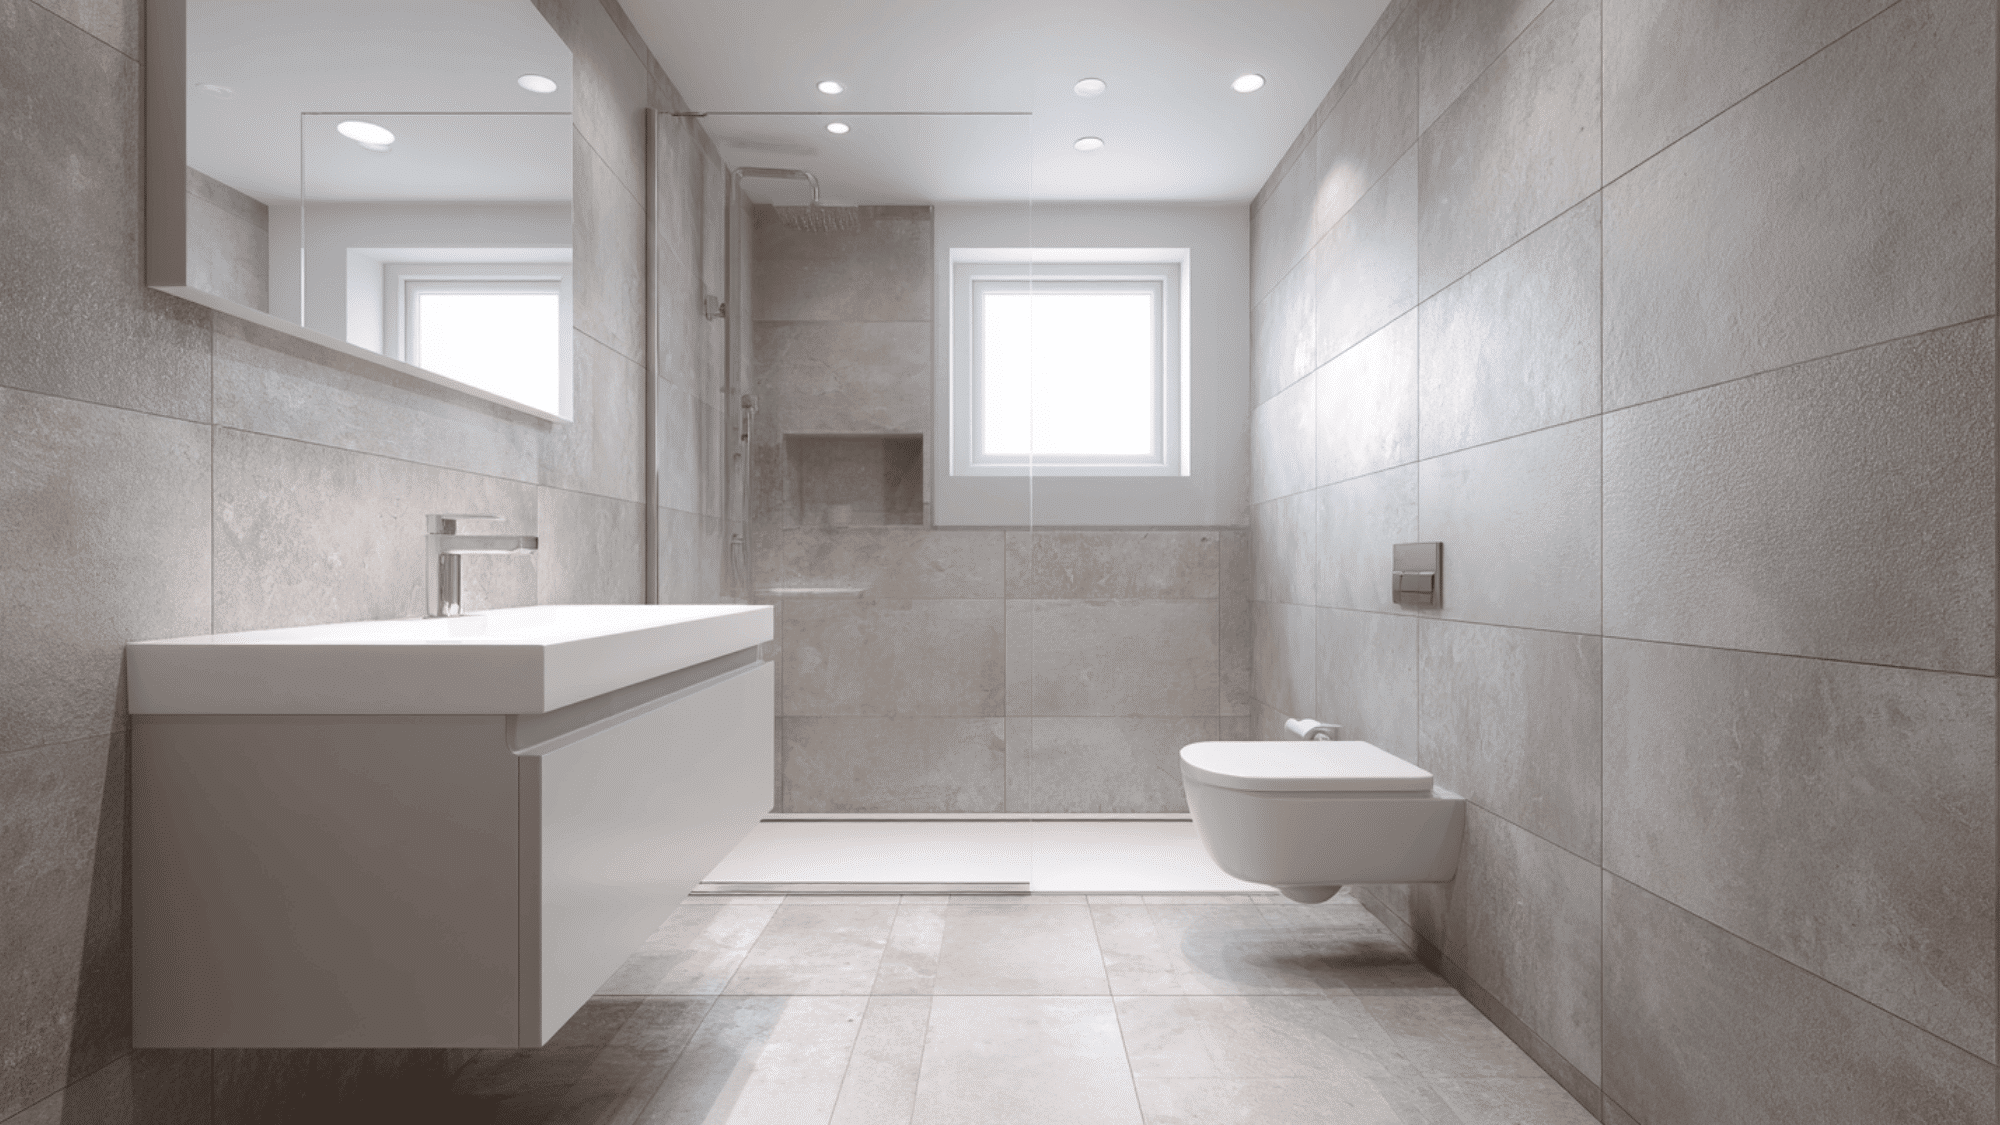
Bigger tiles mean fewer grout lines across your wet room surfaces. It creates a smooth, continuous look that visually expands small spaces and reduces the choppy appearance caused by multiple tile joints.
Layout Tips: Use 60x60cm or larger tiles on floors and walls, align grout lines vertically and horizontally for clean sightlines, and start laying from the most visible wall to minimize cuts in prominent areas.
4. Light Color Palettes
Pale shades work wonders in tight wet rooms by bouncing natural and artificial light around the space. Whites, soft grays, and gentle pastels make walls visually recede, creating an illusion of depth and openness that dark colors can’t achieve.
Layout Tips: Use the lightest shade on the largest surfaces like walls and floors, add slightly deeper tones on accent walls or lower sections, and keep fixtures and fittings in matching light finishes for visual continuity.
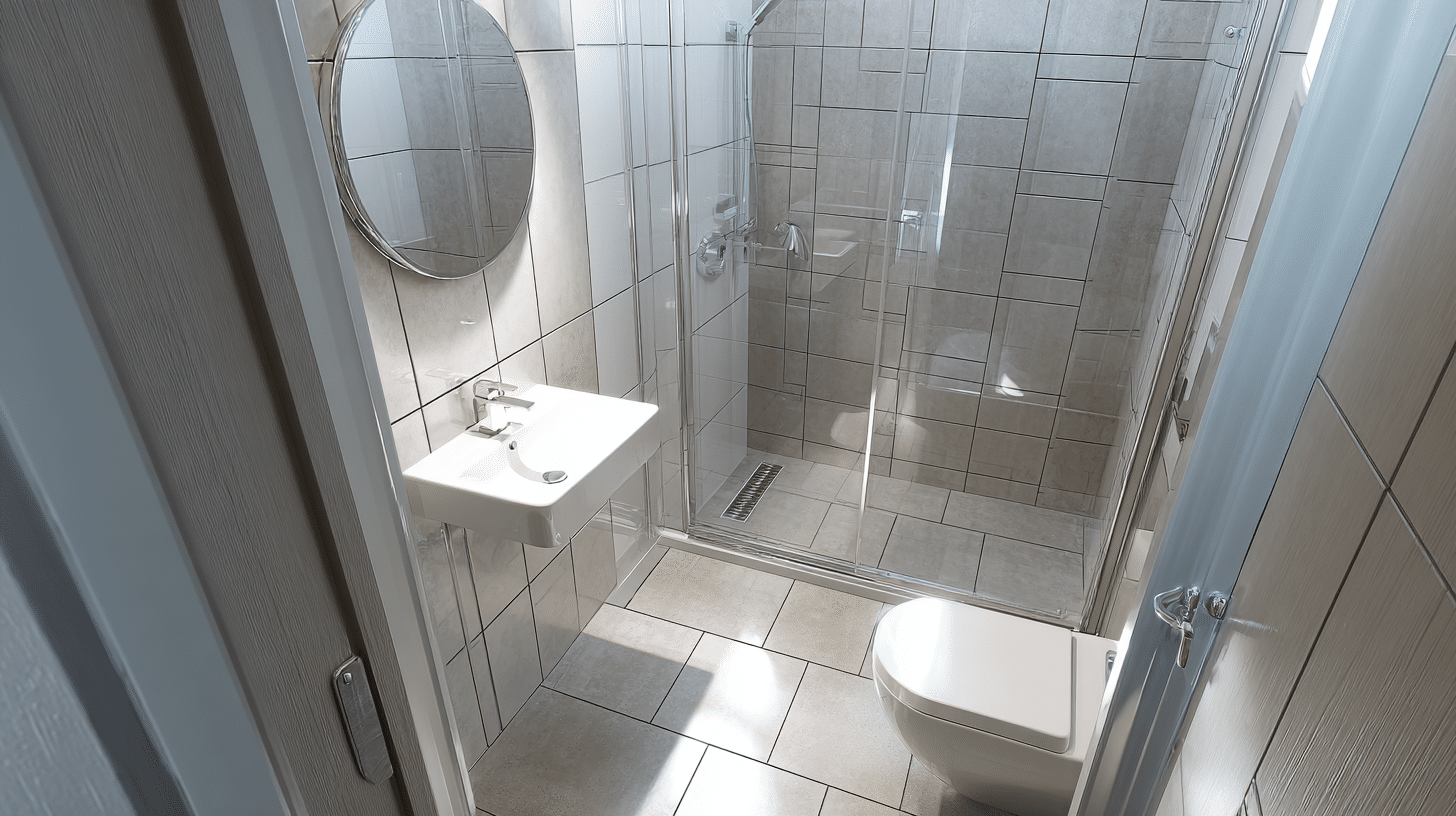
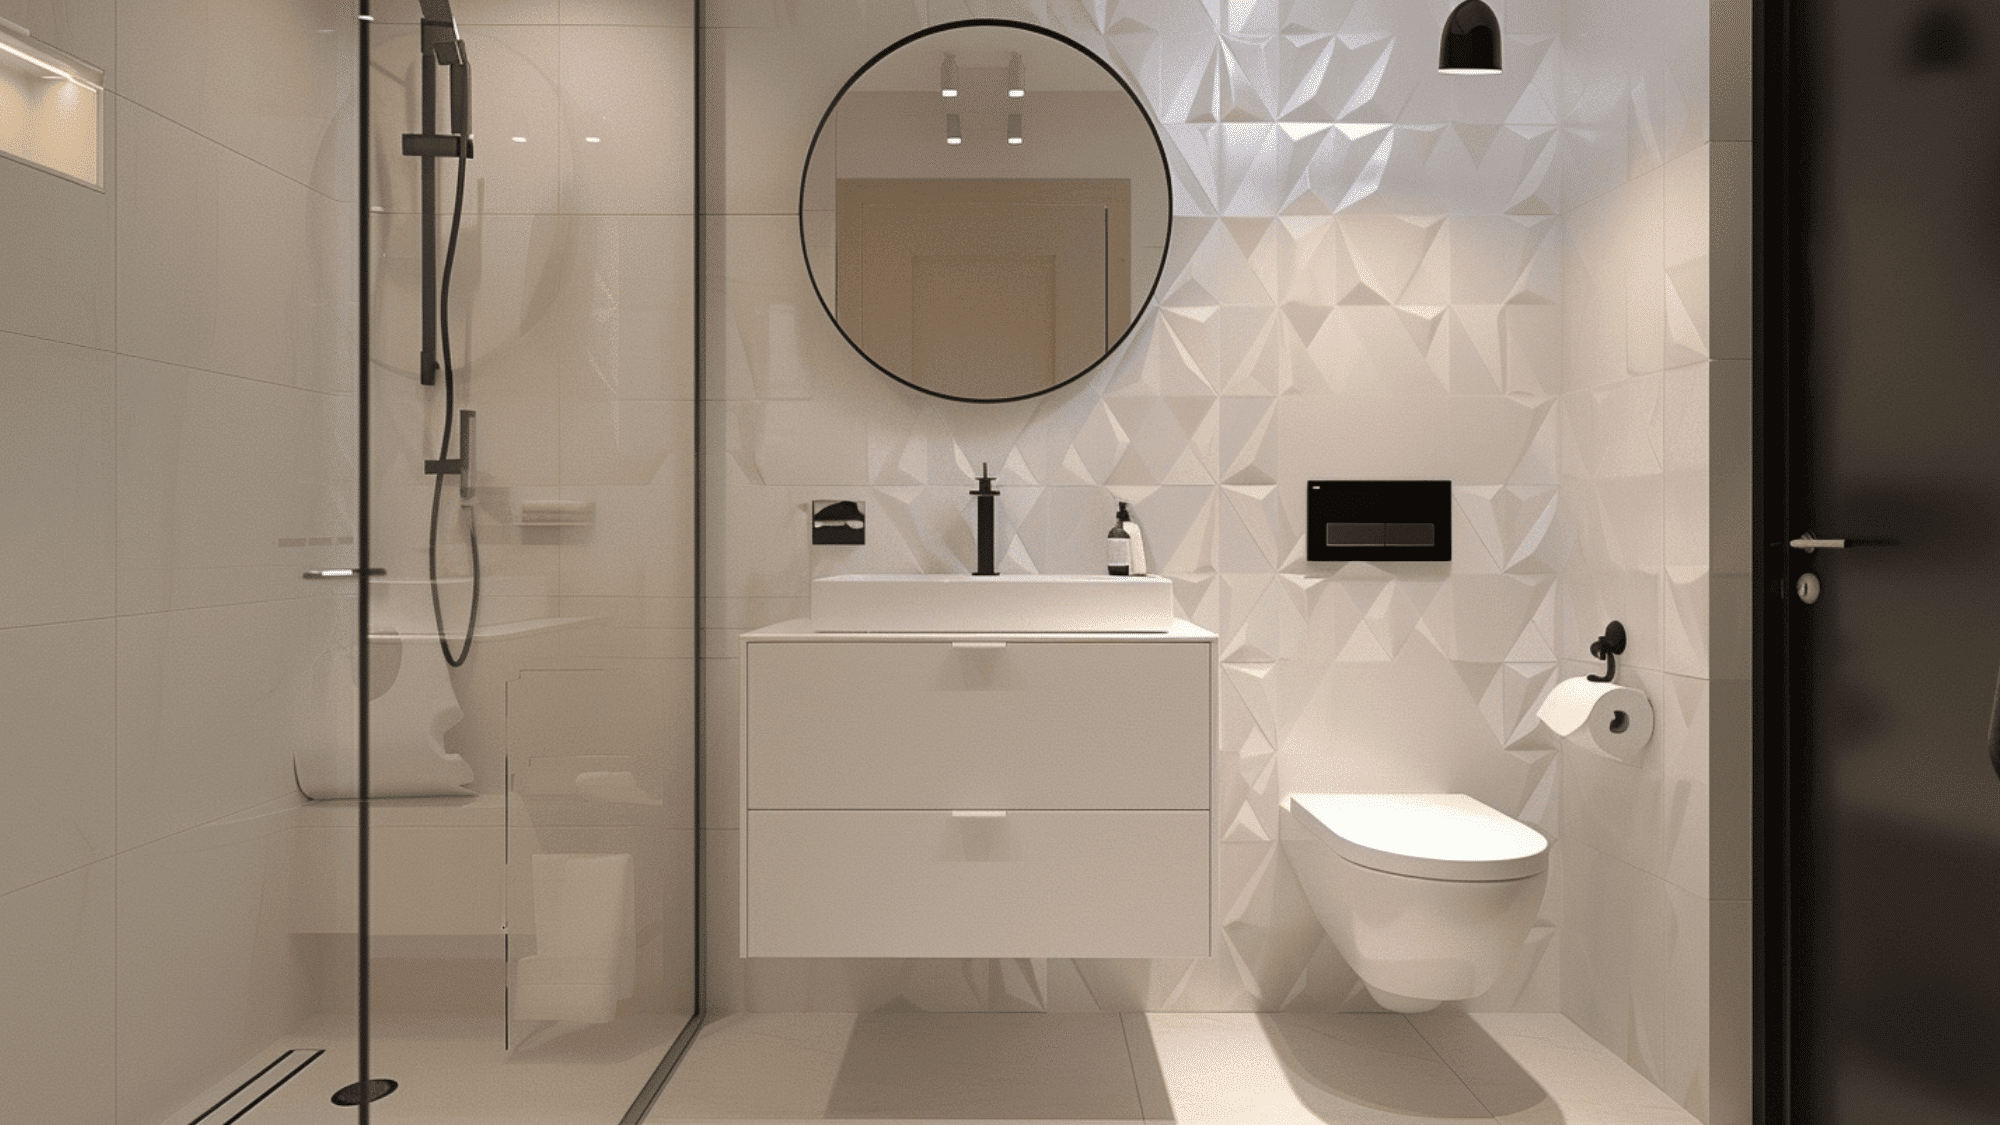
5. Strategic Mirror Placement
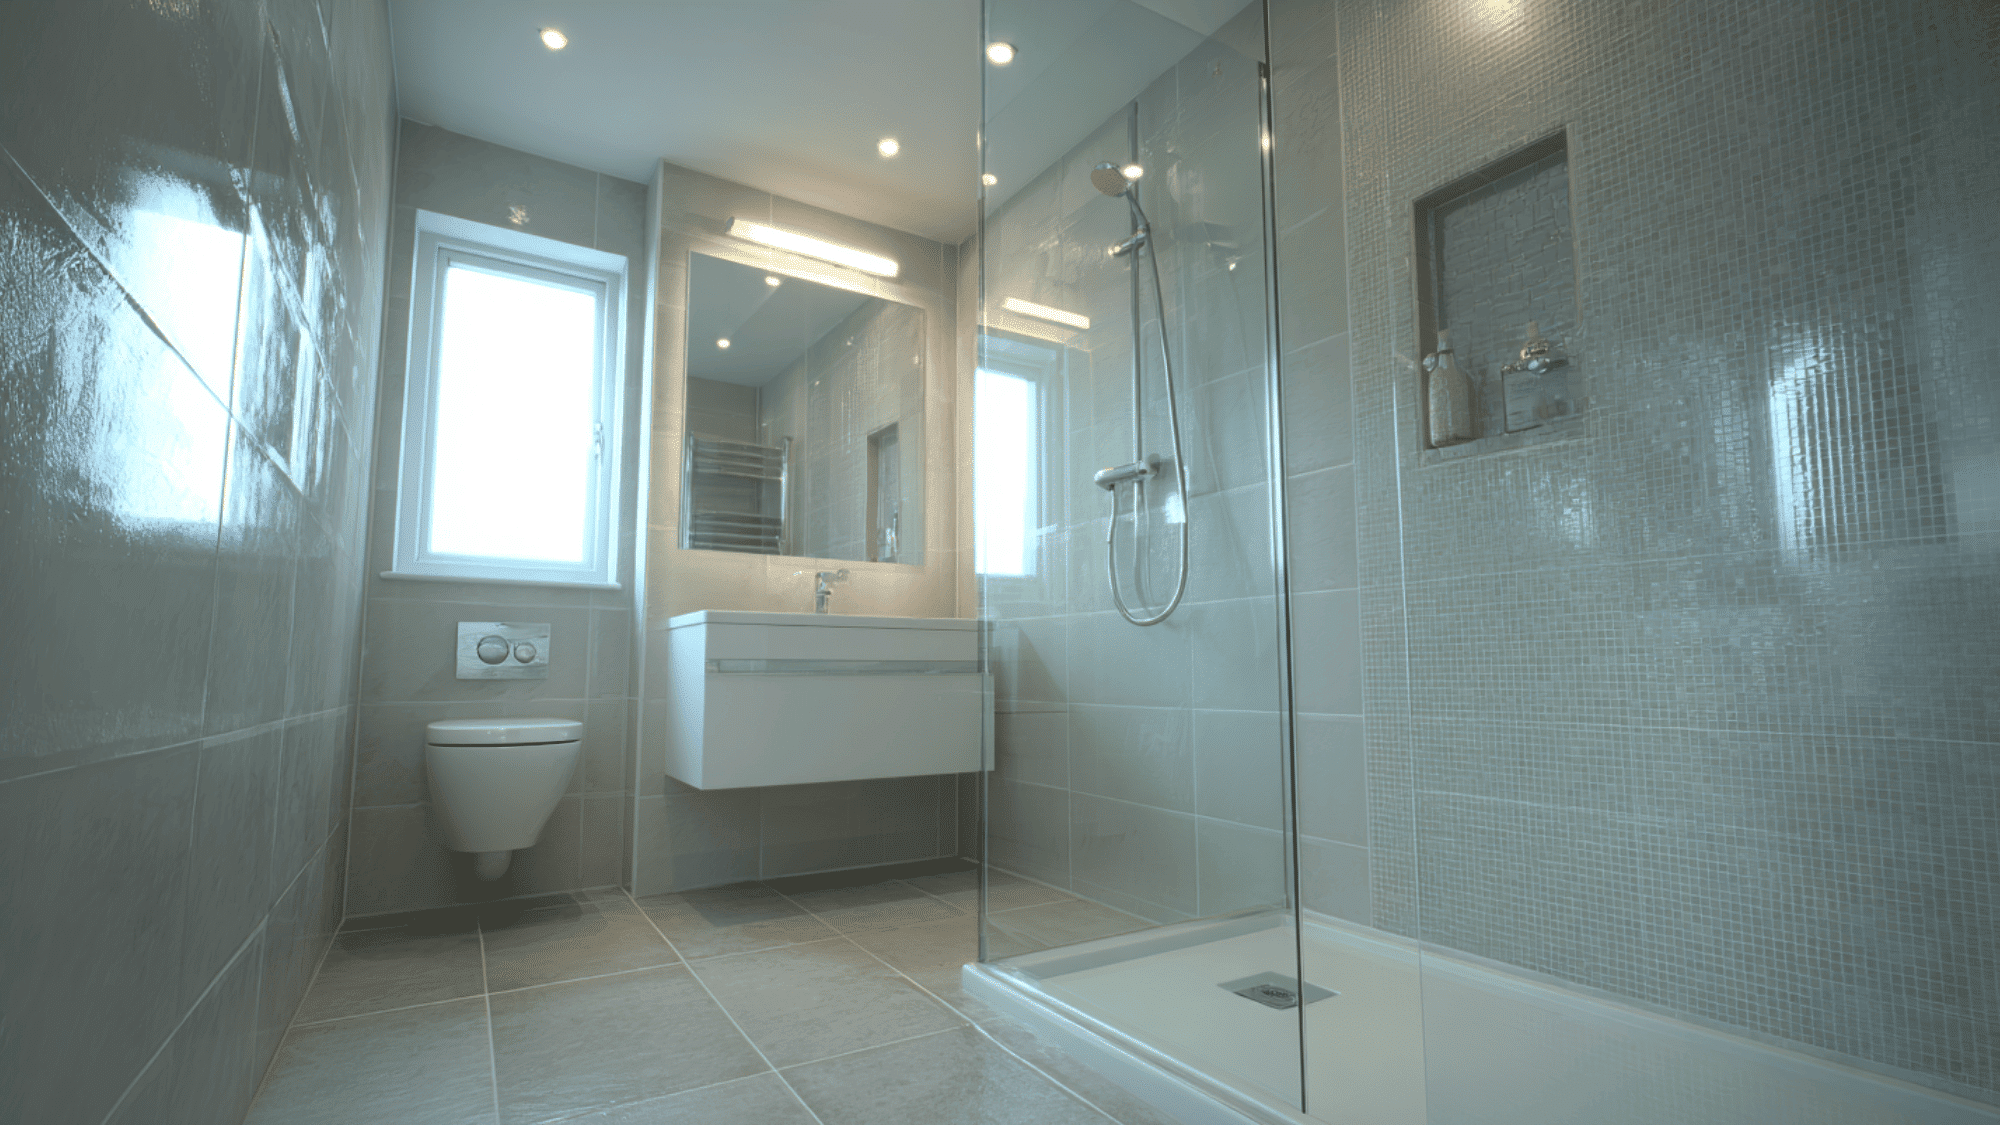
Mirrors instantly double the perceived size of compact wet rooms by reflecting light and views. A well-placed mirror creates depth and brightness, turning even the smallest bathroom into a more welcoming and spacious environment.
Using the right bathroom mirror height helps the reflection feel intentional and makes the room look taller.”
Layout Tips: Install full-wall mirrors above the vanity extending to the ceiling, position mirrors opposite windows to maximize natural light reflection, and avoid placing mirrors directly facing the toilet for privacy and aesthetics.
6. Minimalist Fixtures

Sleek, simple fixtures prevent visual clutter in compact wet rooms. Slim-profile taps, streamlined shower heads, and compact sinks with clean lines keep the focus on openness rather than bulky hardware that dominates small spaces.
Layout Tips: Choose wall-mounted taps to free up sink edges, select rainfall shower heads no larger than 20-25cm diameter, and opt for integrated or concealed waste systems that eliminate visible plumbing.
7. Continuous Flooring

Using identical tiles throughout your wet room eliminates visual boundaries that would otherwise break up the space. This uninterrupted flow from wall to wall creates a cohesive look that makes the room appear larger and more unified.
Layout Tips: Extend the same flooring from the shower zone through the entire room without borders or transitions, ensure consistent grout color throughout, and align tile patterns in the same direction to guide the eye smoothly across the space.
8. Recessed Lighting
Flush-mounted lights eliminate bulky fixtures that hang down and crowd small wet rooms. LED downlights and strip lighting sit seamlessly within ceilings and walls, providing bright, even illumination without sacrificing precious overhead space.
Layout Tips: Space downlights 60-80cm apart for even coverage, install dimmable LEDs rated IP65 or higher for wet areas, and add LED strips inside recessed niches or under floating vanities for layered ambient lighting.
9. Corner Shower Positioning
Corners are naturally suited to shower zones in compact wet rooms. Placing your shower in the corner maximizes underutilized space while keeping the central area open for movement and other fixtures, creating better traffic flow.
Layout Tips: Position the showerhead on the corner’s back wall to direct spray inward, slope the floor toward a corner drain from two directions for efficient drainage, and use L-shaped glass panels if needed for minimal splash protection.
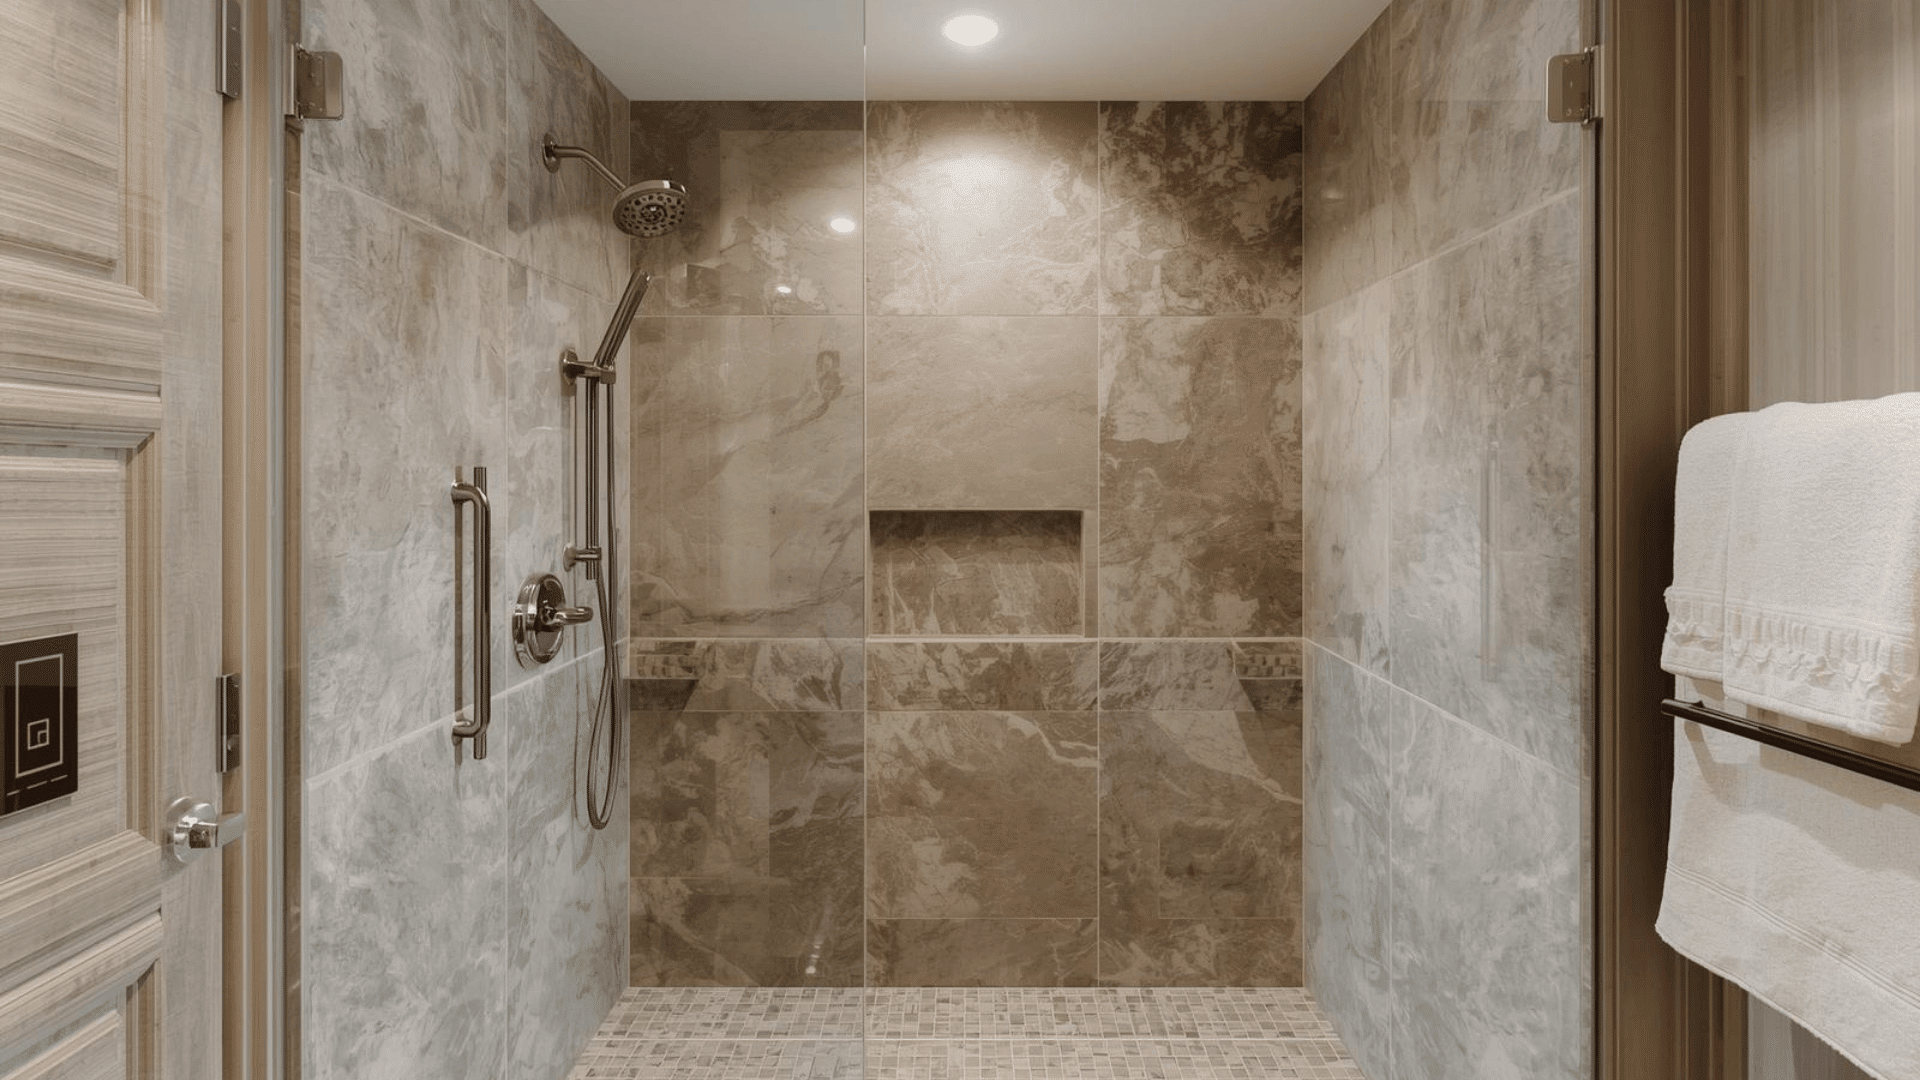
10. Transparent or Light Glass
Transparent glass partitions maintain unbroken sightlines across your entire wet room. Unlike frosted or patterned glass, which visually divide the space, transparent panels keep the room feeling open and connected while still providing necessary splash protection.
Layout Tips: Use frameless glass panels with minimal hardware for maximum transparency, position glass to shield only the toilet area from direct spray, and ensure glass extends at least 30cm beyond the showerhead to contain water effectively.
11. Sliding Pocket Doors
Sliding pocket doors disappear into the wall when opened, eliminating the swing space traditional doors require. This space-saving solution is perfect for tiny wet rooms where every centimeter counts and a swinging door would block fixtures or movement.
Layout Tips: Install pocket door systems in non-load-bearing walls at least 10cm thick; position the door opening away from plumbing lines to avoid conflicts; and choose moisture-resistant, bathroom-rated hardware to prevent corrosion.
12. Fold-Down Shower Seats
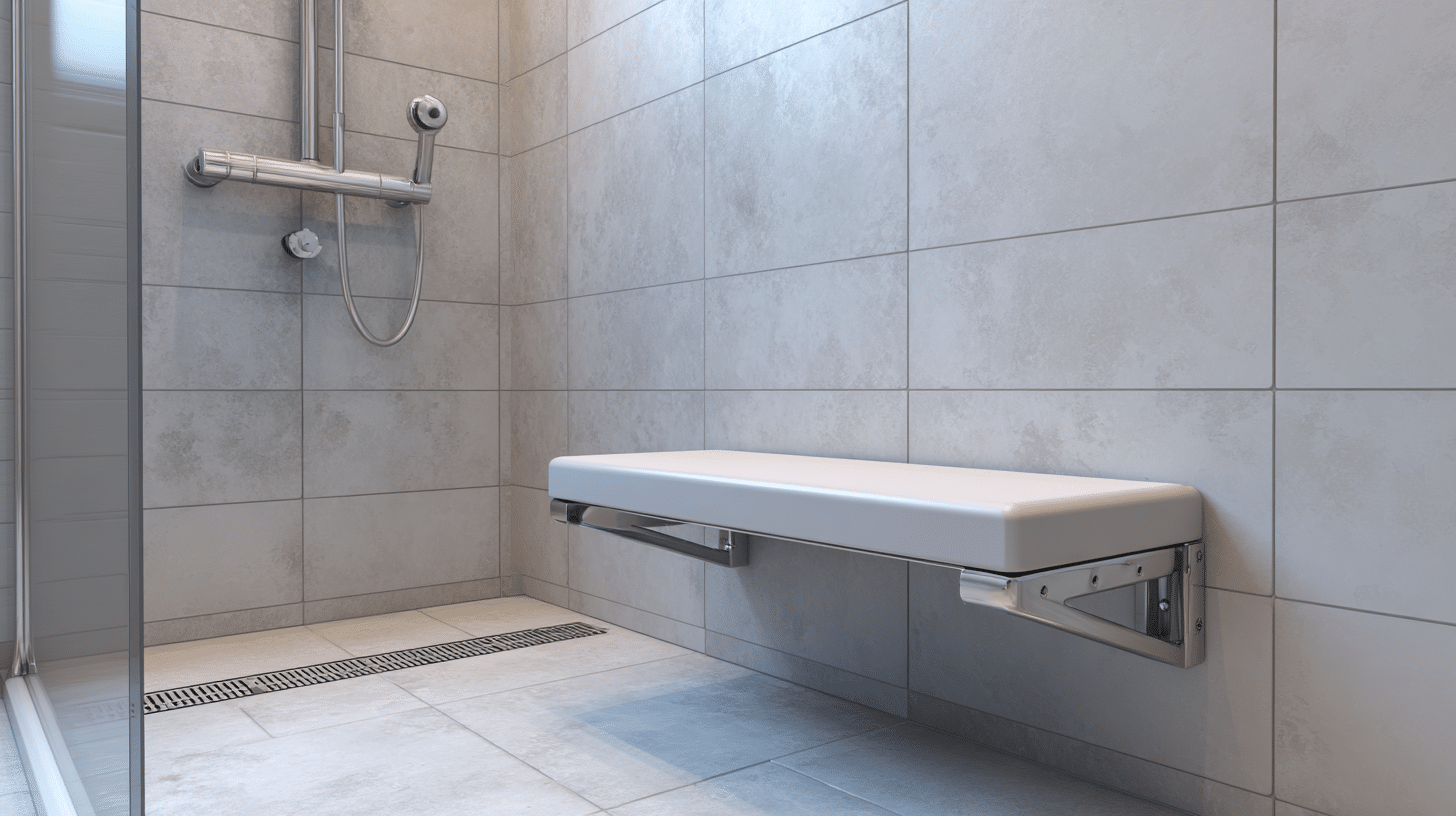
Fold-down shower seats provide comfortable seating when needed and disappear against the wall when not in use. These space-saving additions offer convenience and accessibility without permanently occupying valuable floor space in your compact wet room.
Layout Tips: Mount fold-down seats 45-50cm from the floor on the side wall opposite the showerhead, ensure at least 40cm width for comfortable seating, and position away from the drain to keep the seat dry when folded up.
13. Narrow Profile Radiators

Slim vertical radiators provide efficient heating without consuming precious wall space. These tall, narrow designs fit into tight corners or narrow wall sections that standard radiators can’t utilize, keeping your wet room warm while maximizing usable space.
Layout Tips: Install vertical radiators in narrow gaps beside doors or in corners at least 15cm from fixtures, position away from the direct shower spray zone, and mount at least 10cm above the floor for proper air circulation and cleaning access.
14. Ceiling-Mounted Shower Heads
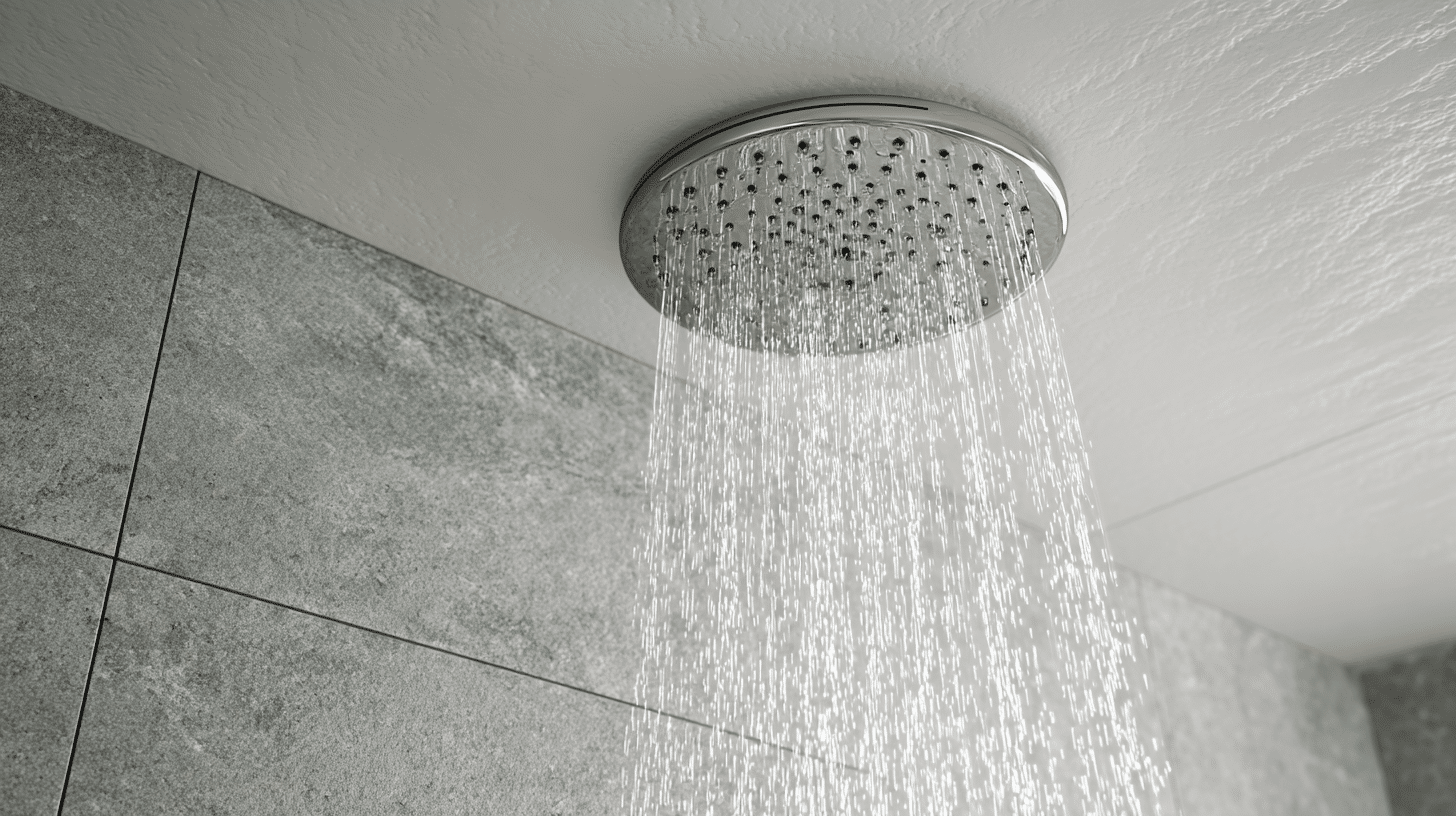
Overhead shower heads mounted directly into the ceiling create a luxurious rainfall effect while freeing up wall space. This sleek installation eliminates protruding arms and brackets, contributing to a clean, minimalist aesthetic in compact wet rooms.
Layout Tips: Position the showerhead 200-210cm above the floor for optimal coverage, center it over the shower zone to ensure even water distribution, and angle it slightly toward the drain to direct water flow efficiently.
15. Built-In Storage Benches
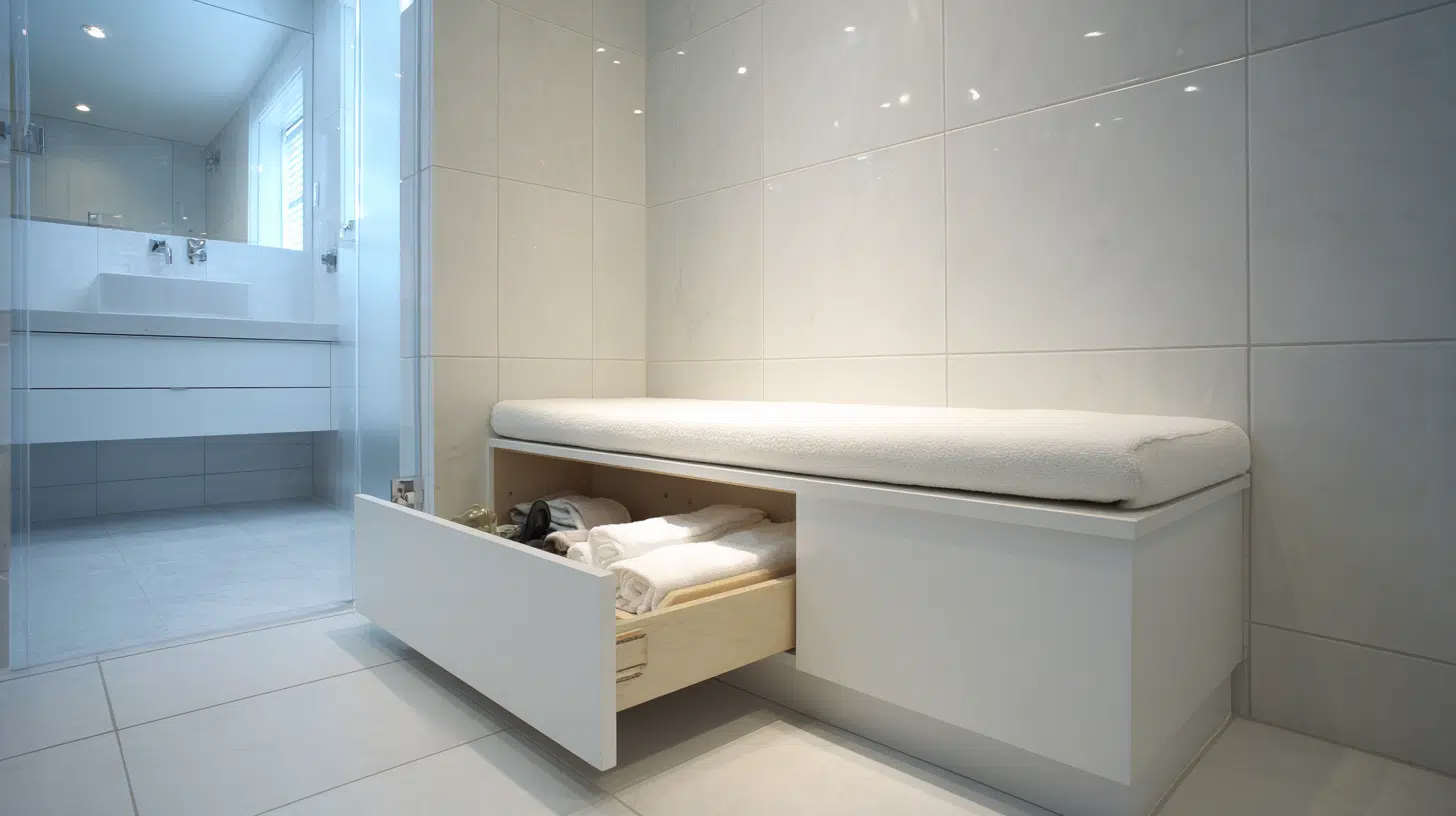
Custom-built benches with integrated storage compartments serve double duty in small wet rooms. These multifunctional features provide comfortable seating while hiding toiletries, towels, and cleaning supplies inside, eliminating the need for separate pieces of furniture.
Layout Tips: Build benches 45cm high and 40-50cm deep along unused walls, incorporate waterproof lift-up lids or pull-out drawers for hidden storage, and position away from direct water spray to keep stored items dry.
Style Ideas for Wet Rooms
The right style can turn your small wet room from basic to beautiful. Here are popular design approaches that work perfectly in compact spaces.
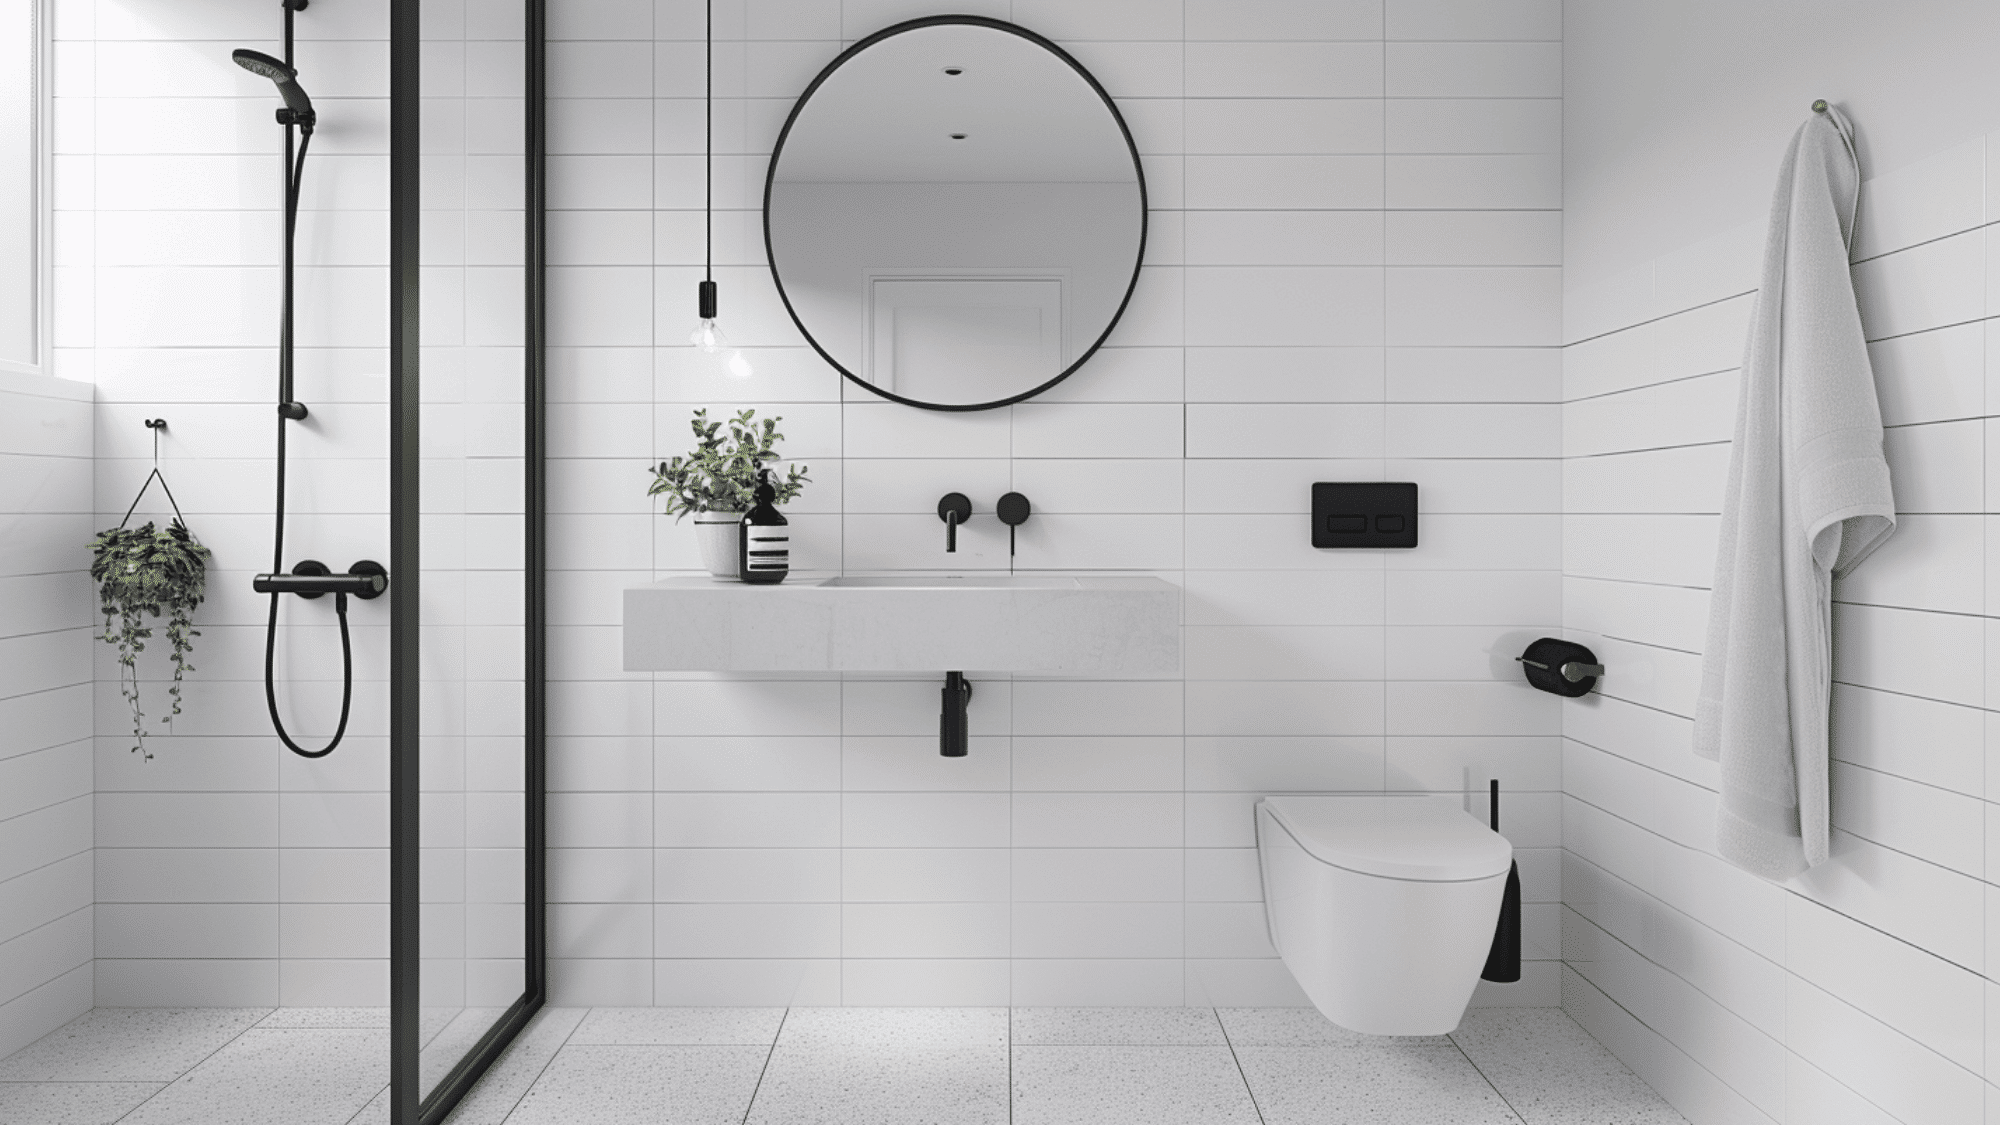
16. Modern Minimalist Design
Clean lines and stripped-back simplicity define modern minimalist wet rooms. Monochromatic color schemes, handleless fixtures, and flat surfaces create a calm, uncluttered environment that makes ultra-compact spaces feel surprisingly spacious and breathable.
Design Tips: Stick to one or two colors maximum (typically whites, grays, or blacks), choose geometric shapes with sharp edges rather than curves, and eliminate all decorative elements to maintain the pure, functional aesthetic.
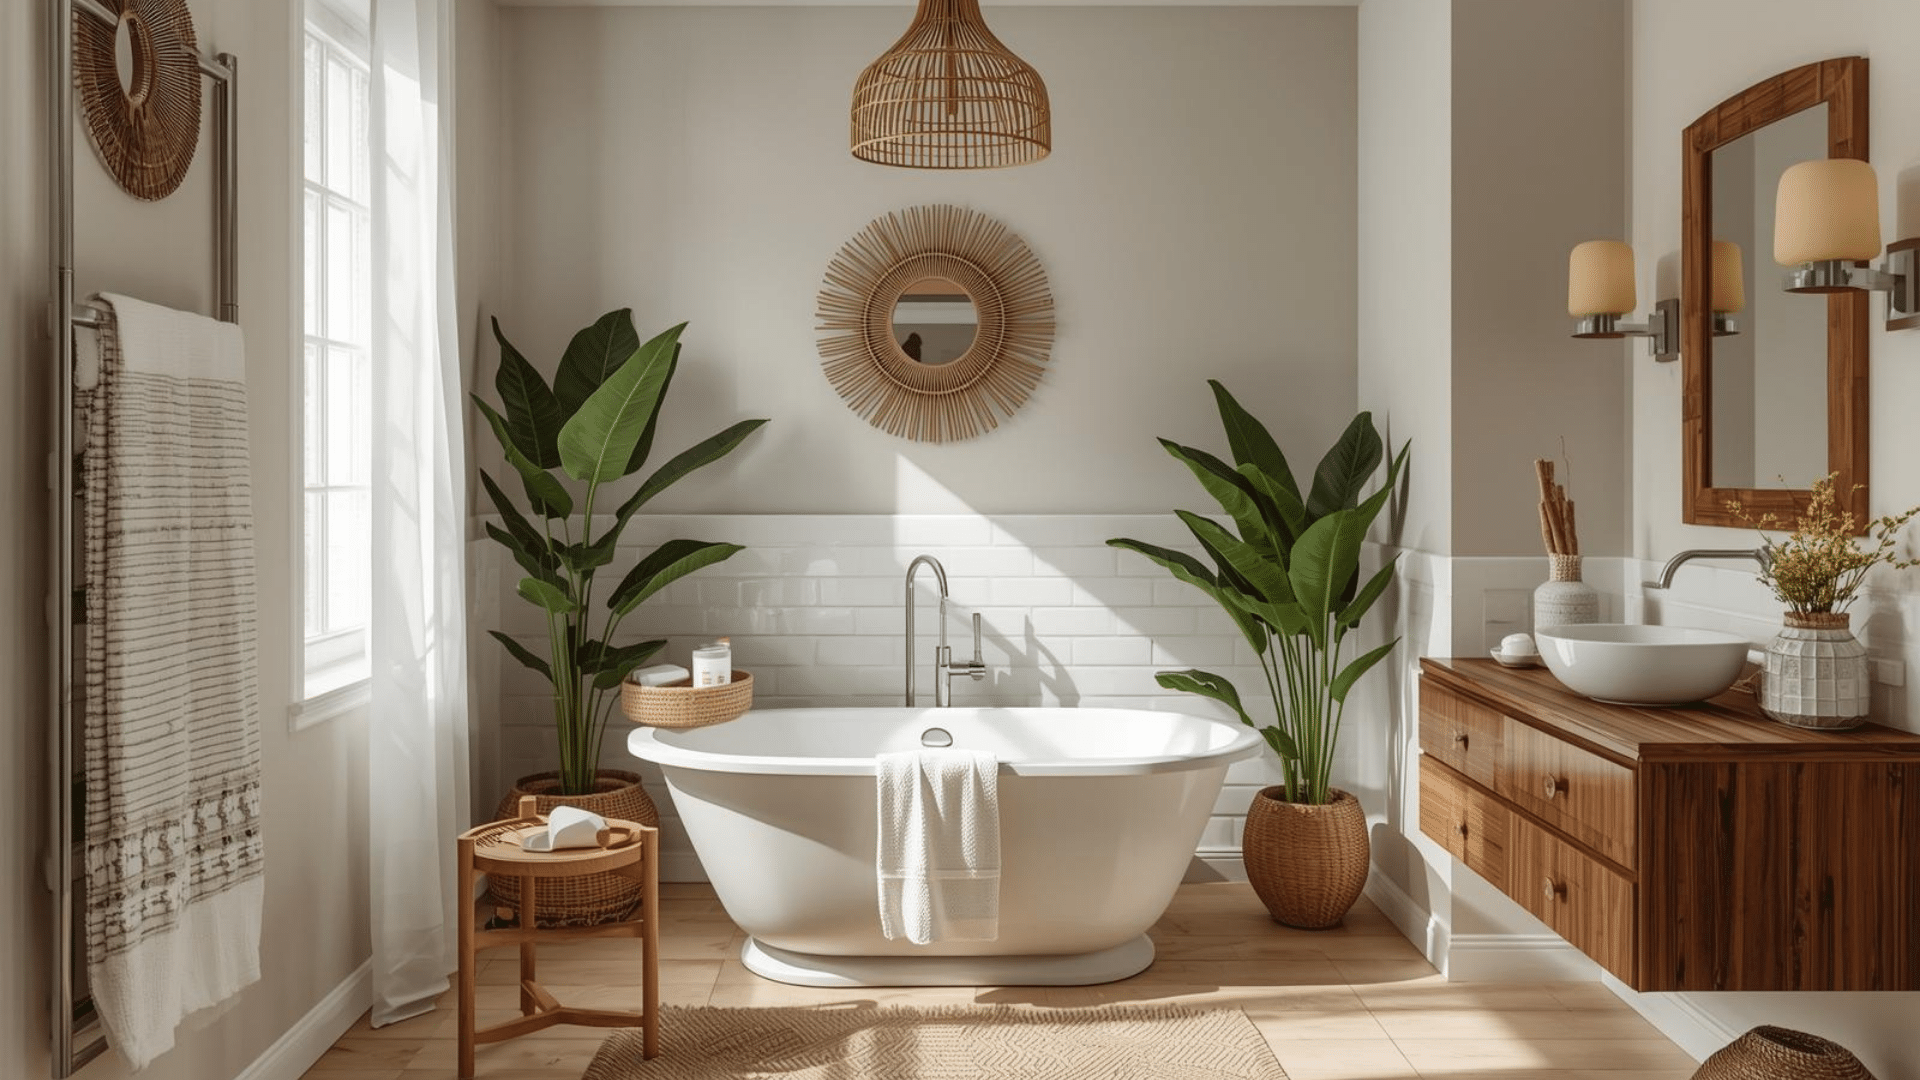
17. Scandinavian-Inspired Style
Scandinavian design brings warmth and coziness to small wet rooms through natural materials and soft tones. Wood-effect tiles, stone accents, and white bases create a balanced space that feels both functional and inviting, perfect for compact bathrooms that shouldn’t feel cold or clinical.
Design Tips: Start with white or light gray walls and add wood-effect tiles or natural stone for warmth, incorporate brass or wooden accessories sparingly, and maximize natural light with sheer window treatments or skylights where possible.
18. Industrial Chic
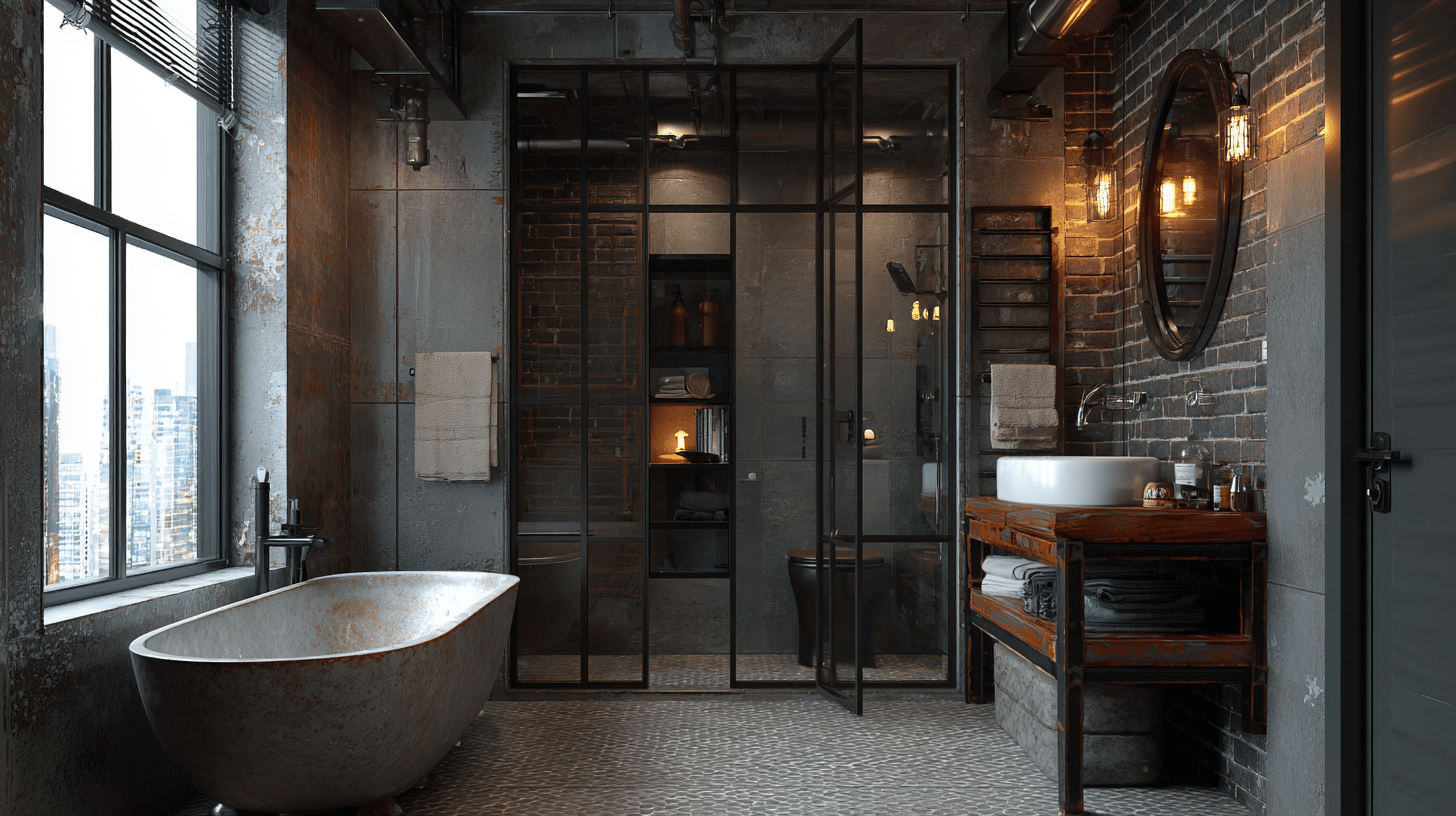
Raw, urban elements bring bold character to compact wet rooms. Concrete-effect tiles, exposed metal finishes, and matte-black fixtures create an edgy, modern look that adds personality and visual interest even in the smallest spaces.
Design Tips: Use concrete-effect or dark gray tiles on one feature wall, pair matte black taps and shower fittings with brushed metal accents, and add classic white metro tiles in brick patterns for authentic industrial contrast.
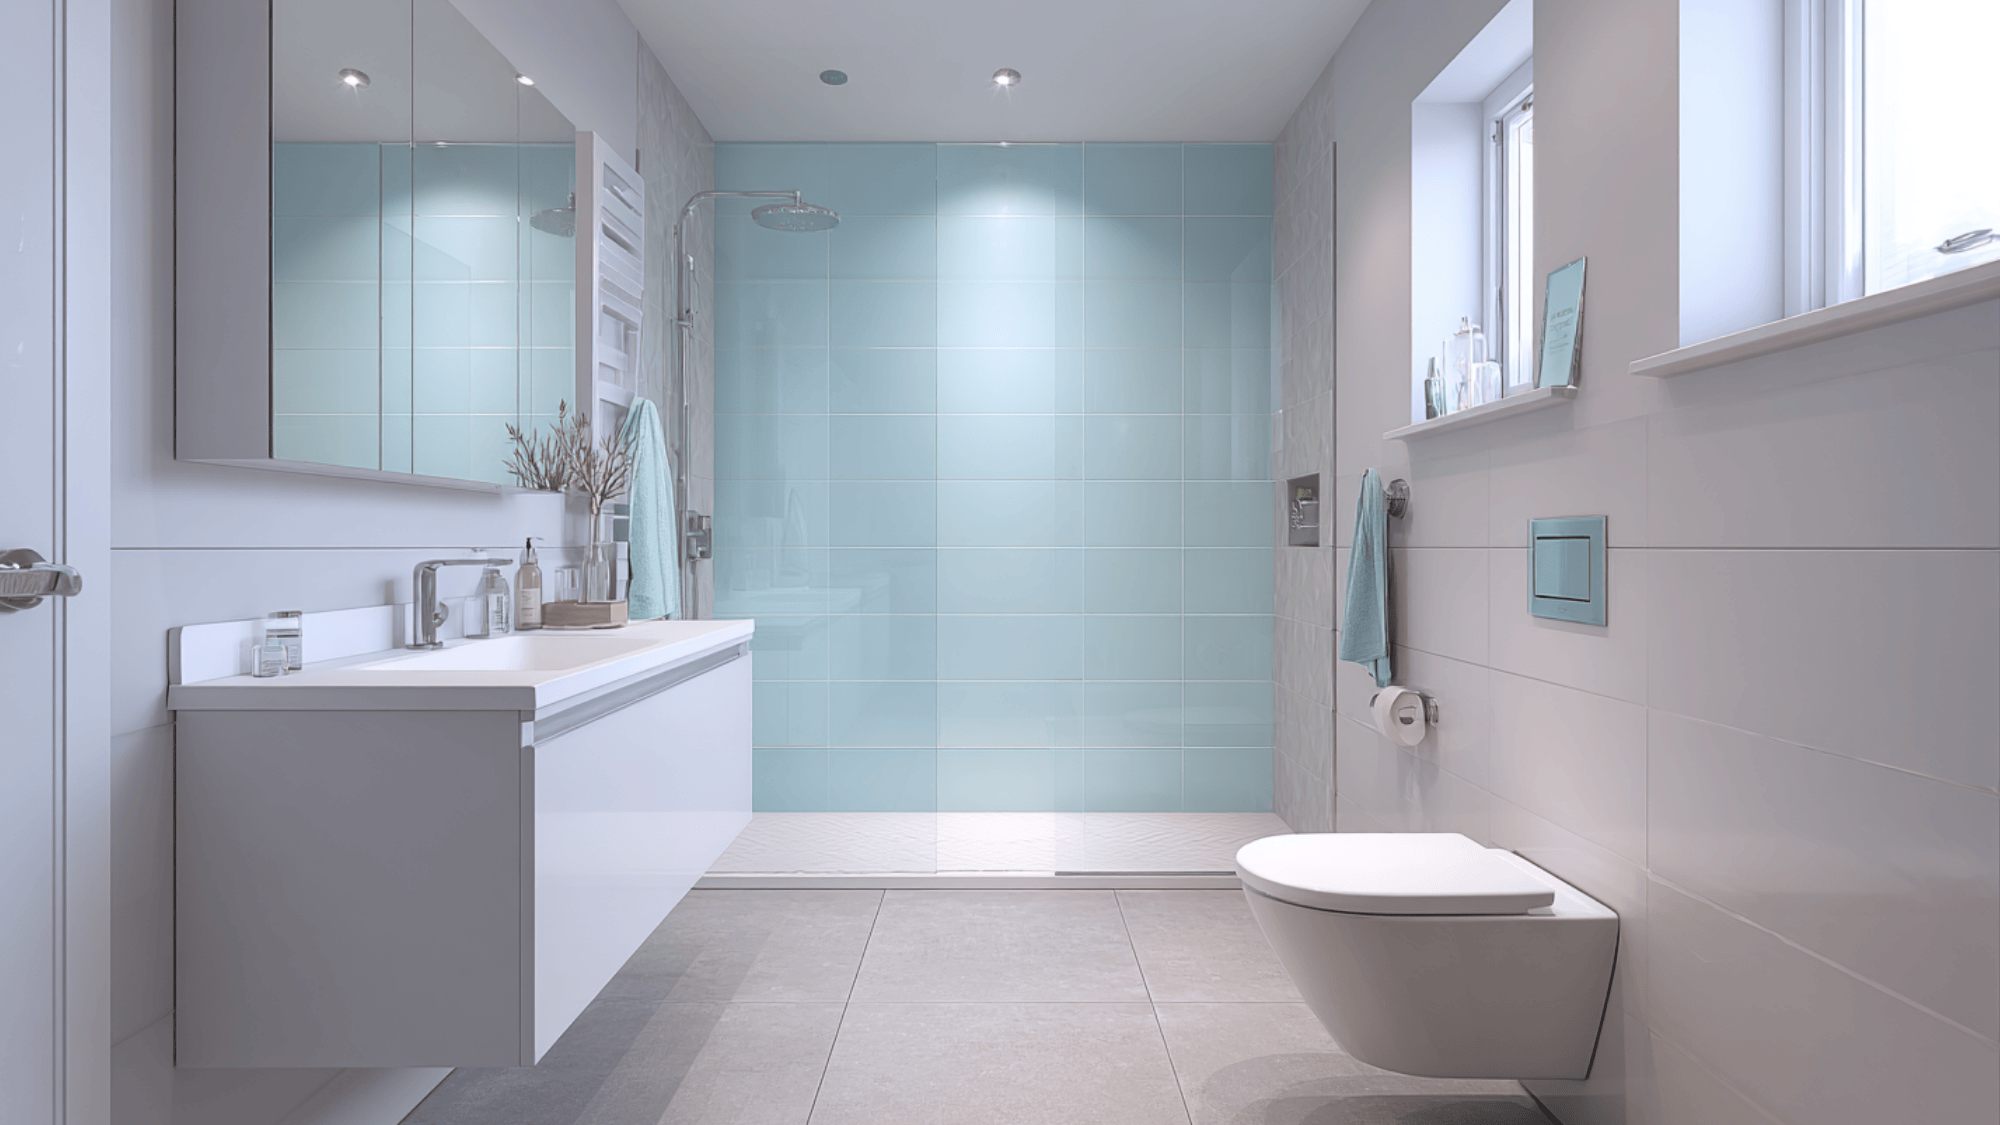
19. Coastal Beach Theme
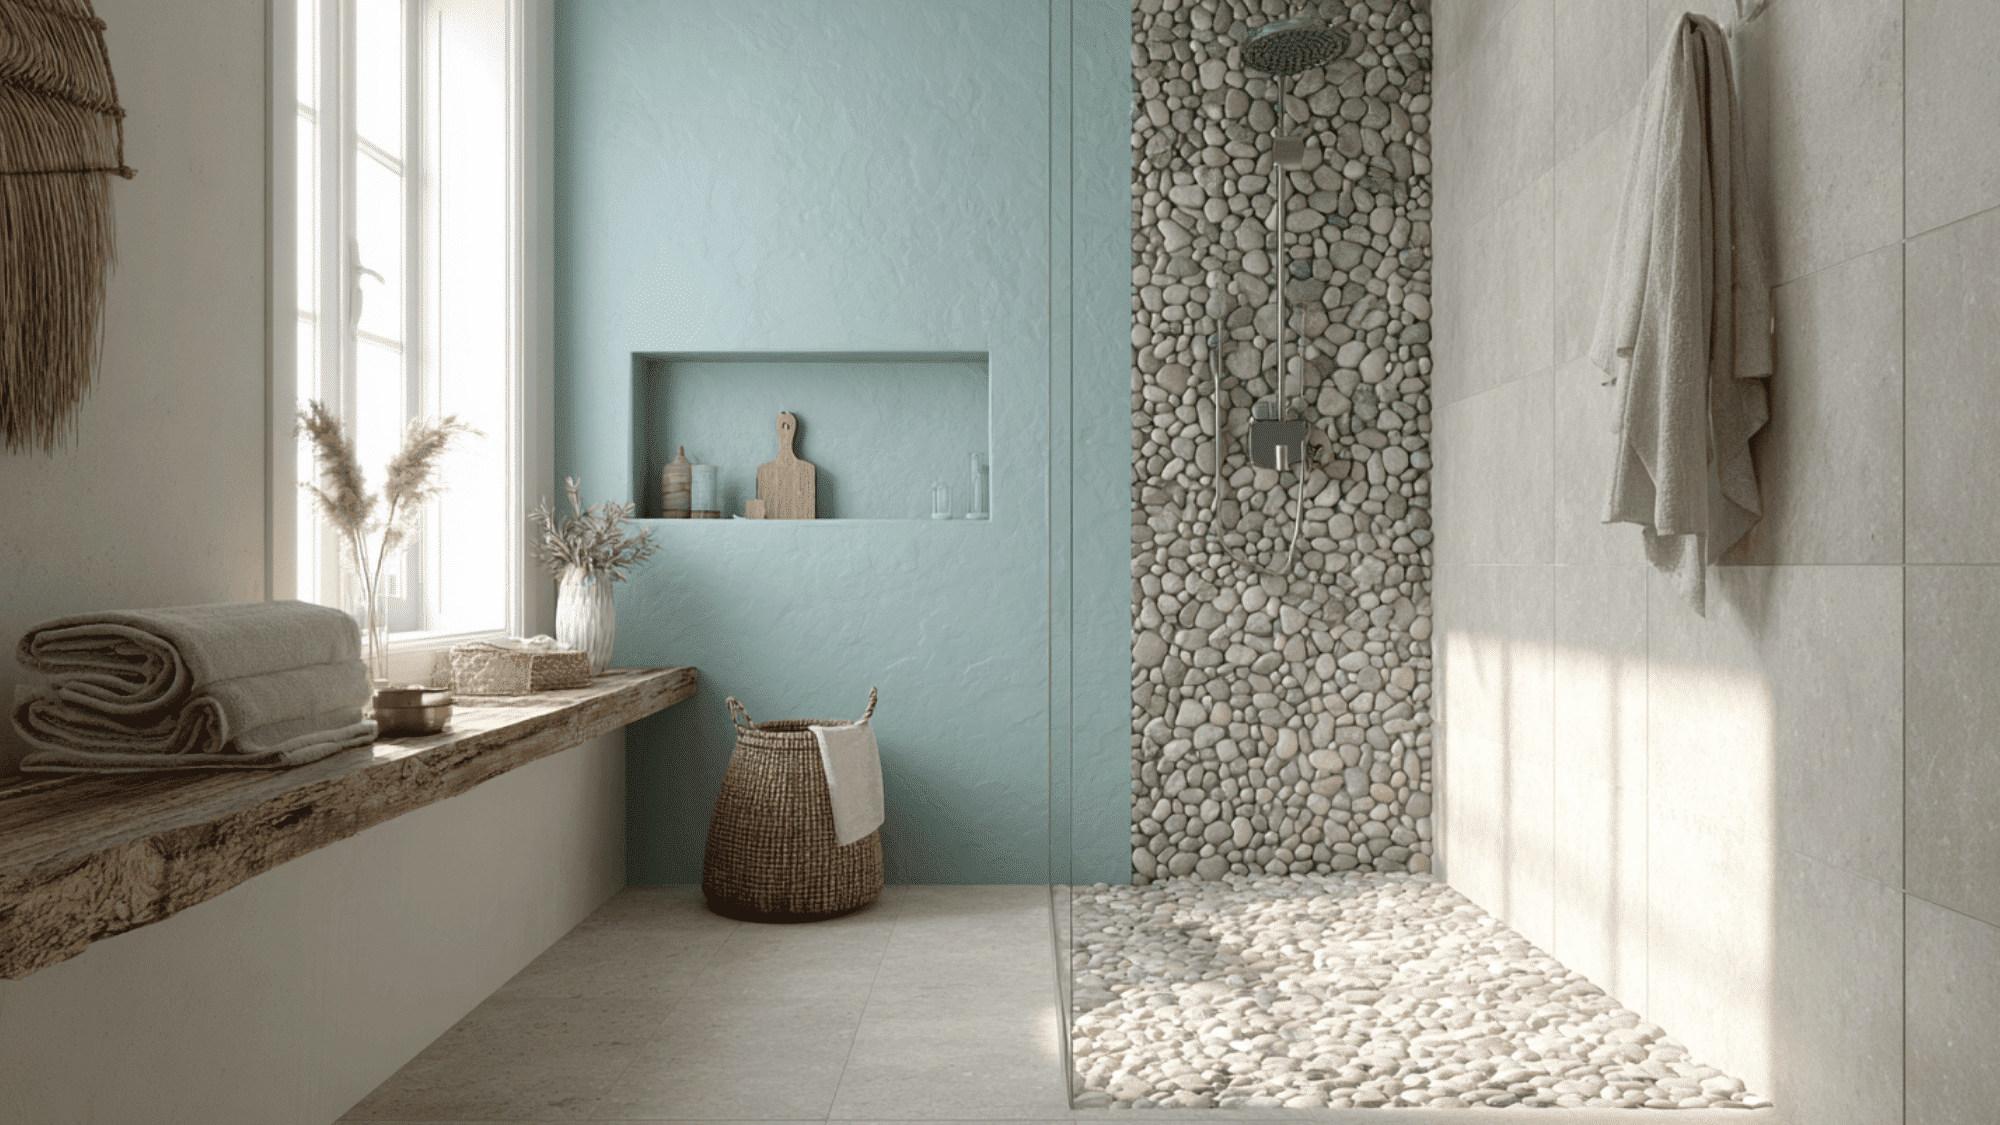
Ocean-inspired colors and textures transform small wet rooms into relaxing seaside retreats. Soft blues, sandy neutrals, and natural materials evoke the calming atmosphere of coastal living, making compact spaces feel like peaceful getaways rather than cramped bathrooms.
Design Tips: Use white or cream as the base with seafoam blue or aqua accents on one wall, incorporate pebble tiles or mosaic patterns reminiscent of beach stones, and add natural rope or driftwood-style accessories for real coastal charm.
20. Japanese Zen Design
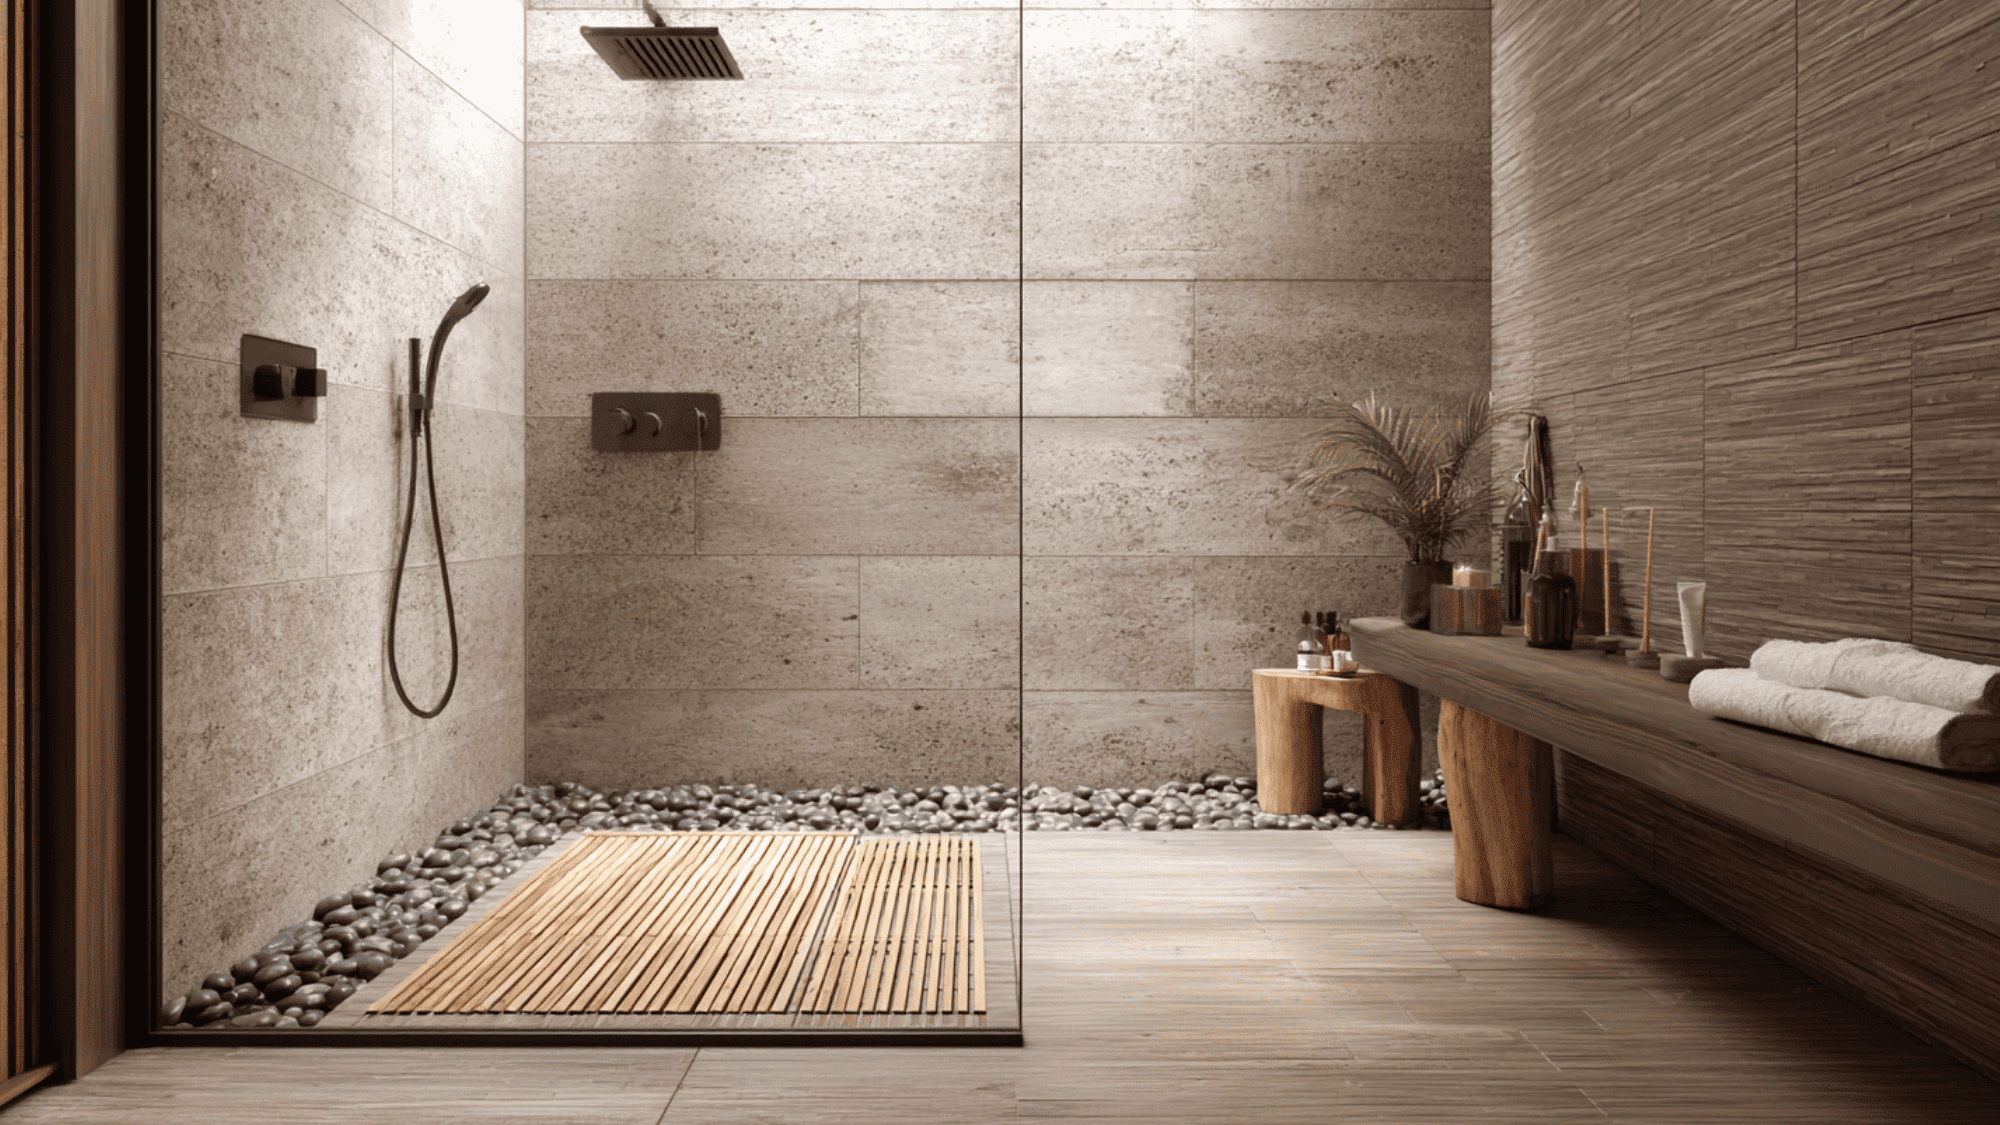
Japanese-inspired wet rooms embrace simplicity, natural elements, and tranquility. Clean lines, neutral earth tones, and minimalist fixtures create a meditative space that promotes relaxation and mindfulness, turning your compact bathroom into a peaceful sanctuary.
Design Tips: Use natural stone or wood-effect tiles in warm grays and browns, incorporate bamboo accents or pebble floor sections in the shower area, and keep fixtures low-profile with matte black or brushed nickel finishes for understated grace.
21. Warm Natural Wood Accents
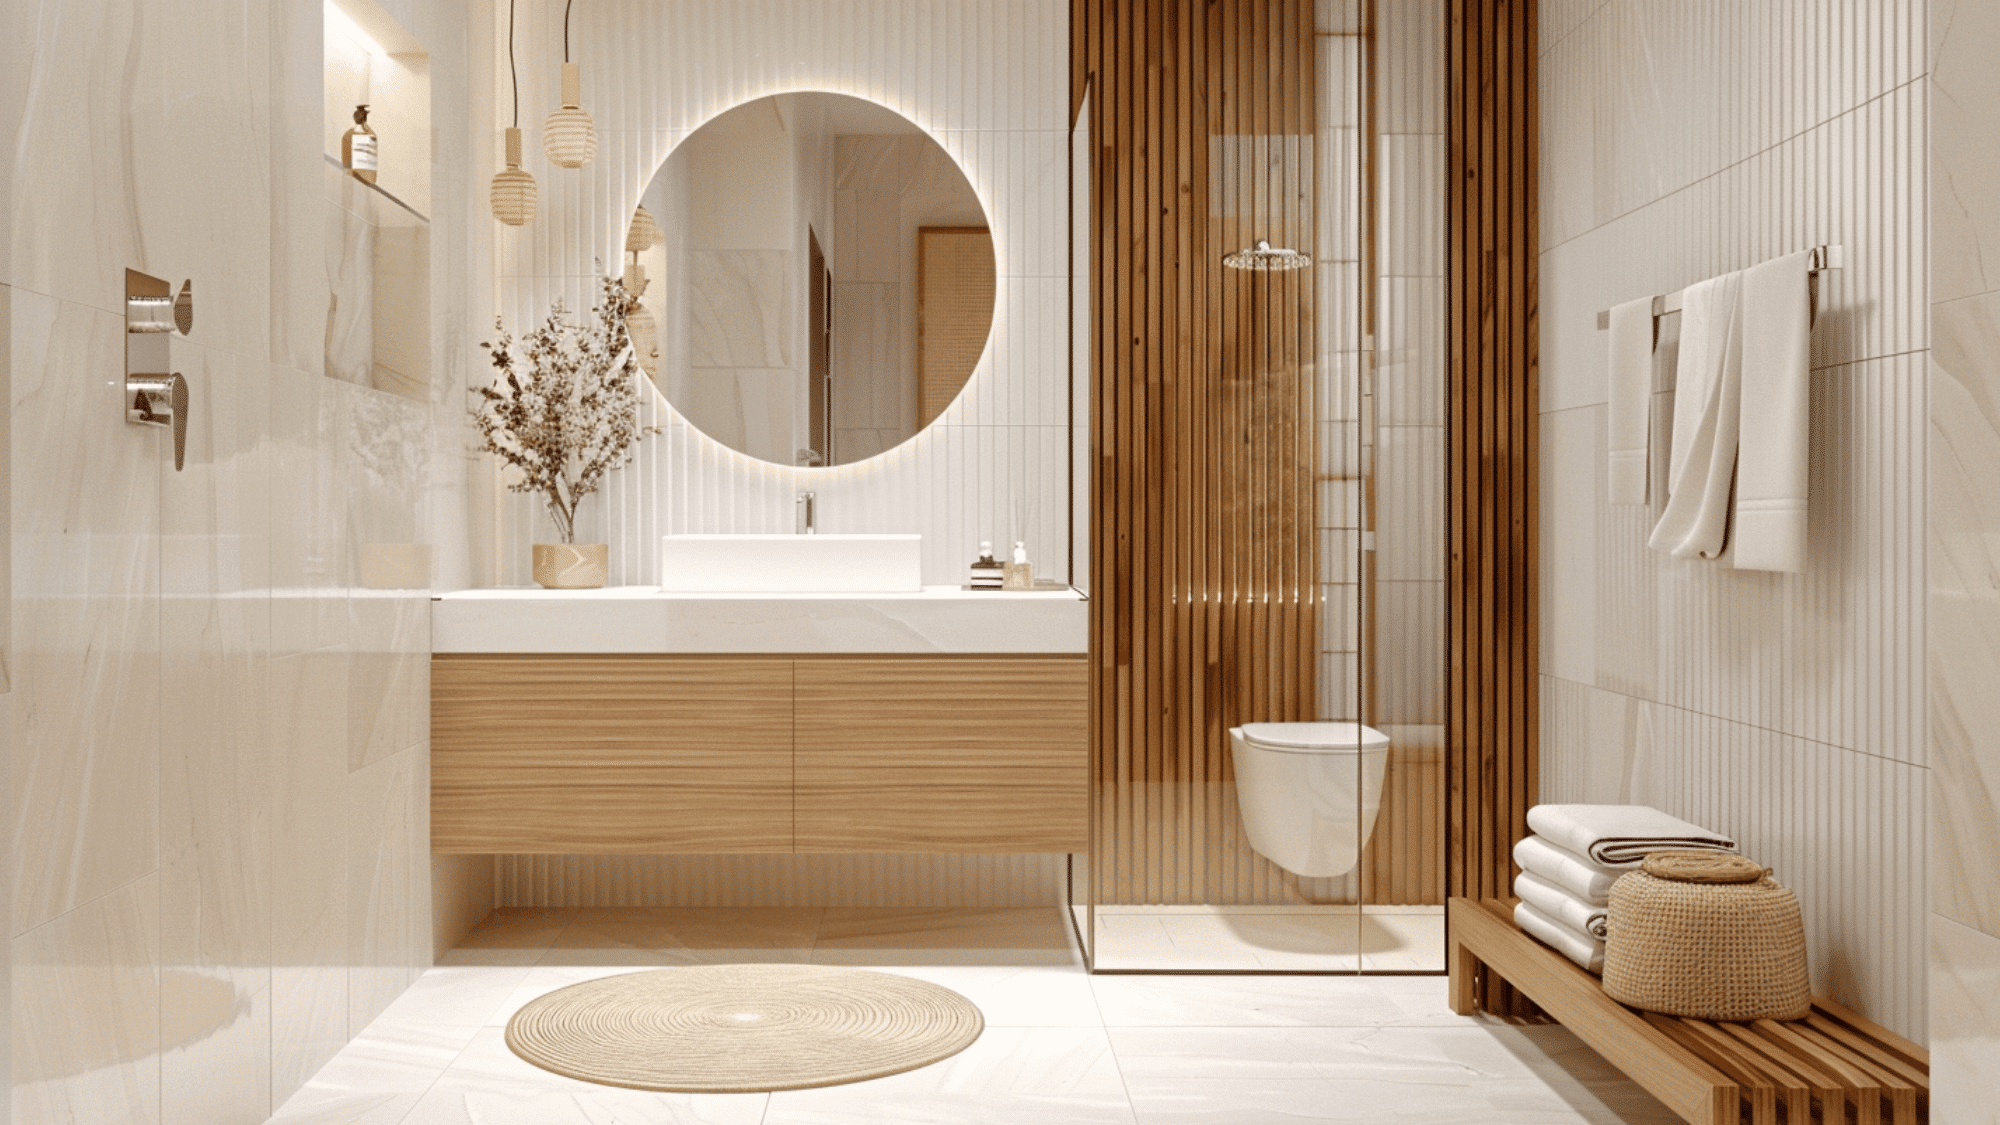
Wood tones introduce organic warmth and texture to otherwise sterile wet rooms. Wood-effect waterproof tiles or treated timber accents soften the hard surfaces typical of bathrooms, creating a spa-like atmosphere that feels welcoming and comfortable in compact spaces.
Design Tips: Use wood-effect porcelain tiles on one feature wall or as a vanity surround; pair medium- to light-wood tones with white or cream tiles; and add wooden accessories like bamboo bath mats or teak shower benches for a coordinated natural warmth.
22. Terrazzo Tile Features
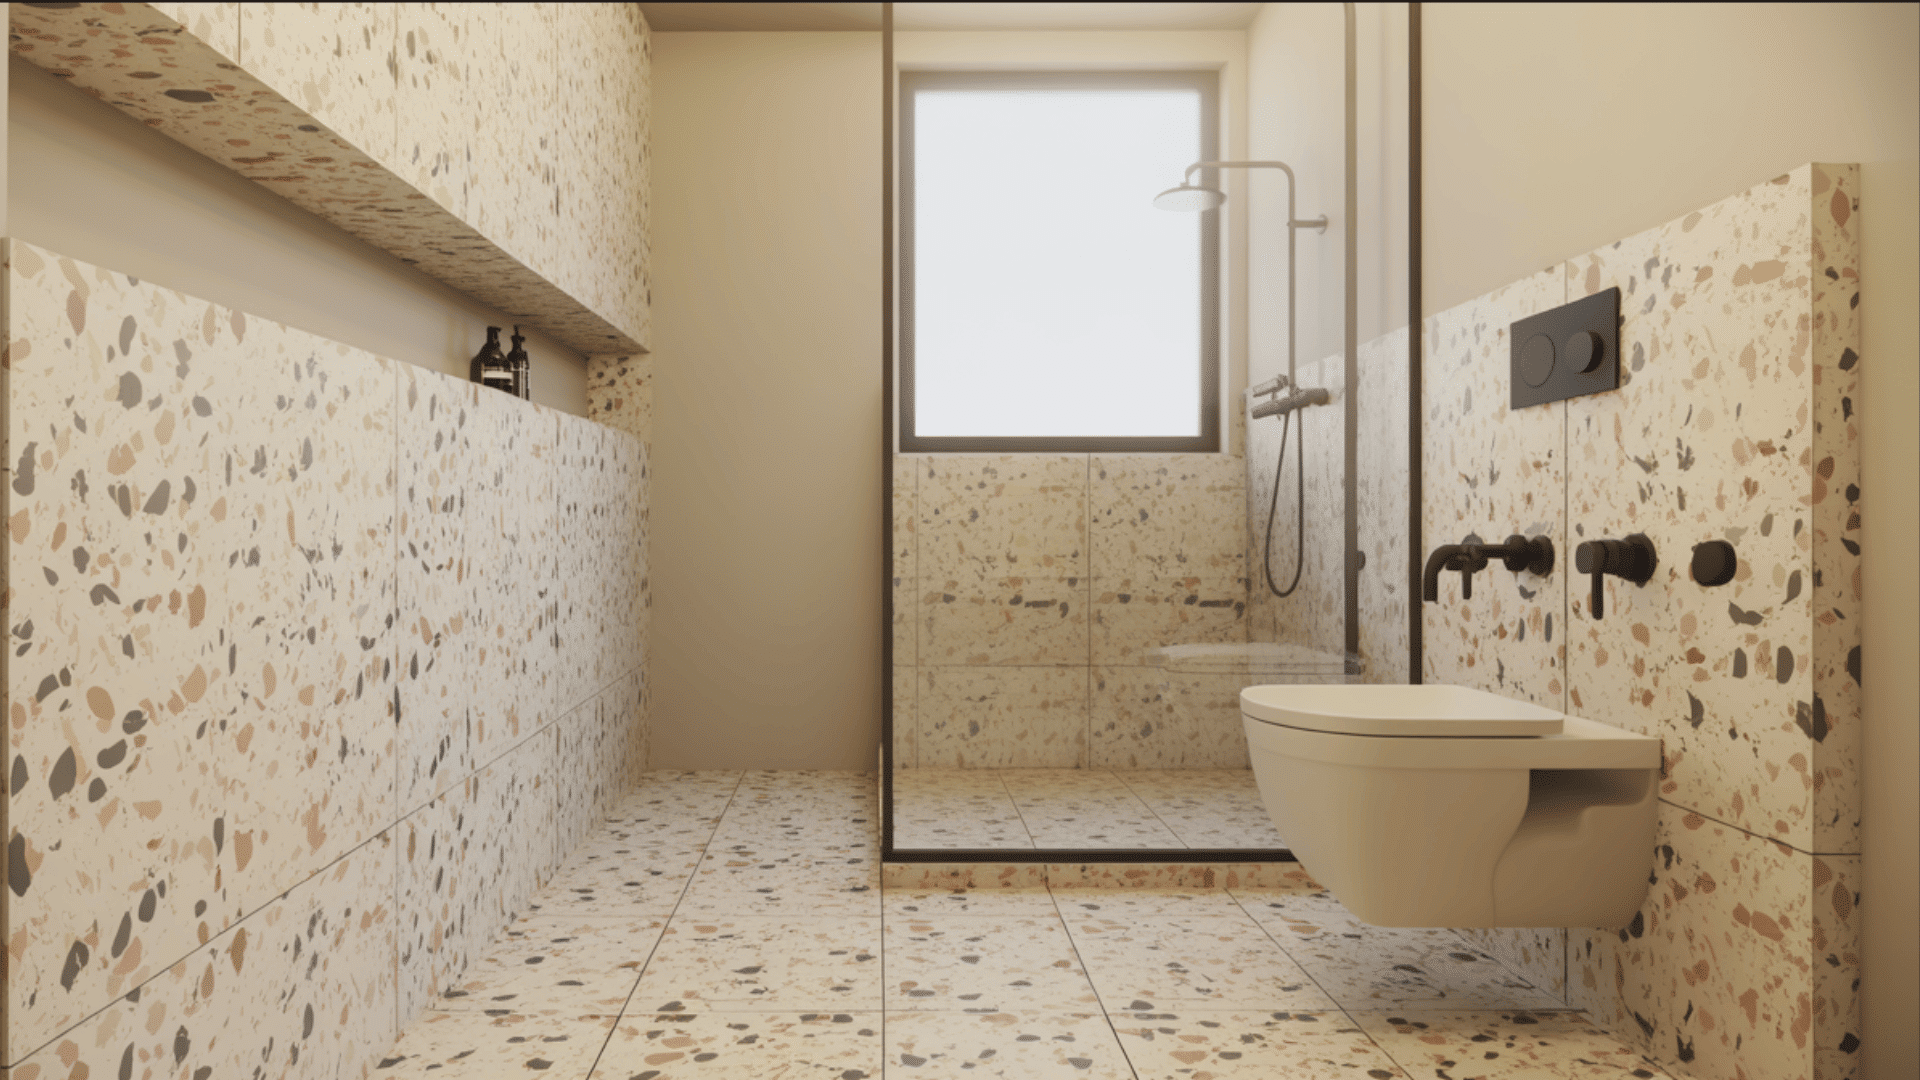
Speckled terrazzo tiles add playful character and visual texture to compact wet rooms. The scattered chip pattern creates movement and interest across surfaces while the busy design cleverly disguises water spots and wear, making maintenance easier in high-use areas.
Design Tips: Use terrazzo on floors with solid-colored walls to avoid overwhelming the space, choose pastel or neutral base colors with colorful chips for a softer look, and extend terrazzo into shower niches or as a vanity backsplash for cohesive accent areas.
23. Hexagonal Tile Patterns

Six-sided hexagonal tiles bring geometric interest and modern style to small wet rooms. The honeycomb pattern creates visual movement and breaks up plain surfaces without overwhelming compact spaces, offering a contemporary alternative to standard square or rectangular tiles.
Design Tips: Use small hexagons (5-10cm) on floors for grip and visual interest, with larger-format tiles on walls; transition from hexagonal shower floors to rectangular wall tiles at the waterline for defined zones; and stick to one or two colors at most to prevent pattern overload.
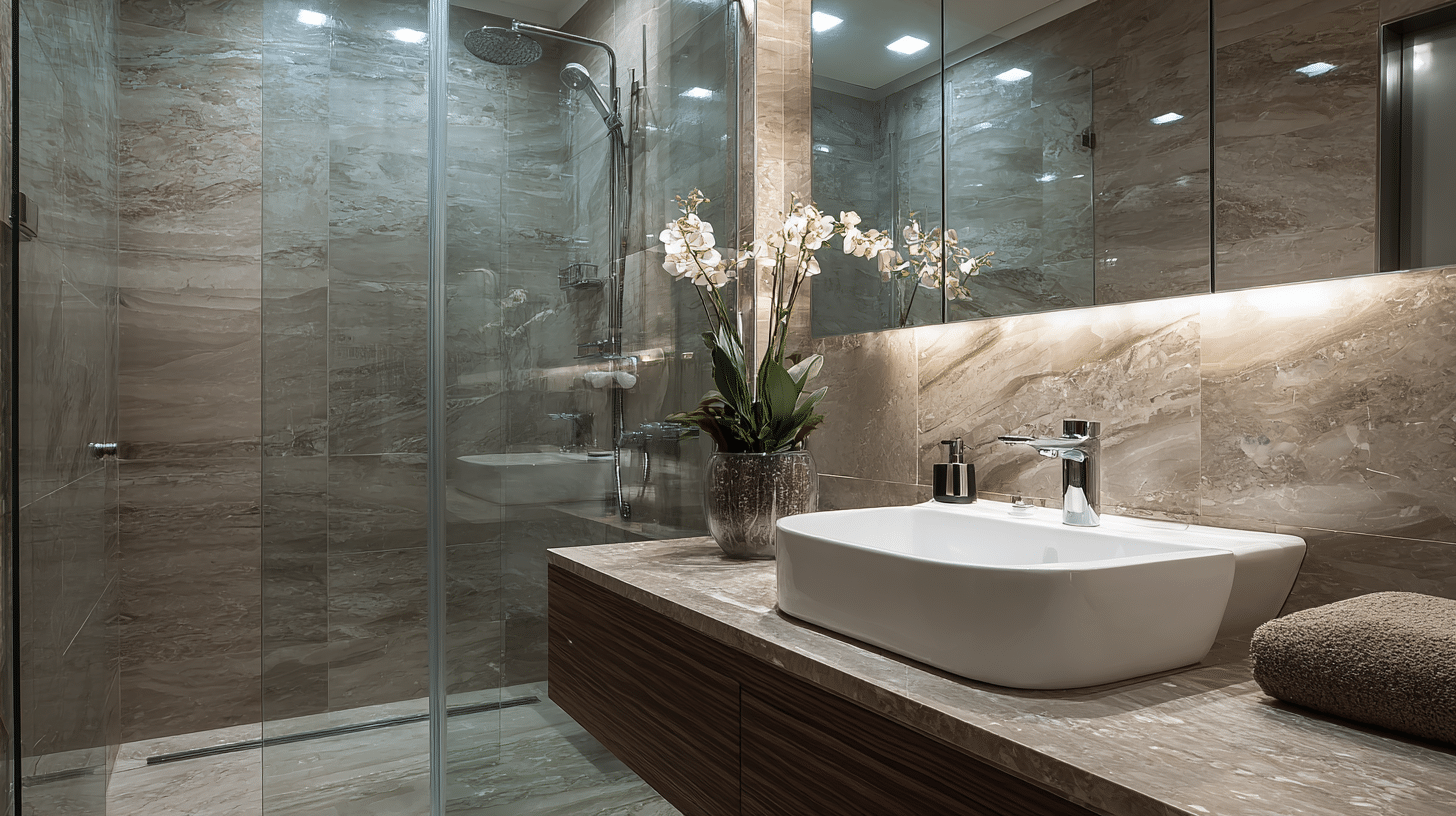
24. Marble-Effect Luxury

Marble-look porcelain tiles deliver a high-end look without the maintenance challenges of real stone. The distinctive veining and luminous surface create a luxurious spa atmosphere in compact wet rooms, making even the smallest spaces into refined retreats.
Design Tips: Use large-format marble-effect tiles (60x120cm or larger) to showcase the veining patterns with fewer cuts, match vein direction across walls and floors for seamless flow, and pair with chrome or brushed gold fixtures to enhance the upscale aesthetic.
25. Matte Black Hardware
Matte black taps, shower fittings, and accessories create bold focal points in compact wet rooms. The contemporary finish adds depth and contrast against light tiles, delivering a striking modern edge that transforms ordinary fixtures into standout design elements.
Design Tips: Pair matte black hardware with white or light gray tiles for maximum contrast, coordinate all metal finishes throughout (taps, shower head, towel bars, door handles), and limit black accents to fixtures only to prevent the space from feeling too dark or heavy.
26. Brass and Gold Accents
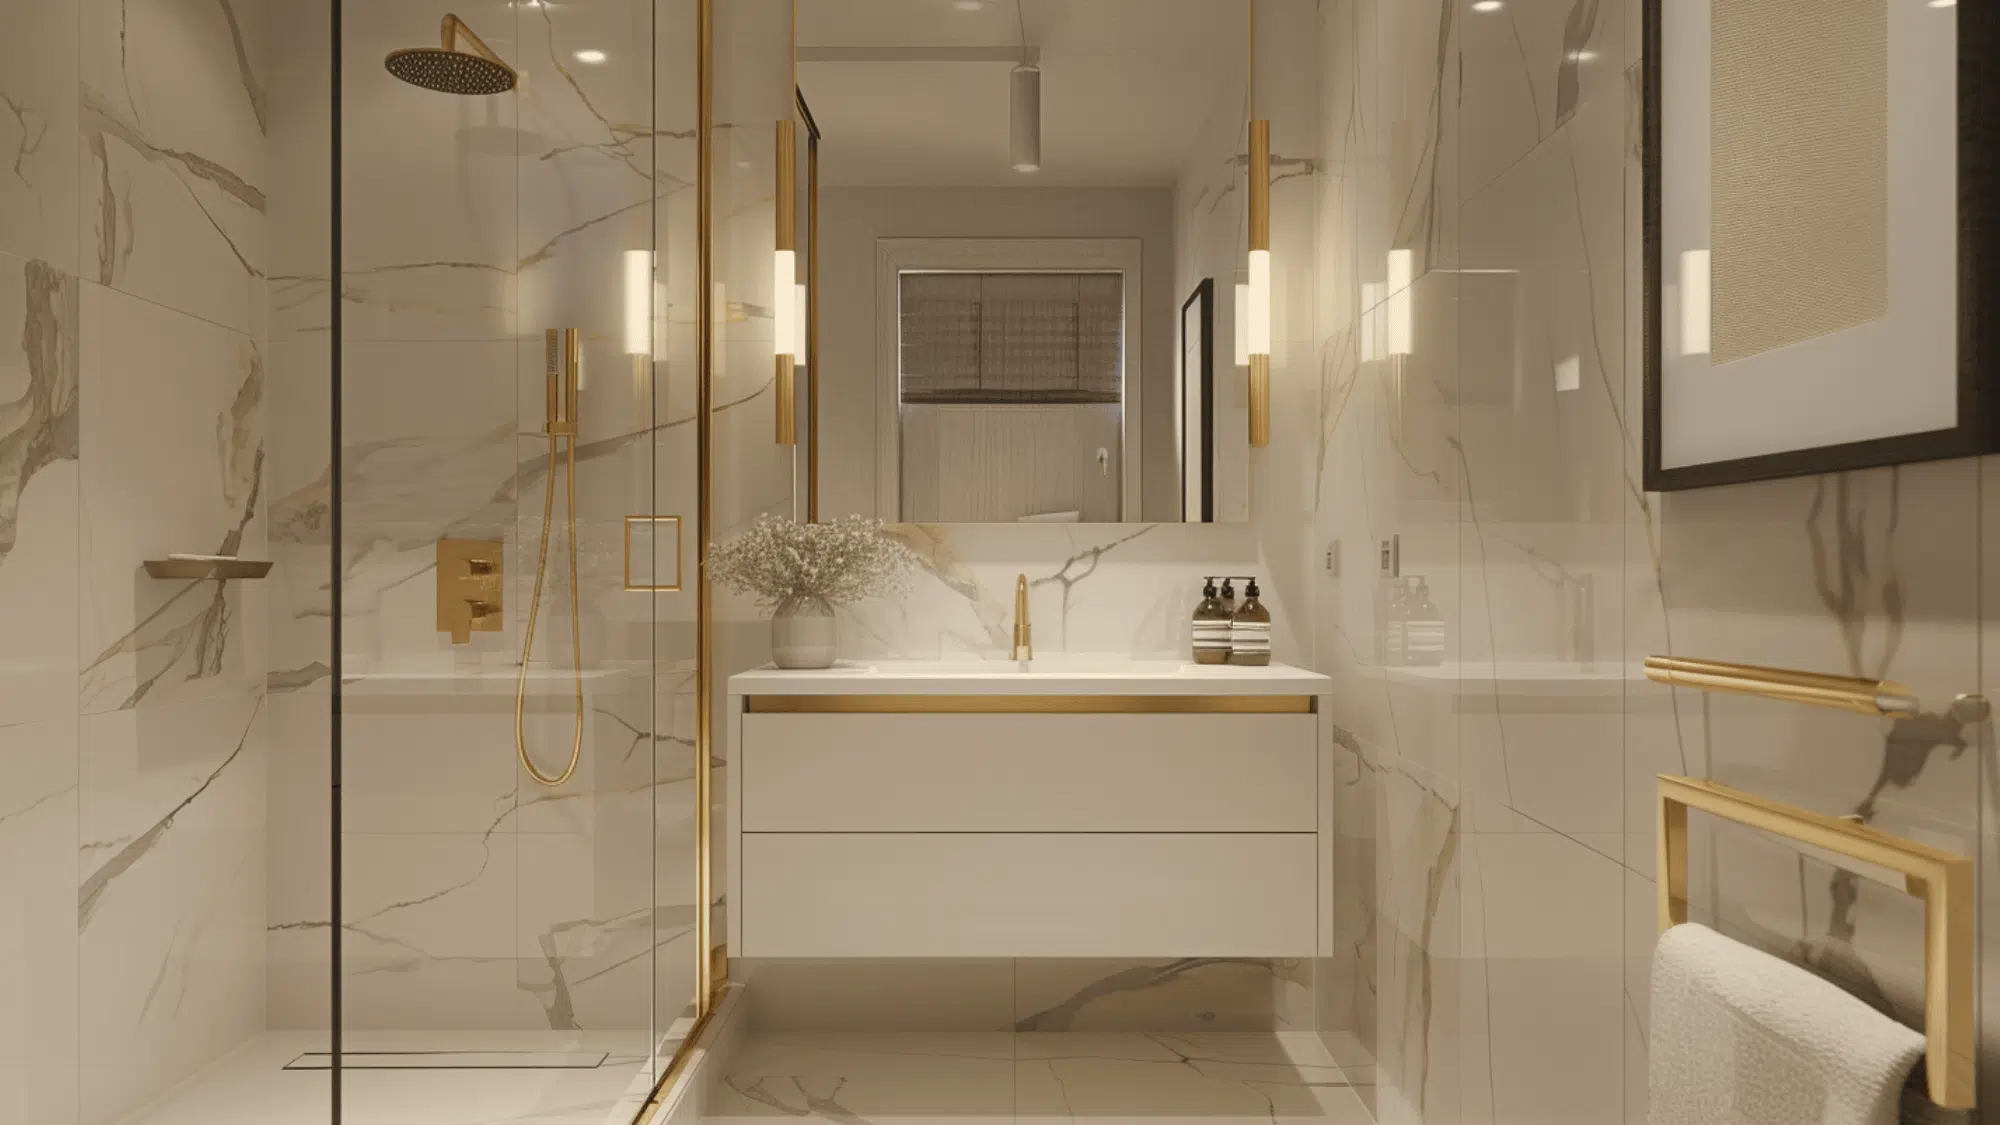
Warm metallic finishes in brass or brushed gold add instant sophistication to small wet rooms. These luxurious accents catch and reflect light beautifully, creating visual warmth and grace that elevate compact bathrooms beyond basic functionality, making them stylish spaces.
Design Tips: Mix brushed brass or gold fixtures with white marble-effect tiles or light neutrals for classic elegance, coordinate all metallic elements, including taps, shower fittings, and mirror frames in the same finish, and use metallic accents sparingly on 2-3 elements to avoid overwhelming the space.
27. Subway Tile Classic

Evergreen rectangular subway tiles bring a clean, adaptable style to compact wet rooms. The simple brick-pattern layout creates subtle visual interest without overwhelming small spaces, while the glossy finish reflects light to improve brightness and openness.
Design Tips: Lay subway tiles in a traditional horizontal brick pattern on walls with white or light grout for a classic look, use a vertical stacking pattern to visually heighten low ceilings, and pair with contrasting grout (dark grout with white tiles) for modern definition or matching grout for smooth flow.
28 . Geometric Pattern Walls
Bold geometric tiles add dynamic visual interest to compact wet rooms. Triangles, diamonds, or chevron patterns create focal points that draw the eye and add personality, proving that small spaces can handle striking design without feeling cluttered.
Design Tips: Limit geometric patterns to one accent wall (typically behind the vanity or in the shower), use plain tiles elsewhere, choose patterns with two to three colors at most to maintain cohesion, and use smaller-scale geometric tiles (15-20cm) in tight spaces to prevent pattern overwhelm.
Common Mistakes to Avoid in Small Wet Room Design
A few common slip-ups can quickly turn into damp issues, awkward layouts, and expensive fixes. Here are the key mistakes to avoid to keep your wet room stylish, functional, and hassle-free.
- Inadequate waterproofing: the most critical mistake. Skipping proper tanking can lead to water damage, mold, and costly repairs. Use quality membranes and seal all joints, corners, and penetrations properly.
- Poor ventilation: Poor ventilation traps moisture, leading to mold problems. Install a quality extractor fan to keep air flowing. Choose the right fan capacity, run it after showers, and include a window if possible.
- Oversized fixtures: Oversized fixtures overwhelm small spaces. Choose compact toilets, sinks, and slim shower heads instead. Wall-hung units and corner basins free up floor space and make cleaning easier.
- Insufficient lighting: Insufficient lighting makes tight spaces feel even smaller. Add multiple light sources to brighten every corner. Combine ceiling lights with mirror lighting, and pick moisture-rated fixtures for safe, even illumination.
- Improper drainage slope: It causes water to pool on the floor. Make sure the floor has the correct fall for your chosen drain system and tile size. Test the flow before finishing.
Final Thoughts
A compact, small wet room turns limited bathroom space into a stylish, functional retreat. With the correct layout, proper waterproofing, and intelligent design choices, even the smallest bathroom can feel spacious and modern.
Remember to prioritize quality waterproofing above all else. Plan your layout carefully to maximize every inch. Choose fixtures and finishes that enhance openness rather than cramping your space.
Ready to change your bathroom? Start by consulting with a professional installer who understands wet room requirements. They’ll ensure your design is both beautiful and watertight.
Small bathrooms don’t have to mean significant compromises. With these wet room ideas, you can create a stunning space that meets your needs.
Bookmark the page for easy reference when you’re ready to start your wet room renovation!
Frequently Asked Questions
What Is the Minimum Size for a Small Wet Room?
Many small wet rooms start around 3m², but the workable minimum depends on your layout, fixture sizes, and where the drain sits.
Are Wet Rooms Suitable for Small Spaces?
Yes, wet rooms are perfect for small spaces. They don’t need bulky shower enclosures or bathtubs. The open design makes tiny bathrooms feel larger and more accessible.
How Much Does It Cost to Install a Small Wet Room?
Small wet room installation costs $4,000 to $10,000. The price depends on the quality of waterproofing, fixture choices, materials, bathroom size, and labor rates in your area.
What’s the Difference Between a Wet Room and a Walk-In Shower?
Wet rooms have complete floor-to-ceiling waterproofing throughout the entire bathroom. Walk-in showers are just barrier-free shower areas within a traditional bathroom with partial waterproofing.