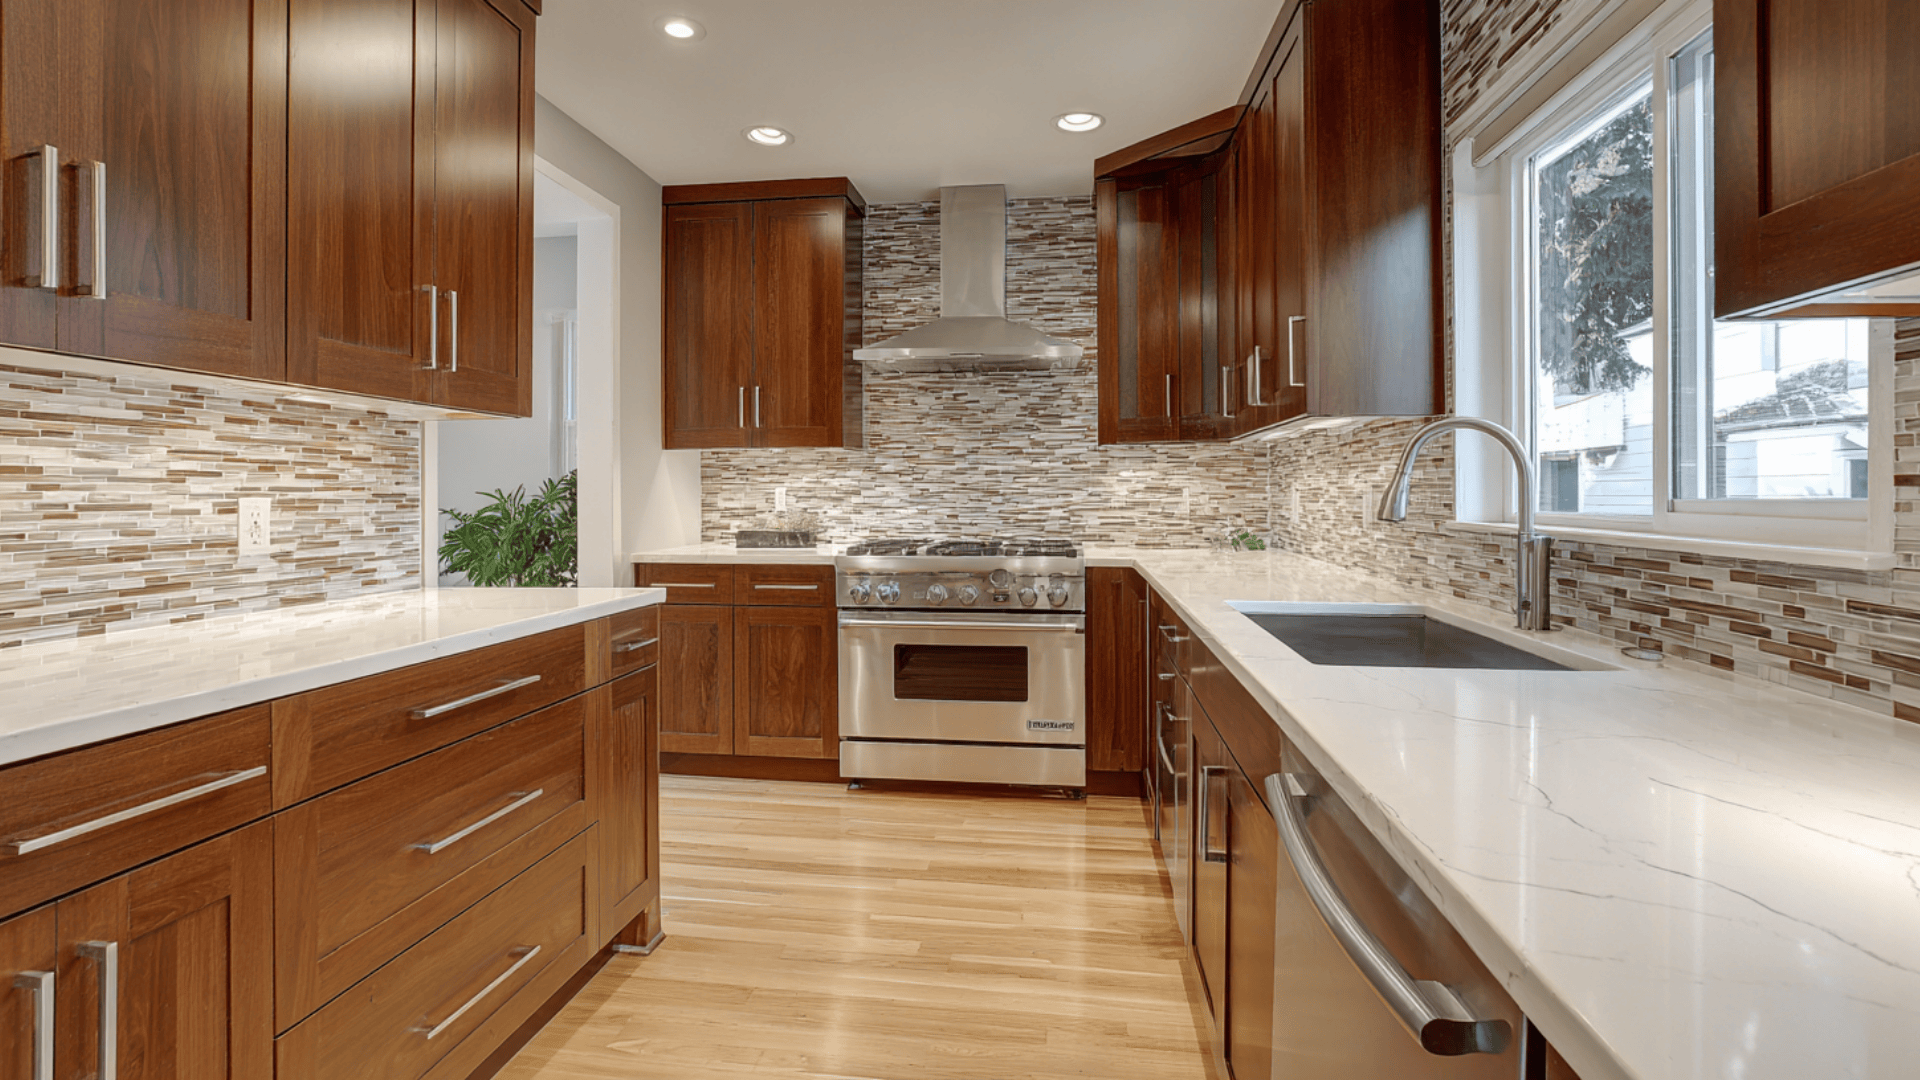
I can’t tell you how many homeowners have walked into their kitchens, pointed at their cabinets, and said, “These need to go.”
But here’s the thing – you don’t always need to replace everything. Sometimes a simple door swap does the trick.
That’s where diy shaker cabinet doors come in. I’ve noticed many people have success building these…classic rectangular frames with center panels, and they’re honestly easier than you’d think.
No fancy workshop needed. If you’ve got a drill, a saw, and can follow measurements, you’re good to go.
This tutorial is for anyone tackling their first cabinet door project. I’ll walk you through creating perfectly sized doors, overlay or inset style, that are ready for paint.
I’ll also share simple tips for measuring and fitting the doors, so they sit straight and look clean once painted.
Why Build DIY Shaker Cabinet Doors?
Let’s talk money first. Custom cabinet doors from a shop can run you $50 to $150 each. I’ve noticed people build their own – they spend about $15 to $25 per door.
That adds up fast when you’re doing a whole kitchen. But cost isn’t the only reason I recommend this. Older homes have wonky cabinet openings that don’t match standard sizes.
Building diy shaker cabinet doors means you get the exact measurements you need. I’ve also worked with homeowners who just wanted to upgrade their basic builder cabinets without ripping everything out.
Making new doors gave them that custom look they wanted.
Tools and Materials Required
Before you start cutting, gather everything in one place. Remember, accuracy matters, so the right tools make the build smoother.
Below is a simple checklist you can follow, even if you are working with basic gear.
| Tools Required | Materials Required |
|---|---|
| Table saw (or circular saw + straightedge) | Flat door panel (MDF is easiest for paint) |
| Measuring tape, pencil, combination square | MDF strips for rails and stiles (about 70 mm wide, cut to length) |
| Clamps or heavy weights + a flat caul/board | Wood glue (PVA) |
| Sanding block or random orbit sander | Wood filler/putty (for touch-ups and seams) |
| Router or trim router (optional) | Primer + paint (best for MDF) |
| Flush-trim bit and/or small round-over bit (optional) | 120, 180, 220 grit sandpaper |
| Safety gear: eye protection, hearing protection, dust mask | Optional: Brad/pin nails if you have a pin gun |
Once you have everything gathered, double-check your measurements and door dimensions. With the right tools on hand, the rest of the process moves quickly and stays clean.
How to Make Shaker Cabinet Doors
Making Shaker cabinet doors is a simple way to refresh cabinets using basic tools, careful measurements, and patience.
Step 1: Plan Your Door Size And Cut The Base Panel
Measure the cabinet opening and decide your final door size. Cut the flat base panel first, and make it slightly oversized by 1 to 2 mm so you can trim it perfectly later.
Use a square to confirm corners are true. Label the top and hinge side with a pencil so you do not flip parts mid-build.
Step 2: Rip And Crosscut The Shaker Strips
Rip MDF strips to a consistent width (around 70 mm works well for a classic look). Then, crosscut two long side pieces to match the full door height.
Cut the top and bottom pieces to fit between the side pieces. Take your time here: clean, square cuts make the door look crisp and keep the frame lines straight.
Step 3: Dry Fit Everything Before Glue
Lay the base panel on a flat surface and place the strips on top like a Shaker frame. Check that the side pieces are flush to the panel edges and the top and bottom pieces sit neatly between them.
Do not worry if a strip overhangs slightly; you can trim it later. This quick dry fit helps you catch sizing mistakes early.
Step 4: Glue The Strips In Place With Simple Guides
Apply wood glue to one strip at a time, spreading it evenly and adding a touch more near the edges. Set the strip in position and “rub” it slightly to help the glue grab.
Use a straight board as a guide to keep edges flush while you place each piece. Repeat for both sides, then the top and bottom strips.
Step 5: Clamp Or Weight It Down And Let It Cure
Once the frame looks aligned, lock it in place. If you have clamps, use a flat caul board on top to spread the pressure and prevent bowing.
If you do not have clamps, place a flat board over the door and stack weights evenly across it. Leave it overnight so the glue cures fully and the strips do not shift.
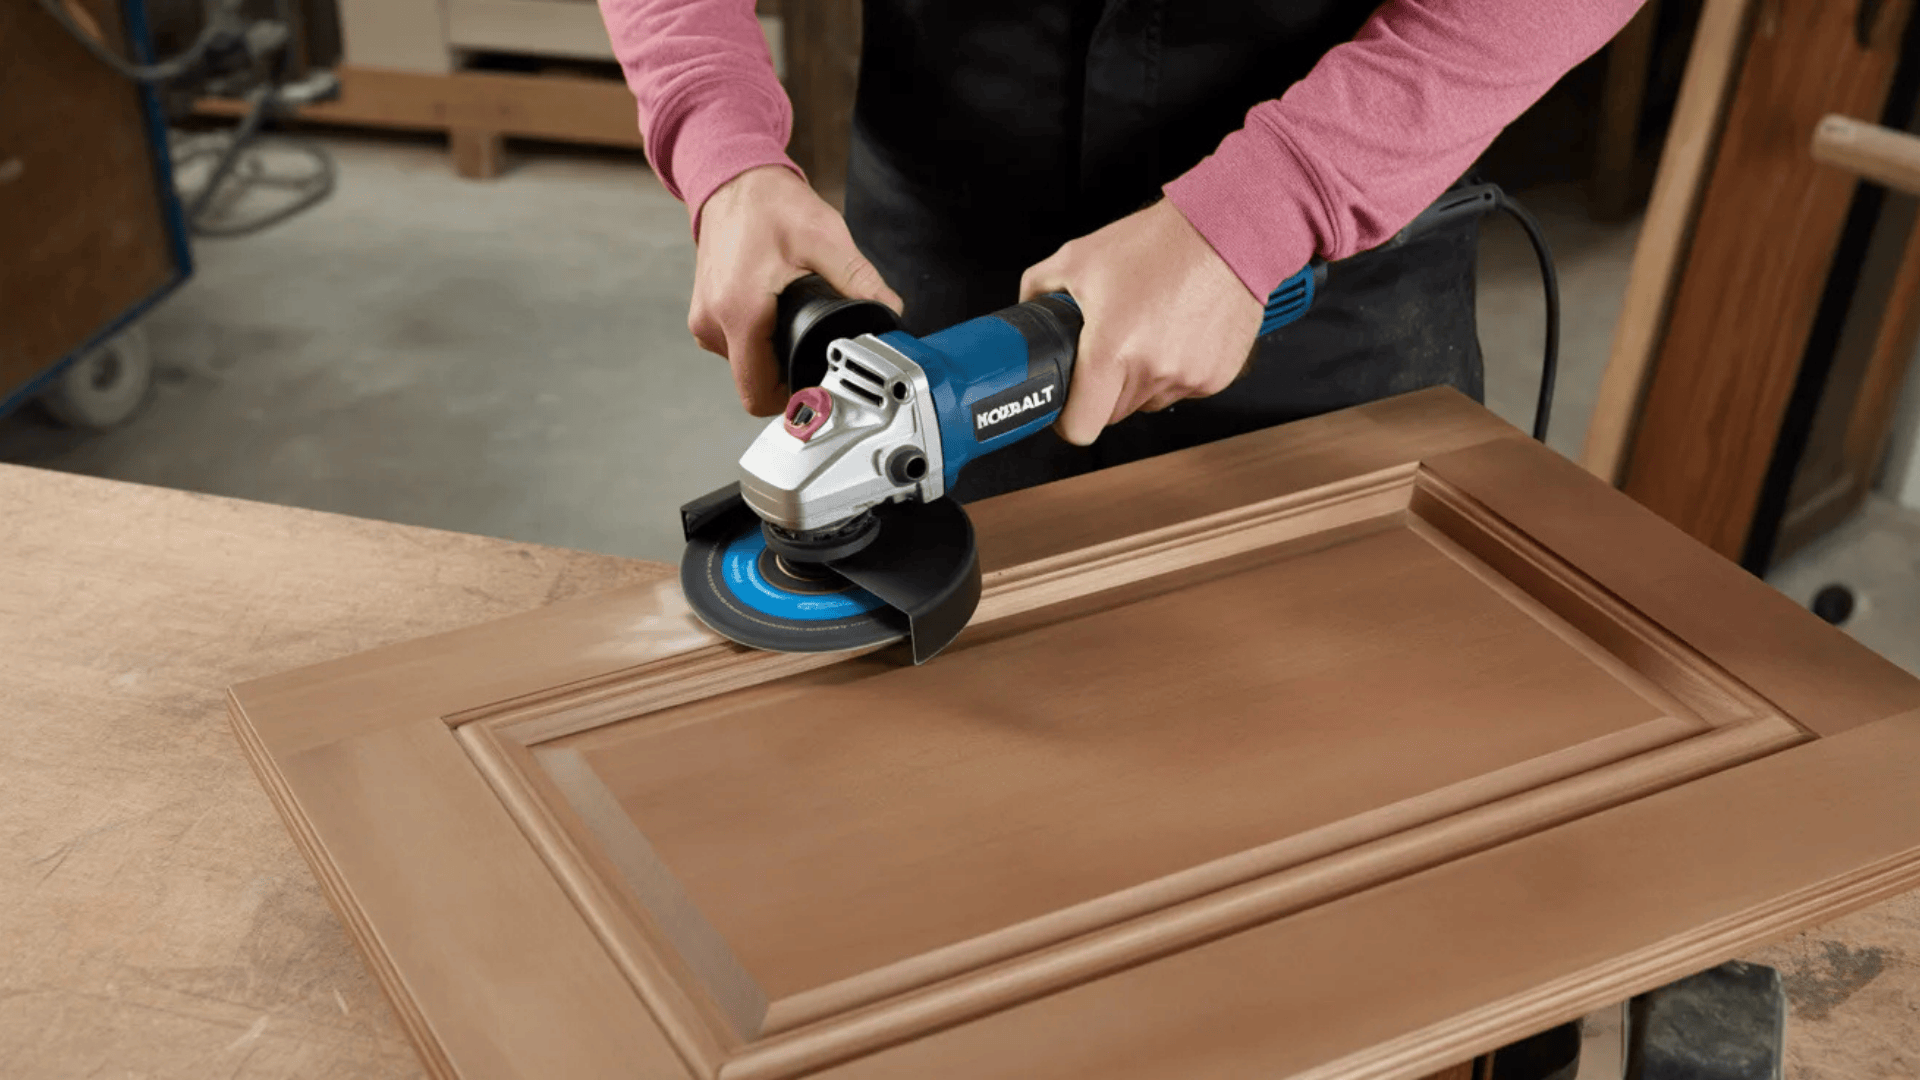
Step 6: Trim The Door And Soften The Edges
After curing, remove the weights or clamps and check for any strip overhang. Trim the door on the table saw by shaving off about 1 mm per side until everything is clean and flush.
If you have a router, use a flush-trim bit for perfect edges, then add a small round-over bit to keep the door from feeling sharp.
Step 7: Sand, Fill, And Paint For A Clean Finish
Sand the face and edges, starting around 120 grit and working up to 180 and 220 for a smooth finish. Fill any tiny gaps or seams with putty and sand again once dry.
Prime MDF well, especially edges, then paint in light coats. If you want extra detail, add V-grooves only within the center area, not through the frame.
Once you build one door, the rest go faster with repeatable cuts and a steady process. If you are learning how to make cabinet doors, this simple Shaker method is a great place to start.
For more detailed instructions, refer to the YouTube video by Geoff’s Joinery below:
What Other DIYers Recommend
Many DIYers say Shaker cabinet doors are doable if you take your time and measure carefully.
A few people suggest ordering new doors and installing them yourself, since homemade doors can warp if the cuts are not exact.
Others shared that a simple Shaker style can be made with just a table saw, and a groove-cutting blade set can speed things up.
Several recommend a router table and good clamps for cleaner, more even results. For a smoother finish, many prefer spraying paint instead of rolling.
Finish Tips to Keep in Mind
Learning how to make shaker cabinet doors is one thing – finishing them properly is another. Here’s what actually works when you’re ready to paint.
- Let paint fully cure before hanging: Many people rush this step, which can lead to fingerprints or smudges on their new doors. Give paint at least 24 to 48 hours to fully dry before you touch it.
- Sand lightly between coats: Grab 220-grit sandpaper and give each coat a quick, gentle pass once it’s dry. This removes any bumps or dust and helps the next layer stick better.
- Prime bare wood first: Don’t skip primer on raw wood. It seals the grain and gives you a better base for paint. This step makes the difference between a good finish and a great one.
- Use thin coats: Multiple thin layers are better than one thick coat. Thick paint drips, takes forever to dry, and looks uneven. Gradually build your color for professional results.
Take your time with the finishing process. Your doors turned out great – give them the paint job they deserve. Trust me, a few extra hours of patience now saves you from redoing everything later.
Conclusion
Building diy shaker cabinet doors comes down to a few simple steps: measure carefully, cut accurately, dry-fit before gluing, clamp everything square, and finish with patience.
From what I’ve seen, first-timers often do well with this project because it doesn’t require too advanced skills or expensive tools.
Here’s my advice: start with one practice door first. Get the measurements right, test the fit in your cabinet opening, and make sure you’re happy with how it looks.
Once you nail that first one, batch-build the rest. You’ll work faster and more confidently when you’ve got the process down.
Your kitchen is about to look completely different, and you did it yourself for a fraction of what pros charge.
Grab your tools and get started. Drop a comment below if you have questions – I’d love to hear how your doors turn out.
Frequently Asked Questions
How Do You Turn Flat Cabinet Doors Into Shaker Style?
Remove the door, cut the wood trim into four pieces, and glue them onto the flat front to form a rectangular frame. Sand smooth and paint to finish.
How Can You Make Shaker Cabinet Doors On A Budget?
Use cheap MDF trim or pine strips from a hardware store. Glue and nail them onto your existing flat doors. Paint over everything for a clean, uniform look.
How Do You Make Shaker Cabinet Doors Without A Table Saw?
Use a miter saw or hand saw to cut the trim pieces. A straight edge and clamps help keep cuts clean and accurate without needing a table saw.