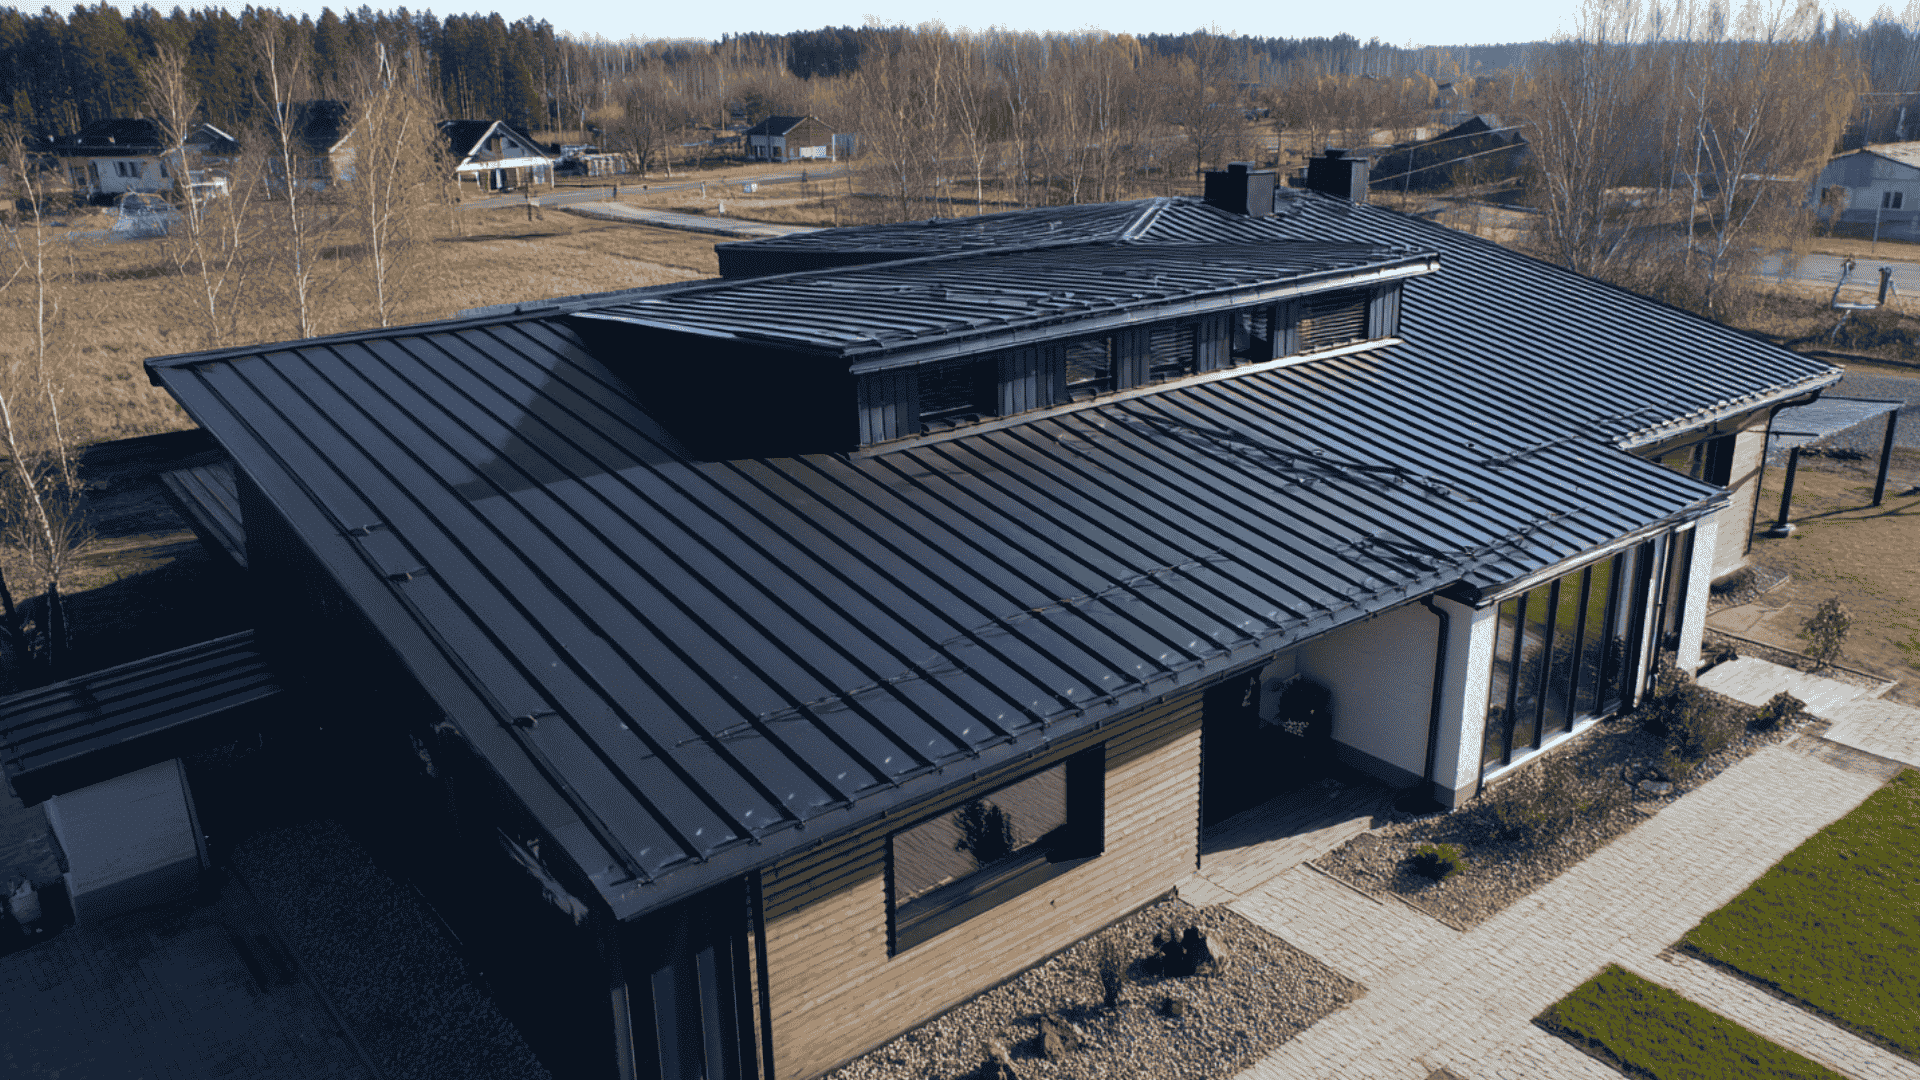
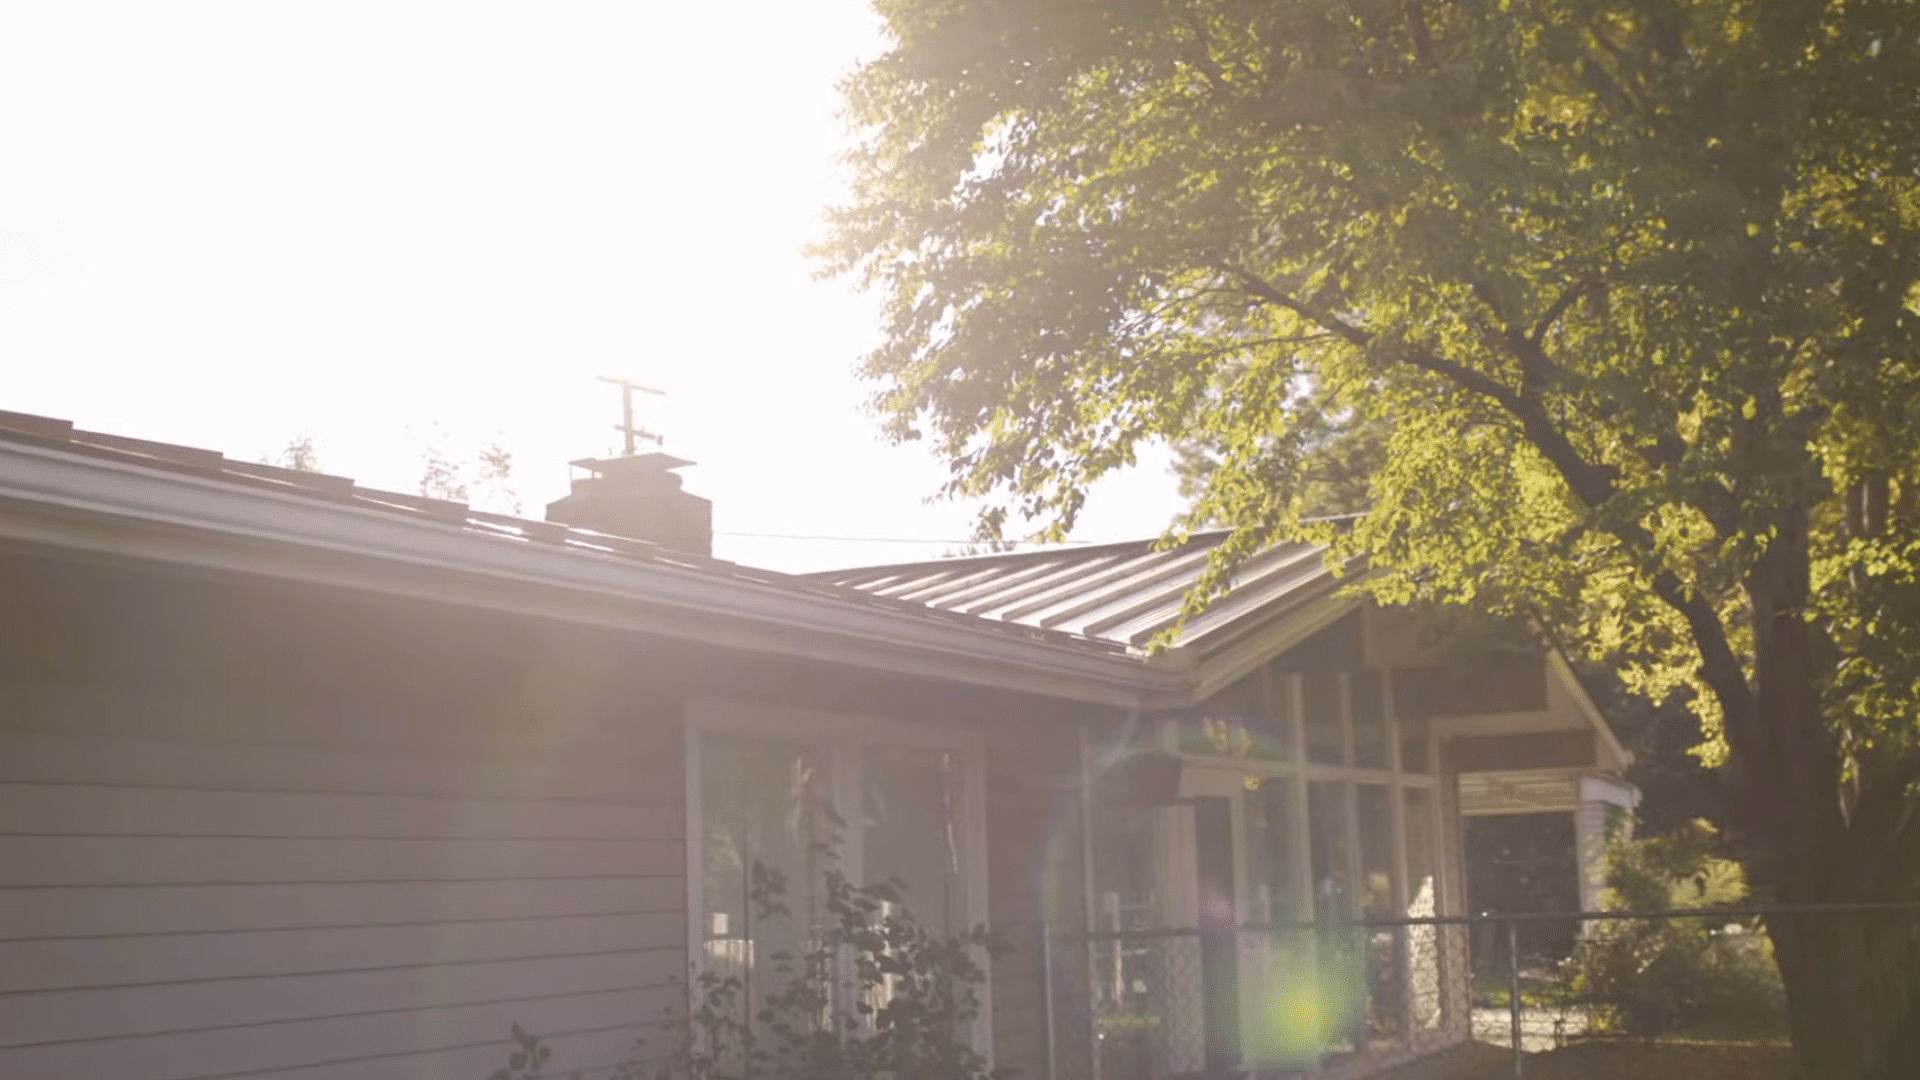
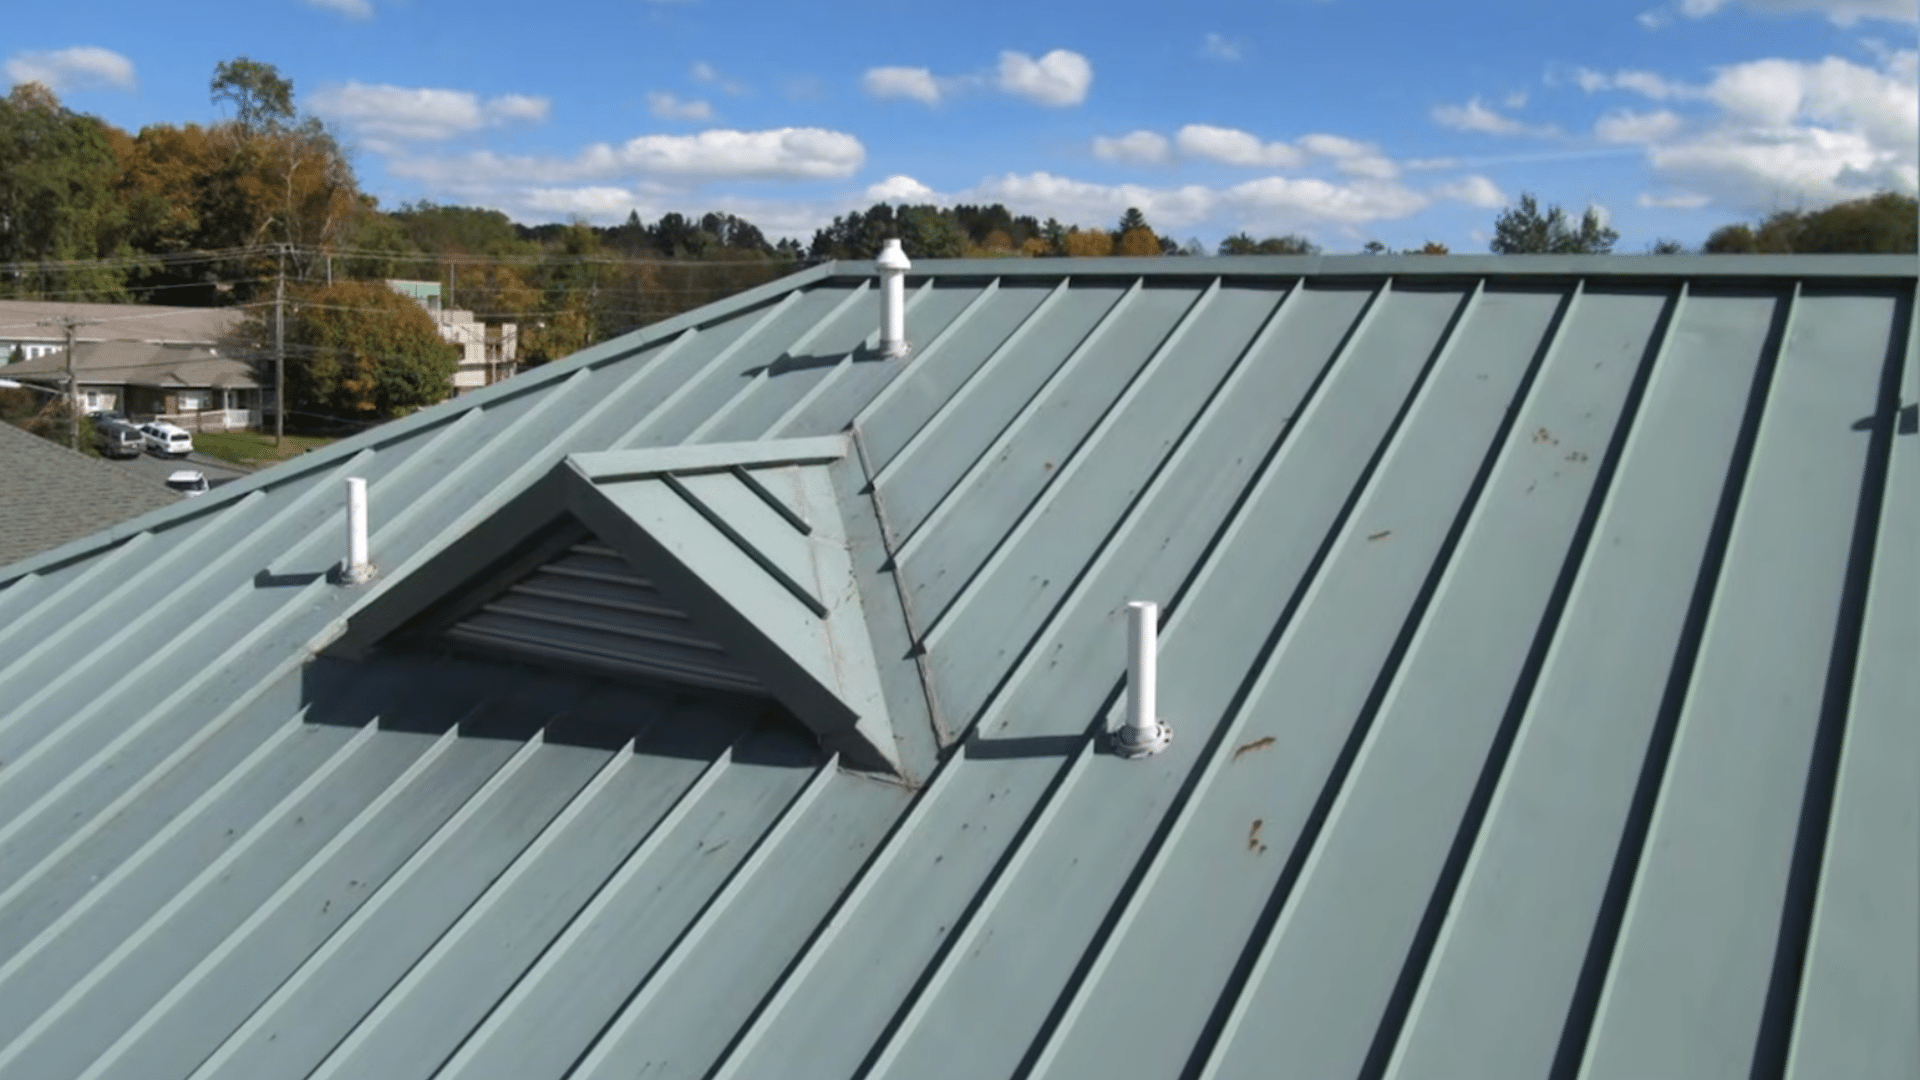
Metal roofs have a way of setting the tone for the entire exterior. When the finish is fresh, they look sharp and intentional.
But when they fade, chalk, or show those first rust spots, even a well-designed home can start to feel tired.
I love a good transformation, and painting a metal roof can absolutely deliver one, but it’s not as simple as repainting siding or touching up trim.
So before anyone talks color or finish, I always start with one simple thing: is the roof actually ready for paint?
I’ll share the quick checklist I use to decide, the mistakes that cause peeling and patchiness, and the small details that make a painted metal roof look clean, intentional, and built to hold up.
Can You Paint a Metal Roof?
Yes, you absolutely can paint a metal roof.
But here’s the catch: it has to be paint-ready.
I know that sounds vague, so let me explain what to actually look for while finding out whether a metal roof is a good candidate for painting.
Before I ever say “go ahead,” I do a quick paint-readiness assessment. This simple check saves time, money, and a whole lot of frustration down the road.
Your roof is paint-ready if:
- Panels are secure and sitting flat with tight fasteners
- Rust is minimal or surface-level only
- The surface feels solid and stable, not flaky, chalky, or actively deteriorating
Your roof is NOT paint-ready if:
- There’s active, spreading corrosion eating through the metal
- Panels are loose, buckled, or damaged
- The factory finish is peeling off in large sections
If your roof falls into that second category, paint won’t solve the real problem. It’ll just cover it temporarily, and you’ll end up paying twice when it fails.
I’ve seen what happens when a roof gets painted before it’s truly ready. It may look great at first, but if rust is still active underneath, the paint can bubble or peel sooner than expected. Now I’m clear about paint-readiness from the start, so the result actually lasts.
Now? I’m upfront about paint-readiness from day one. It’s not about upselling, it’s about doing what actually works long-term. Once the roof is a good candidate, these next steps ensure the paint job looks even and lasts longer.
Make It Last: Pro Tips for Painting a Metal Roof
Most metal roof paint jobs don’t fail because the paint is “bad.” They fail because the basics get rushed prep, primer, weather, or color choice.
So, before we jump into the how-to tutorial, here are the “make-or-break” tips to help prevent your paint job from looking uneven down the line.
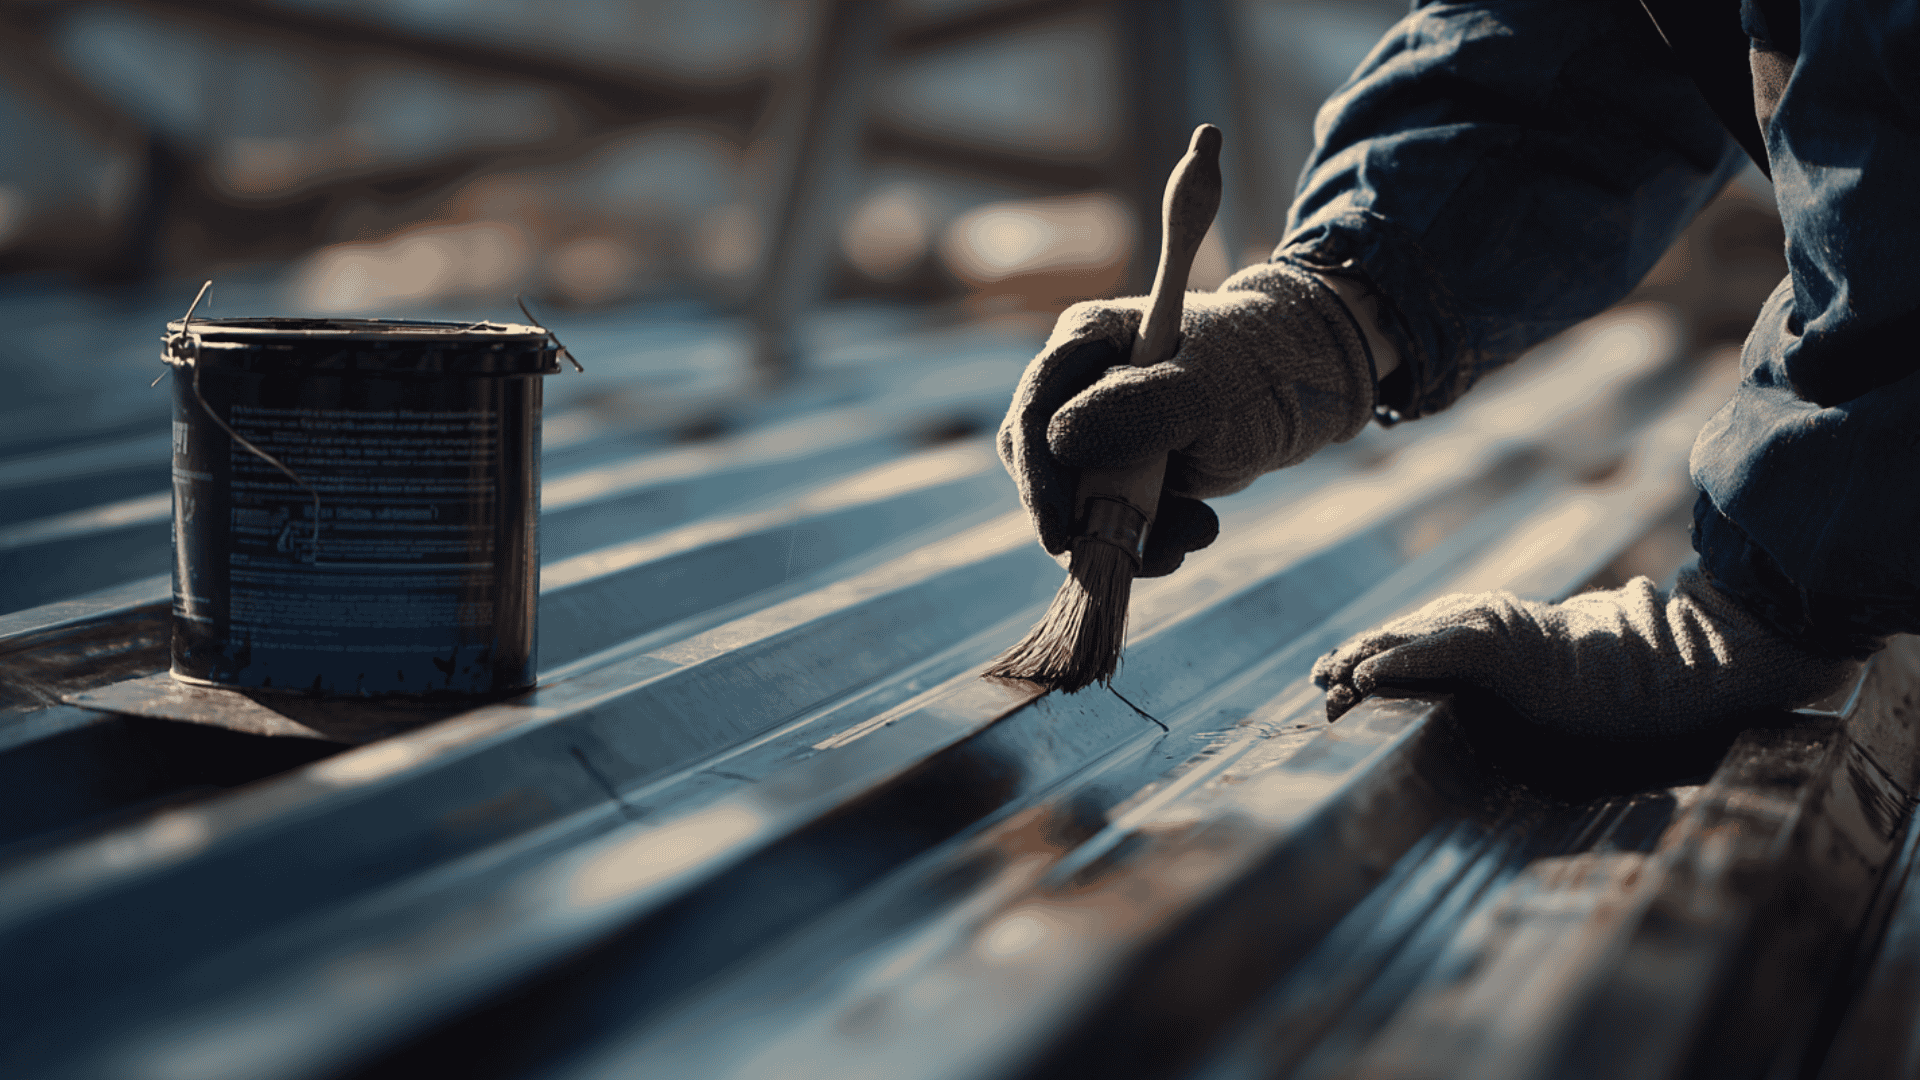
1. Treat Rust Like a Repair, Not a Paint Step
What to do: Remove rust with a wire brush/sanding until you hit solid metal, treat any remaining spots with a rust converter, let it cure fully (24–48 hours), then prime with a rust-inhibiting metal primer.
Common mistake: Painting directly over rust (it comes back through and lifts the coating).
2. Use the Right Primer so The Paint Actually Grips
What to do: Choose a bonding primer for adhesion or a rust-inhibiting primer if corrosion is present. Prime seams, screws, edges, and repair spots carefully, and let it cure exactly as the label says.
Common mistake: Skipping primer or using a random primer that isn’t compatible with the topcoat.
3. Time the Project Around the Weather, Not Your Weekend
What to do: Pick a window with at least 48 hours of dry conditions. Aim for 50–85°F and humidity under ~70%, and avoid windy days (especially if spraying).
Common mistake: Painting right before rain/dew or in extreme heat/humidity leads to poor curing and early peeling.
4. Choose a Roof Color that Works for Years
What to do: Match the roof to fixed exterior elements (brick, stone, siding, windows). Test swatches outside in morning and afternoon light, and lean towards timeless if you want safe curb appeal (charcoal, soft black, warm grays, bronze, earthy greens).
Common mistake: Picking a trendy shade that looks great online but clashes in real daylight, or feels dated quickly.
5. Don’t Rush Drying Time; Cure Time Is What Makes It Last
What to do: Follow the label’s drying and curing instructions between coats (often 24–48 hours). Give extra time in cooler or humid weather, and avoid walking on freshly painted areas until the coating is fully set.
Common mistake: Recoating too soon or painting late in the day traps moisture, which can lead to bubbling or premature peeling.
If you keep these tips in mind, the step-by-step guide will feel much easier, and your results will look more polished and last longer.
Tools and Materials Required For Painting A Metal Roof
Before you climb up and start painting, take a minute to set yourself up for success. Having the right tools and materials ready upfront keeps the job safer and prevents mid-project delays.
| Category | Essentials |
|---|---|
| Cleaning | Low-pressure washer/pressure washer, cleaners/solvents |
| Surface prep (rust) | Sanding tools (manual or electric), blasting (pro-level; not DIY-friendly) |
| Application tools | Brush + roller, airless sprayer (optional; rent or buy) |
| Coating options | Direct-to-Metal (DTM) coating (acrylic-blended), polyurethane coating system |
| Primer | Primer system (required for polyurethane systems) |
Once the roof is a good candidate, these next steps ensure the paint job looks even and lasts longer.
How to Paint a Metal Roof
A great metal roof paint job comes down to careful prep and smart timing. This step-by-step guide helps you get clean results that hold up over time.
Step 1: Check the Roof Condition

Before you paint, make sure the roof is structurally sound. Look for loose panels, leaks, heavy corrosion, or peeling factory coating.
Paint only works on a stable surface; you’re covering problems that will resurface quickly.
Step 2: Get Set Up to Work Safely
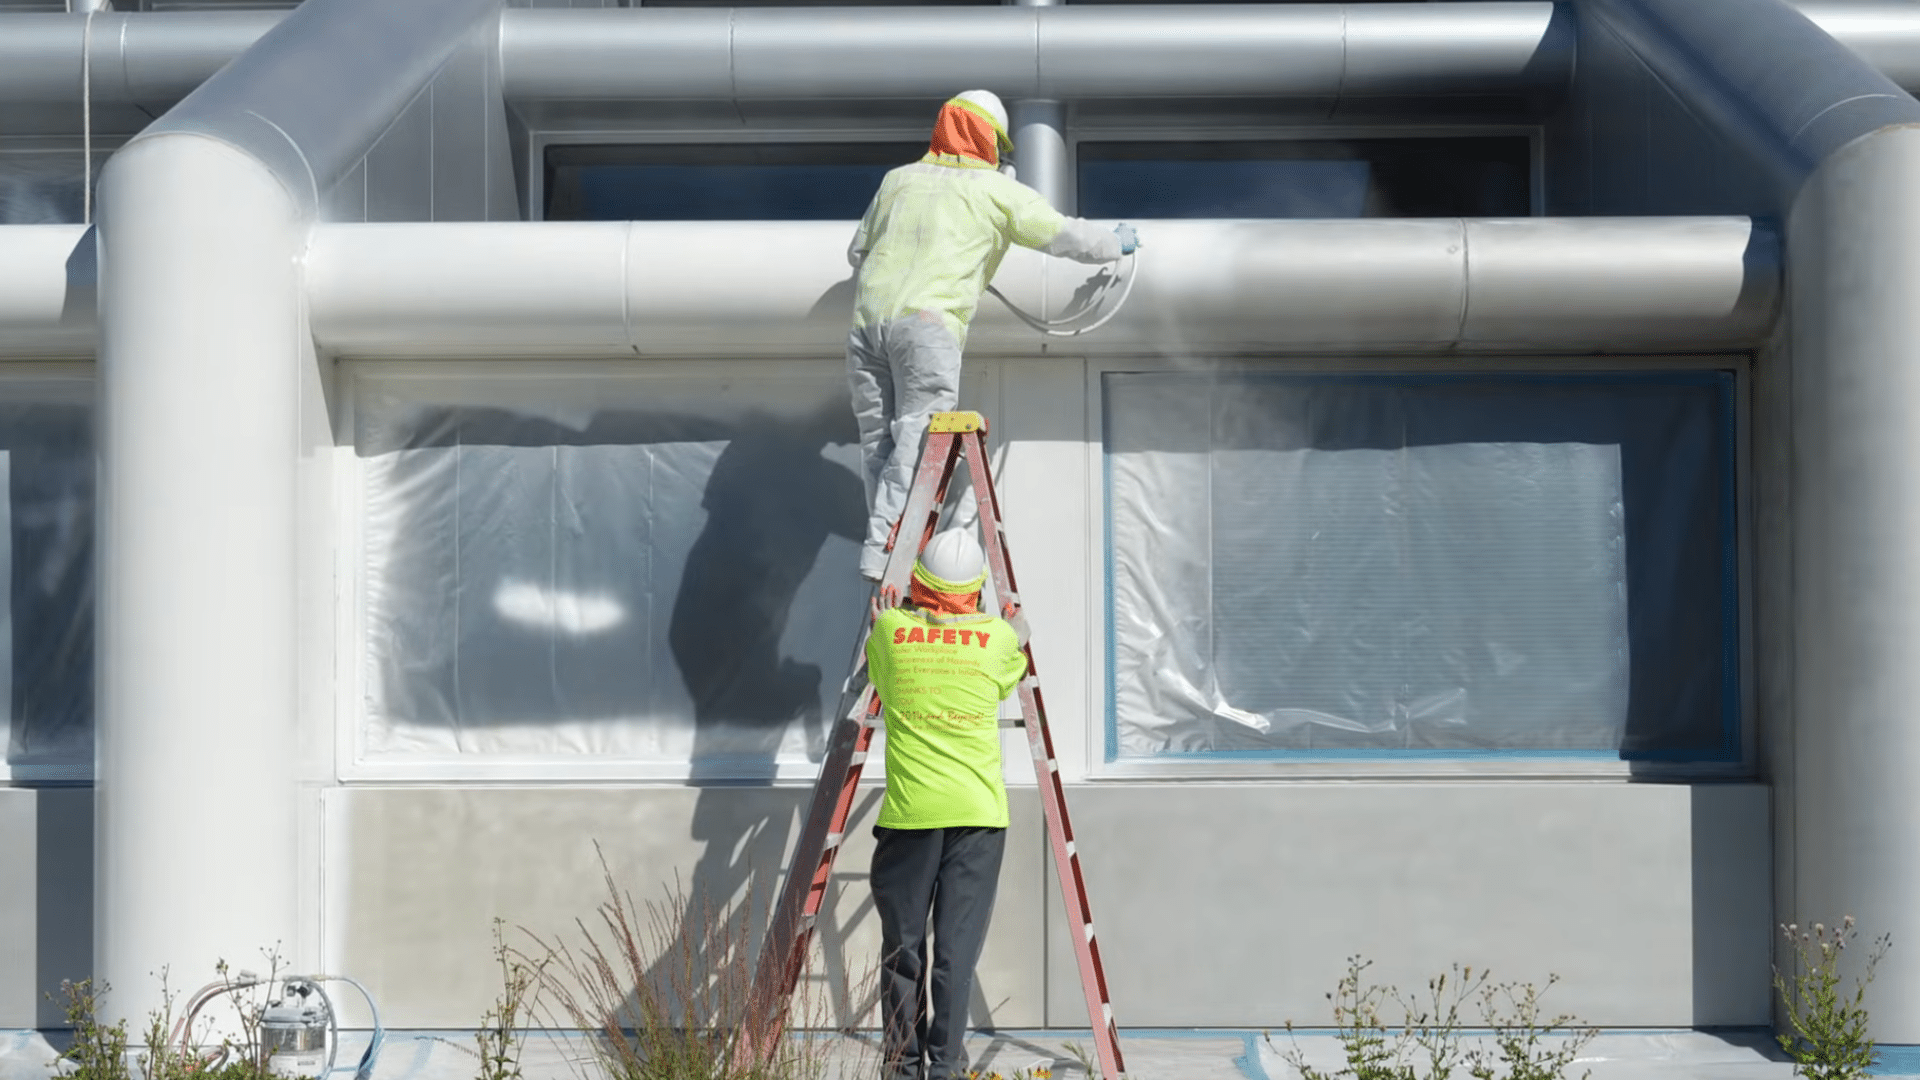
Safety comes first on any roof project. Use a ladder stabilizer, non-slip footwear, and eye protection. If the roof is steep or high, use fall protection.
Step 3: Choose the right paint system

Select coatings made specifically for metal roofs. Direct-to-metal (DTM) options are DIY-friendly, while primer-and-topcoat systems typically last longer.
Pick based on your climate, roof condition, and the number of years of performance you expect.
Shop Here: Black Gloss Direct to Metal Interior/Exterior Paint
Step 4: Lock in the right weather window
Timing affects adhesion and curing. Paint during dry weather with mild temperatures and low wind, and avoid rainy or high-humidity days.
Plan for proper drying between coats, because rushing is one of the biggest causes of peeling.
Step 5: Clean the roof thoroughly
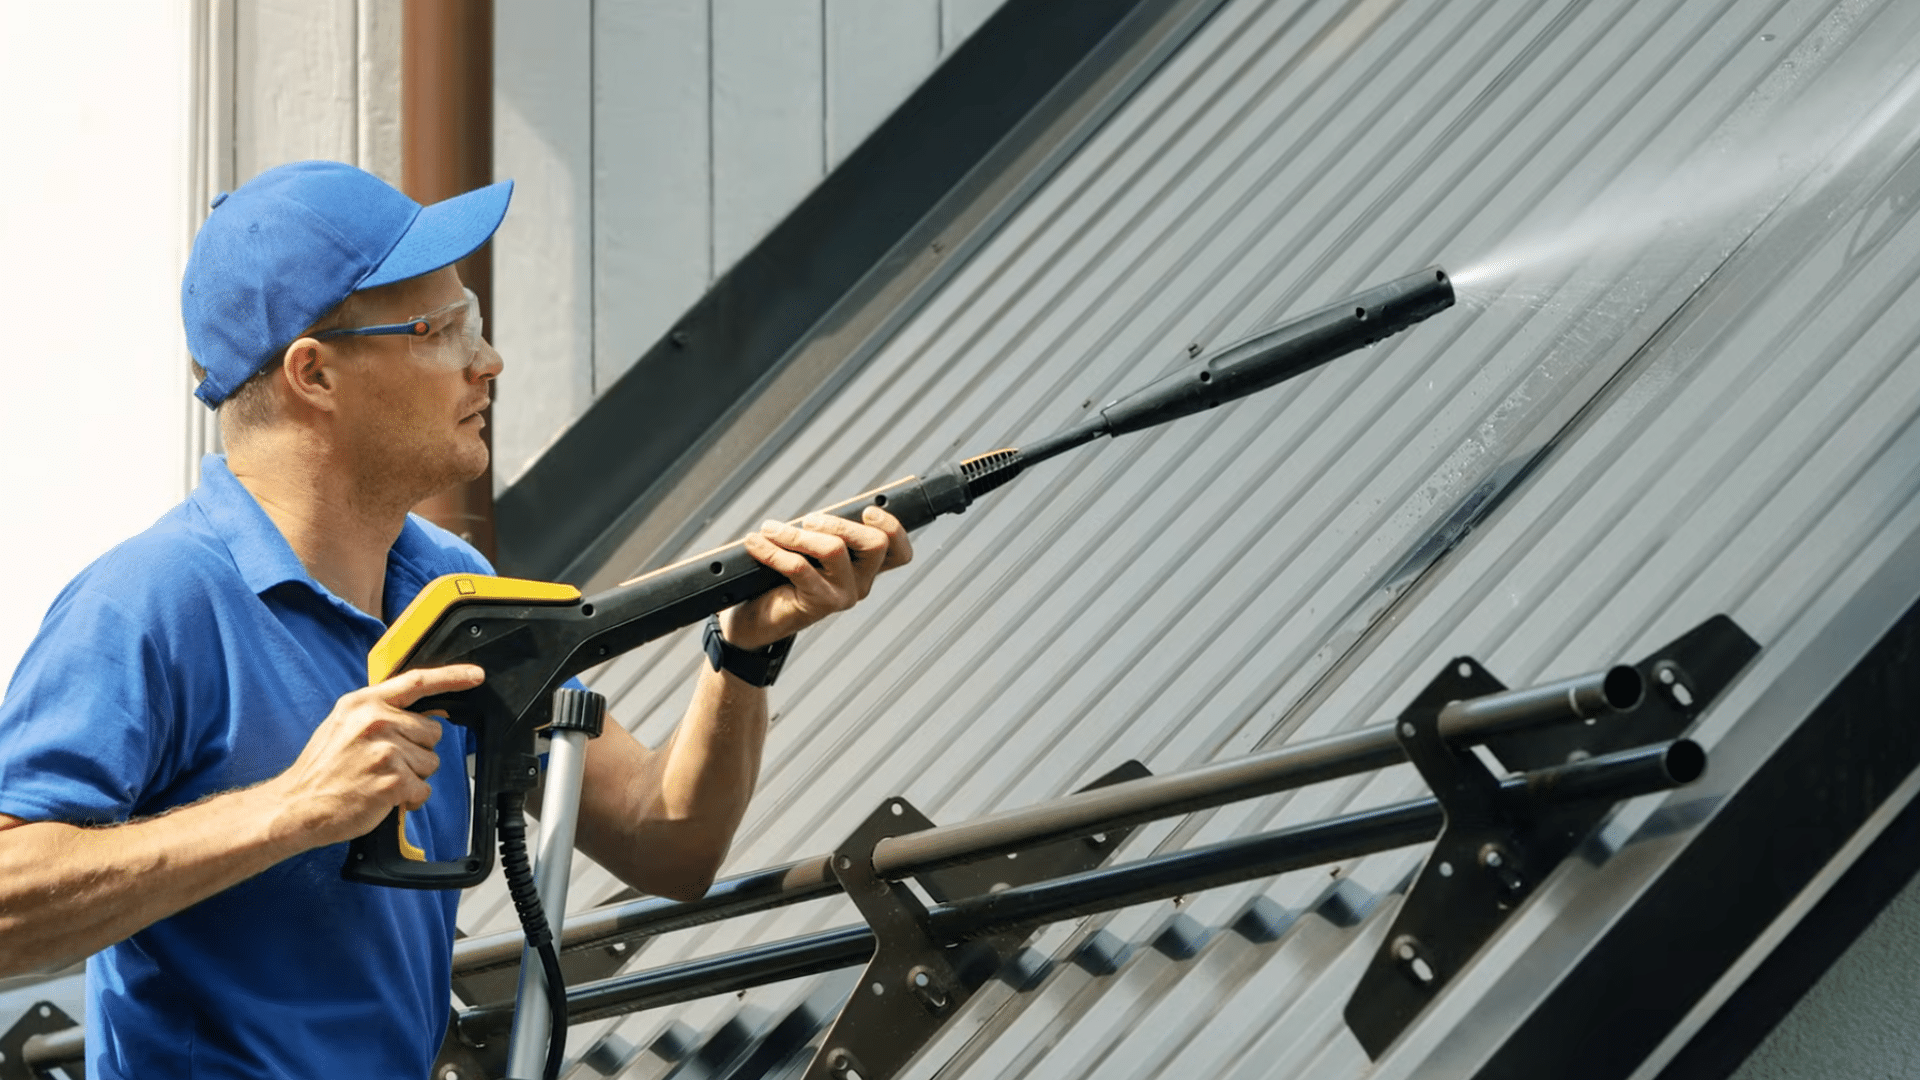
A clean surface is non-negotiable. Remove dirt, mildew, and chalky residue with a gentle pressure wash and appropriate cleaner.
Let the roof dry completely; paint won’t bond well to damp metal or leftover contaminants.
Step 6: Fix Rust and Prep the Surface for Paint
Don’t paint over rust. Wire-brush or sand problem areas, treat any remaining corrosion as needed, and scuff glossy surfaces so the primer and paint can grip.
Follow the manufacturer’s prep instructions closely for a long-lasting finish.
Step 7: Apply Primer + Topcoat for a Long-Lasting Finish
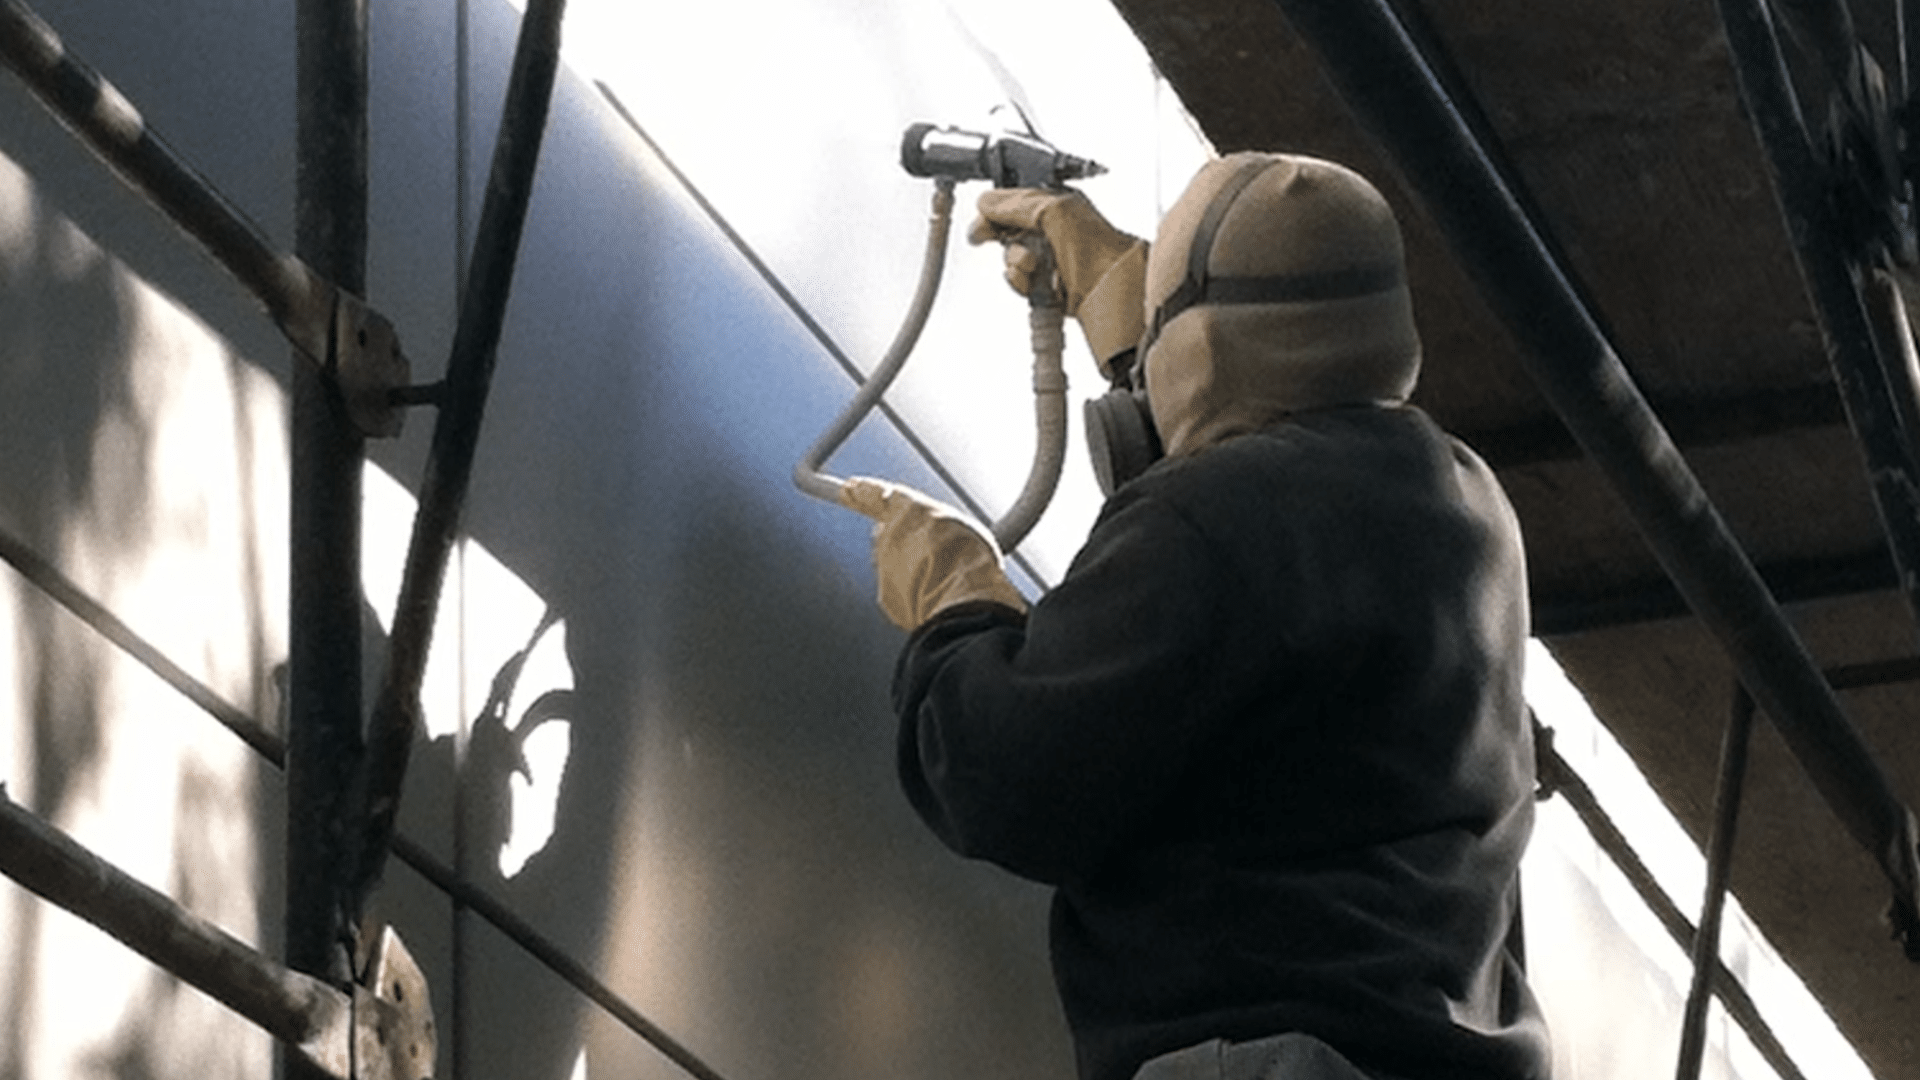
Apply primer if your coating system requires it or if you’ve treated rust.
Then apply paint evenly by rolling or spraying, following the recommended coverage rate and coat count. Respect cure times to protect the finish from early failure.
Huge thanks to The Metal Roofing Channel for sharing such a practical, homeowner-friendly tip. For the complete walkthrough and tutorial, check out the attached video.
Quick Reality Check: What to Expect After You Paint
A freshly painted metal roof can look amazing right away, but it won’t feel “finished” the minute you set the roller down.
Most coatings need real cure time (that’s the period when the paint fully hardens and bonds), so the roof may look slightly uneven at first, especially in different sunlight. That usually settles as the coating cures.
For the best result, plan to stay off the roof until the label says it’s fully cured, and avoid washing it for a couple of weeks.
After the first big rain, do a simple walk-around from the ground and look for missed edges, thin spots, or areas that don’t look even. If you catch small issues early, touch-ups are easy, and the whole roof looks more polished.
Takeaway: Give the roof time to cure, then do one calm, simple check from the ground so your finish looks intentional and lasts longer.
Final Thoughts
A painted metal roof can transform how a home feels from the street. Cleaner lines, fresh color, and an exterior that looks intentional instead of neglected.
But the difference between a finish that looks designer-done and one that peels within two years is that the second one comes down to the unglamorous stuff.
Letting weather and cure times dictate your timeline, not your impatience. If you’ve made it this far, you’re already ahead. You know what to look for, what to avoid, and how to approach this as a thoughtful project rather than a weekend gamble.
Now I’d love to hear from you. Are you painting your roof for protection, curb appeal, or both? Drop a comment, share your plan, or bookmark this postfor later.