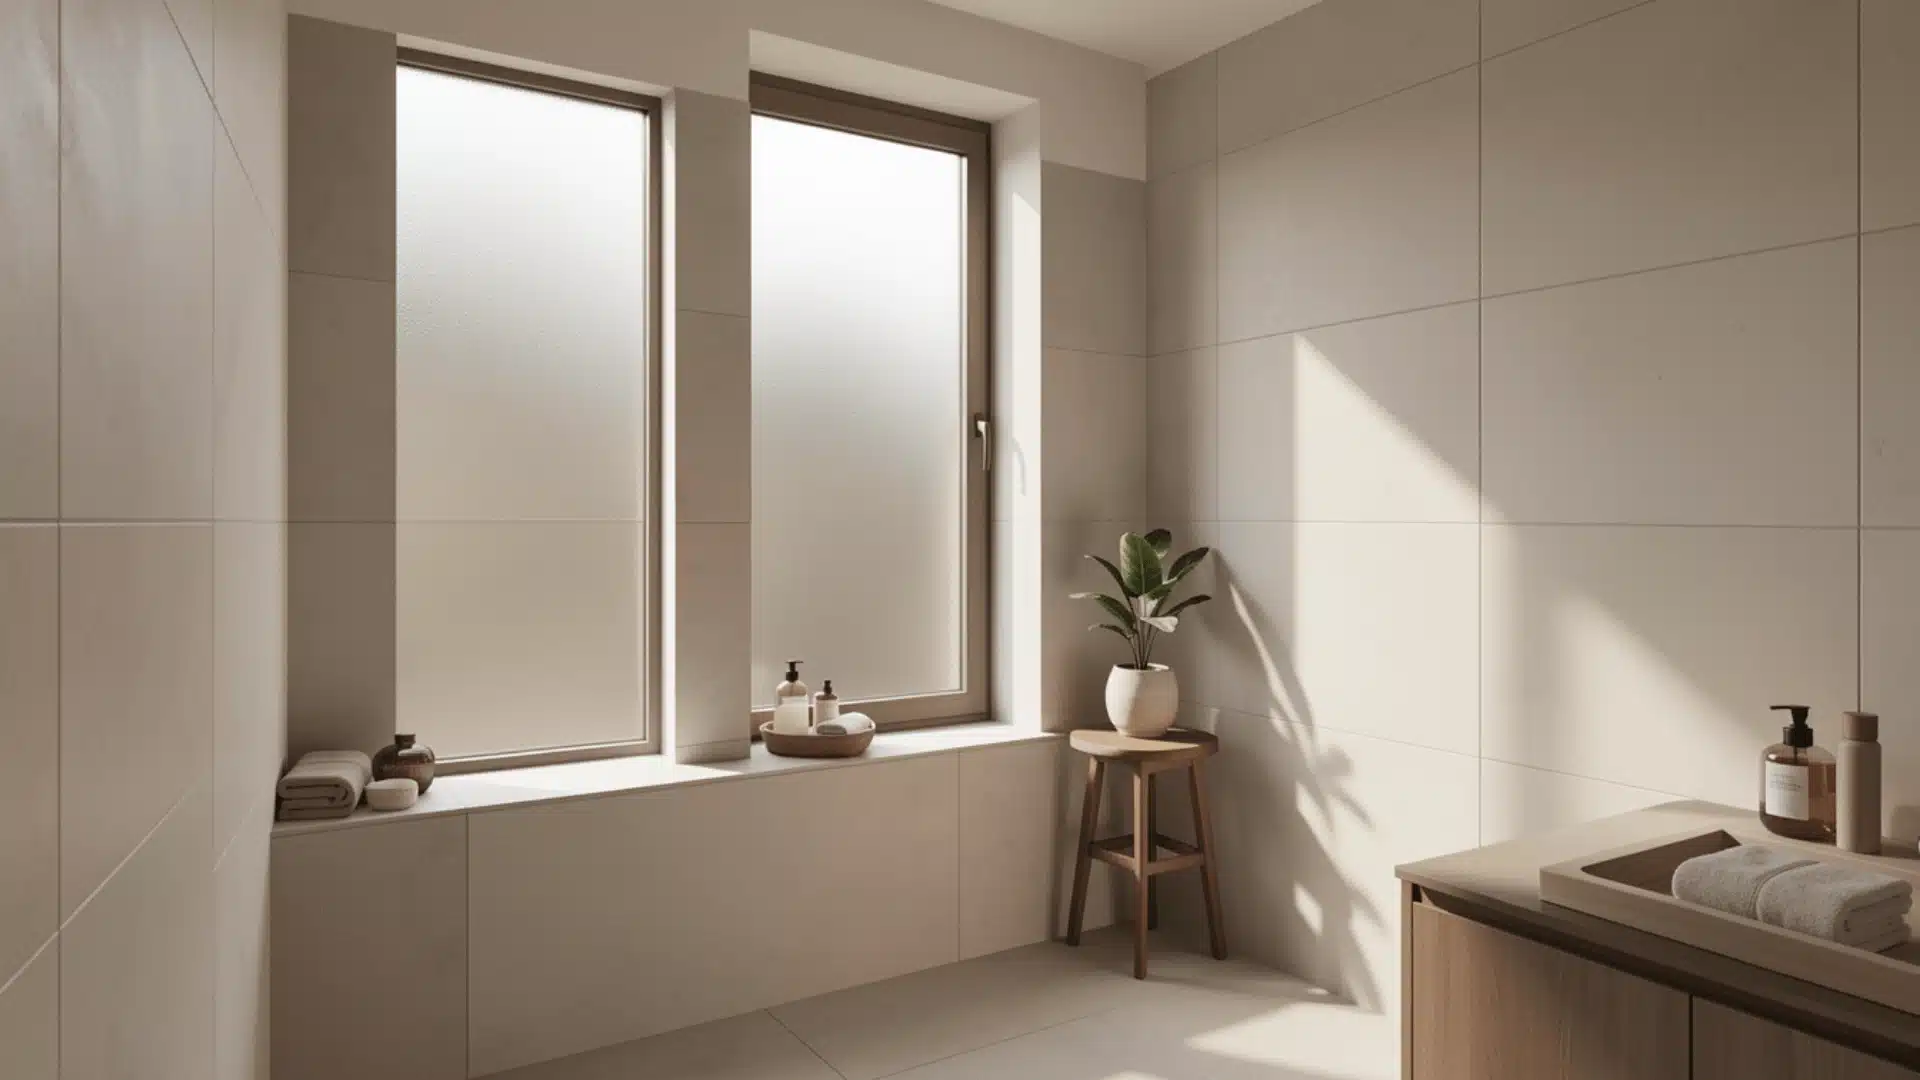
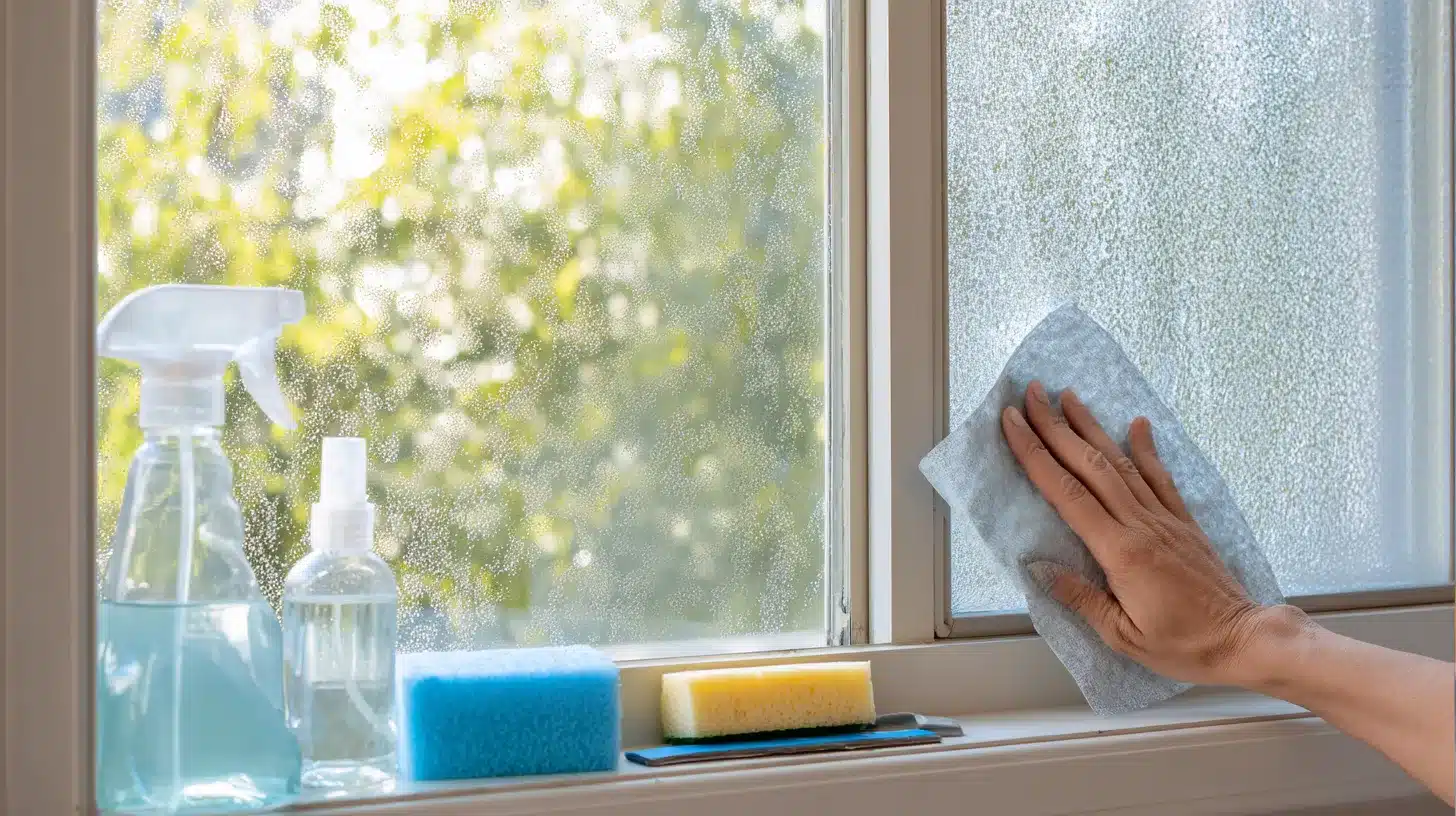
You’ve seen it in fancy bathrooms and chic cafes, that dreamy, clouded glass that whispers grace. Learning how to frost glass opens a world where ordinary windows become privacy shields.
It’s surprisingly simple, whether you’re using spray paint, etching cream, or sandblasting techniques. Each method reveals different textures and levels of opacity, giving you creative control over your space.
The process takes minutes, but the change feels like magic. You’ll mix chemicals or wield tools, watching clear surfaces gradually blur into bold statements. Your neighbors will wonder how you did it.
Some techniques are permanent, others reversible. Choose your commitment level wisely. Ready to find the secret that designers don’t want you to know?
What is Frosted Glass?
Frosted glass looks ₹cloudy because its surface scatters light. This effect blurs shapes and details, so people outside cannot see clearly, but you still get daylight.
Frosting helps when you want privacy on bathroom windows, shower doors, entry door panels, office dividers, or cabinet glass. Factory-made frosted glass uses etching or sandblasting to roughen the surface.
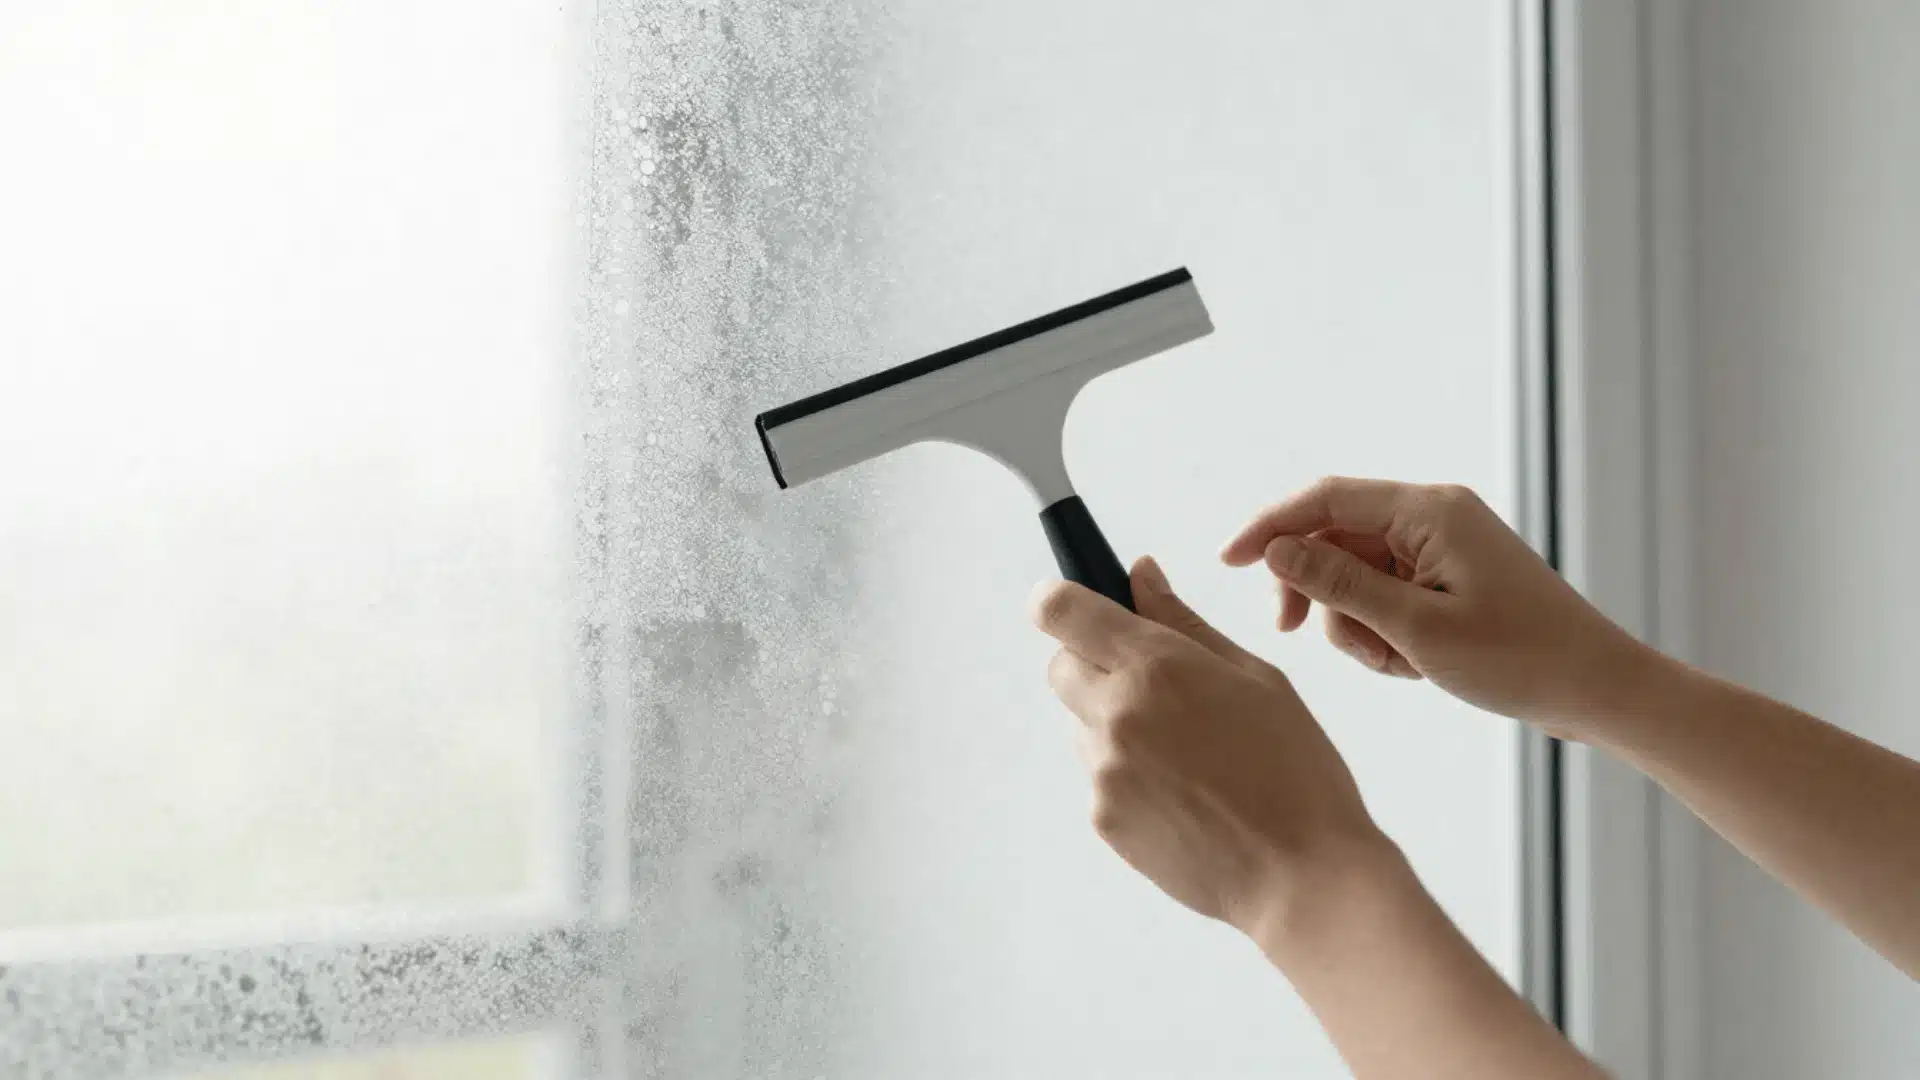
DIY options use frosted window film, frosting spray, or glass etching cream to create a similar look. Frosted glass also hides smudges better than clear glass, so that it can look cleaner between wipes.
Types Of Frosted Glass Finishes
Frosted glass finishes change how glass looks and how much privacy it gives. Each finish also differs in texture, durability, cleaning ease, and where it works best at home.
| Finish Type | How It Looks | Privacy Level | Where It Works Well | Key Notes |
|---|---|---|---|---|
| Acid-Etched | Smooth, soft matte | High | Windows, doors, panels | Resists fingerprints better than clear glass |
| Sandblasted | Grainy, textured matte | High | Feature panels, interior glass | Can trap grime in texture, needs steady cleaning |
| Frosted Film | Even haze can include patterns | Medium to high | Rentals, quick updates | Peels off later, great for temporary privacy |
| Frosting Spray | Painted-frost look | Medium | Small panes, crafts | Can scratch, needs careful prep for even coverage |
| Ceramic Frit | Dotted or solid matte | Medium to high | Large windows, commercial glass | Very durable, bonds during manufacturing |
| Patterned Frost | Designs like lines, florals, dots | Medium to high | Decorative privacy areas | Adds style while blocking direct views |
DIY Methods To Frost Glass At Home
These DIY methods help you frost glass for privacy while still letting light in. Each option uses simple supplies, fits different budgets, and works for rentals, bathrooms, windows, doors, and decor.
1. Frosted Window Film
Frosted window film creates a cloudy layer on glass, blocking clear views while allowing light to pass through. You can peel it off later, so it works well for rentals and big windows.
- Best for: Renters, temporary solutions, large windows
- Materials needed: frosted film roll, spray bottle, water, 2 to 3 drops dish soap, squeegee, utility knife, ruler, microfiber cloth
- Step-by-step instructions: clean and dry glass, measure pane, cut film 1 cm larger, mist glass with soapy water, peel backing and mist sticky side, place film and align, squeegee center to edges, trim edges, wipe excess water
- Pro tips: work in shade, re-squeegee after 10 minutes, use a sharp blade for corners
- Pros: removes easily, low mess, works on large panes
- Cons: edges can lift in humidity, bubbles need careful removal, and textured glass reduces grip
- Cost estimate: $3.30 to $16.55 per window (depends on size and film quality)
2. Frosted Glass Spray Paint
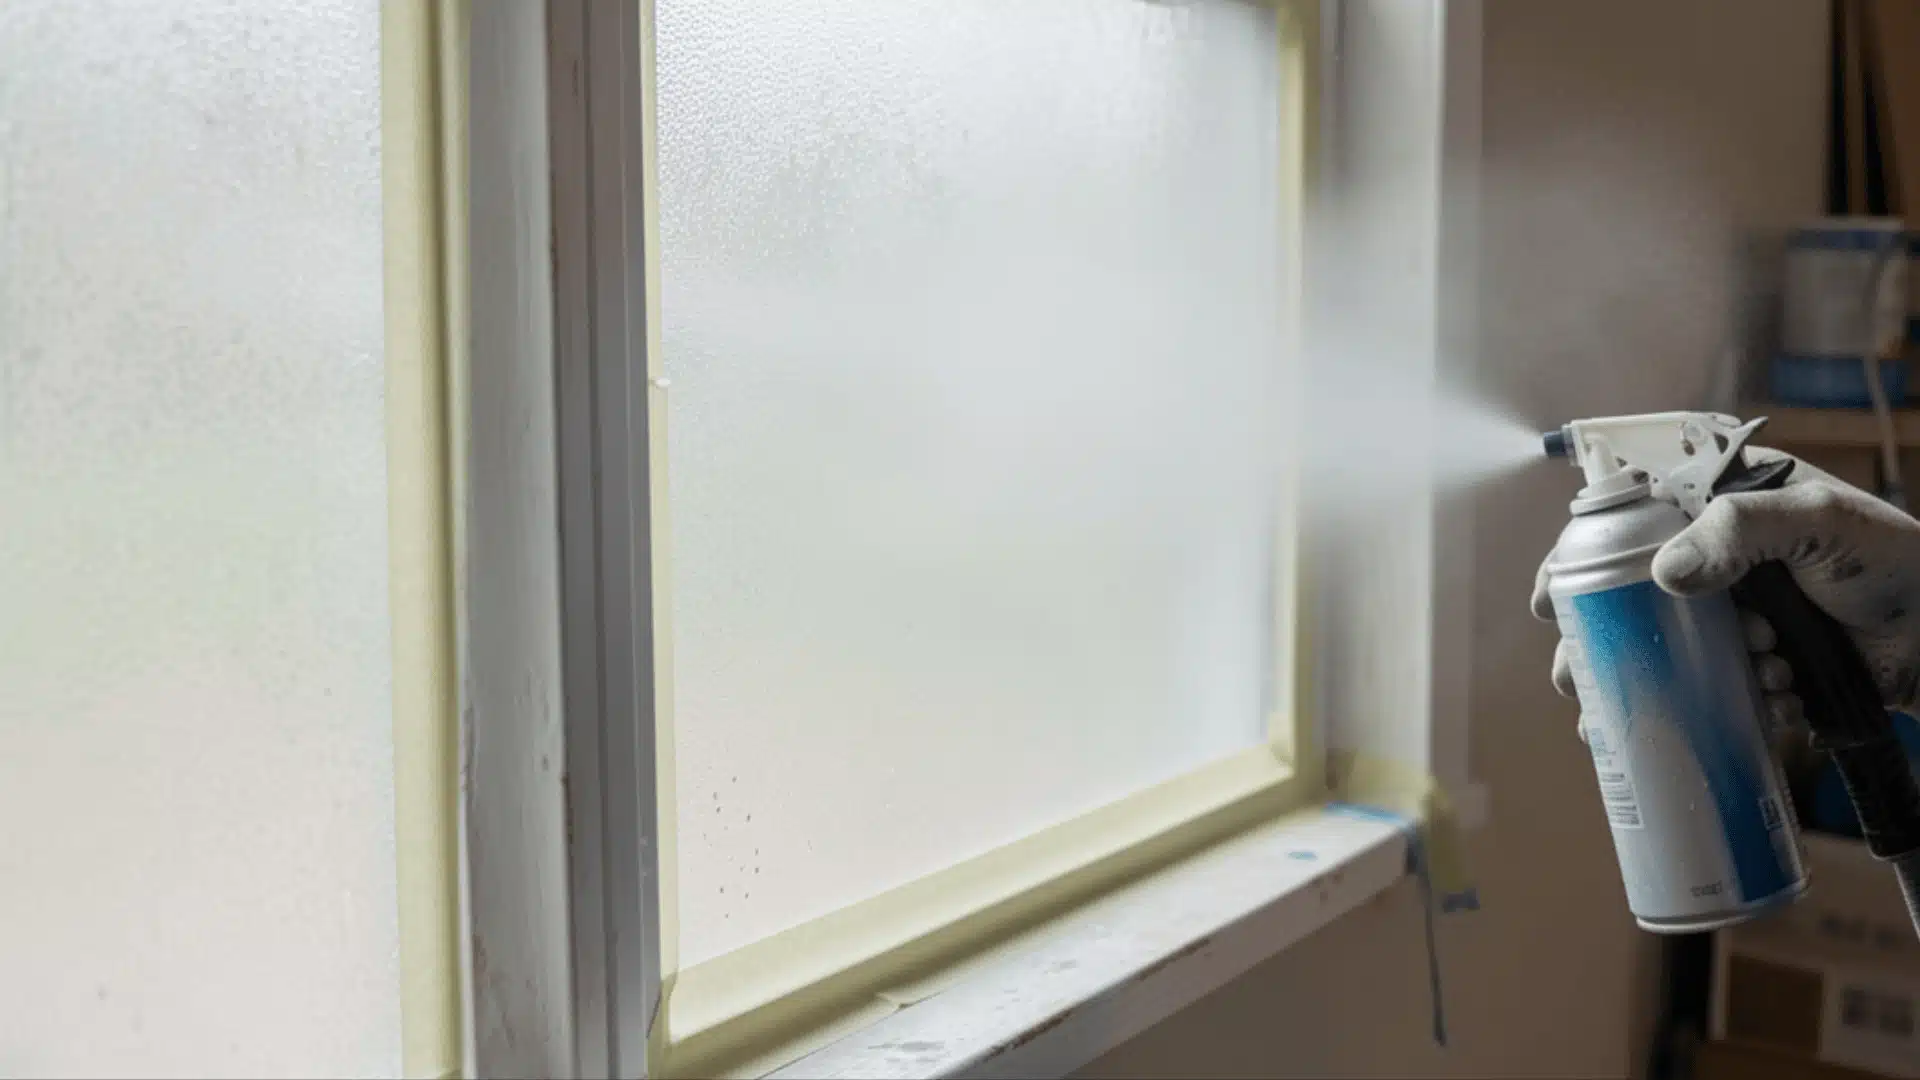
Frosted glass spray paint coats clear glass with a matte finish that blurs views. You spray, let it dry, and gain privacy fast on small panes and decor items indoors, too.
- Best for: small windows, cabinet glass, glass crafts, quick privacy fixes
- Materials needed: frosted glass spray paint, painter’s tape, drop cloth or newspaper, glass cleaner, lint-free cloth, gloves, mask
- Step-by-step instructions: clean and dry glass, tape off edges and any designs, cover nearby surfaces, shake can for 1 to 2 minutes, spray light coats from 8 to 12 inches away, wait 5 to 10 minutes between coats, add 2 to 4 coats for even coverage, let it cure fully, peel tape carefully
- Pro tips: spray in thin coats, keep the can moving, test on a corner first
- Pros: quick to apply, works on curved glass, good for small projects
- Cons: can scratch or chip, needs good ventilation, and removal takes time
- Cost estimate: $8 to $25 per project (paint can plus tape and masking supplies, based on window size and coats)
3. Glass Etching Cream
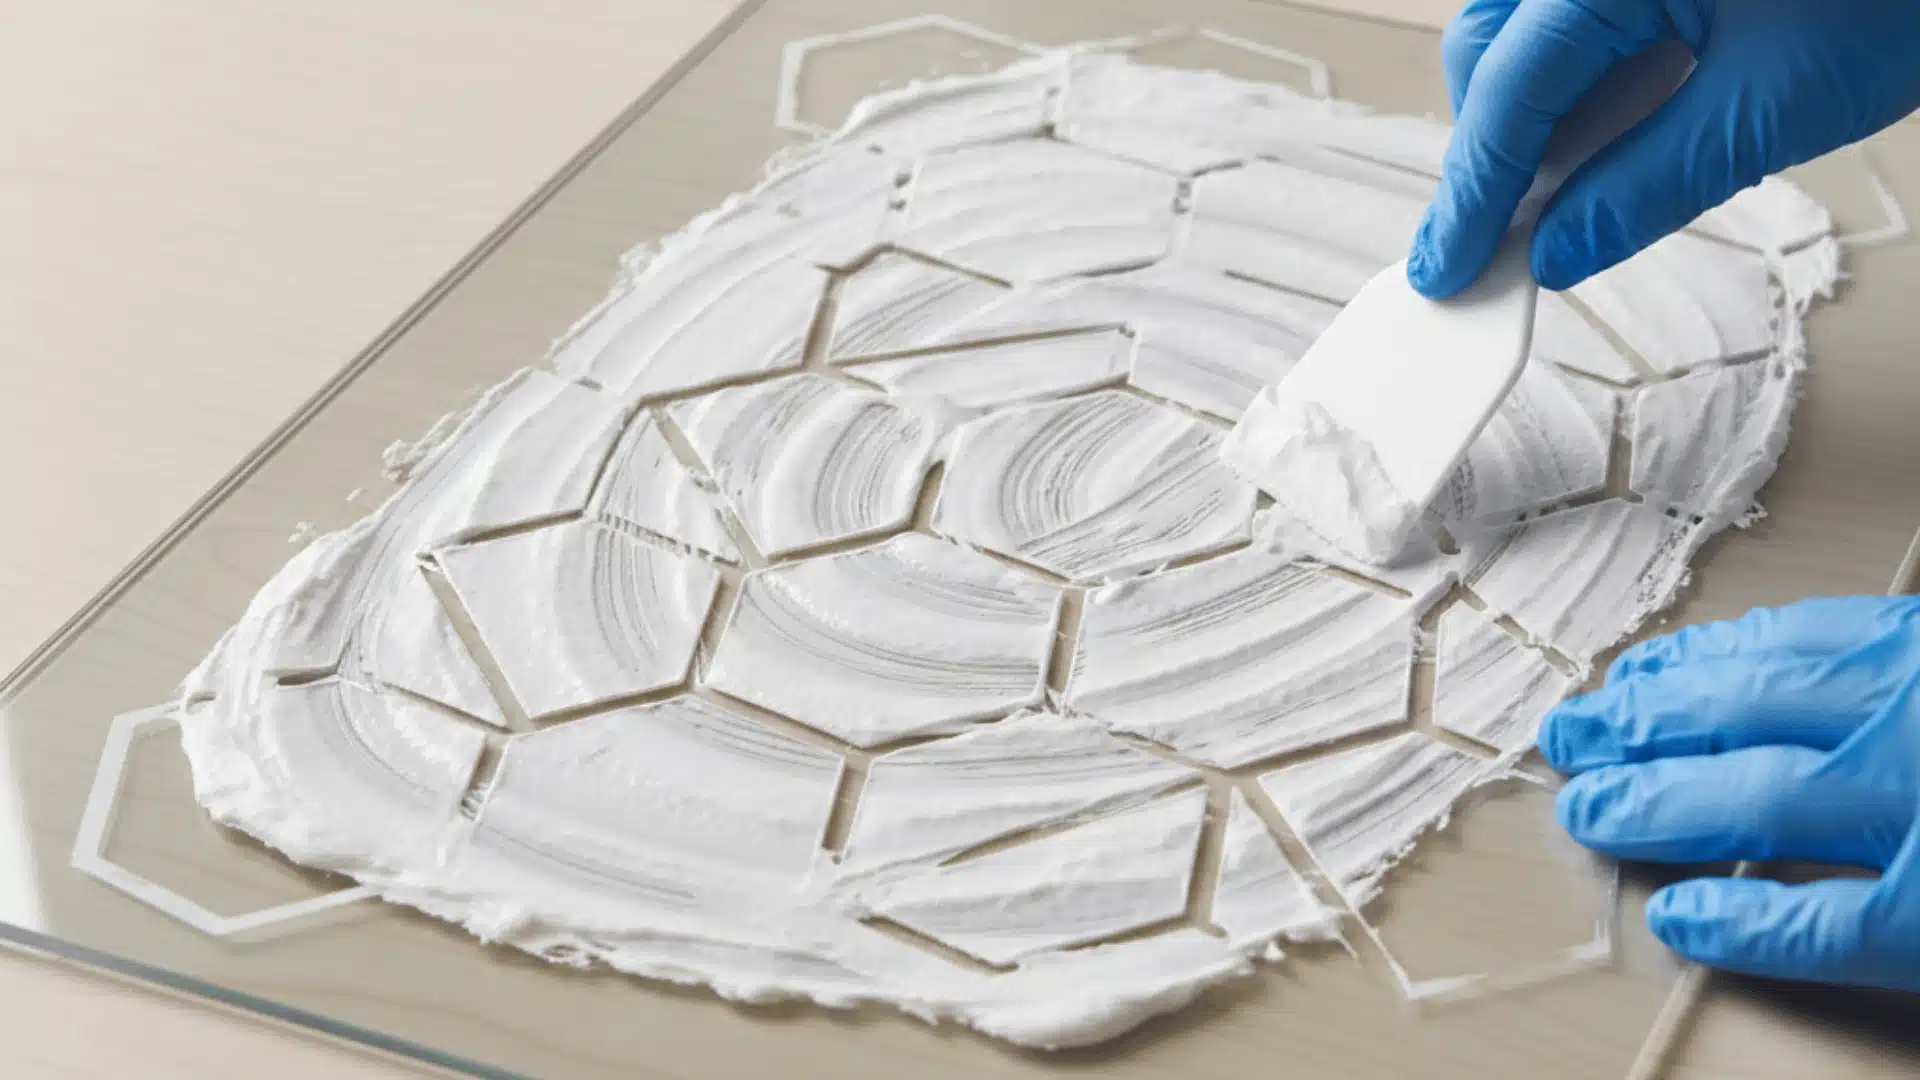
Glass etching cream roughens the glass surface, creating a frosted look. You apply it to clean glass, wait a set time, rinse it off, and get lasting privacy.
- Best for: designs, stripes, borders, small panels, long-lasting frosting on indoor glass
- Materials needed: glass etching cream, vinyl stencil or painter’s tape, glass cleaner, lint-free cloth, gloves, eye protection, plastic scraper or craft stick, timer, running water
- Step-by-step instructions: clean and dry glass, place stencil or tape design, press edges firmly, apply a thick even layer of cream, wait the label time, scrape cream back into the container, rinse glass well, remove stencil, wash and dry again
- Pro tips: seal stencil edges tightly, keep cream off skin, avoid thin spots for an even finish
- Pros: permanent frosted look, sharp designs, no peeling edges
- Cons: needs careful handling, works best on flat glass, mistakes stay visible
- Cost estimate: $12 to $30 per project (cream kit plus stencil or tape, depending on coverage area)
4. Contact Paper Or Vinyl Shelf Liner
Contact paper or vinyl shelf liner covers glass with a matte layer that blocks clear views. You stick it on, smooth it flat, and peel it off later for quick privacy.
- Best for: tight budgets, rental properties
- Materials needed: matte contact paper or vinyl shelf liner, measuring tape, ruler, pencil, scissors or utility knife, spray bottle with water, squeegee or card, microfiber cloth.
- Step-by-step instructions: clean and dry glass, measure the pane, cut liner 1 cm larger, lightly mist glass with water, place liner and align edges, smooth from center outward, trim edges neatly, press corners firmly
- Pro tips: choose matte or frosted-style liner, warm the liner slightly with your hands for better flexibility, trim slowly with a sharp blade for clean corners
- Pros: very low cost, easy to remove, many patterns available, works well on small panes
- Cons: edges can lift over time, seams show on large windows, water can trap bubbles if you rush smoothing
- Cost estimate: $5 to $15 per roll, often $3 to $12 per window, depending on window size and liner width
5. Cornstarch Paste With Tissue Paper Or Lace
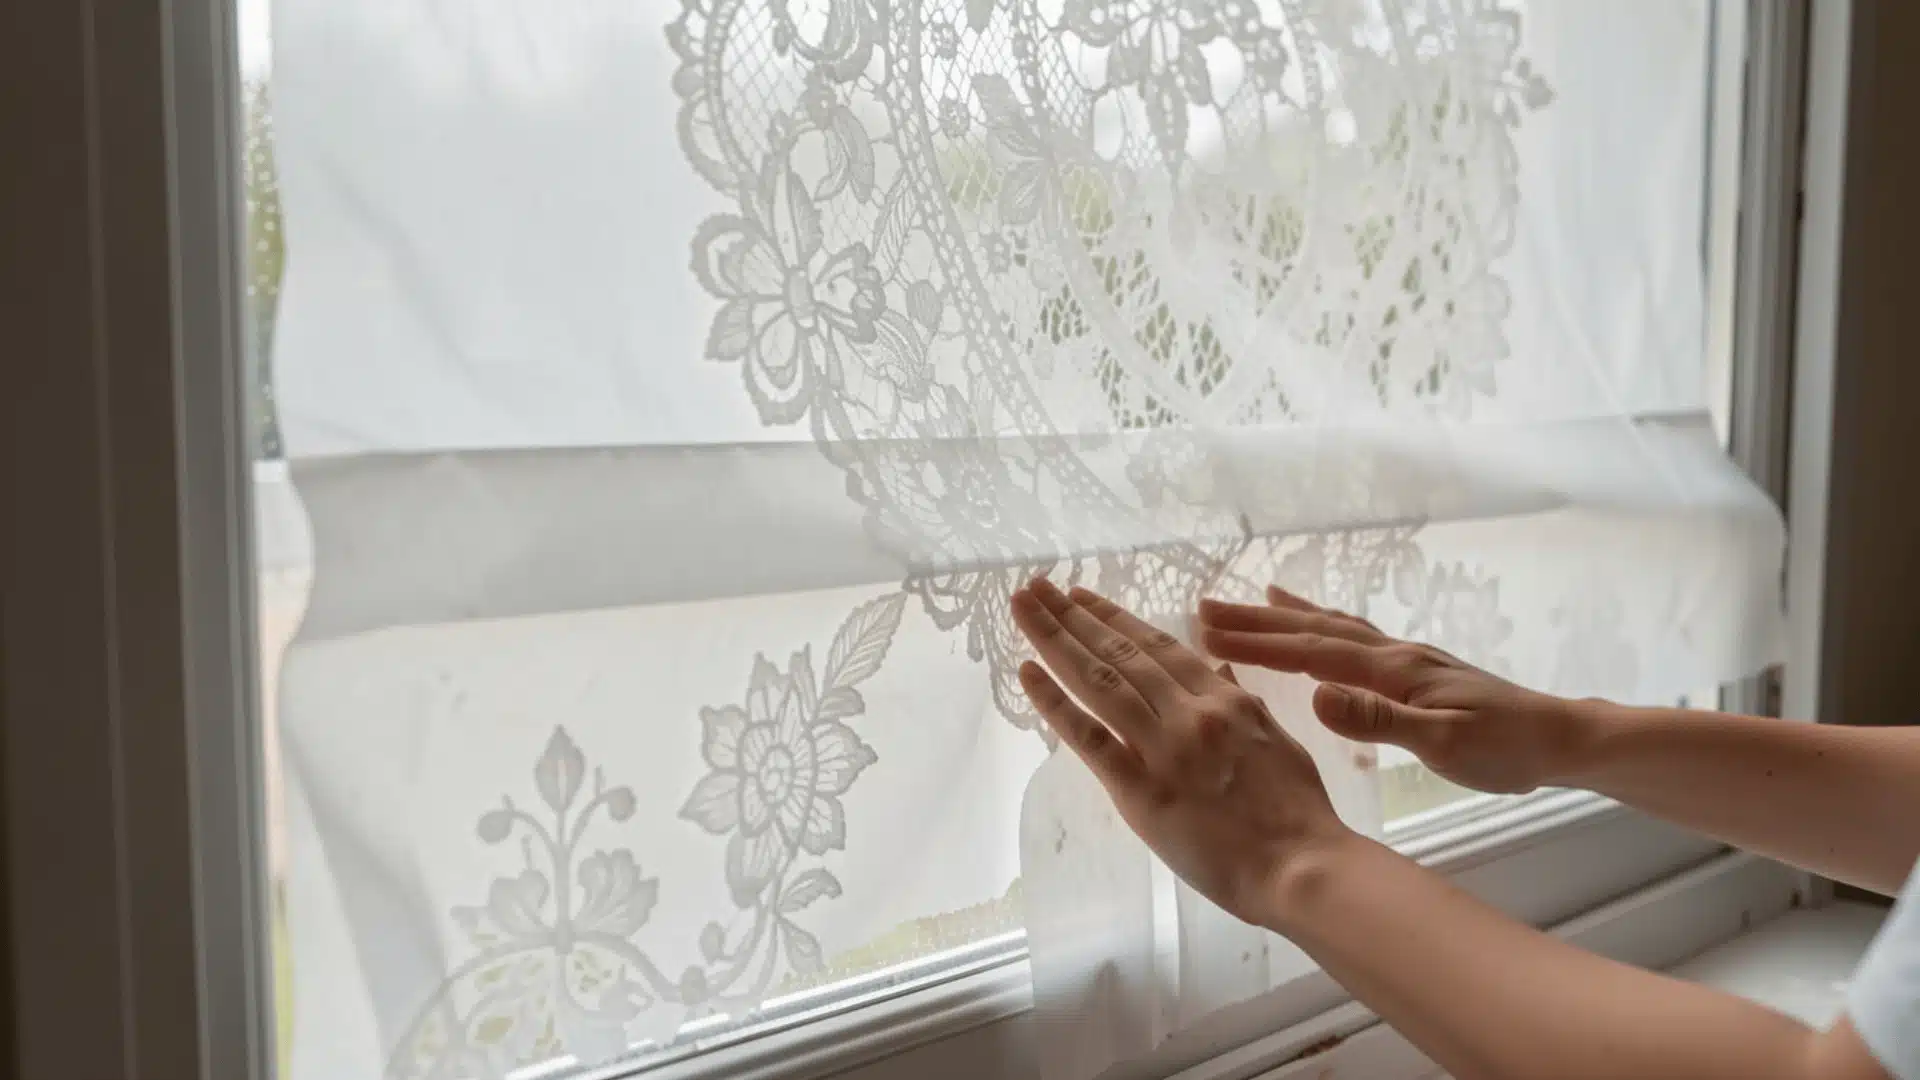
This ultra-temporary method uses cornstarch paste to apply tissue paper or lace to glass, creating a frosted look that provides privacy and can be easily removed with water.
- Best for: Renters looking for temporary solutions, seasonal decorations, or craft projects; great for adding a frosted look to glass without making permanent changes; ideal for small windows and quick fixes.
- Materials needed: cornstarch, water, tissue paper or lace fabric, paintbrush, bowl, spoon for mixing, scissors or utility knife for cutting fabric, spray bottle with water, microfiber cloth for cleanup, and plastic scraper for removal.
- Step-by-step instructions: Mix 1 tbsp cornstarch with 1 cup warm water, stir until smooth, let it sit for 2 minutes, cut the fabric to size, apply the paste to the glass, press the fabric, smooth, trim, scrape, and clean.
- Pro tips: Warm the tissue or lace slightly to make it more flexible, press out wrinkles carefully to avoid air pockets, and trim the edges neatly with a sharp blade to achieve a clean finish.
- Pros: Very low cost, easy to remove with water, customizable with patterns or colors, works well for temporary privacy or decorative effects, ideal for renters or holiday projects.
- Cons: Short lifespan; prone to lifting in humid conditions; edges may peel over time; not ideal for high-traffic areas or long-term use; less durable than other methods.
- Cost estimate: Under $5 for basic materials like cornstarch, tissue, and water; minimal additional cost for simple tools such as a brush or scraper, making it an affordable option for quick projects.
Frosting glass at home is an easy, affordable way to add privacy and style without replacing your windows. Whether you choose spray paint, window film, or etching cream, each DIY method offers a simple solution you can complete in just a few steps.
Professional Frosting Methods
Professional frosting methods create long-term privacy by altering glass with specialized tools or factory processes. They suit large panels, safety needs, and durable finishes, where DIY results often fail.
| Professional Method | How It Works | Best For | When To Hire Professionals | Key Notes |
|---|---|---|---|---|
| Sandblasting | A pro blasts abrasive grit onto glass to roughen the surface | Deep frosting, textured looks, large panels | You need full-size doors, big windows, or detailed artwork | Creates dust, needs proper containment, and requires skill |
| Acid Etching | A factory uses controlled acids to frost glass evenly | Smooth, uniform frost on new glass | You want consistent results across many panes | Requires industrial handling and strict controls |
| Laminated Frosted Glass | A maker bonds a frosted layer between glass sheets | Doors, partitions, safety areas | You need added safety and long-term privacy | It helps the glass hold together after impact |
| Glass Block Windows | A builder installs thick glass blocks that blur views | Bathrooms, basements, side windows | You want permanent privacy with strong moisture resistance | Needs framing work and proper waterproofing |
Common Mistakes To Avoid
Small mistakes can ruin a frosted finish fast. Most problems start with poor cleaning, rushed drying, weak masking, or ignoring label directions. Avoid these issues to get clean edges and even privacy.
- Dirty glass: Dust and grease prevent frosting from sticking evenly, leading to bubbles or patchy spots. Always clean and dry the glass thoroughly before starting.
- Heavy spray coats: Applying thick coats causes drips, streaks, and uneven coverage. Use thin, even layers and wait between coats for a smoother finish.
- Loose tape edges: Loose tape allows paint to bleed under and creates jagged edges. Press the tape firmly and remove it carefully after the frosting dries.
- Humid conditions: Spray paint in humid or poorly ventilated areas can cause foggy or uneven frosting. Always work in dry, well-ventilated spaces to avoid this.
- Not enough misting: Failing to mist the glass and film well causes air bubbles and wrinkles. Make sure to mist evenly and smooth out bubbles immediately.
- Ignoring label instructions: Skipping the product’s recommended cure or drying times can lead to peeling or uneven frosting. Always follow the instructions for the best results.
Conclusion
Frosting glass gives you privacy without blocking daylight. You can use window film for easy removal, spray paint for quick coverage, etching cream for a lasting finish, contact paper for budget privacy, or cornstarch paste for ultra-temporary designs.
Start by cleaning the glass well, test a small corner, and follow product directions to avoid bubbles, drips, and rough edges.
Now you know how to frost glass to match your space, budget, and timeline. If you want more ideas, check related guides on window treatments and bathroom privacy options.
Which method will you try first, and what pattern would you add to make it feel more personal? Comment below, share your results, or bookmark this page for later.