I’ve watched clients grab their cabinet doors too many times – and you can always tell when someone picked the wrong paint finish.
Kitchen cabinets aren’t like walls. They are constantly touched, splashed with grease, hit with steam from cooking, and scrubbed down weekly.
Regular wall paint just won’t hold up. It chips, yellows, or starts looking worn after a few months.
After repainting dozens of kitchens, I’ve learned exactly what works and what doesn’t. The right finish makes all the difference.
Here, I’ll walk you through the best paint finish for kitchen cabinets, explain which sheen level holds up, share my top paint picks, and give you a simple how-to.
I’ll also cover the best color to paint kitchen cabinets based on what I’ve seen work in real homes.
What To Look For In Kitchen Cabinet Paint?
The best paint finish for kitchen cabinets needs to check a few important boxes. First, it should dry hard, not rubbery – this stops chips and scuffs when you’re opening doors all day.
Good adhesion matters too. The paint needs to grip onto wood, MDF, or old paint without peeling. I also look for paints that level well, meaning they smooth out brush marks as they dry.
Moisture and stain resistance are huge in kitchens where grease flies everywhere. And here’s something most people miss: cure time. Paint might feel dry in hours, but it takes weeks to reach full toughness.
Oil Vs. Water-Based Paint
You’ll need to choose between oil-based and water-based paint for your cabinets. Here’s how they compare so you can pick the one that fits your project.
| Feature | Oil-Based Paint | Water-Based Paint |
|---|---|---|
| Durability | Extremely tough, very hard finish | Very durable, quality improving |
| Dry Time | Slow (8-24 hours between coats) | Fast (2-4 hours between coats) |
| Smell & Fumes | Strong fumes, needs ventilation | Low odor, mild smell |
| Cleanup | Requires paint thinner | Soap and water |
| Yellowing | Yellows over time, especially whites | Stays true to color |
Water-based paints work well in most kitchens now, without the strong fumes or yellowing. Oil-based paints are still tougher, but the tradeoffs usually aren’t worth it for home projects.
Best Paint Picks For A High-Quality Finish
Not all cabinet paints work the same way. After testing many brands with clients, I’ve found a handful that hold up year after year.
Here are the ones I reach for most often, along with what makes each one stand out.
1. Benjamin Moore Advance (Waterborne Alkyd Enamel)
This is my go-to when clients want a smooth, furniture-like finish. Benjamin Moore Advance is hard-wearing and self-leveling, meaning it smooths out as it dries.
The formula was made with cabinets in mind. The only downside is the longer dry time – you’ll need to wait between coats. Plan your project around that, and you’ll get great results.
2. Sherwin-Williams Emerald Urethane Trim Enamel
If you’re painting cabinets white, this paint gives you a crisp, clean look that lasts. Sherwin-Williams Emerald Urethane has strong adhesion and serious durability.
It’s a favorite among pros who paint cabinets often. The price is higher than basic paint, and depending on your area, not every store stocks it. But if you can get it, it’s worth the cost.
3. INSL-X Cabinet Coat
This one was made specifically for cabinets, and it shows. INSL-X Cabinet Coat is DIY-friendly and gives you that smooth, factory-like look without needing pro tools.
It works well if you follow the directions. The catch is that surface prep still matters a lot. Skip the sanding or cleaning step, and you’ll see the difference later on.
4. Behr Urethane Alkyd Enamel
Behr offers a solid cabinet enamel that won’t break your budget. This paint dries to a tough finish, and you can find it at most home improvement stores.
The downside is that your results will depend more on how well you prep and apply it. It’s not as forgiving as pricier paints, but it works if you take your time.
5. Wise Owl One-Hour Enamel
When clients need a faster turnaround, I look at Wise Owl One Hour Enamel. It’s made for speed compared to other cabinet paints.
Just keep in mind that “one hour” refers to dry time, not cure time. You’ll still need to follow cure guidance before scrubbing or heavy use, usually for a few weeks.
6. C2 Cabinet And Trim
C2 is another premium option that often appears in cabinet paint comparisons. It’s designed for both cabinets and trim, so it handles the wear and tear well.
The main issue is availability – depending on where you live, it might be harder to find. If you have a local dealer, it’s worth checking out.
7. Farrow And Ball Flat Eggshell
If you want a low-sheen look that still holds up, Farrow and Ball Flat Eggshell works for kitchen surfaces, including cabinets. It’s made to handle high-traffic areas.
The brand costs more than most, and they recommend following their full system (primer and paint together) for the best results. It’s a commitment, but clients love the finish.
Any of these paints will work well if you match them to your needs and timeline. The right choice depends on your budget, how fast you need to finish, and what look you’re going for.
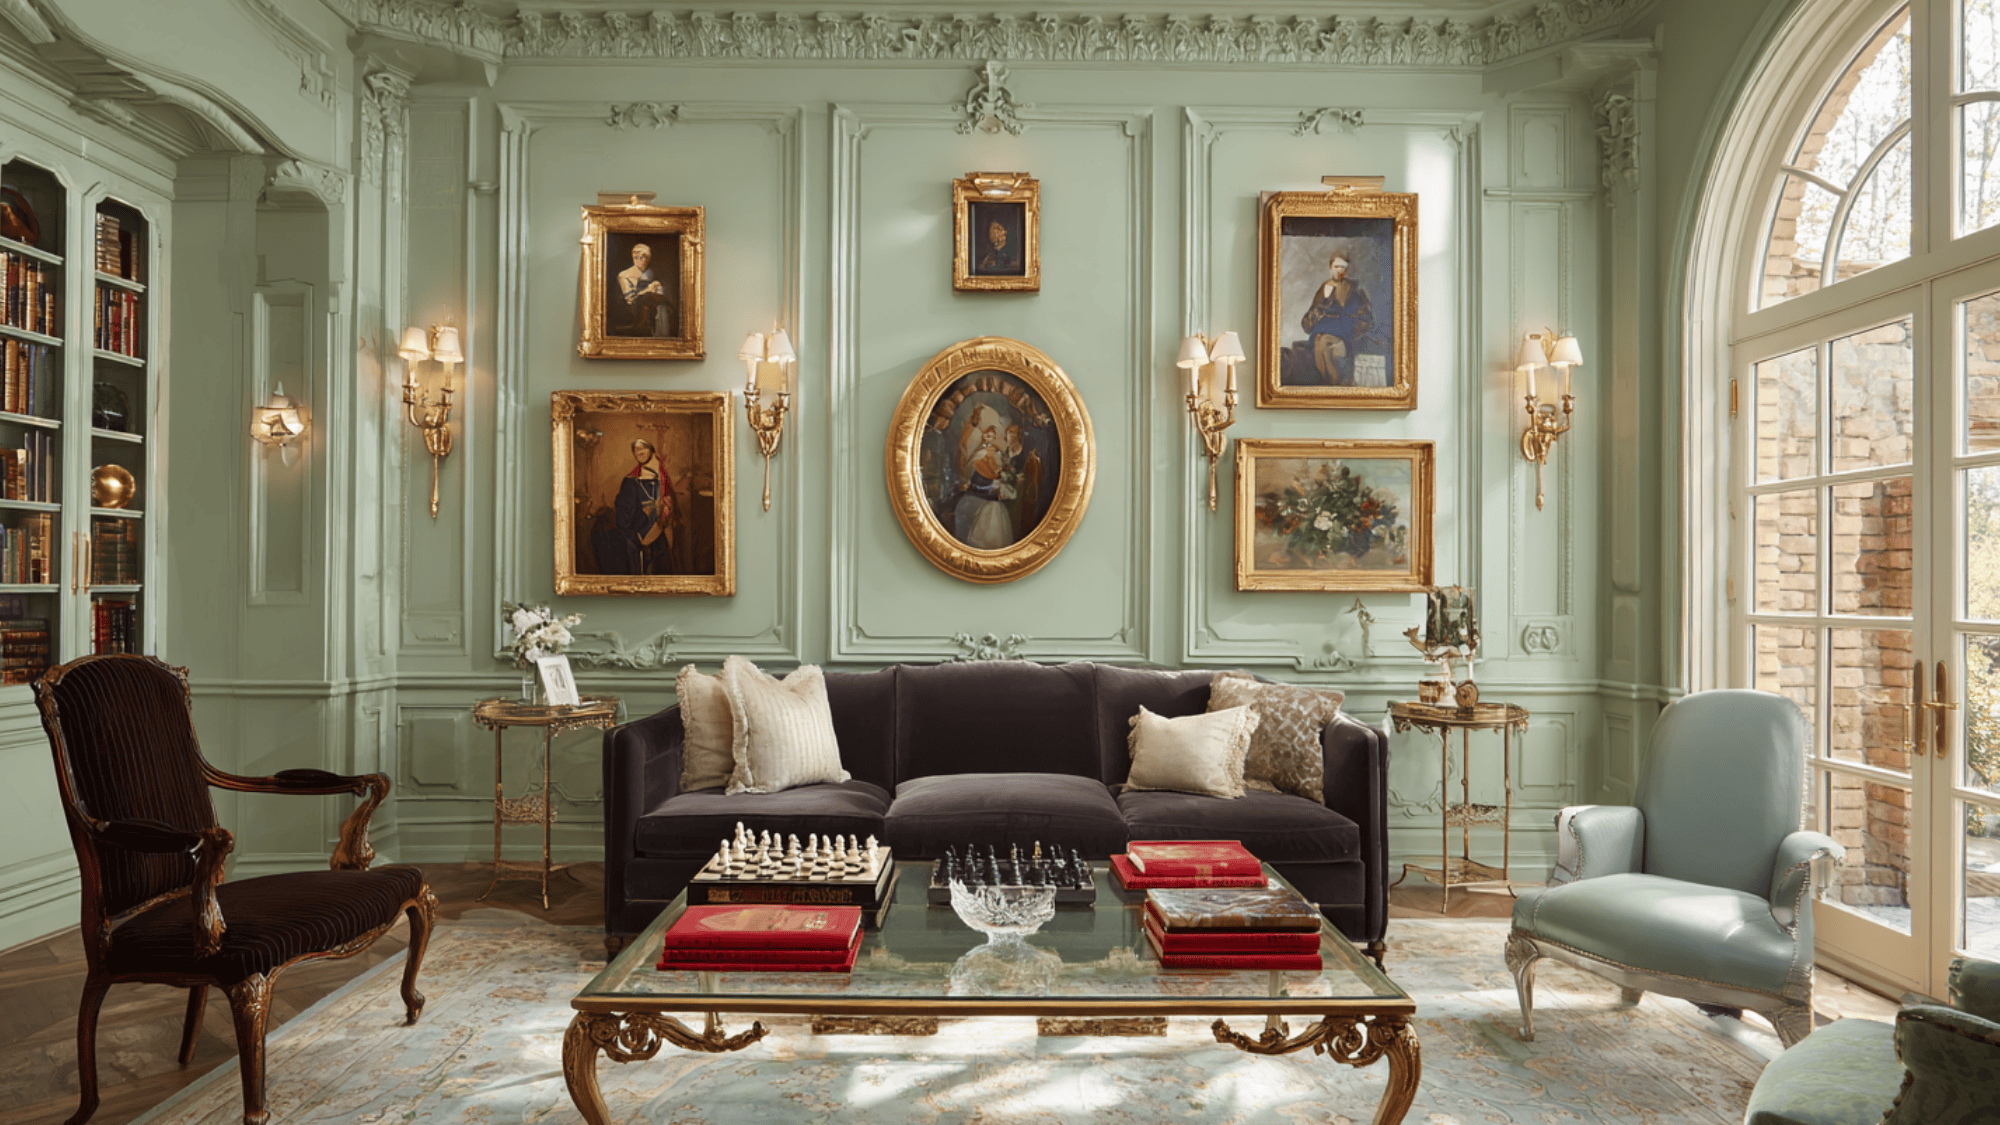
Best Color To Paint Kitchen Cabinets
Once you pick the right paint finish, you’ll need to choose a color. The best color to paint kitchen cabinets depends on your space, lighting, and countertops.
Here are the colors that work in most kitchens and hold up over time.
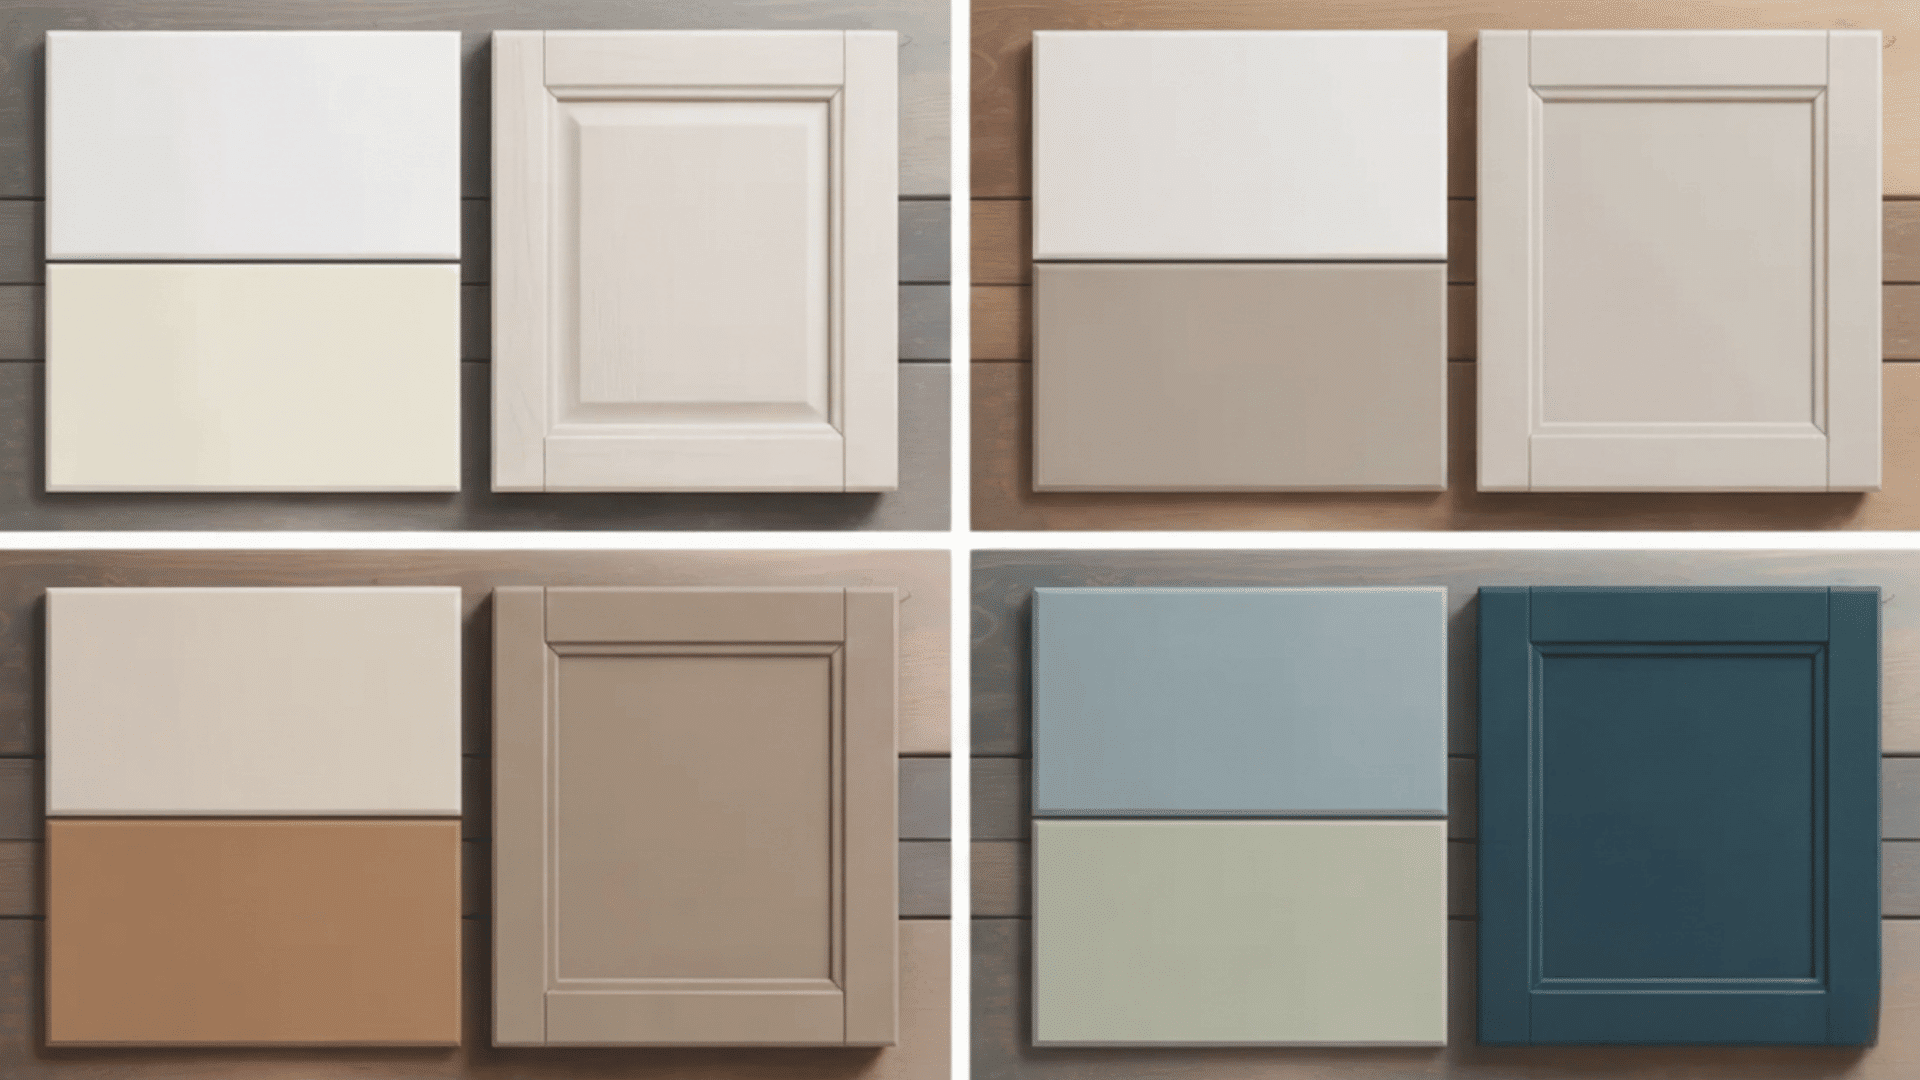
-
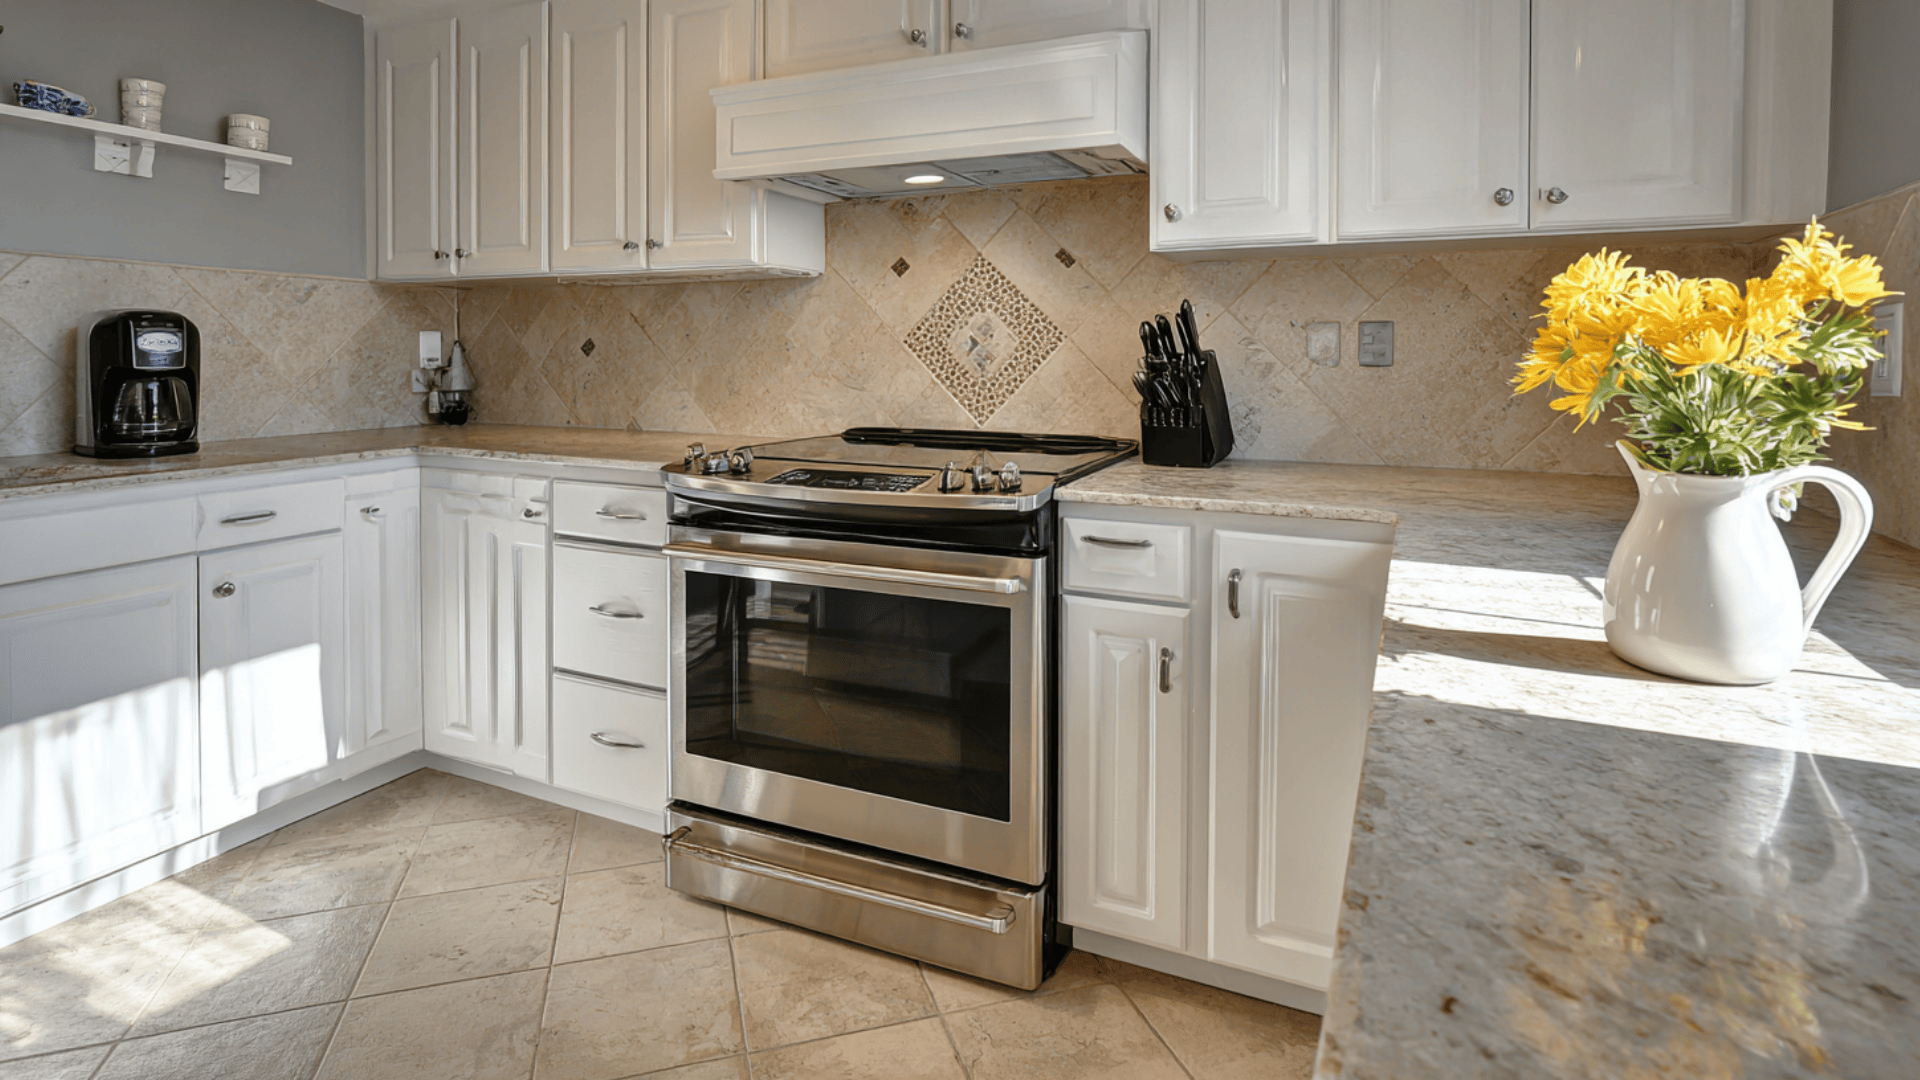
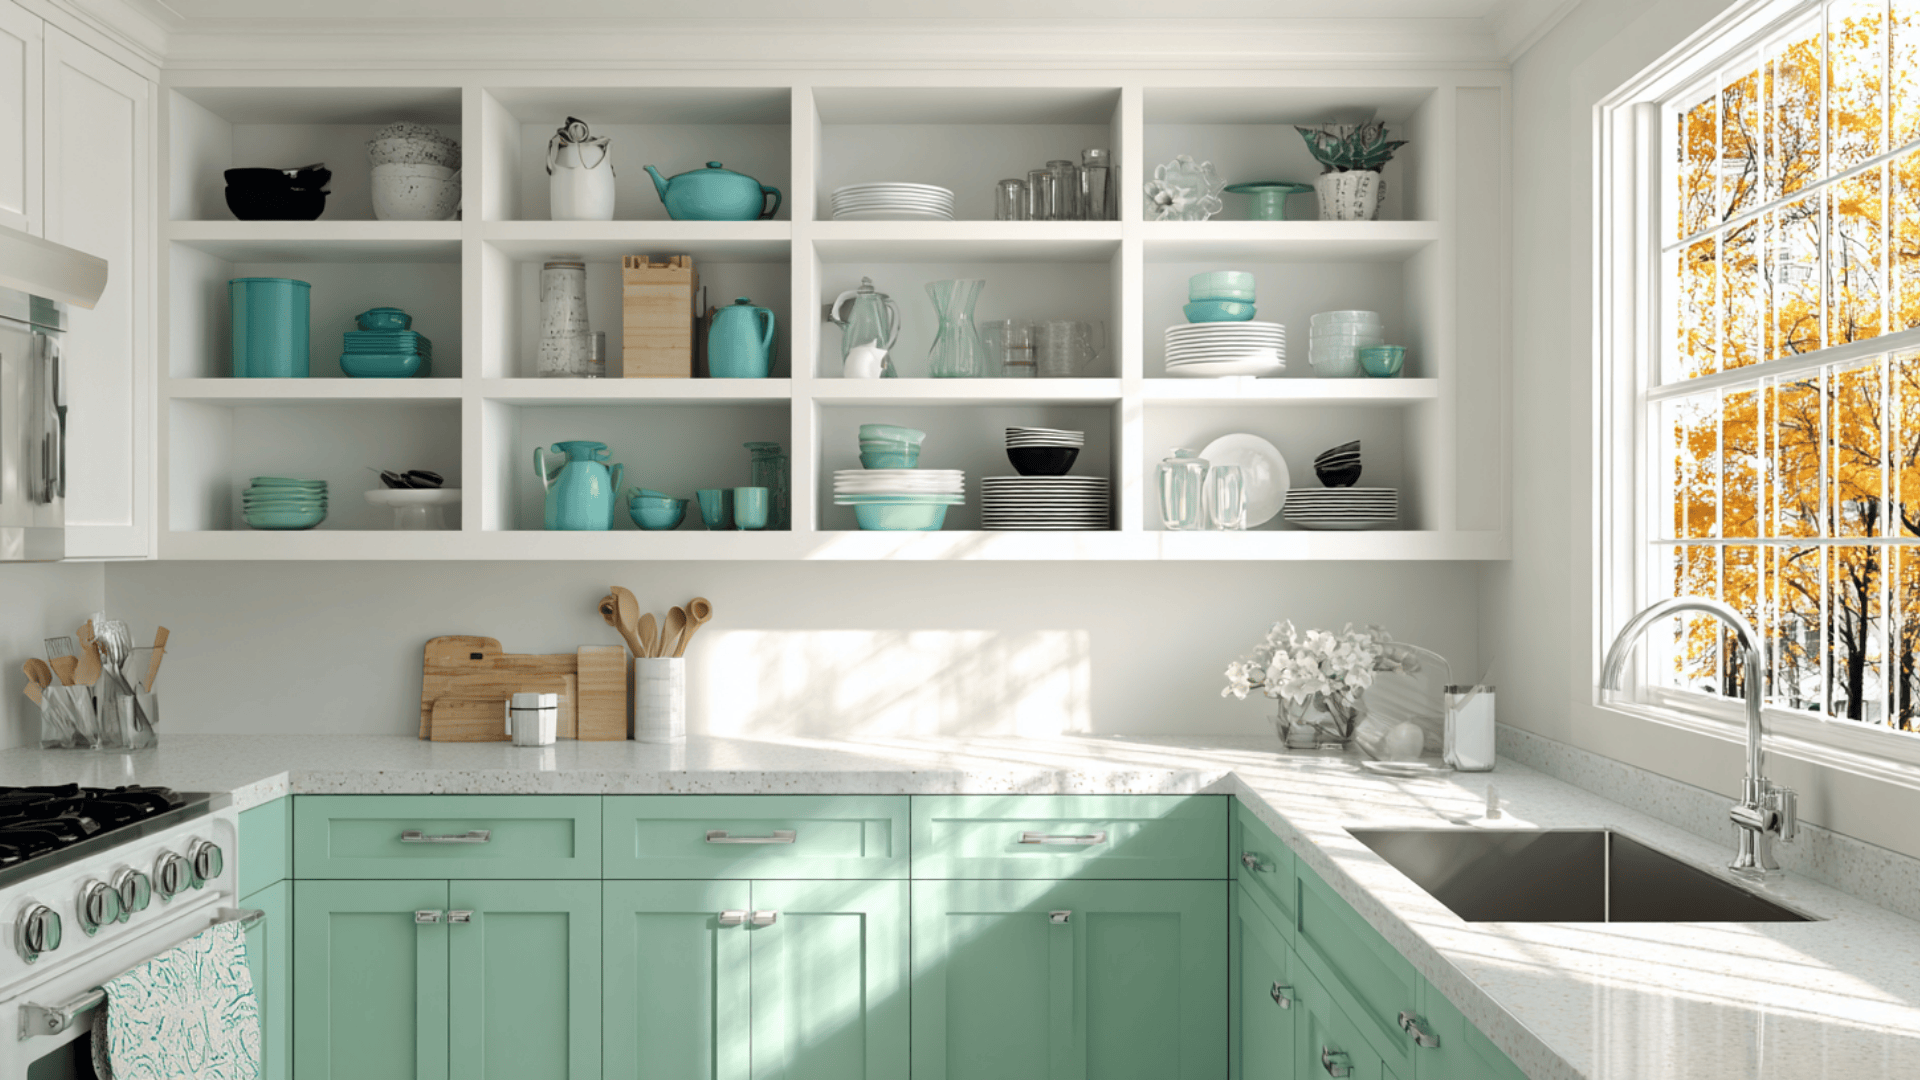
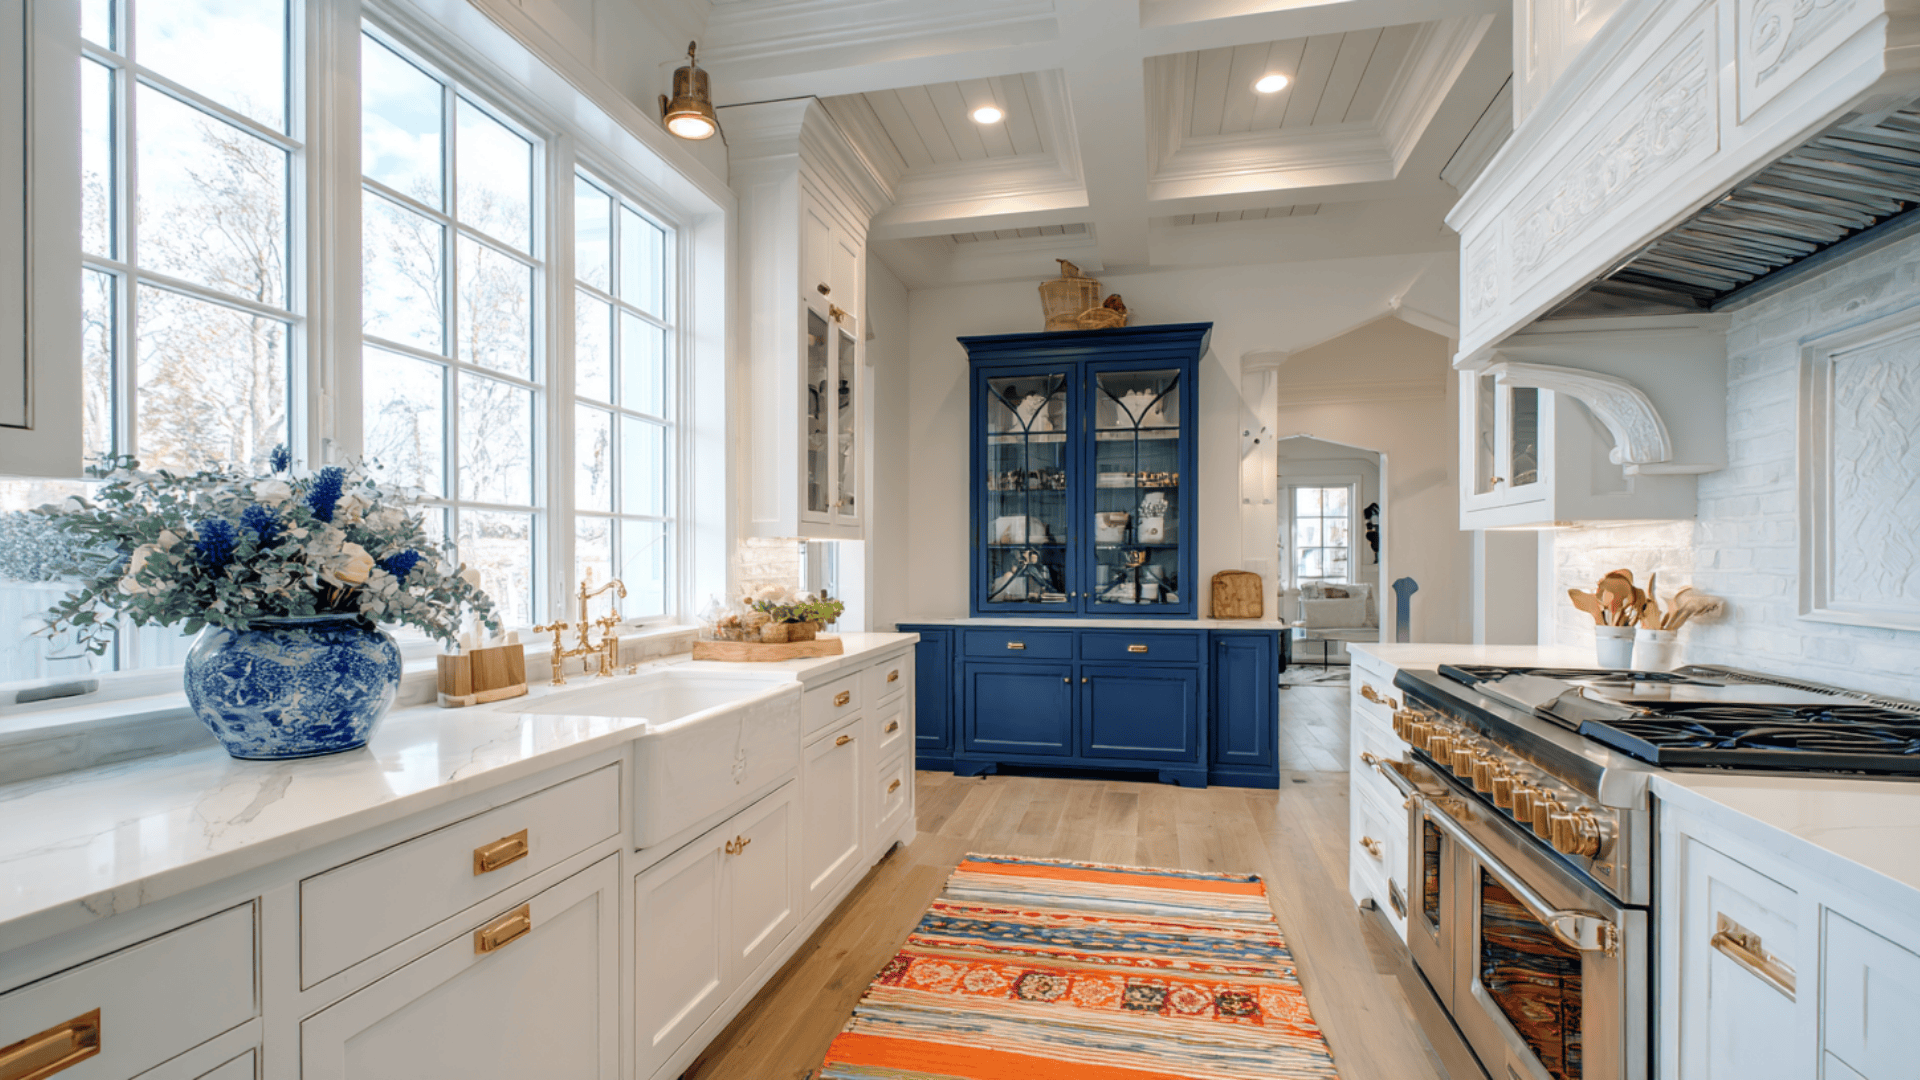
Warm whites and off-whites: These are timeless picks that never go out of style. They’re easy to match with any countertop or backsplash, and they make your kitchen feel open and clean.
-
Soft greige (gray + beige): This color gives you warmth without going too yellow. It works with almost everything and hides wear better than pure white.
-
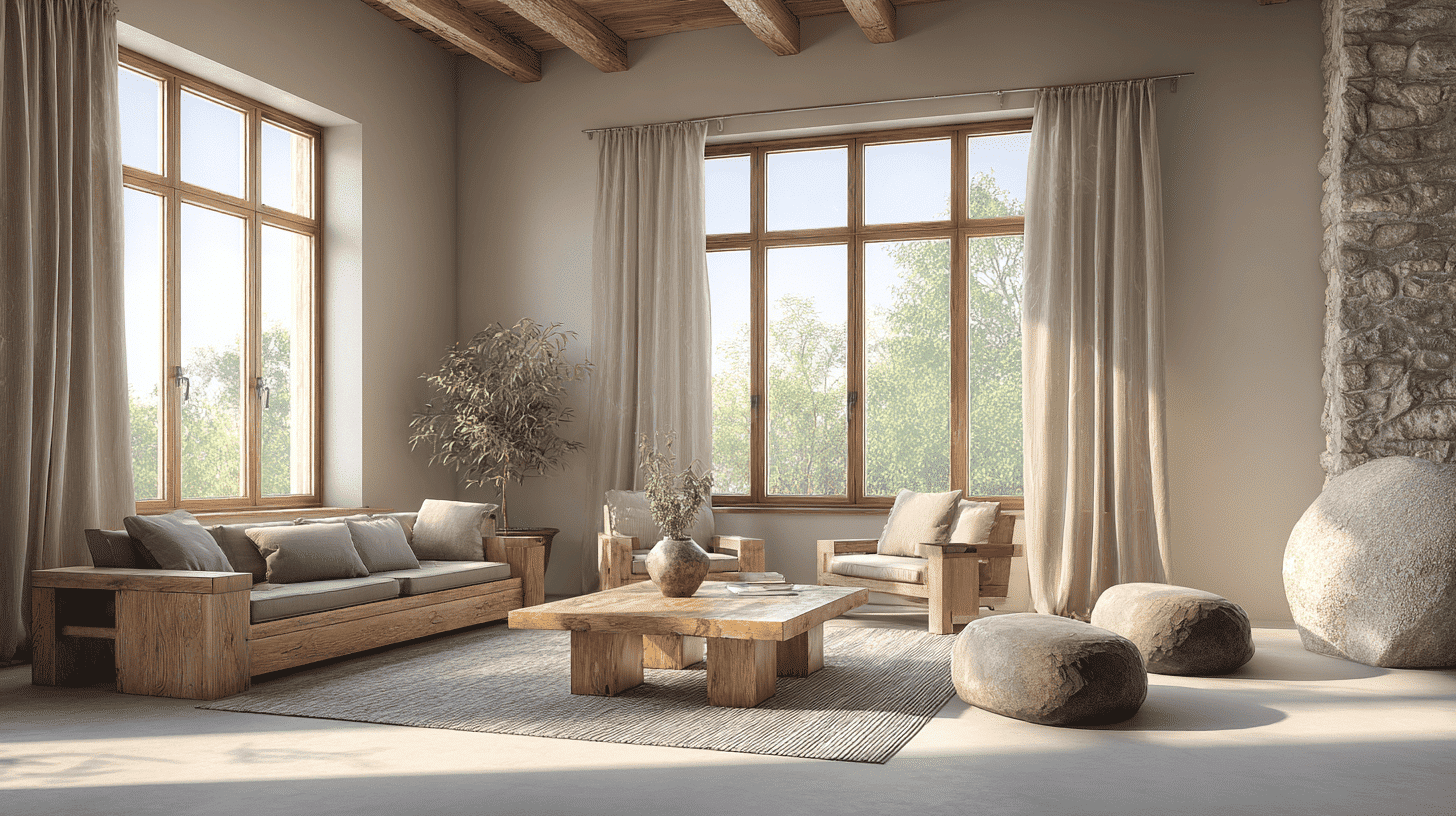
Earthy tones and grounded neutrals: Think soft tans, warm grays, and muted browns. These colors feel cozy and work well in kitchens where you want a natural, lived-in look.
-
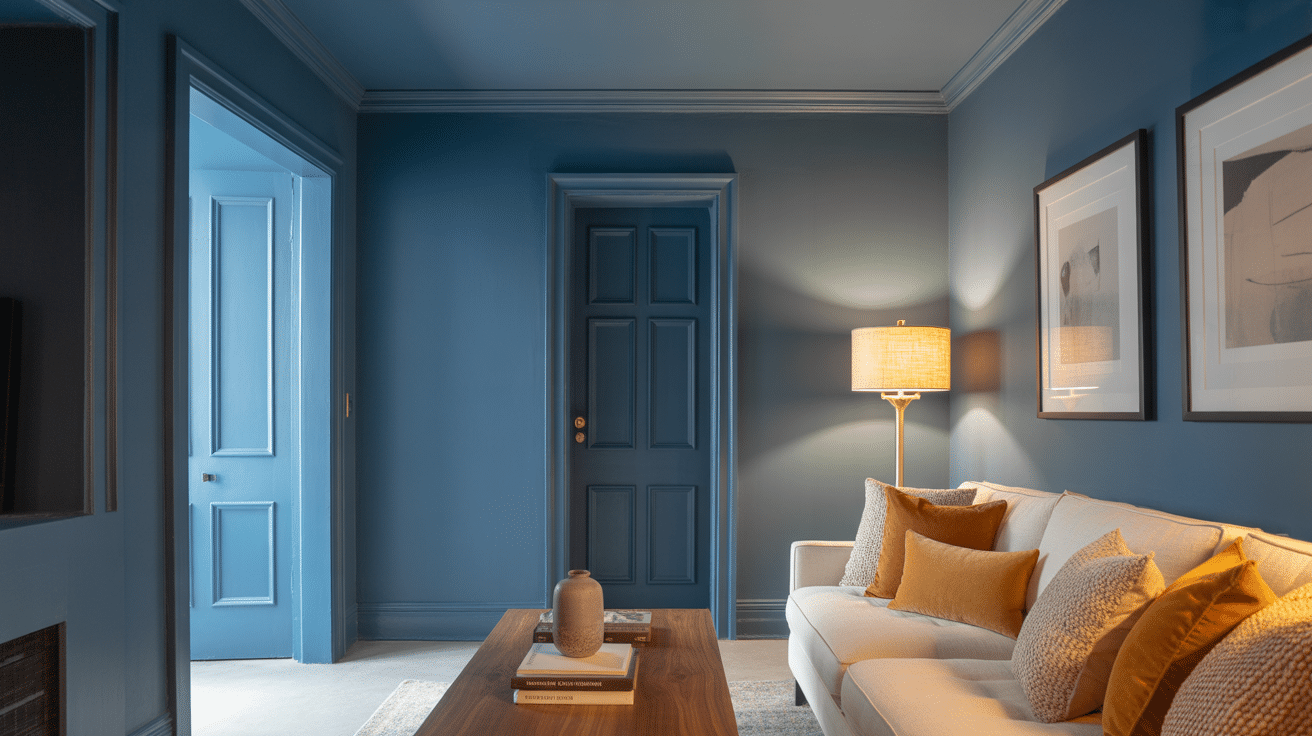
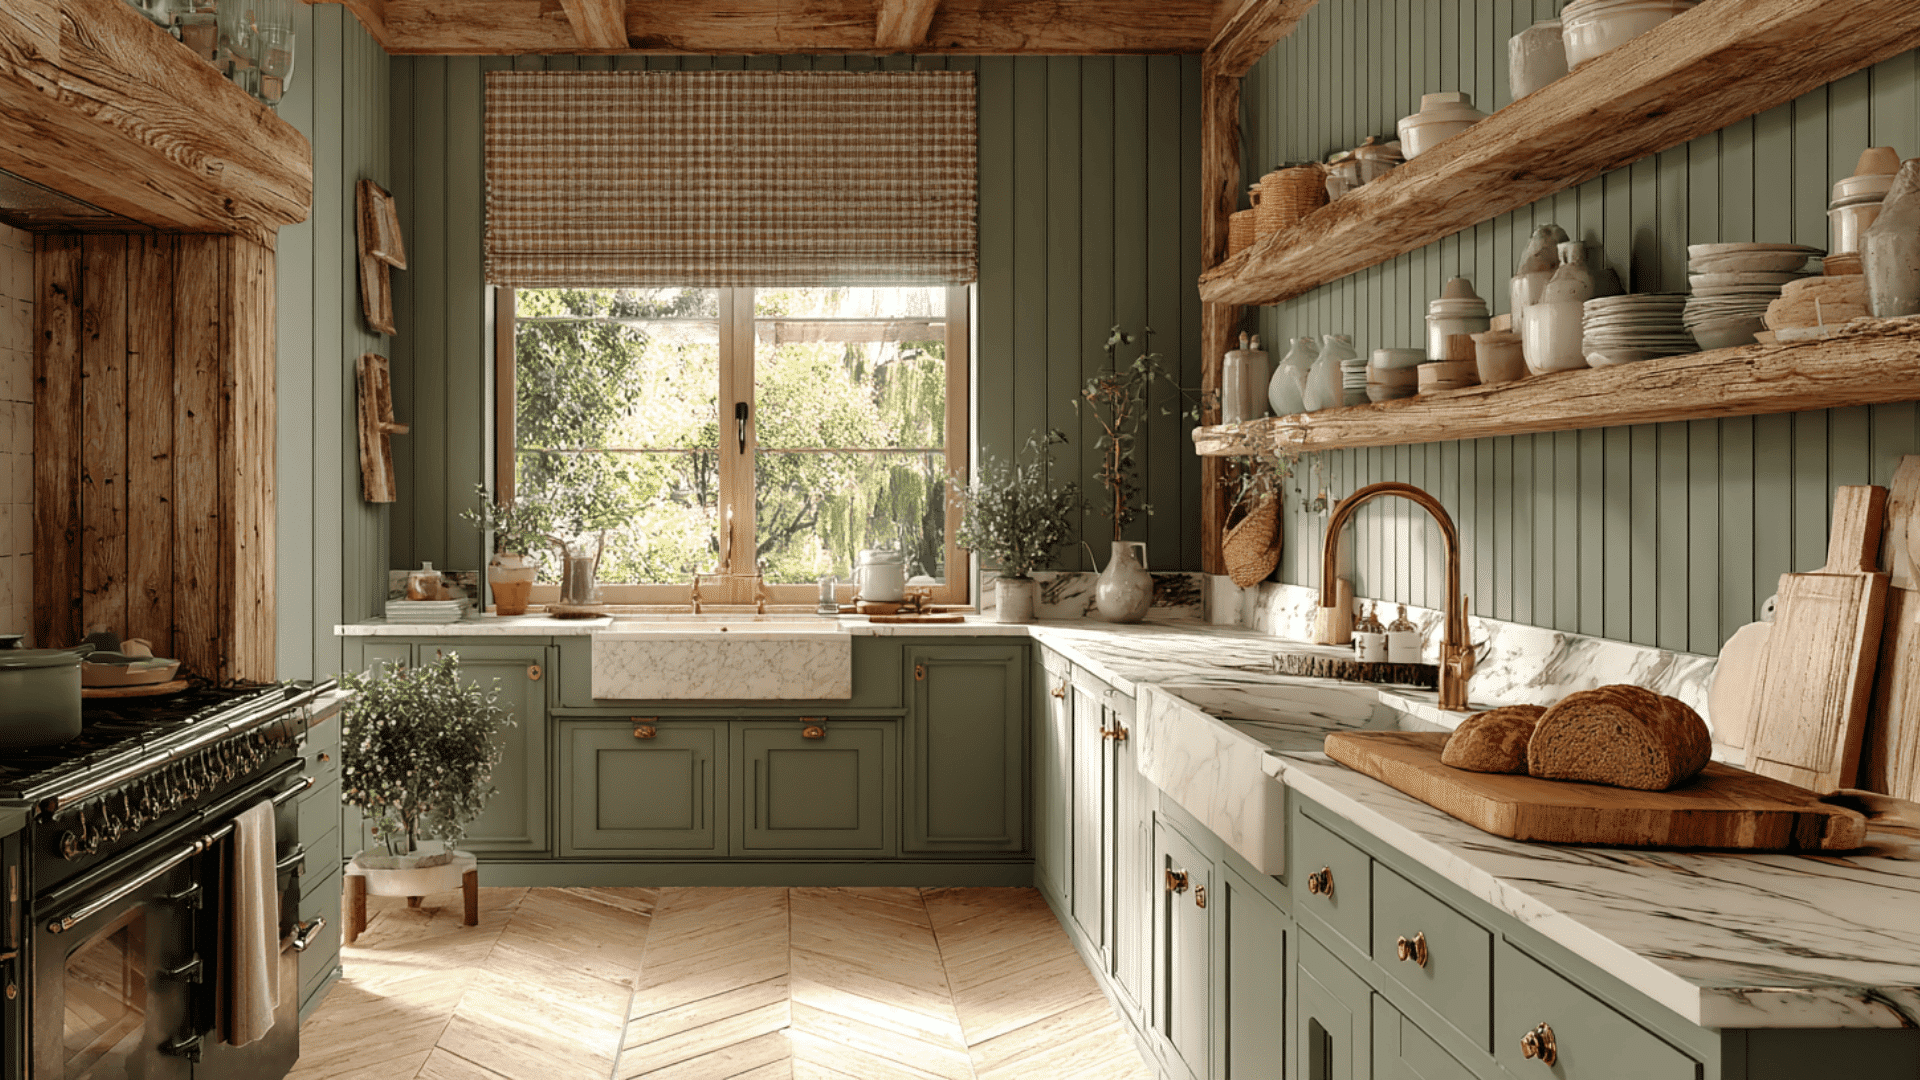
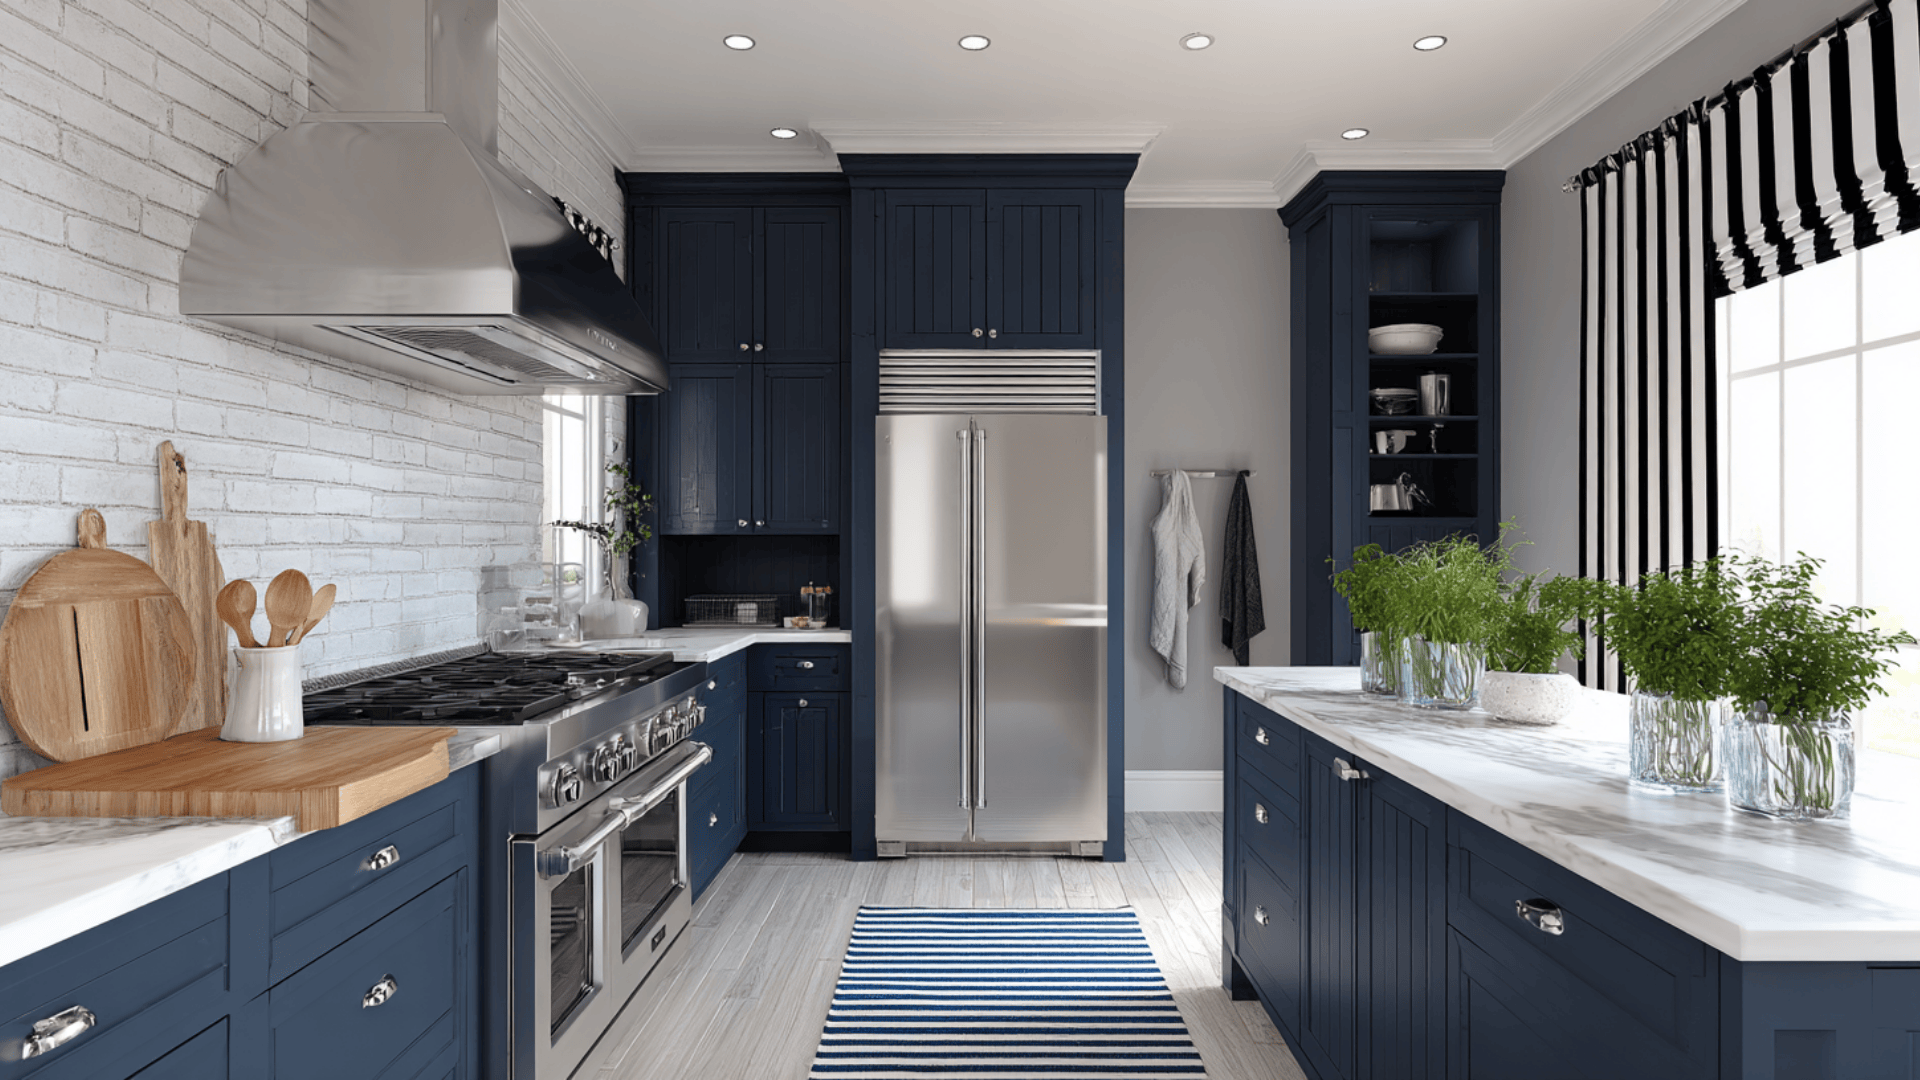
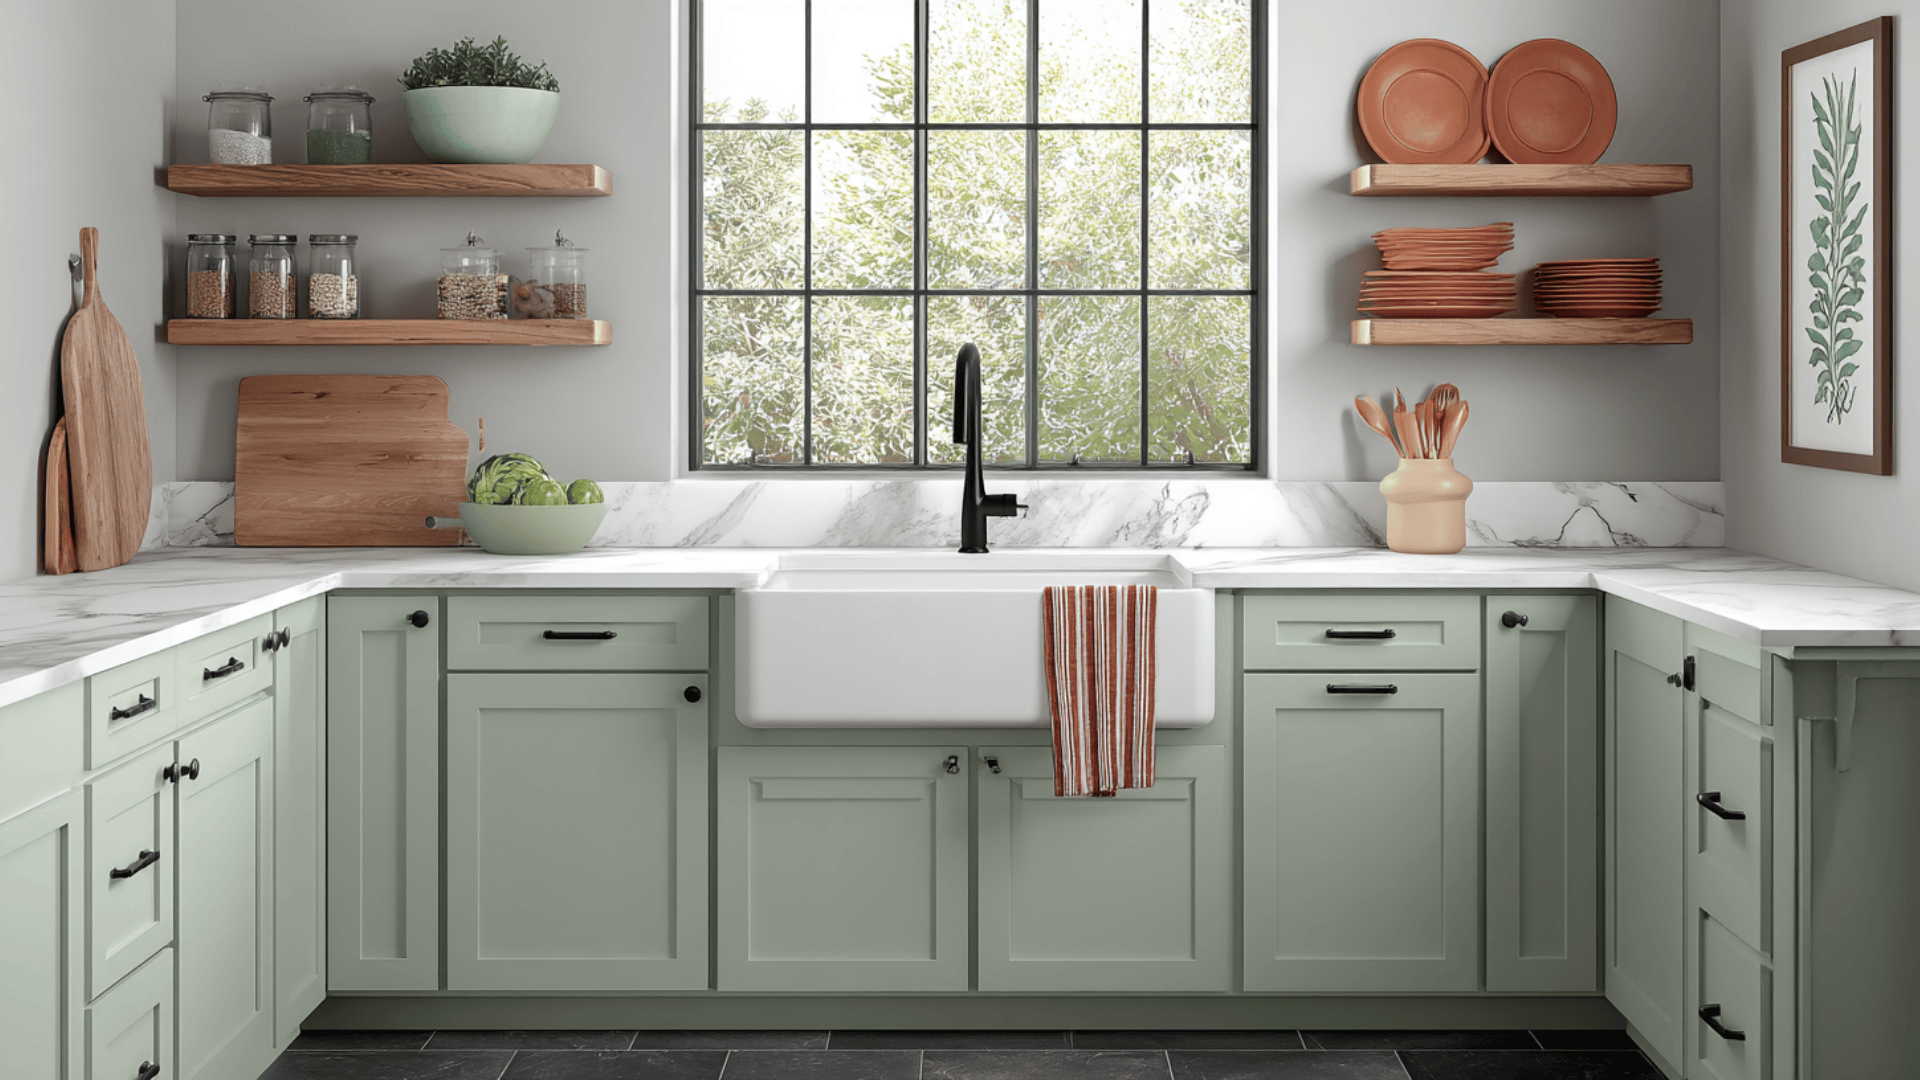
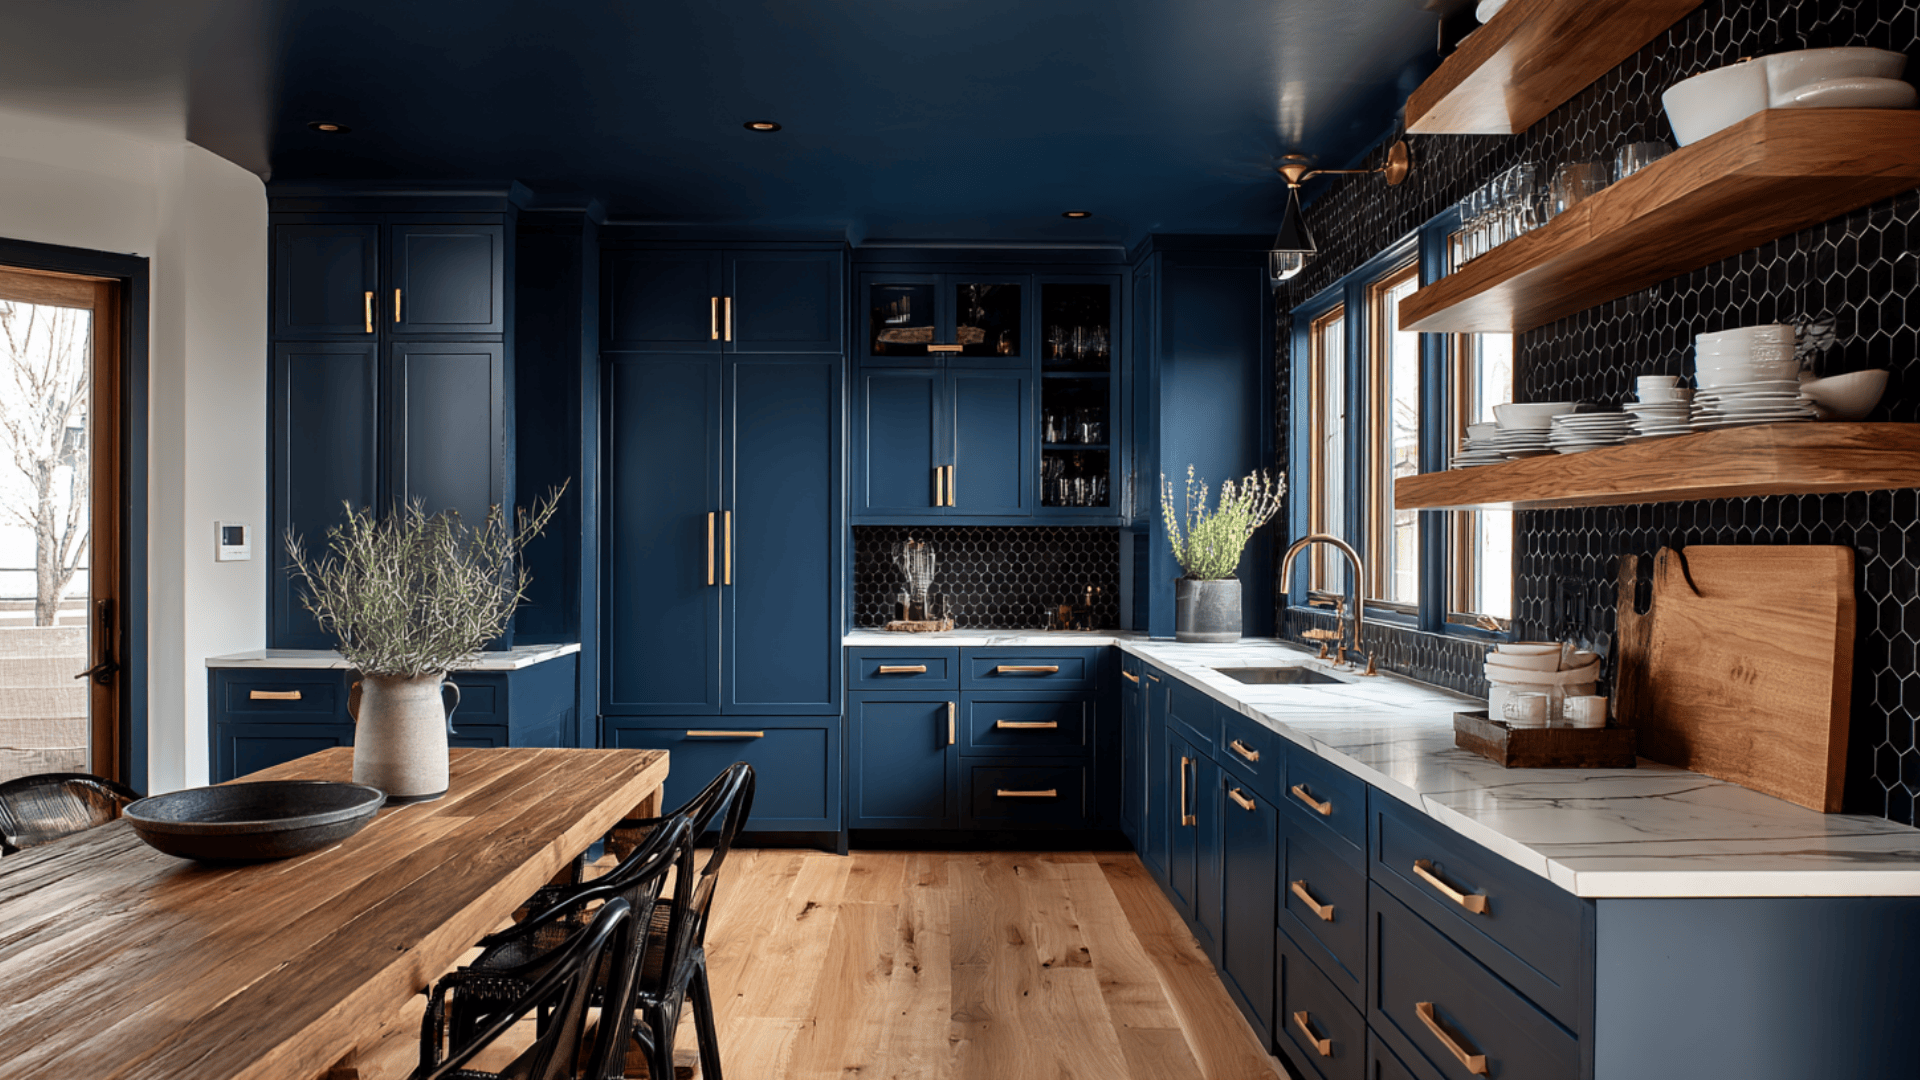
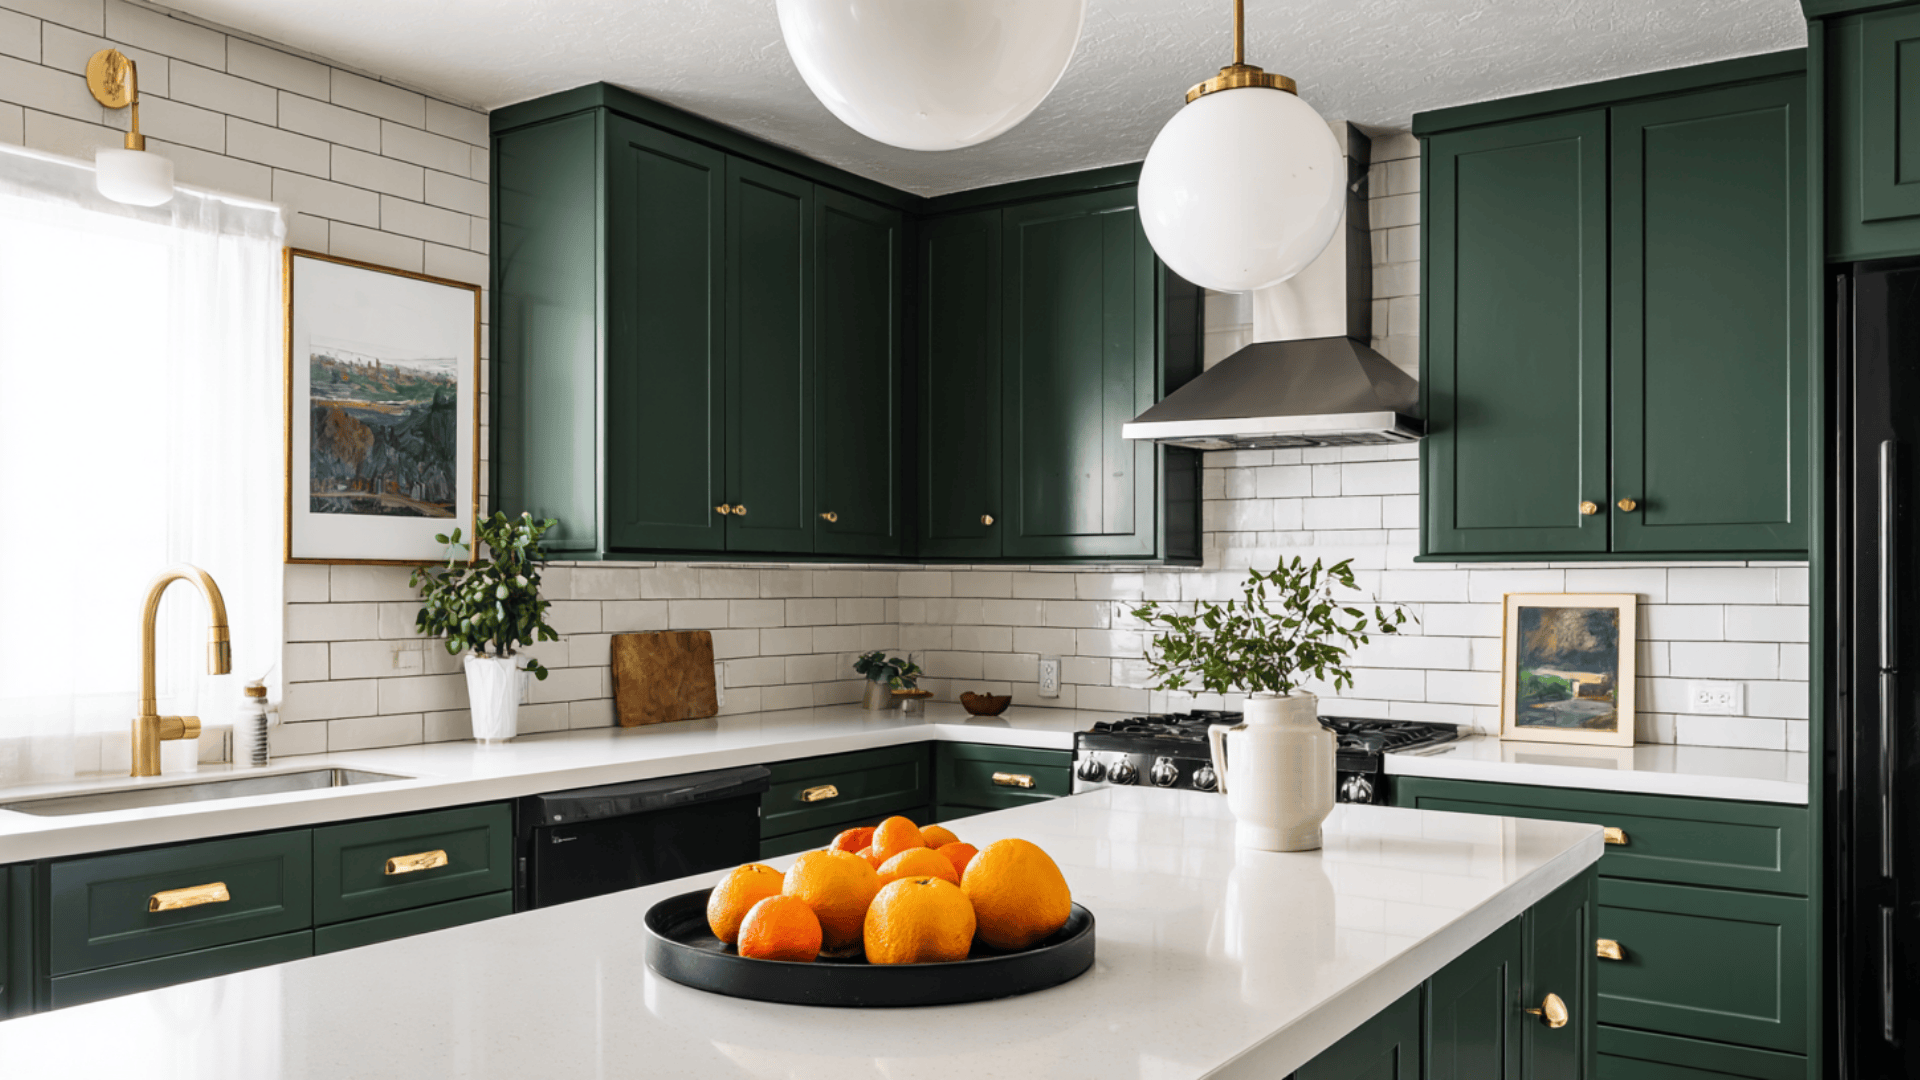
Blues and greens: These color families are getting more popular in kitchens. They add personality without being too bold. Lighter blues and powder blue shades are trending right now.
Your kitchen’s lighting and size will guide your final choice. When in doubt, test a few samples on your actual cabinet doors before committing to a full gallon.
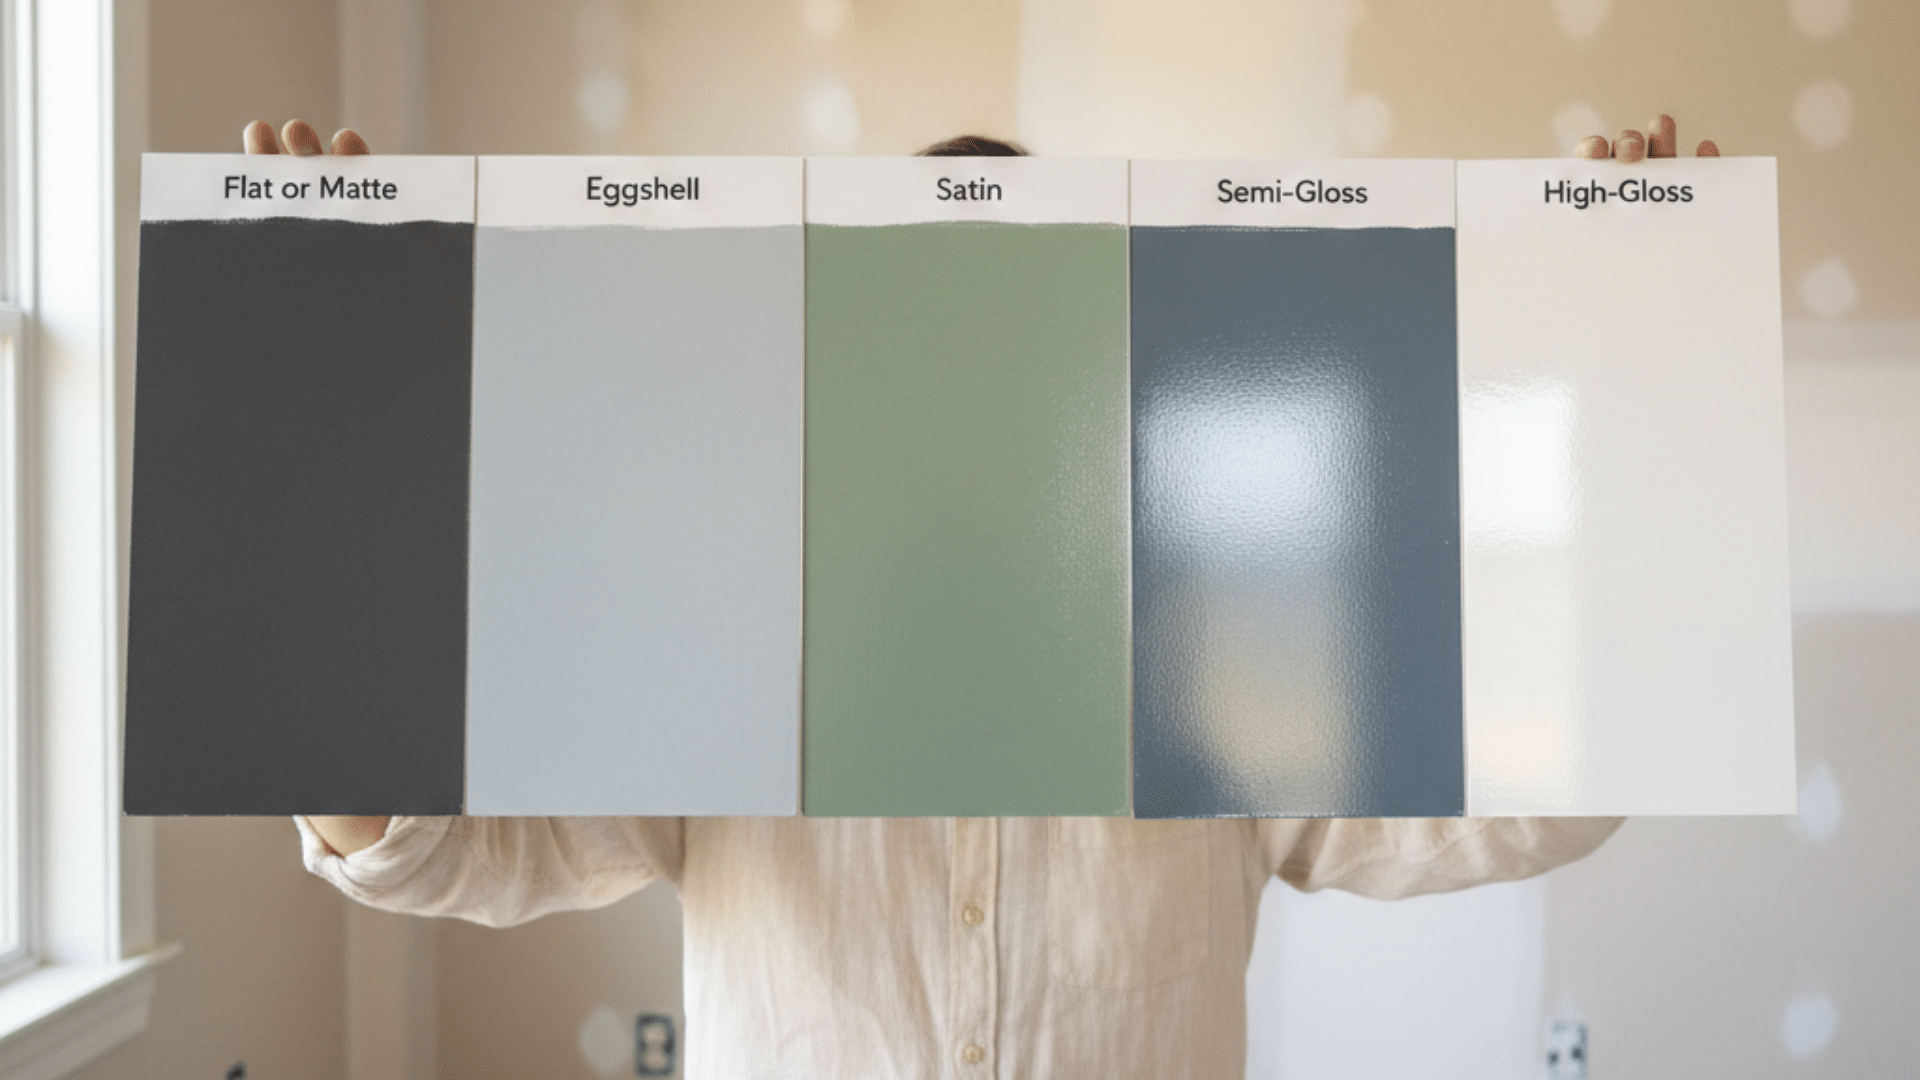
What Sheen Is Best For Kitchen Cabinets?
Sheen level matters just as much as paint type. The finish you choose affects how your cabinets look and how well they hold up to cleaning. Here’s how the main sheen options compare.
| Sheen Level | Look & Feel | Durability | Best For |
|---|---|---|---|
| Satin | Softer, low-shine finish | Wipeable, hides small flaws | Textured doors or a softer look |
| Semi-Gloss | Slight shine, smooth look | Very durable, easy to clean | Most kitchens, regular cooking |
| High-Gloss | Shiny, mirror-like finish | Toughest, easiest to wipe | Modern kitchens, light use |
- Choose satin if your doors have texture or raised panels. It hides small flaws better than glossier finishes, giving you a softer, less reflective look while still wiping clean.
- Choose semi-gloss if you cook often and wipe cabinets regularly. It handles grease and moisture, cleans easily, and hides fingerprints well. Best pick for most kitchens.
- Choose high-gloss for the toughest, easiest-to-clean finish. It looks modern and sleek, but it shows every dent and prep mistake. Your surface needs to be perfect first.
Most of my clients end up with semi-gloss because it balances durability with a clean look. If you’re not sure, that’s usually the safest pick.
Best Way To Paint Kitchen Cabinets
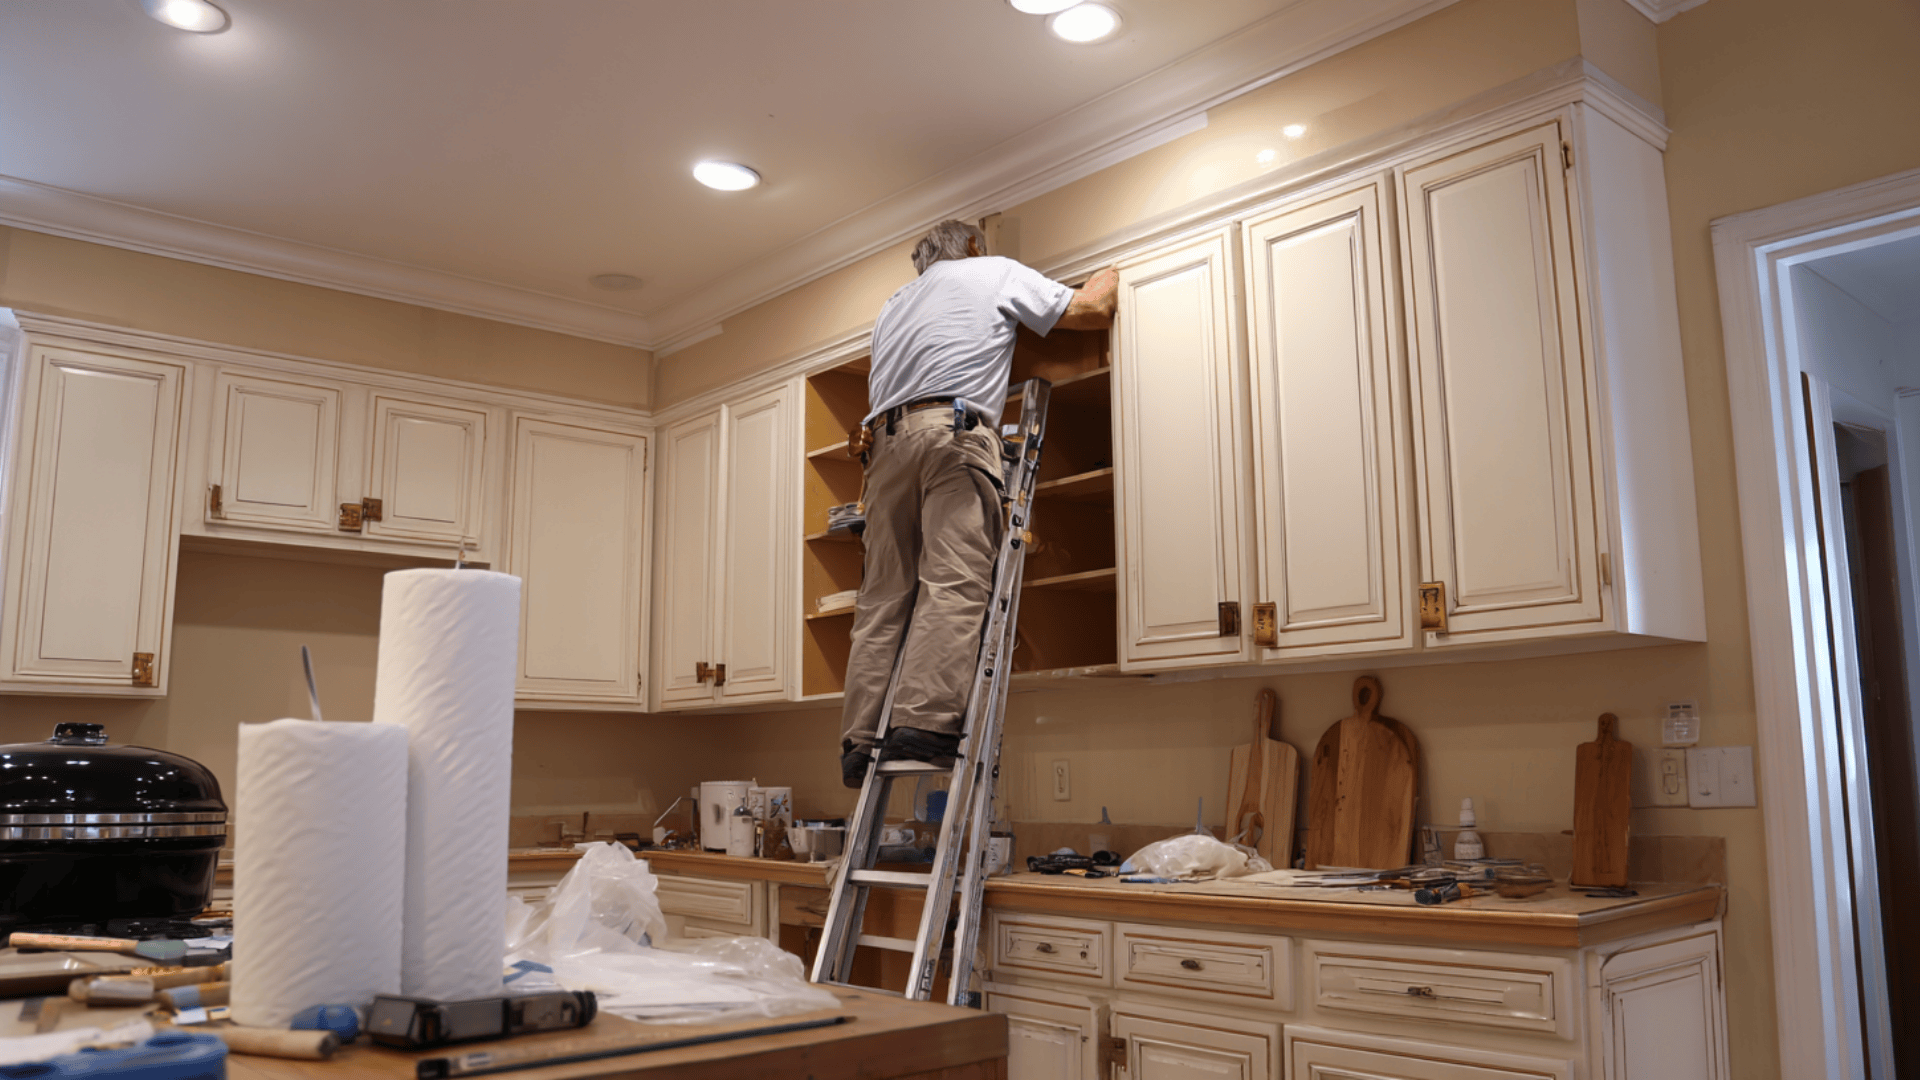
Painting cabinets isn’t hard, but it takes patience. Skip a step, and you’ll see it later. Here’s how I walk clients through the process from start to finish.
Step 1: Plan And Label
Take off all the doors and hardware before you start. Label everything with painter’s tape and a marker so you know what goes where.
Set up a drying area where doors can lie flat without getting bumped. This saves you from mixing up doors later.
Step 2: Clean And Degrease
Kitchens collect grease, even if you can’t see it. Wipe down every surface with a degreaser or TSP cleaner.
If you skip this, your primer and paint won’t stick properly. Let everything dry completely before moving on.
Step 3: Scuff Sand Or Degloss
Lightly sand any rough spots to smooth them out. If your cabinets are glossy, scuff them with sandpaper or use a liquid deglosser.
This gives the paint something to grip onto. You don’t need to sand down to bare wood – just rough up the surface.
Step 4: Prime The Right Way
Use a primer that matches your cabinet material. For bare wood, use a wood primer. For stains or dark colors bleeding through, use a stain-blocking primer.
For laminate or previously painted surfaces, use a bonding primer. Don’t skip primer – it’s what makes the paint stick and last.
Step 5: Paint Like A Pro
You can use a sprayer for the smoothest finish, but it takes practice and prep. A brush and foam roller work fine if you’re careful. Apply thin, even coats rather than a single thick coat.
Let each coat dry, then lightly sand between coats if you see any bumps. Two to three coats usually does it.
Step 6: Dry Time Vs Cure Time
Paint feels dry to the touch in a few hours, but that’s not the same as being fully tough. It takes several days – sometimes weeks to cure completely.
Avoid heavy cleaning or scrubbing for at least a week after your final coat. Handle doors gently when you hang them back up.
Take your time with each step, and your cabinets will look professionally done. Rushing through prep is where most DIY projects go wrong.
Common Mistakes To Avoid
I’ve seen these mistakes ruin otherwise good cabinet paint jobs. A little extra care upfront saves you from having to redo everything later. Here’s what to watch out for.
- Skipping degreasing is the biggest mistake I see. Paint sticks to the grease, not the cabinet surface. A few months later, it starts peeling off.
- Wall paint seems easier and cheaper, but it’s way too soft for cabinets. It chips and wears down fast. Always use cabinet-specific paint instead.
- Touching doors before they’re ready ruins the finish. Wait the full time between coats. If you rush it, you’ll see streaks, marks, and uneven coverage.
- Test your sheen and color on a door first. Colors look different in your kitchen lighting. What seems perfect in the store might not work at home.
- The paint dries fast, but it’s not fully hard yet. Wait at least a week before cleaning or reinstalling hardware. Cure time matters for durability.
Avoid these mistakes, and your cabinets will look better and last longer. Most failed cabinet projects come down to skipping one of these steps.
Conclusion
Finding the best paint finish for kitchen cabinets doesn’t have to be complicated. For most kitchens, a cabinet-grade enamel in a semi-gloss sheen offers the right balance of durability and easy cleaning.
It holds up to grease, moisture, and daily wear without showing every fingerprint. Before you commit to painting all your cabinets, test your color and sheen on one door first.
Check it in your kitchen lighting at different times of day. This simple step saves you from surprises later.
The right paint finish transforms your kitchen and lasts for years when you prep correctly and let it cure fully.
What’s your biggest concern about painting your cabinets – durability, color choice, or getting a smooth finish? Drop a comment below with your cabinet material and current color, and I’ll help you find the best match.
Frequently asked questions
How long does cabinet paint take to fully cure?
Cabinet paint feels dry in hours but takes 7 to 14 days to fully cure. Some paints need up to 30 days to dry. Wait at least a week before heavy cleaning.
Can I paint over my existing cabinet paint without stripping?
Yes. Clean the cabinets thoroughly, then sand lightly or use a deglosser. Apply a bonding primer before painting. This helps the new paint stick and prevents peeling.
Do I really need primer for kitchen cabinets?
Yes. Primer helps paint stick better and last longer. It’s essential for bare wood, stains, or dark colors. Even previously painted cabinets benefit from a bonding primer.