That vintage dresser looks perfect. So does the nightstand you found online, but wood can hide more than scratches and dust.
Sometimes, a small problem comes home quietly and shows up later in the seams. If you’ve ever wondered why you woke up itchy or noticed tiny marks near a drawer, you’re not alone.
People often assume bed bugs only live in beds, but they don’t know that they can ride in on furniture and settle into tight spots you can’t see. Knowing the signs of bed bugs in wooden furniture can save you a lot of stress.
It helps you decide what’s safe to keep, what needs a deeper check, and what to walk away from. A little attention now can protect your whole space later.
Why Bed Bugs Hide in Wooden Furniture?
Wooden furniture gives bed bugs exactly what they want: tight, dark gaps that are hard to spot at a quick glance. They don’t live out in the open; they squeeze into seams and corners, then come out when it’s quiet.
That’s why you should inspect furniture the same way every time: start where wood pieces meet, then work outward to rails, hardware, and undersides.
They most often show up in corner joints, screw holes, drawer tracks/rails, underside edges, and decorative grooves that create narrow channels. If the furniture sits close to sleeping or seating areas, the risk is even higher.
Signs of Bed Bugs in Wooden Furniture
Wooden furniture can hide bed bugs better than most materials because it has many small gaps where bugs can stay out of sight. For that reason, it’s important to look for more than one sign before drawing conclusions.
A single mark or crack may be harmless, but two or more clues in the same area should be treated as a serious warning and inspected more closely.
1. Cracking in Corners
Cracks in wooden furniture are one of the most common places bed bugs choose to hide. These narrow gaps offer darkness, protection, and easy access to nearby sleeping or seating areas.
While cracks alone don’t confirm an infestation, they become a concern when you notice black spotting, shed skins, or eggs inside them. Always inspect deep into cracks using a flashlight, not just the surface.
2. Rusty or Reddish Smears

Rusty or reddish marks can appear when bed bugs are crushed or when there’s residue near their hiding areas.
On wood, you might notice faint smears around edges, corners, or pressure points, places where hands grab, drawers slide, or parts rub. A single smear isn’t proof, but when paired with spotting or skin signs, it matters.
3. Black Spotting (Bed Bug Fecal Stains) on Wood
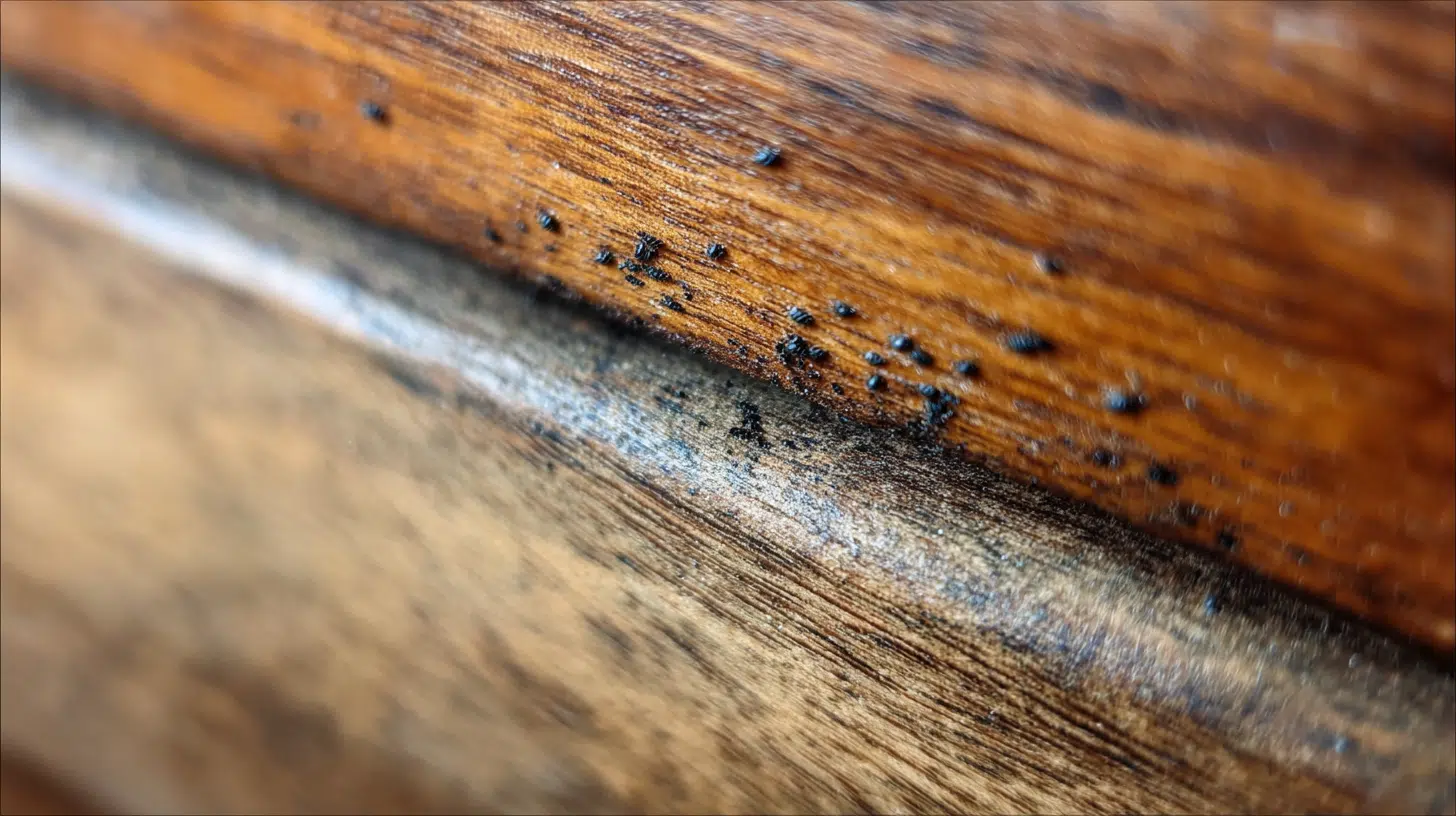
Black spotting is one of the clearest signs of bed bugs in wooden furniture. It looks like tiny ink dots or pepper specks, usually clustered where bugs hide along seams, joints, drawer rails, and screw holes.
Unlike ordinary dust, these marks often appear in tight corners and recur in the same areas. If you see multiple clusters, inspect nearby cracks for eggs or shed skins.
4. Shed Skins

As bed bugs grow, they shed their outer skins, which look like pale, dry “shells.” These are usually found near where they hide, along drawer rails, beneath furniture edges, or within corner seams.
Shed skins don’t appear randomly across the surface; they tend to collect in tucked-away zones where bugs repeatedly return.
5. Live Bed Bugs
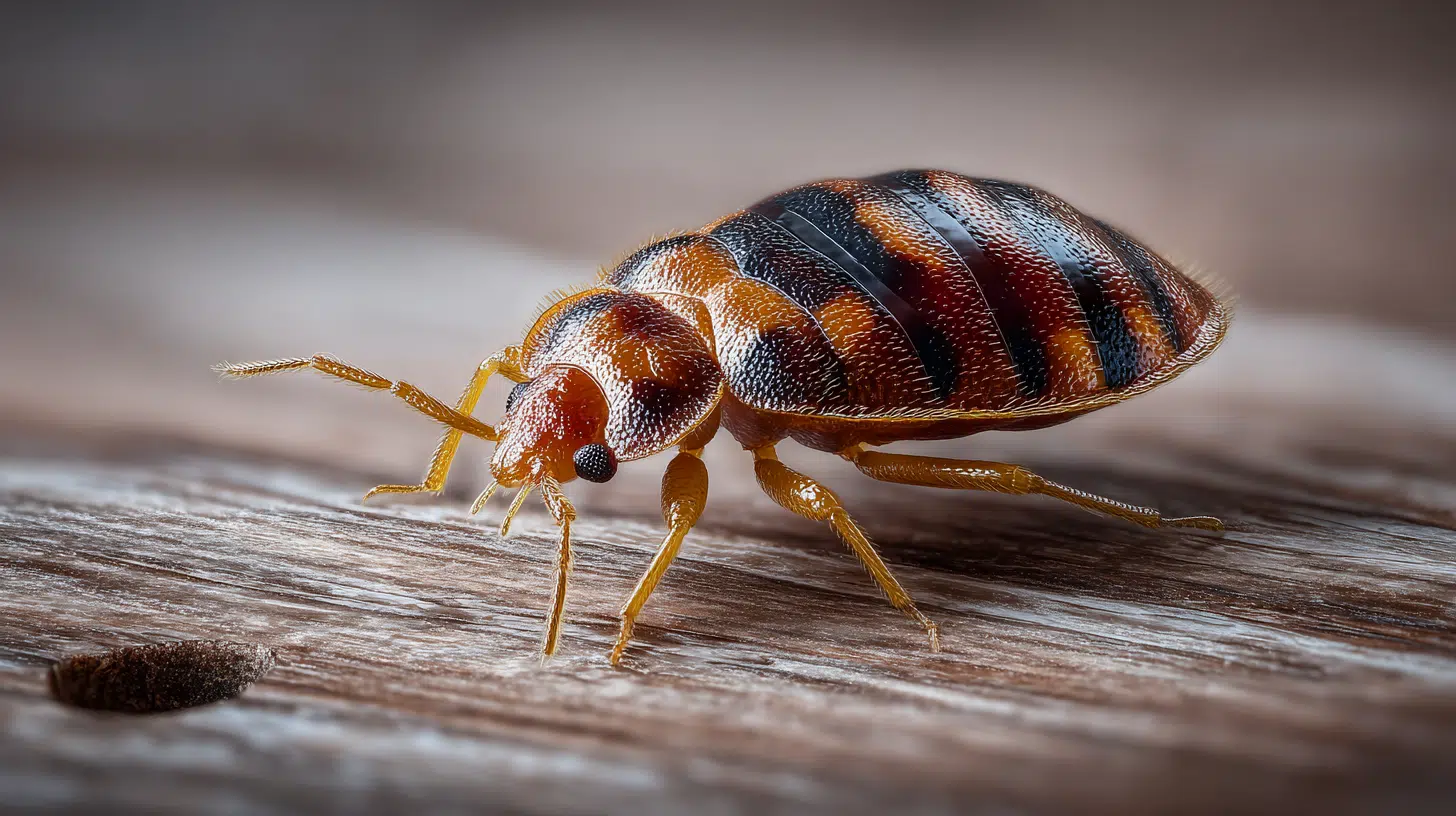
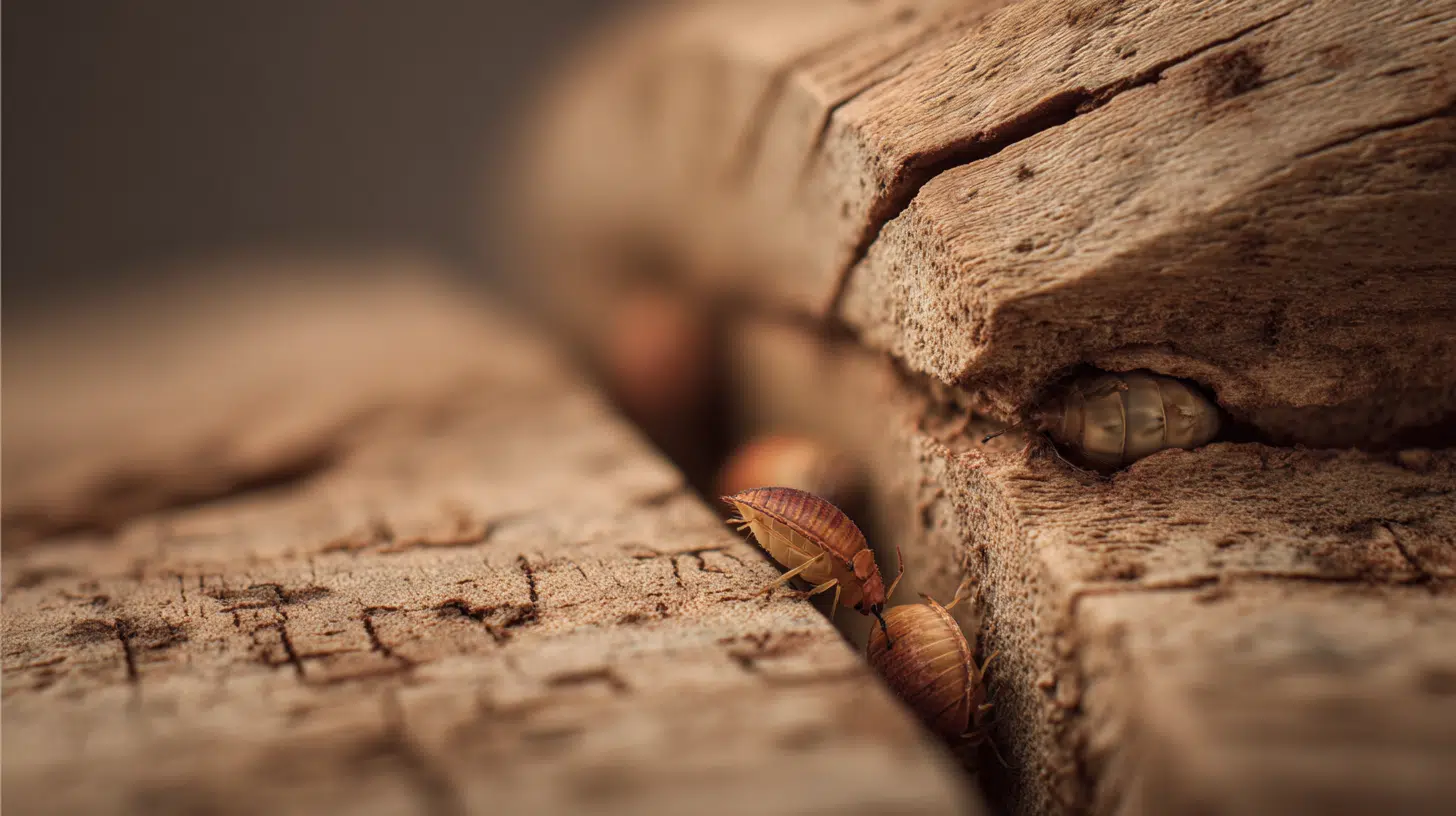
Live bed bugs are flat, oval, and reddish-brown, and they squeeze into the tightest spaces, joints, screw holes, and cracks in the wood.
Younger nymphs are smaller and lighter, so they can look like tiny moving dots. If you spot even one live bug in the seams of a piece of furniture, treat the piece as high-risk immediately.
How to Remove Bed Bugs

Bed bugs spread quickly, so the safest approach is to confirm them, contain them, clean thoroughly, treat every hiding spot, then verify they’re gone and prevent a return.
Step 1. Confirm and Map Activity
Look for multiple warning signs such as rust-colored stains on bedding, bite patterns, black spotting, or a musty odor. Use disposable bed bug traps near beds and furniture to confirm activity.
Place additional traps in nearby rooms to determine how far the infestation has spread before treating.
Step 2. Prep and Contain
Reduce clutter around the bed and along walls to expose hiding areas. Place bedding, clothing, and washable fabrics into sealed plastic bags while still inside the affected room.
If discarding items, seal and remove them outdoors immediately to prevent bed bugs from spreading through your home.
Step 3. Heat-Clean and Vacuum
Wash exposed fabrics using the hottest water setting and dry on the highest heat cycle to kill bugs and eggs. Thoroughly vacuum mattresses, box springs, bed frames, baseboards, and cracks.
Afterward, seal the contents in plastic and dispose of them outside immediately.
Step 4: Treat Hiding Spots
Apply appropriate treatment products based on the area. Use sprays or aerosols for spot treatments, powders for tight crevices, and a single fogger per room for larger spaces if necessary.
Follow safety instructions carefully and ventilate the room properly after treatment is complete.
Step 5: Verify and Prevent Return
Lay fresh traps to confirm activity has stopped. Install interceptors under bed legs to block climbing bugs.
Encase mattresses and box springs in protective covers, keep bedding from touching the floor, and inspect luggage after travel to reduce the risk of reinfestation.
Video Tutorial
A special thanks to The Home Depot for the bed bug removal video, which helped shape these step-by-step guidelines.
Ways of Bringing Used Wooden Furniture
Bringing home used wooden furniture can be a great find, but slowing down first reduces risk. Bed bugs often hide where you least expect.
- Inspect before you pay: Use a flashlight to check seams, joints, drawer rails, screw holes, and undersides. If you see spots, skins, eggs, or bugs, walk away.
- Transport carefully: Wrap furniture in plastic and keep it away from soft items like blankets and car seats to prevent bugs from spreading.
- Quarantine before placing indoors: Keep the piece isolated for a few days in a garage or low-clutter space. Re-check high-risk areas carefully.
- Clean without spreading: Vacuum crevices and rails, seal and discard vacuum contents immediately, then wipe surfaces and inspect again.
A simple, consistent routine keeps secondhand furniture fun, stylish, and far less risky before it enters your living space.
Wrapping It Up
Bed bugs don’t make themselves obvious, especially in wooden furniture where they hide deep in seams, joints, and corners.
Once you know exactly where to look, you can inspect with confidence rather than guess.
Paying attention to clear warning signs such as black spotting, shed skins, or live bugs helps you catch issues early, before they spread beyond a single piece.
Secondhand wooden furniture can still be a smart and stylish choice.
The key is consistency: inspect carefully, transport with barriers in place, quarantine before bringing indoors, and clean without spreading debris.
These small, repeatable steps take only minutes but can prevent weeks of stress. Save this routine or share it with a fellow thrifter before the next “perfect” find comes home.