Wood makes a beautiful canvas for painting, but it can be surprisingly picky. I once jumped straight into a wood painting project with acrylic paint on wood, skipping most of the prep steps.
Within weeks, the paint started peeling and looked patchy. That’s when I learned wood needs proper preparation.
Acrylic paint works great on wood when you set it up right. The difference between a project that lasts years and one that fails in weeks comes down to how you prep the surface.
Here’s what makes the difference. We’ll walk through surface prep that actually works, when primer matters, painting techniques that prevent streaks, proper sealing methods, and quick fixes for common problems.
Each step builds on the last to give you results that hold up. Now comes everything to look upto.
Does Acrylic Paint Work On Wood?
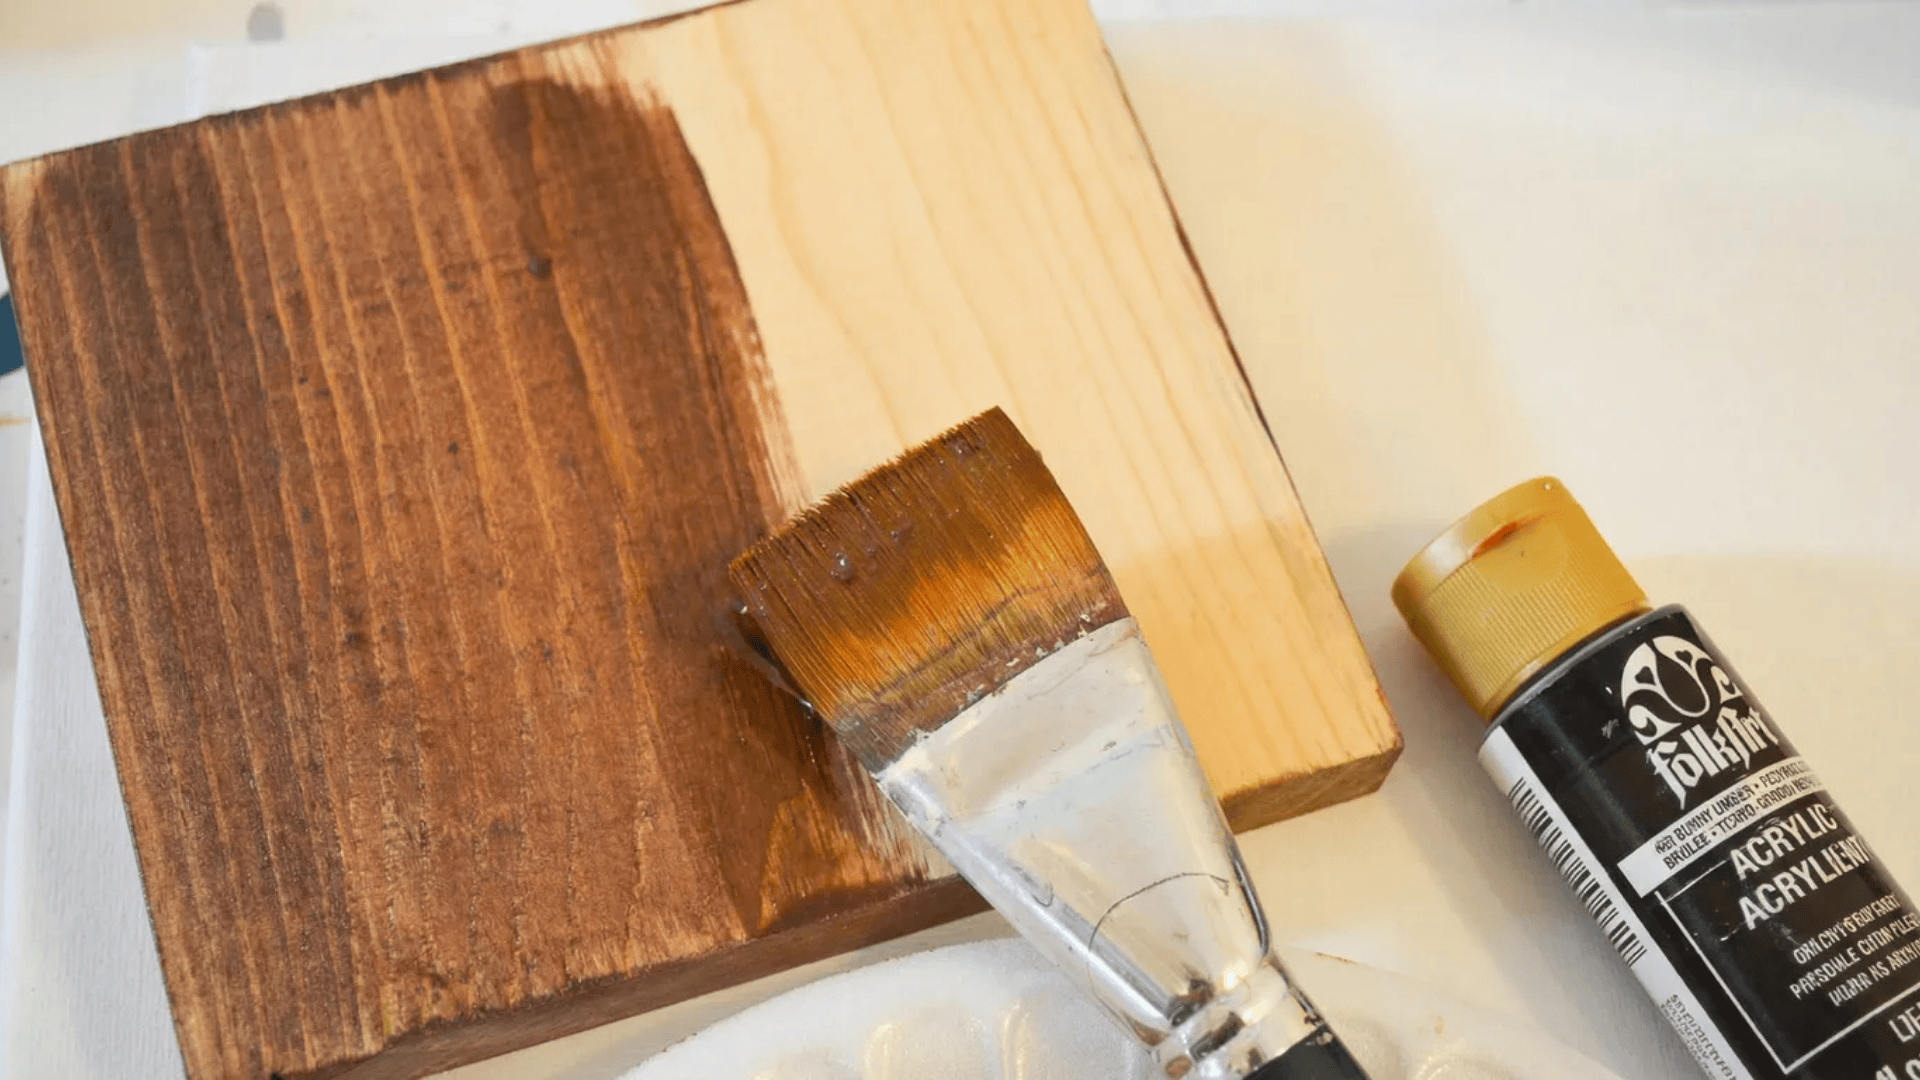
Yes, in simple terms, acrylic paint works well on wood for signs, art projects, and decorative pieces. But here’s what I’ve noticed: wood has tiny holes all over its surface that soak up paint unevenly.
Some spots drink it up fast, while others barely absorb any. That’s why taking time to prep makes such a difference in how your finished piece looks.
Wood has some quirks you should know about. Those tiny holes absorb paint at different rates, so you might end up with blotchy spots.
Dust and natural oils create an invisible barrier that stops paint from gripping. Dark knots love to peek through lighter colors, no matter how many coats you add.
And wood expands and contracts with temperature changes, so skimping on prep can lead to cracking or peeling down the road.
Best Wood Surfaces For Acrylic Paint
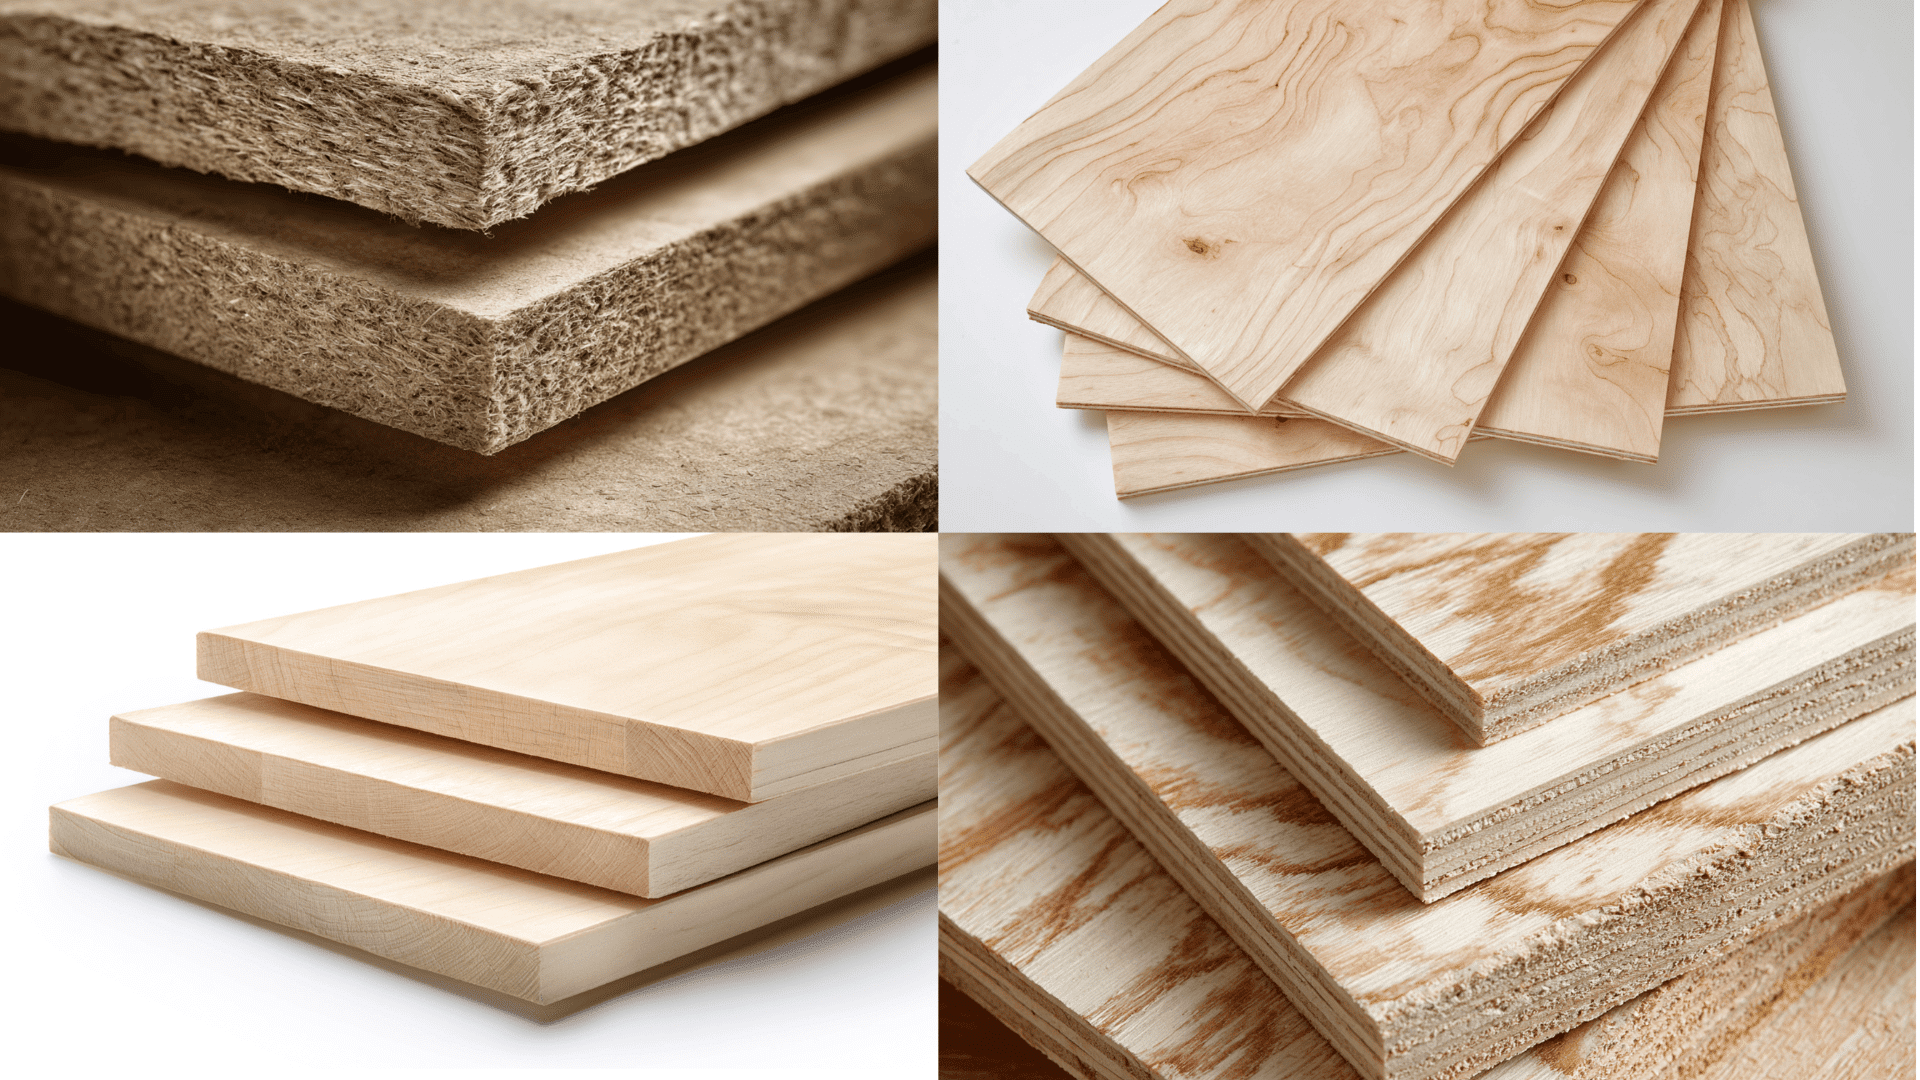
Not all wood is created equal when it comes to painting. Some types take acrylic paint better than others, and knowing which ones work best can save you time and frustration.
- MDF (medium-density fiberboard): Engineered wood with a smooth, grainless surface that takes paint beautifully. Costs less but soaks moisture easily and can swell or warp.
- Plywood: Thin layers of glued wood make it strong and cost-effective for large projects. Cheaper versions have rough spots that need extra sanding.
- Birchwood: Hardwood with tight, fine grain and smooth texture. Gives clean, professional results with minimal prep but costs more than other options.
- Basswood: A softwood with a very fine grain that makes it easy to work with. Paint glides evenly, but it dents and scratches more easily.
Each of these wood types has its strengths. Pick what fits your project budget and the look you’re going for.
Acrylic Painting Techniques That Look Great On Wood
Wood gives you so many fun ways to get creative with acrylic paint. Here are some techniques I use regularly with clients:
- Dry brushing creates a weathered, rustic look that’s perfect for farmhouse signs and vintage-style pieces. Use a brush with very little paint on it and lightly drag it across the wood surface.
- Layering helps you build up solid, even coverage without streaks. Apply thin coats and let each one dry completely before adding the next layer.
- Glazing adds beautiful depth to your work. Thin your paint with water and apply see-through layers over dried base coats to create rich, dimensional colors.
- Stenciling and masking tape give you clean, crisp edges for shapes, letters, and designs. Press the stencil down firmly so paint doesn’t sneak underneath.
- Splatter effects bring energy and texture to your piece. Load your brush with watery paint and flick it onto the wood. Just cover your workspace first – this technique gets messy.
- Acrylic pour art looks great on wood panels when you let the thinned paint flow and blend naturally. Seal it well afterward, since poured layers are more delicate than regular paint.
Try starting with one or two techniques that match your project style. You can always experiment with different methods as you get more comfortable painting on wood.
Step-By-Step: How To Paint Wood With Acrylic Paint
If you want acrylic paint to look crisp and bright on wood, prep is the part that makes the biggest difference. Follow these steps to achieve a smooth surface and cleaner results.
Step 1: Choose And Sand Your Wood
Pick smooth wood panels or craft shapes to practice on. Unprimed wood works best for full control.
Lightly sand the entire surface, including edges and sides, until everything feels even. Check for rough spots or splinters before moving forward.
Step 2: Remove All Dust
Brush off all dust using a clean, large brush or soft cloth. Pay special attention to corners and edges where dust collects. The surface should look completely clean before you apply primer.
Step 3: Apply First Gesso Coat
Use a foam brush or paintbrush to spread an even gesso layer across the wood. Finish your strokes in the direction of the wood grain.
Remove any lint or fibers before it dries. Wait 20 to 60 minutes for it to dry completely.
Step 4: Build Up Gesso Layers
Lightly sand the dried gesso to smooth the gritty texture, then brush off dust. Apply another coat the same way.
Repeat this process at least four times for a solid base. Sand the final coat until smooth all over.
Step 5: Let The Panel Cure
Set the panel aside for 24 hours to fully dry and settle. This helps your paint stay bright rather than soak into the wood. Only start painting when the surface feels completely dry.
Step 6: Paint In Thin Layers
Begin with thin washes and build color slowly. Early layers may look patchy—that’s normal. Add more layers until the color looks solid and even. Let each layer dry before adding the next.
Step 7: Add Details And Touch-Ups
Work on fully dry layers when adding details for crisp, clean lines. If you make a mistake while the paint is wet, use a damp brush to lift it away. Wipe clean only if the underneath layers are dry.
Once your wood is prepped and primed, painting becomes way easier, and your colors look cleaner right away.
For more detailed Instructions, refer to the YouTube video by Alyssa Mees below:
Supplies Needed For Acrylic Paint On Wood
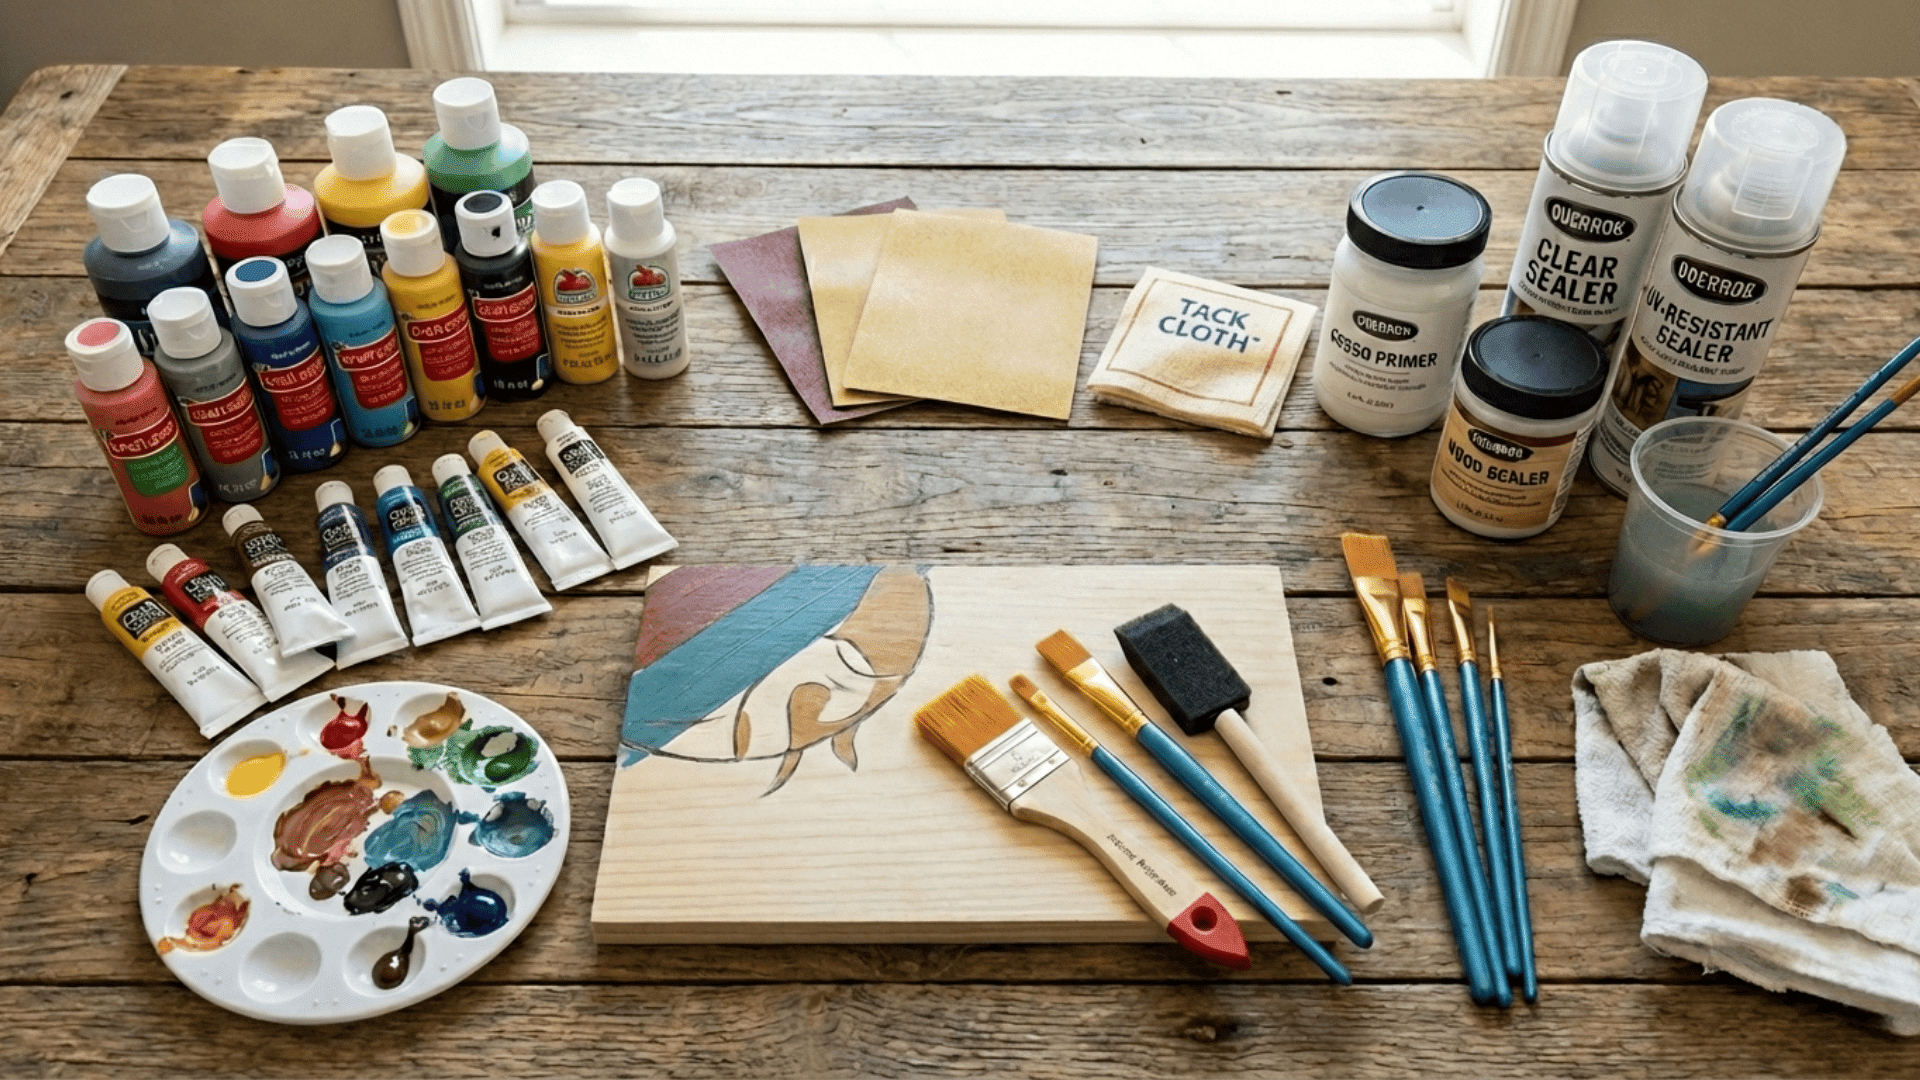
Getting the right supplies makes your painting project so much easier. Here’s everything you’ll need from start to finish.
Painting Supplies
- Acrylic paint: Grab craft paint for simple projects or artist-grade paint for more detailed work. Both work great on wood.
- Flat brushes: These cover large areas quickly and give you smooth, even coats.
- Detail brushes: Perfect for adding fine lines, small designs, or touching up edges.
- Foam brush or roller: Handy for painting big surfaces. They spread paint fast and evenly.
- Palette: You’ll need something to mix your colors on. Even a paper plate works.
- Water cup: Keep this nearby to rinse your brushes between colors.
- Rags or paper towels: Great for wiping brushes, cleaning up drips, and fixing mistakes.
Prep And Priming Supplies
- Sandpaper: Get fine-grit sandpaper to smooth out the wood surface before painting. This step makes a huge difference.
- Tack cloth or microfiber cloth: Use this to wipe away all the dust after sanding. Even tiny dust particles will show through your paint.
- Gesso or wood primer: This creates a smooth base layer that helps your paint stick better and look more vibrant.
- Wood sealer: Optional, but helpful if your wood absorbs paint too quickly. It fills those tiny holes before you start painting.
Sealing Supplies
- Clear sealer or topcoat: Protects your finished painting from scratches, moisture, and wear. You can get spray-on or brush-on versions.
- UV-resistant sealer: Optional, but necessary for outdoor projects. Regular sealers break down in sunlight, so you’ll need this special type for anything that goes outside.
You don’t need to buy everything at once. Start with the basics and add specialty items as your projects get more complex. Most of these supplies are reusable, so they’ll last through many painting projects.
Conclusion
So, does acrylic paint work on wood? Absolutely.
The secret to beautiful, lasting results with acrylic paint on wood really comes down to three simple steps: prep your surface well, apply thin coats of paint, and seal everything for protection.
I’ve learned through plenty of trial and error that skipping even one of these steps shows up in the finished piece.
But when you take your time with each part, acrylic paint for wood creates stunning projects that hold up over time.
Here’s my best advice: grab a scrap piece of wood and practice first. Test your colors, try different techniques, and see how your sealer looks before you commit to your main project. It takes the pressure off and helps you feel confident.
What wood project will you tackle first? Drop a comment below and share what you’re planning to paint!