Acrylic paint is known for being easy to use, fast-drying, and surprisingly durable, but there’s still a lot of confusion about one basic question: Is acrylic paint waterproof?
I used to assume that once acrylic paint dried, it was fully protected from water, yet over time, I noticed that some painted surfaces held up better than others.
That difference usually came down to how the paint was applied, how long it was allowed to cure, and whether it was properly sealed.
Understanding these details changed how I approach acrylic paint, especially for projects exposed to moisture, humidity, or regular cleaning.
Is Acrylic Paint Waterproof? Dry Isn’t the Same as Cured
I used to think that once acrylic paint felt dry, the job was finished, but that isn’t the full story.
Acrylic can feel dry to the touch in about an hour, yet curing takes much longer because the paint film is still hardening and settling underneath the surface.
Curing is the stage when the paint becomes fully stable and tougher, and that can take several days or even a couple of weeks, depending on how thick the paint is and how humid, cool, or still the air is.
When I sealed too soon, I often ended up with a sticky feel, a cloudy look, or a finish that didn’t hold up as well, so now I always wait.
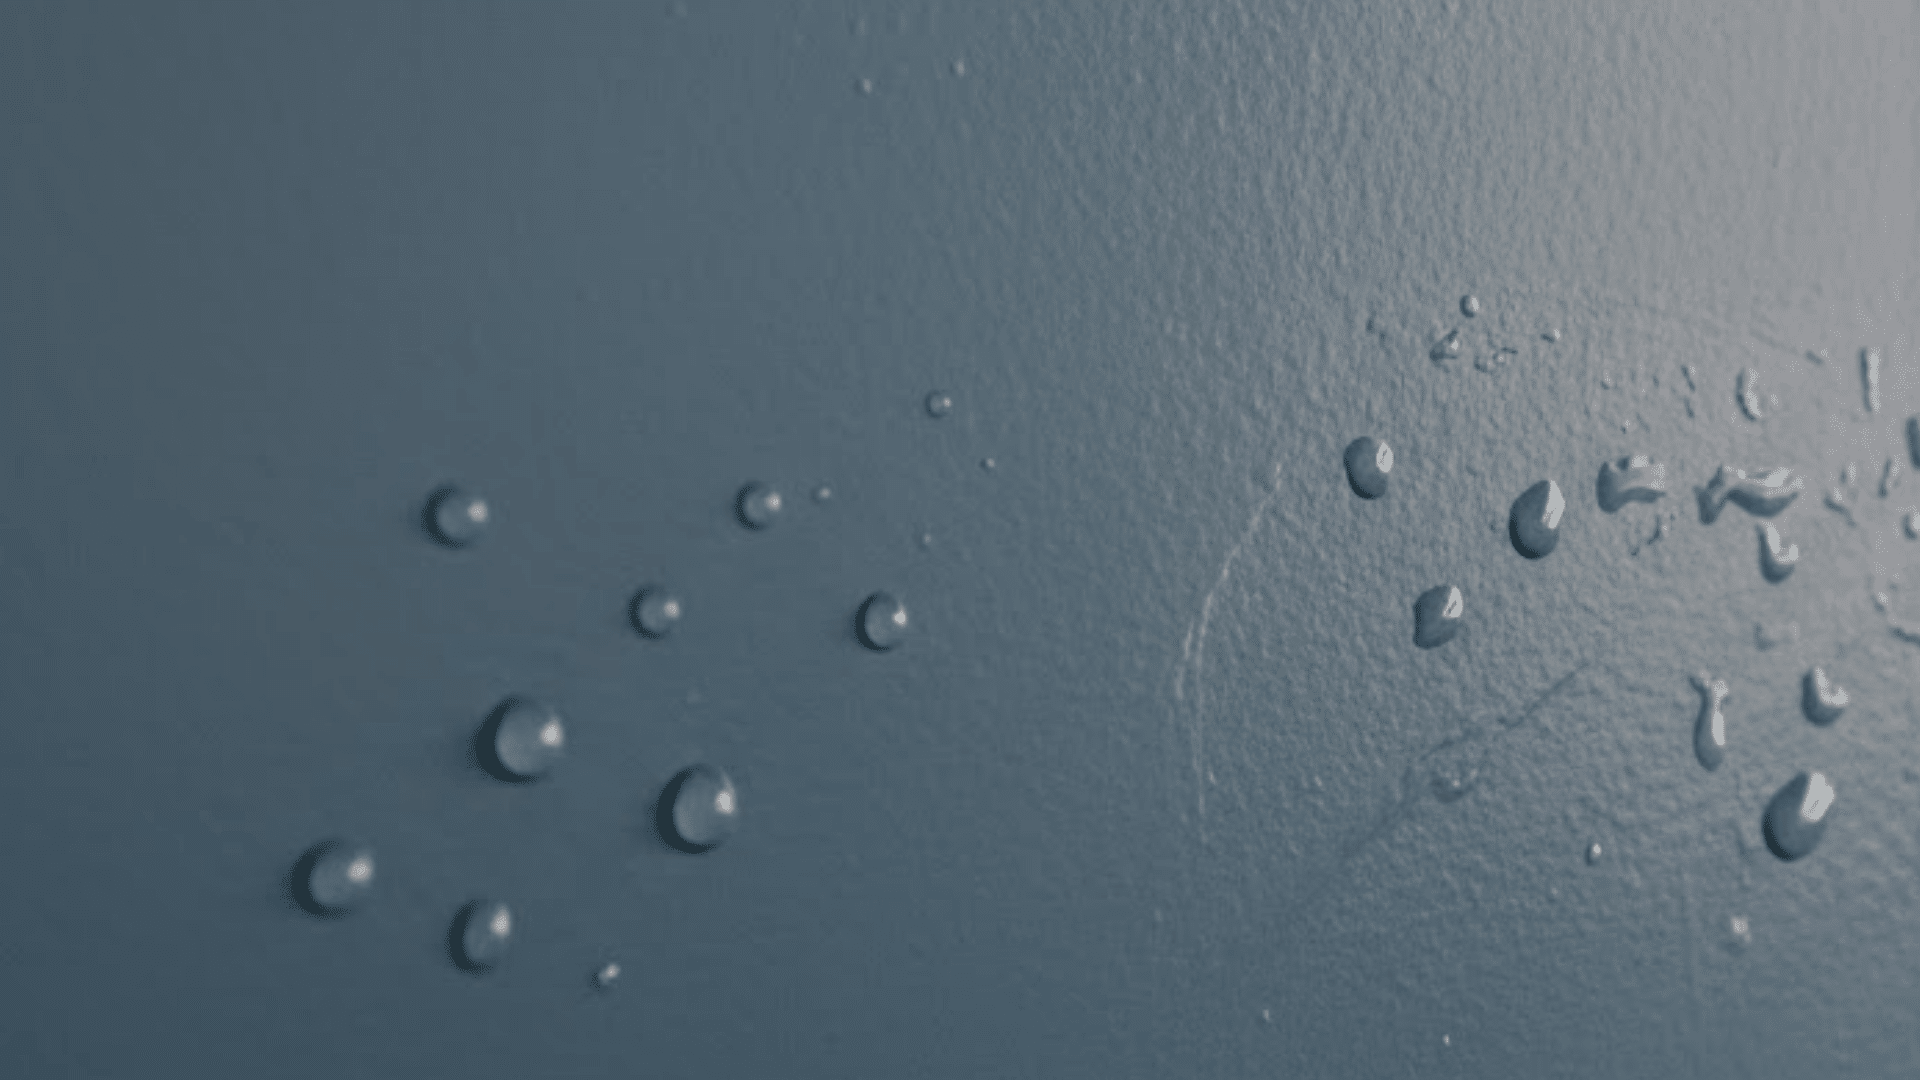
Why Acrylic Paint Resists Water (But Isn’t Waterproof)
Understanding what acrylic paint is made of helped explain why it can handle moisture but still has limits. Acrylic paint is made up of three main parts:
- Pigment: provides the color
- Binder: an acrylic polymer that forms the paint film
- Water: keeps the paint workable until it’s applied
As the water evaporates, the polymer particles move closer together and fuse into a thin, plastic-like layer.
This layer is what gives acrylic paint its water resistance once it dries.
However, it isn’t indestructible. If the paint dries too quickly, is thinned too much, or doesn’t bond well to the surface, moisture can slowly seep in over time.
I think of dried acrylic paint like a light rain jacket; it handles splashes and humidity well, but it needs extra protection for heavy or ongoing exposure.
What Actually Affects Water Resistance
Over time, I’ve found that acrylic paint holds up best when a few key conditions are handled well from the start.
- Cure Time: Thin layers cure faster, but thick or textured paint needs much longer. Sealing too early usually causes problems later.
- Application Style: Multiple thin coats work better than one heavy coat. Thin layers help the polymer form a stronger, more tightly bound film.
- Surface Type: Porous surfaces soak up moisture, while slick surfaces reduce grip. Priming improves adhesion and stability.
- Environmental Conditions: High humidity slows curing, while extreme heat can weaken the film by drying too fast. Moderate conditions help most.
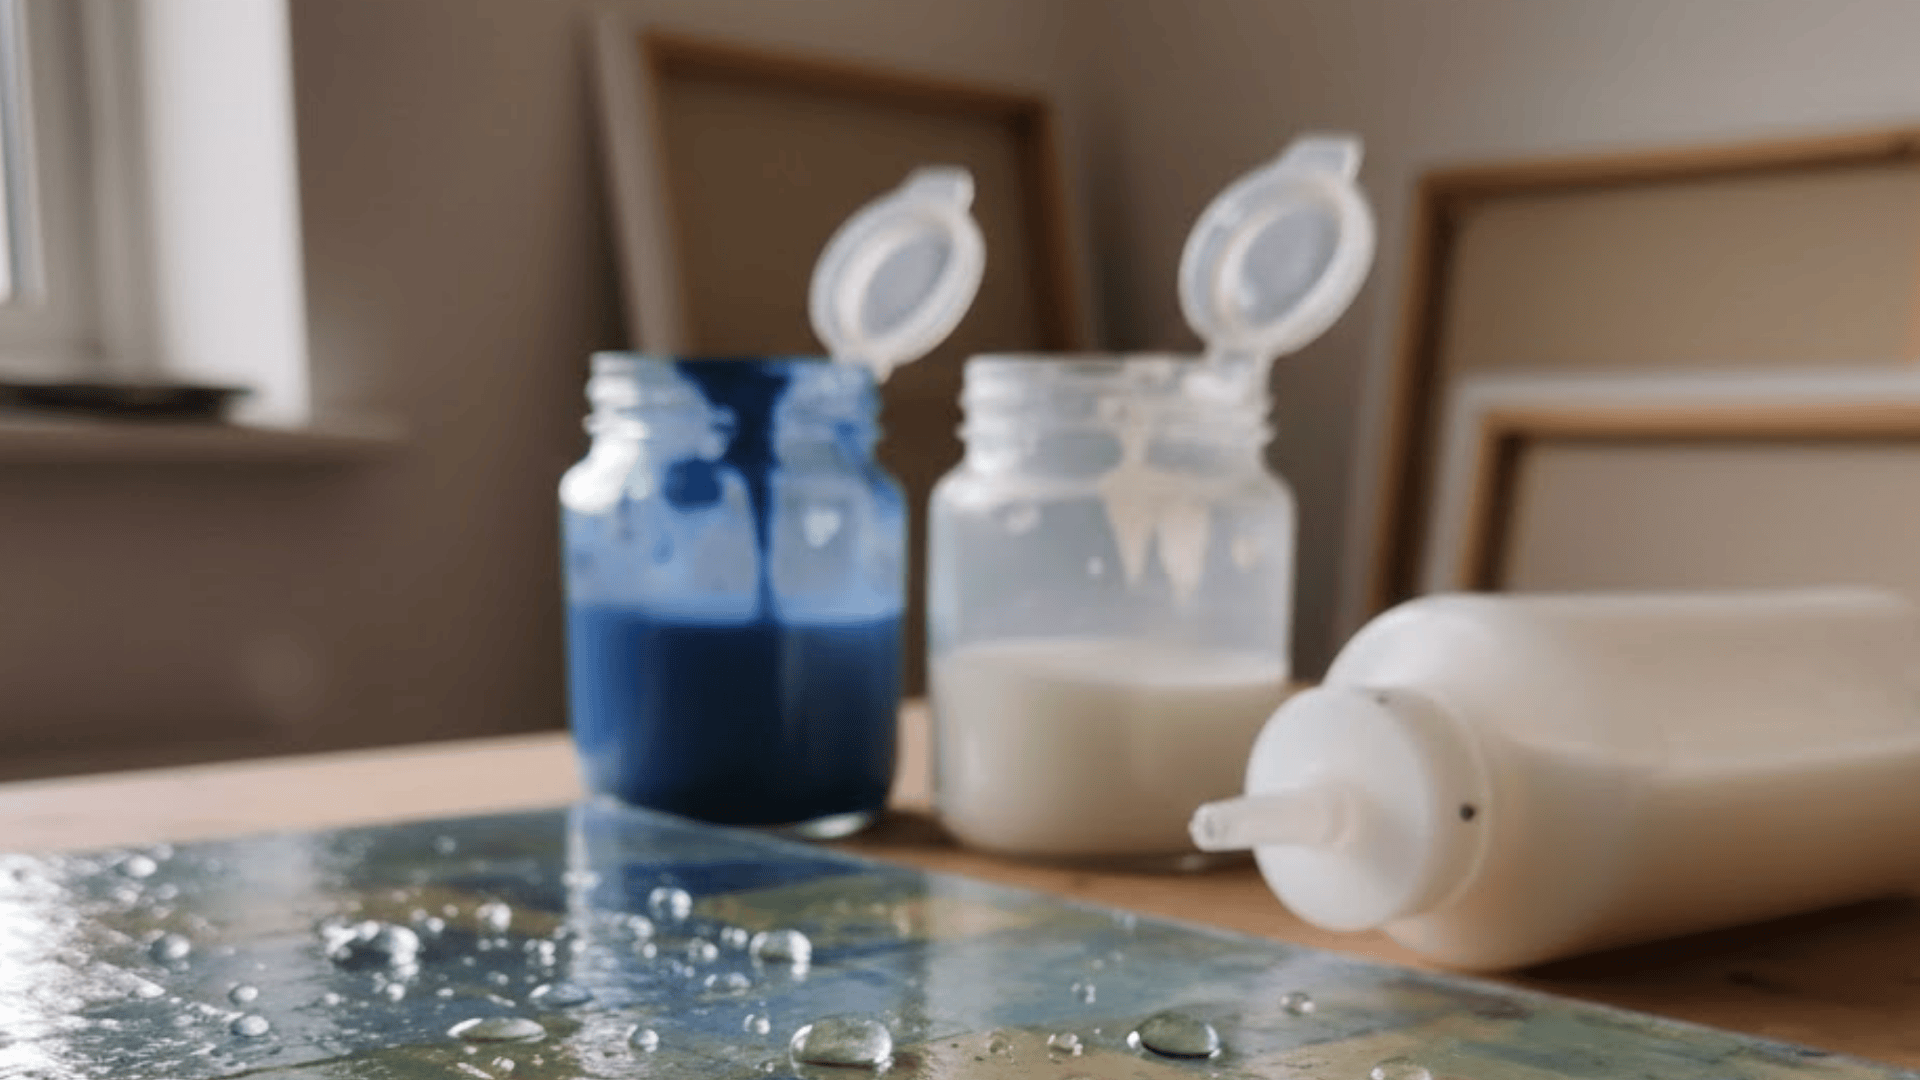
- How Much Water Is Added: Too much water weakens the binder. I avoid thinning with more than 20–25% water and use acrylic mediums instead.
When these basics are done right, acrylic paint stays tougher, seals better, and handles moisture far more reliably over time.
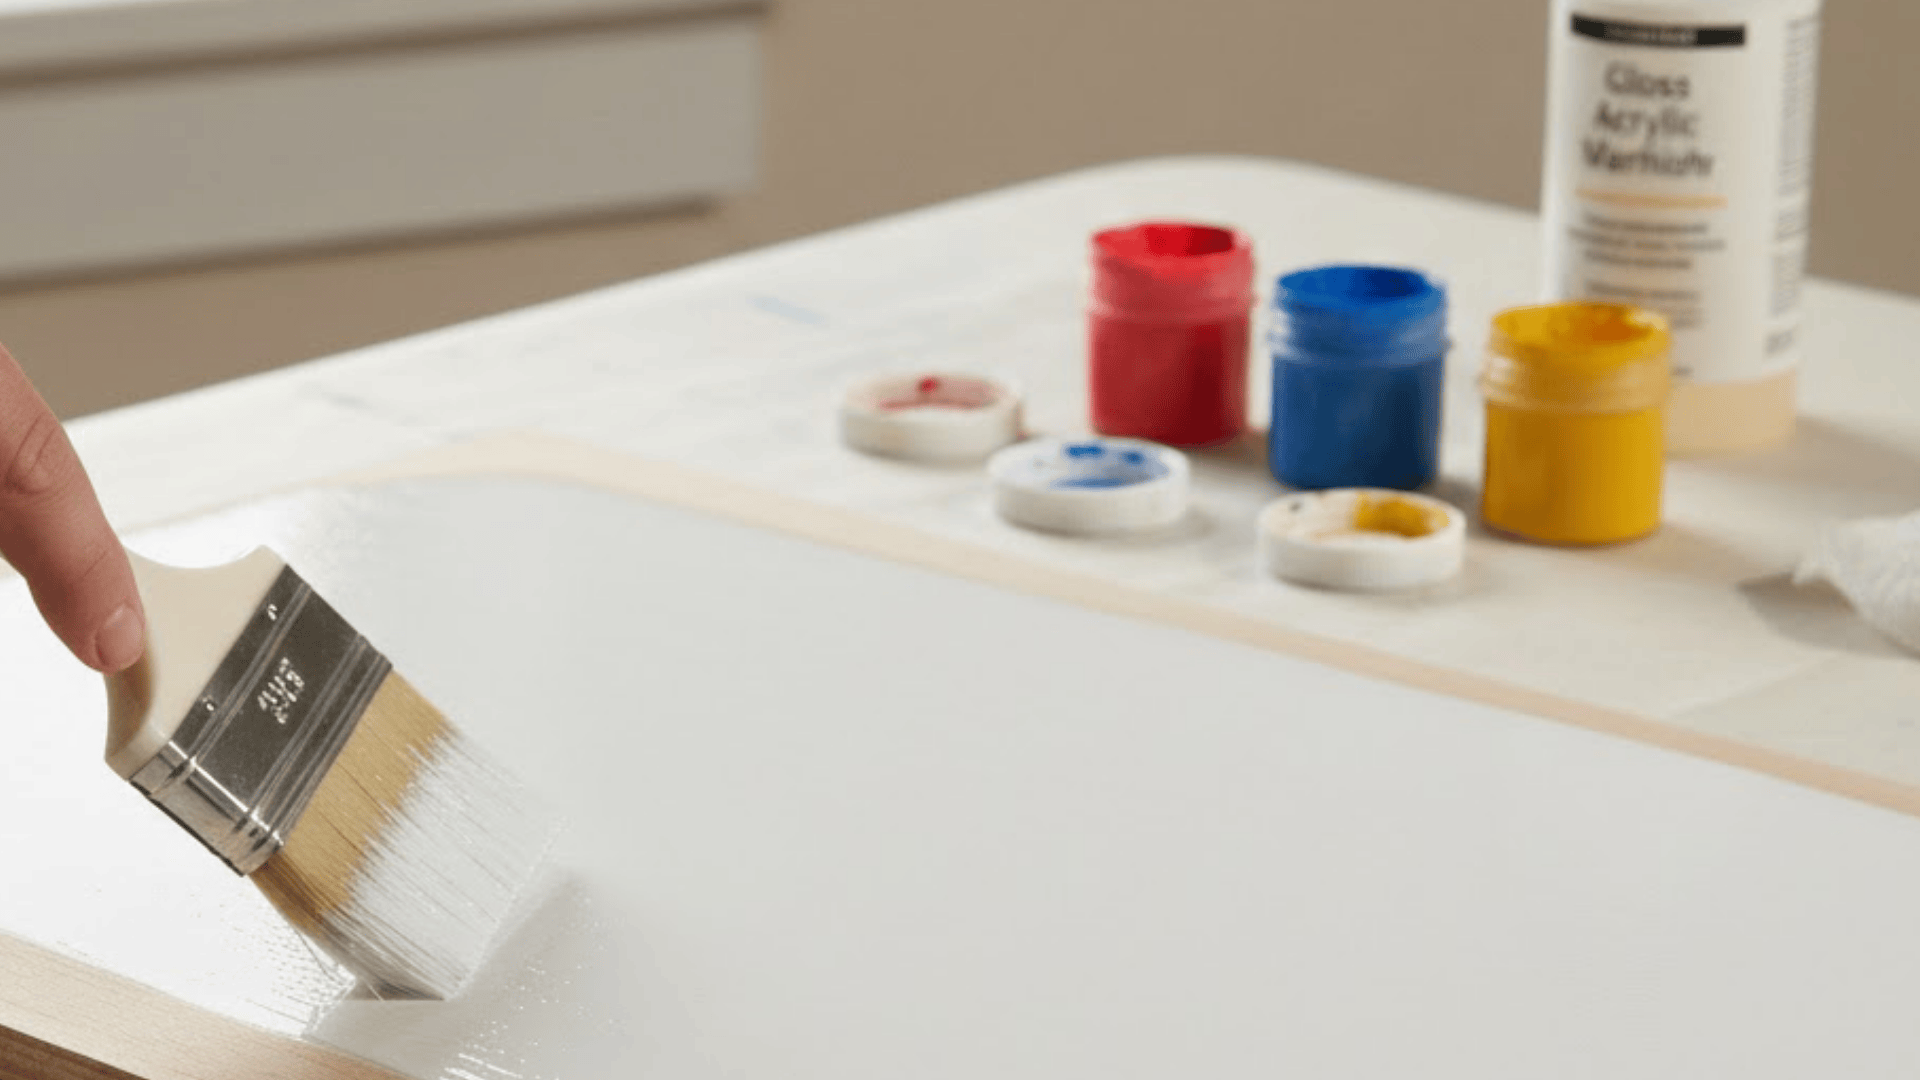
How I Make Acrylic Paint More Water-Resistant
When durability matters, a simple process helps acrylic paint hold up better against moisture and everyday wear.
Step 1: Surface Preparation
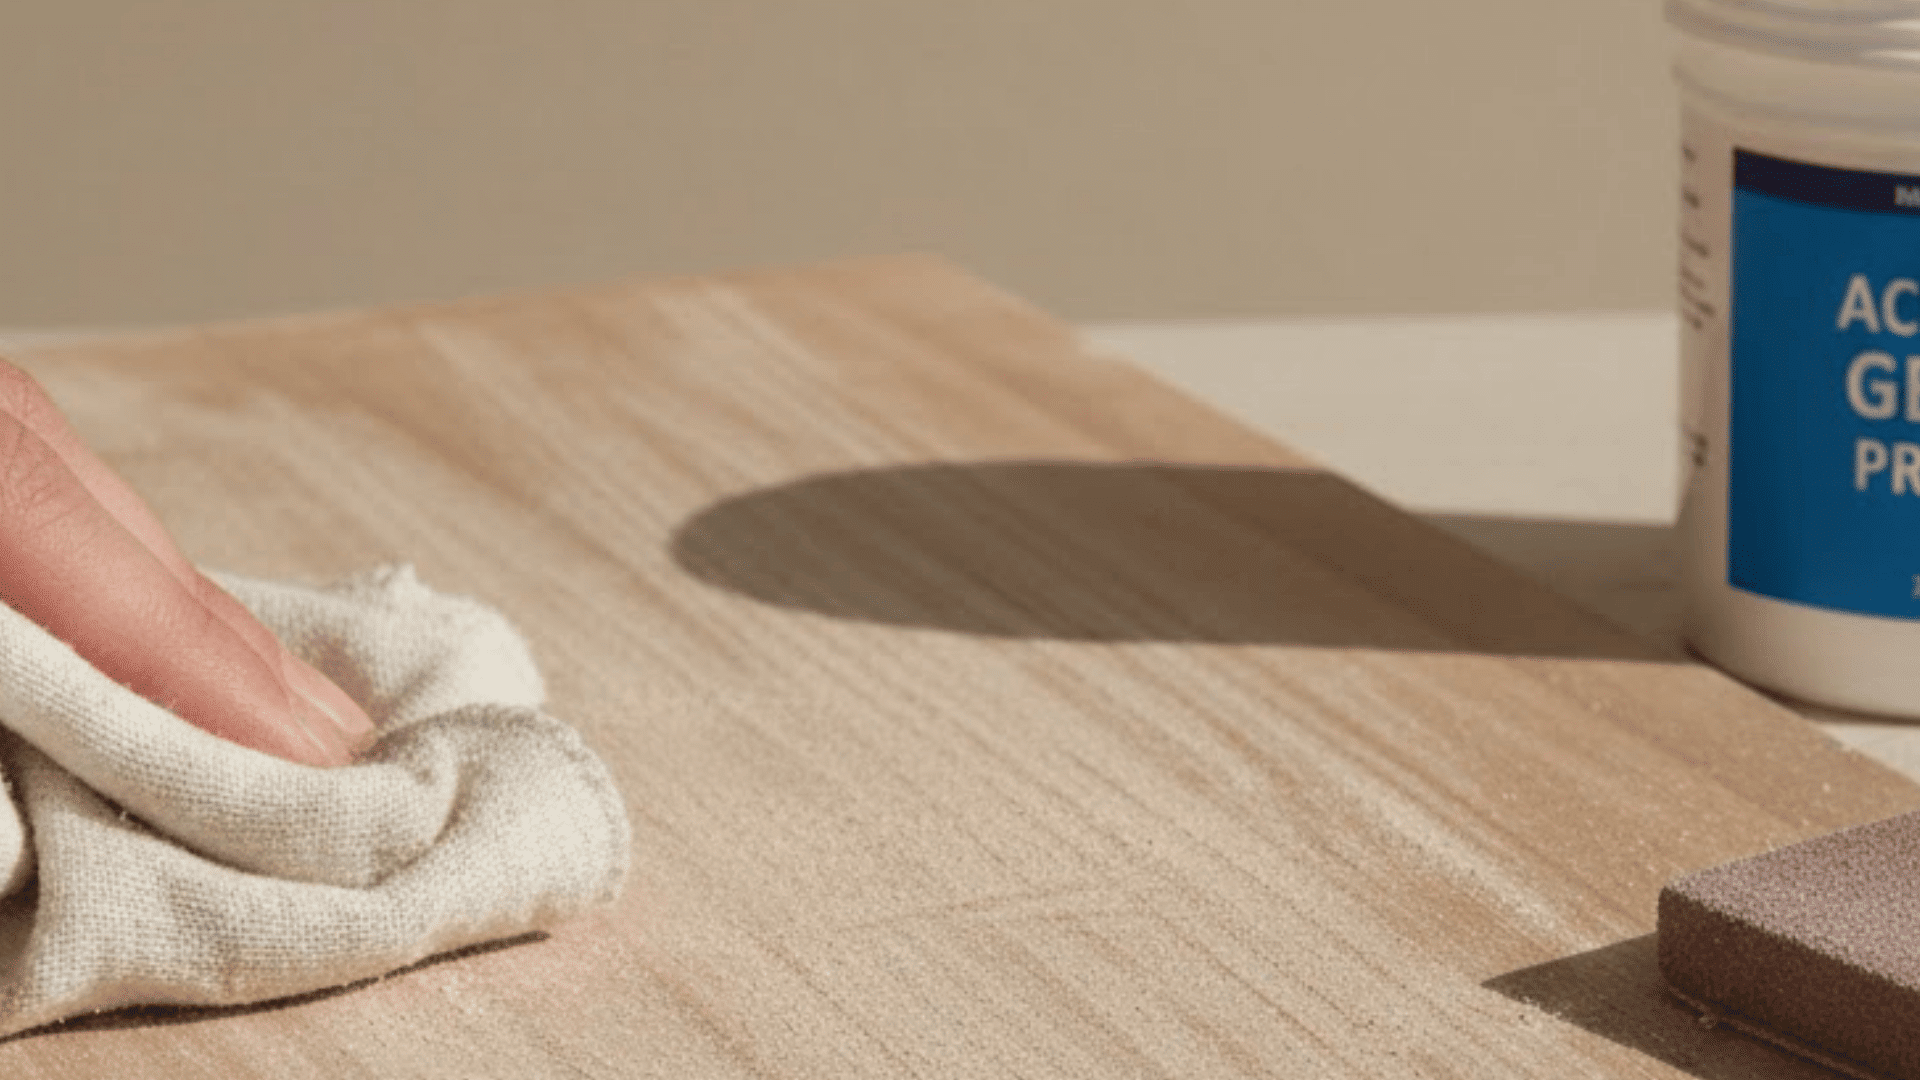
The surface is cleaned to remove dust, grease, or residue, then lightly sanded if needed. Porous materials like wood or canvas are sealed with primer or gesso to improve adhesion.
Step 2: Controlled Application
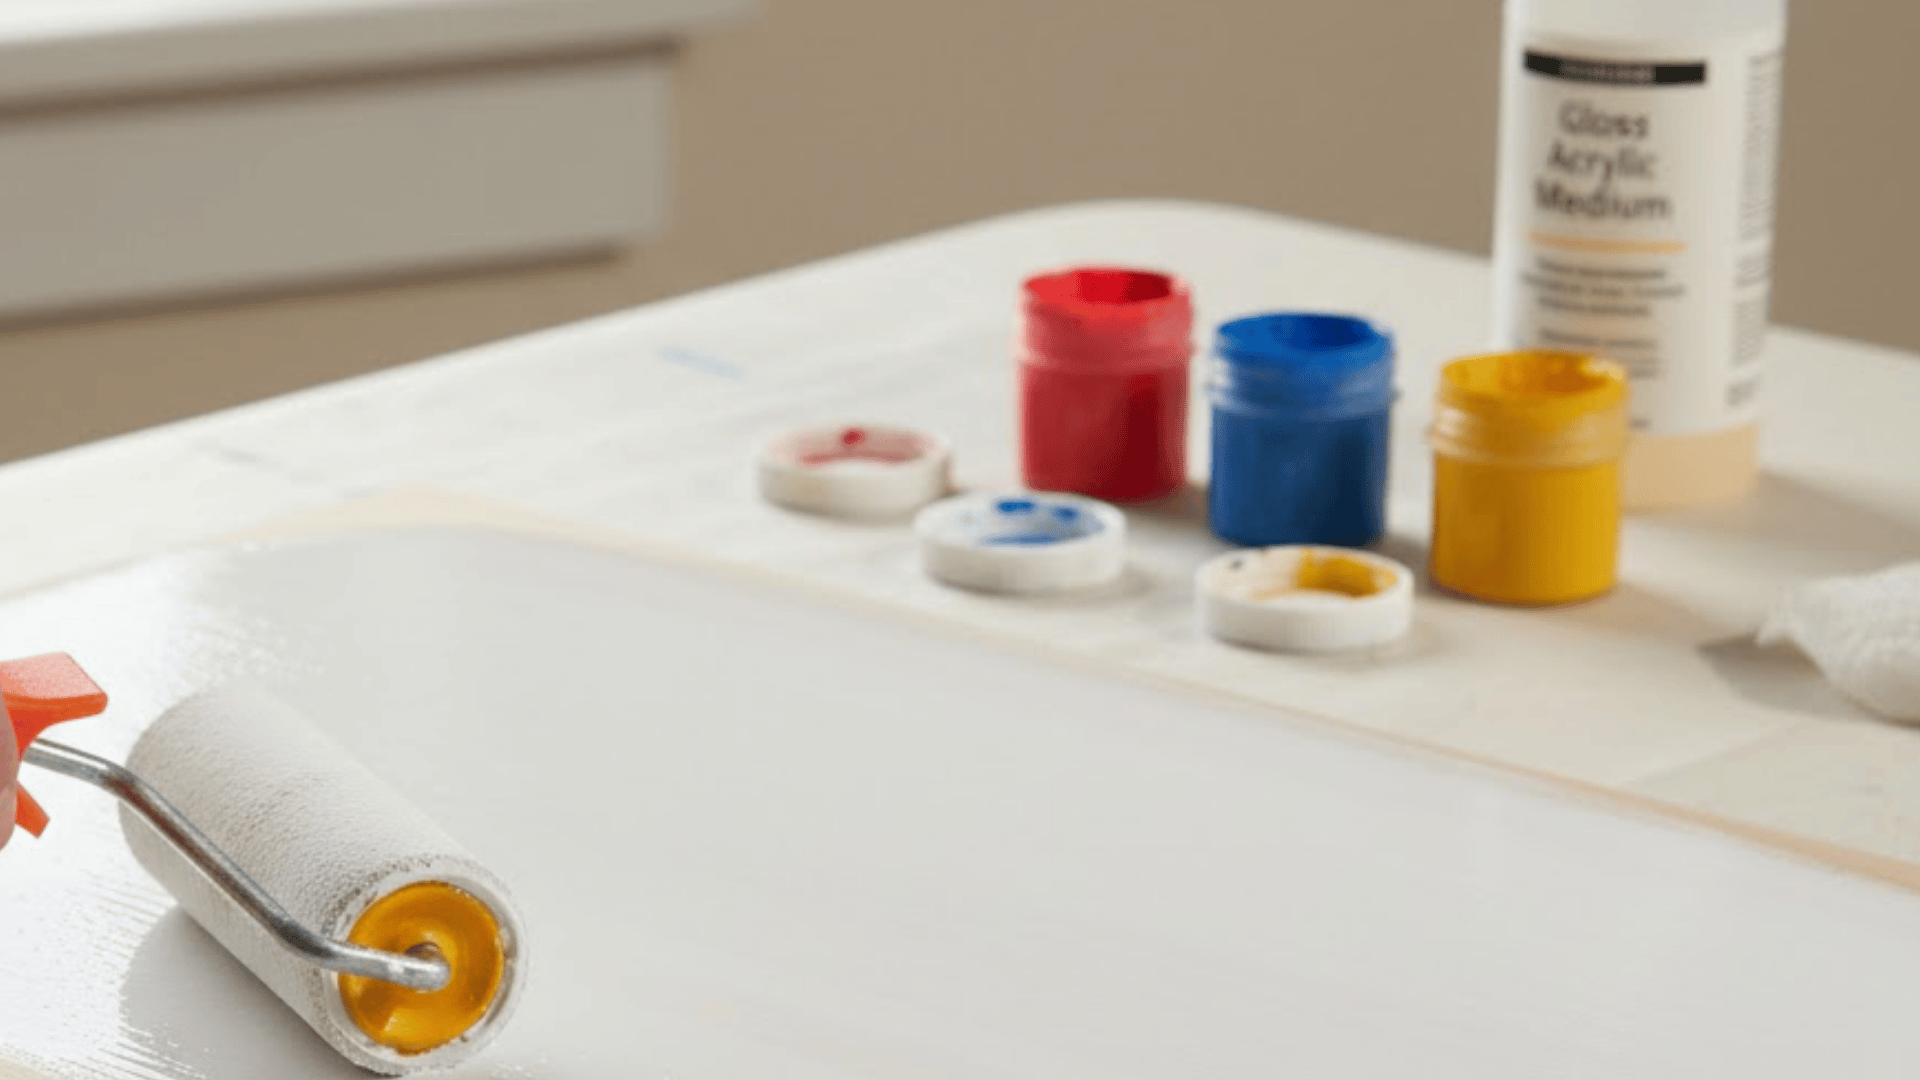
Thin, even coats are applied, allowing each layer to dry completely before the next is applied. Acrylic medium is used instead of water to adjust consistency without weakening the paint film.
Step 3: Allowing Full Cure Time
Thin layers are left to cure for 24–48 hours, while thick or textured paint is given one to two weeks or longer to fully harden and stabilize.
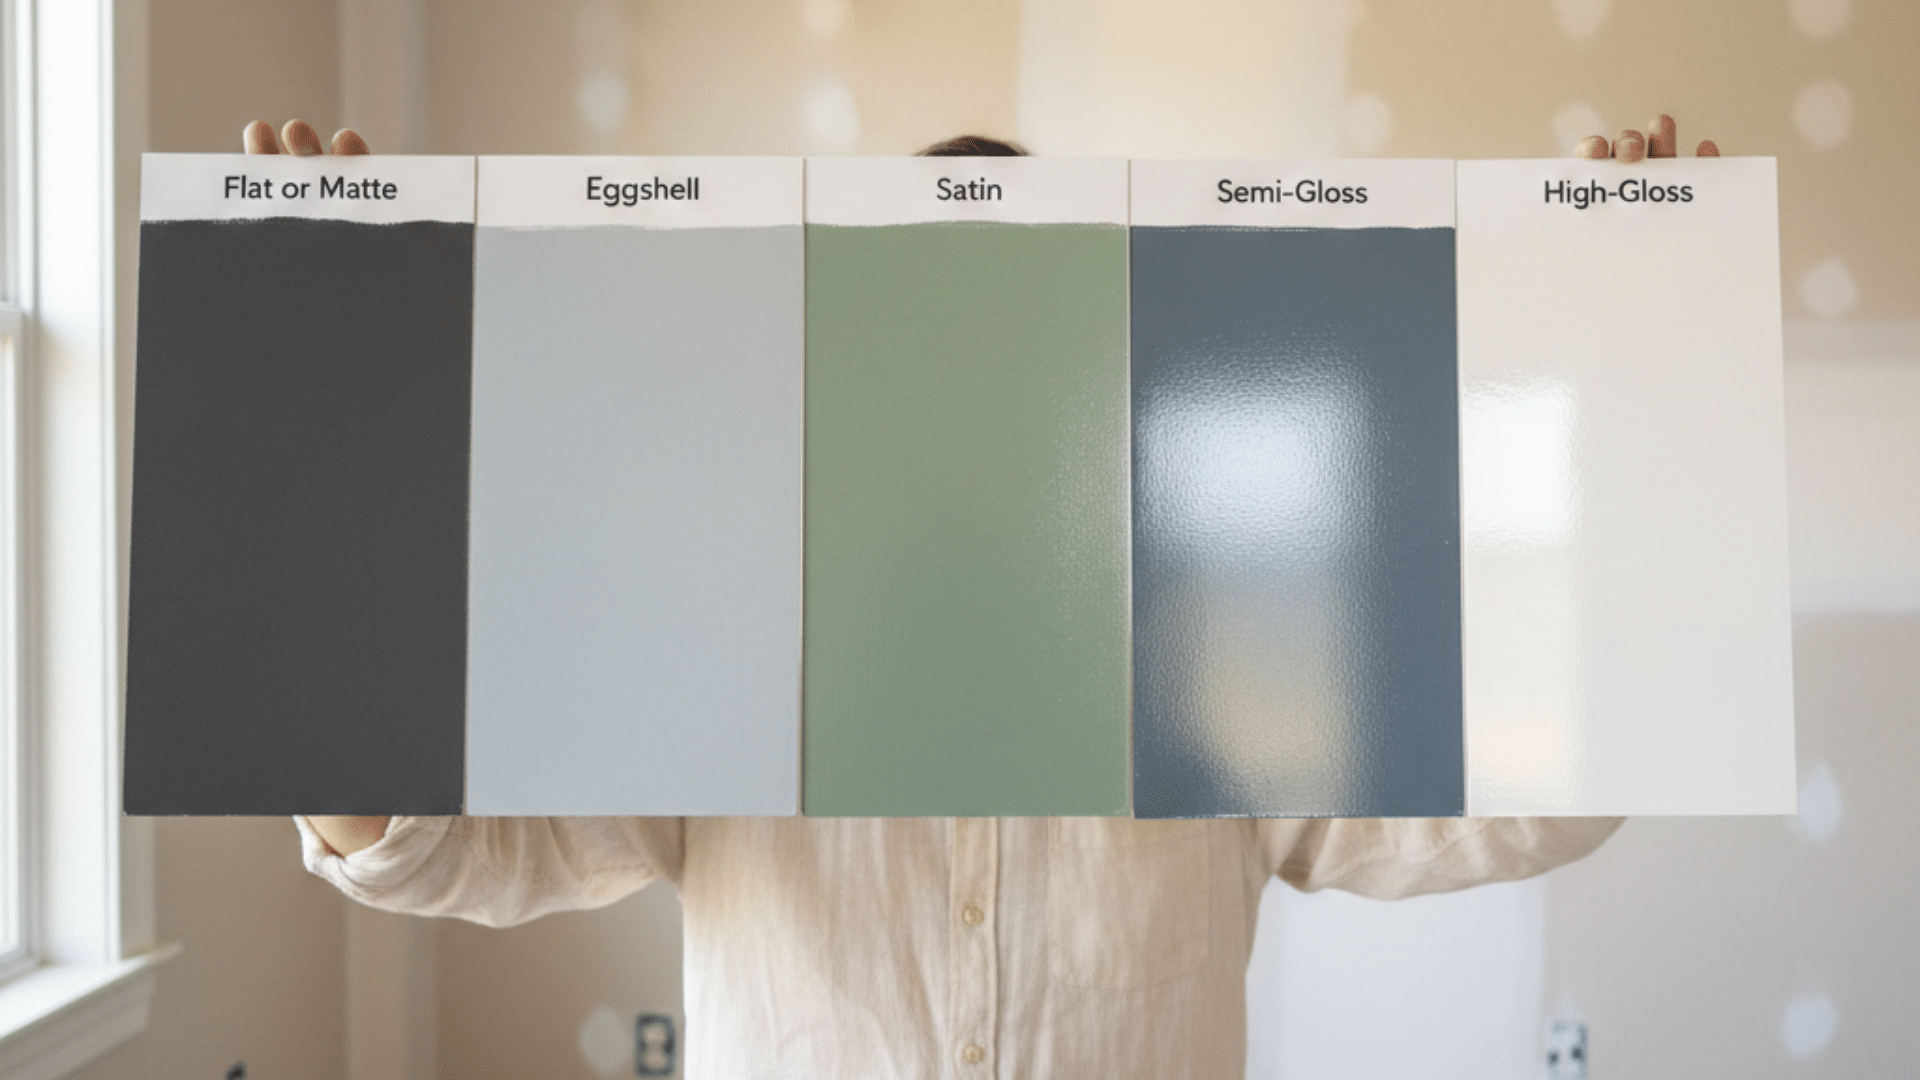
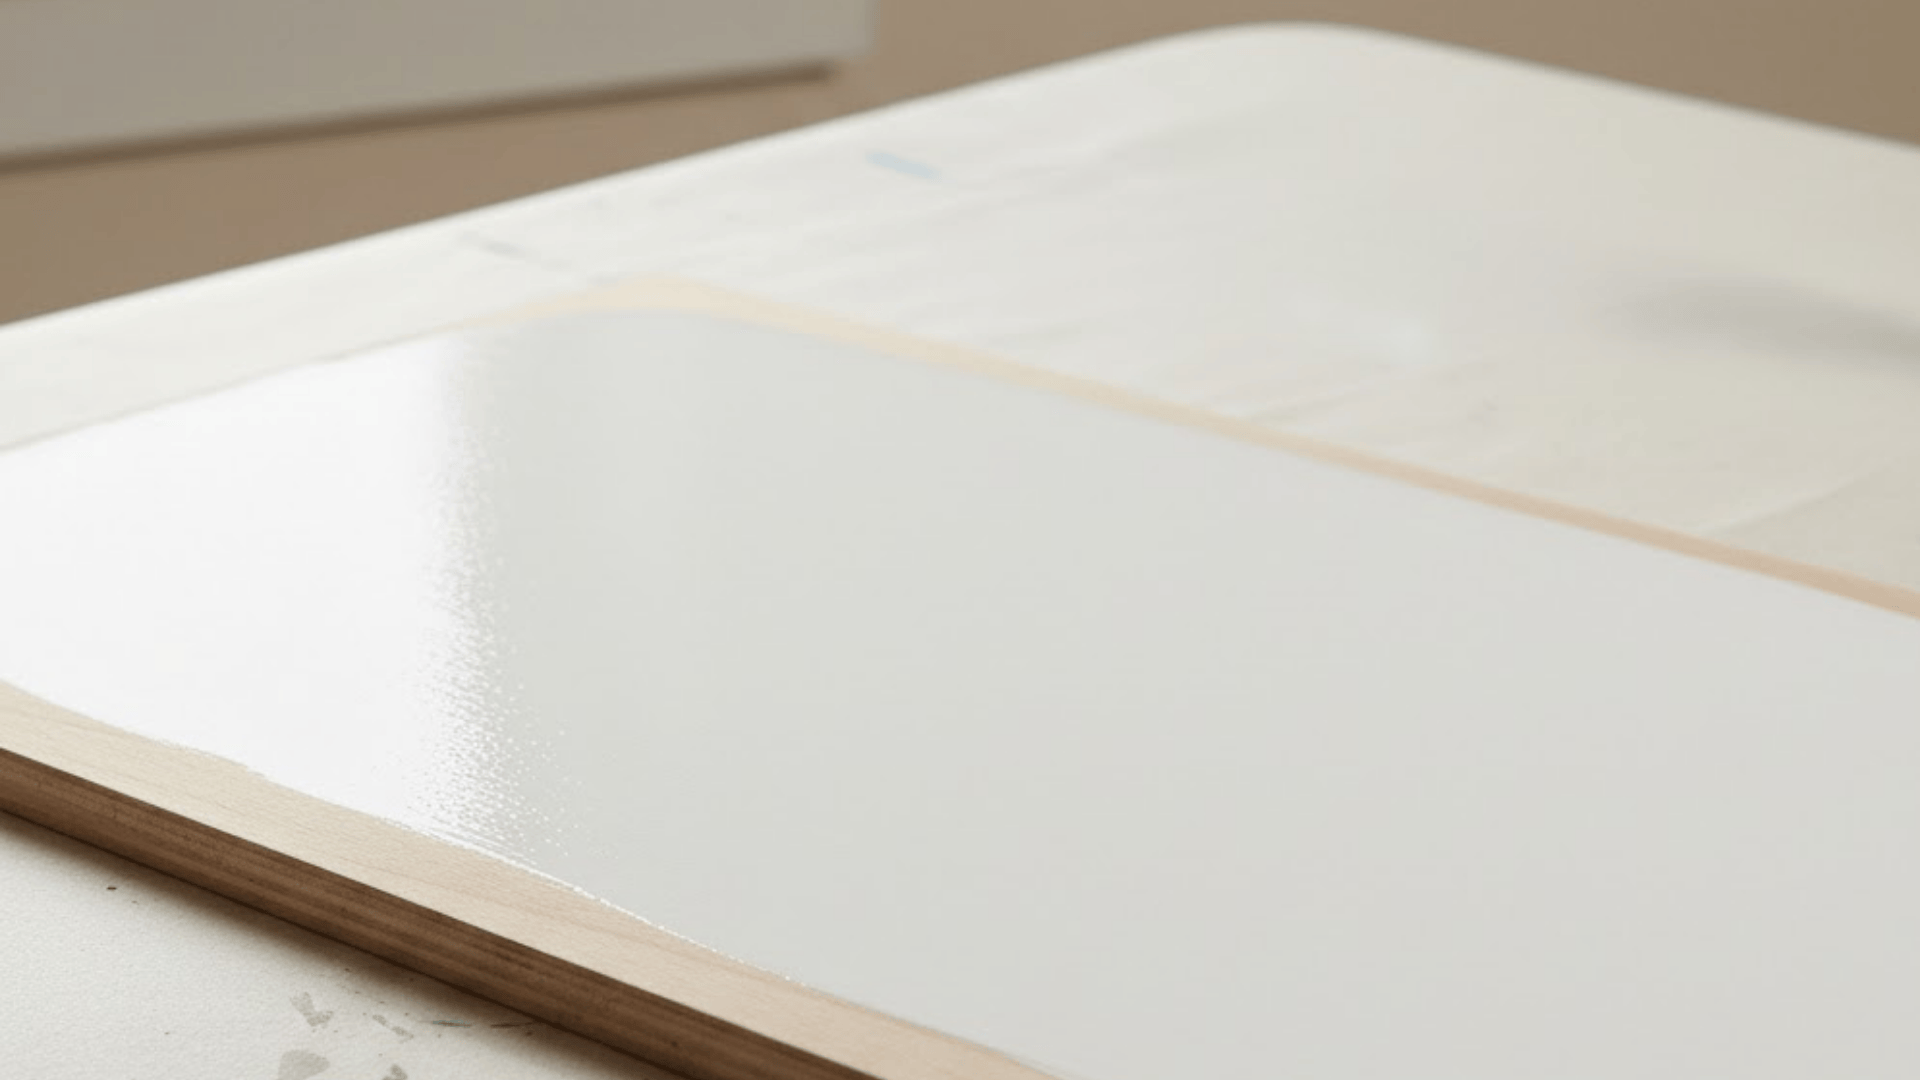
Step 4: Sealing Correctly
The sealer is chosen based on use, such as artist varnish for artwork, spray sealers for detailed surfaces, water-based polyurethane for furniture, or epoxy resin for heavy moisture exposure.
Common Myths I No Longer Believe
I hear these claims all the time, and I used to believe some of them, too, until results proved otherwise.
“Acrylic paint is waterproof once dry.”
It isn’t. Without a sealer, long-term moisture can slowly break the paint down.“Seal it as soon as it feels dry.”
Sealing too early often causes cloudiness, tackiness, or a finish that never feels quite right.“Water is fine for thinning.”
Too much water weakens the paint film by diluting the binder that makes it durable.“Latex and acrylic paint are identical.”
They’re both water-based, but acrylic binders usually last longer and resist UV better.
Letting go of these myths made my projects more durable, more predictable, and far less likely to require later fixes.
Different Spaces Need Different Protection

I don’t treat every painted item the same, because moisture, heat, and daily use change what the paint needs.
Living Areas: In dry indoor spaces, sealing is optional for wall art or canvas unless a specific sheen or extra protection is wanted.
Bathrooms & Kitchens: Humidity makes sealing important. I use acrylic varnish or water-based polyurethane in 2–3 coats.
Outdoor Projects: Outdoor pieces need exterior-grade acrylic paint, UV-resistant sealers, and fully sealed edges since weather finds weak spots fast.
Furniture & High-Touch Surfaces: Durability matters most here. I apply 3–4 thin coats of water-based polyurethane and wait several days before use.
Fabric: Regular acrylic alone can crack or peel. I mix in fabric medium and heat-set after drying for better flexibility.
Matching the protection to the space keeps the finish stronger, reduces peeling and fading, and helps the project last much longer overall.
When Things Go Wrong
When things go wrong with acrylic paint, the cause is usually simple, even if the damage looks confusing at first.
A cloudy finish often means the paint was not fully cured before sealing, especially in damp conditions.
A sticky surface usually happens when a topcoat goes on too soon or when humidity slows drying, so the layers stay soft longer than expected.
Peeling outdoors is most often linked to poor surface prep or to edges left unsealed, which allows moisture to seep underneath.
A color shift after sealing is common, too, especially with matte finishes. Testing on a small sample first prevents most surprises.
Final Thoughts
Acrylic paint can look tough once it dries, but it still needs the right steps to withstand moisture.
I’ve learned that most failures don’t start at the end; they start earlier with rushed curing, weak surface prep, or sealing too soon.
When the paint has time to cure, it forms a stronger film that wears better and behaves predictably under a topcoat.
Sealing works best when it matches the surface and the space, because indoor décor and outdoor items face different conditions.
If you’re working on a piece now, tell me the surface and where it will live, and I’ll suggest a sealer and cure time that fits.