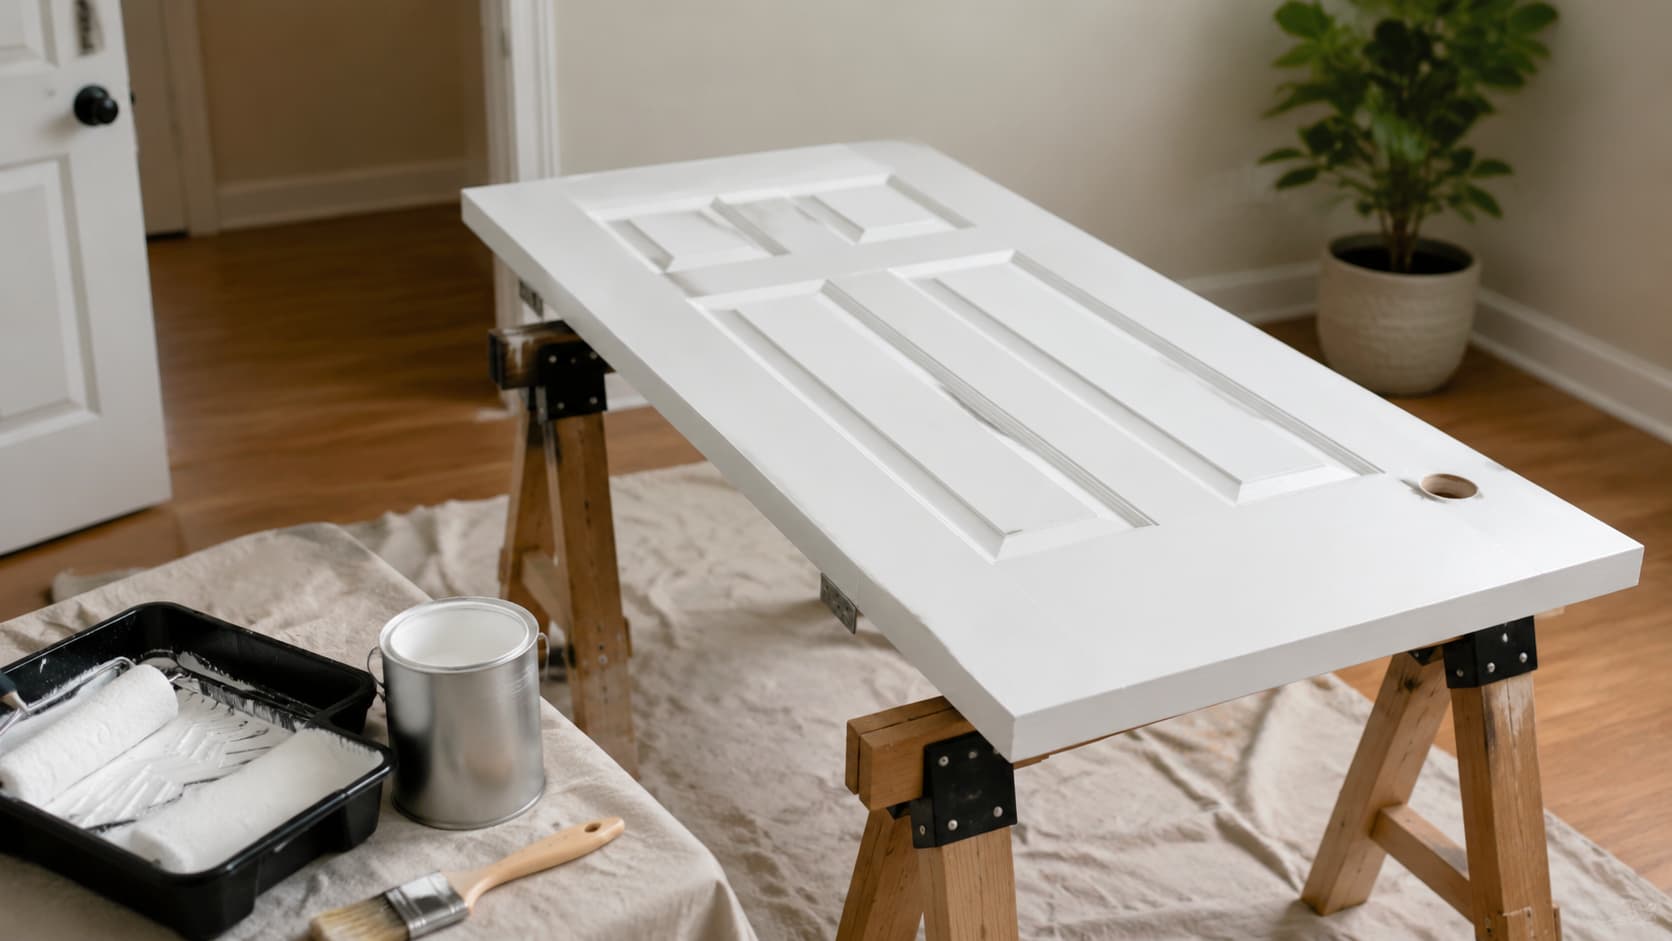
Knowing how to paint a door the right way makes painting interior doors far less stressful than most people expect.
A fresh coat on worn, yellowed, or scuffed doors changes how a room looks without touching the walls or replacing anything.
The results are immediate, and the cost stays low, which is why this is one of the most practical updates a homeowner can make.
It works for bedrooms, bathrooms, closets, and pantry doors alike.
The right prep, the right tools, and a proper drying window between coats are what separate a clean, lasting finish from one that chips and peels within months.
Choosing the Right Paint and Finish
The paint and finish you choose will determine how long your door lasts and how easy it is to clean. Get these right before anything else.
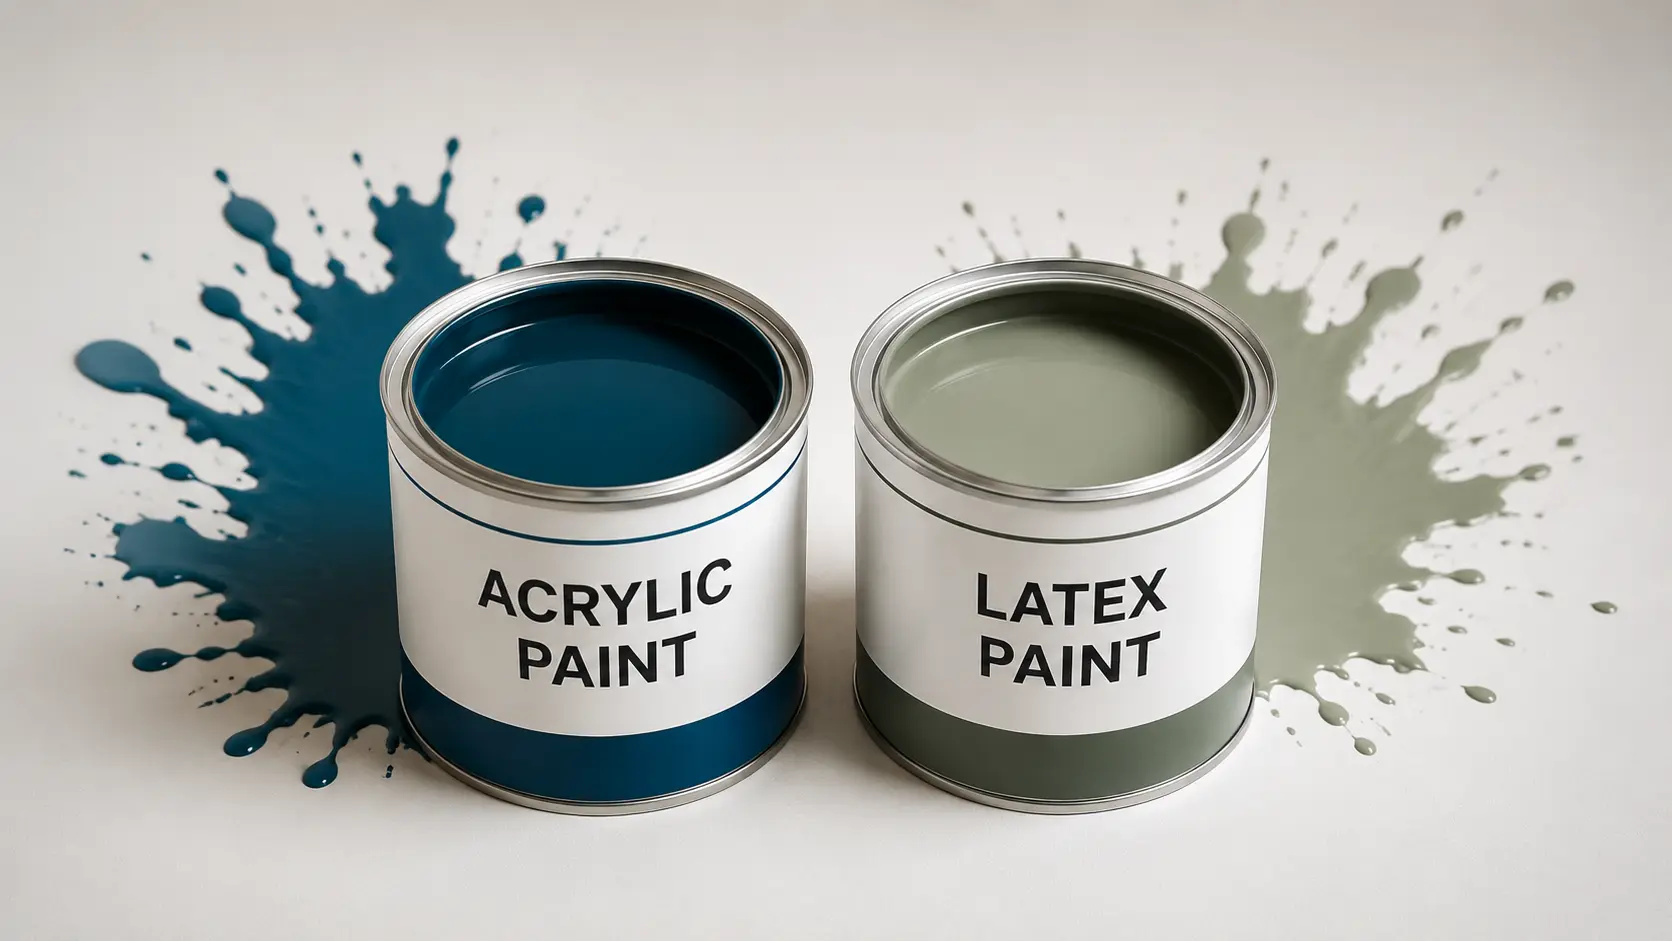
- Acrylic latex paint is the top recommendation for interior doors. Acrylic paint dries fast, cleans up with water, and holds up well to daily contact.
- Semi-gloss sheen is the most recommended finish for doors. It resists scuffs, wipes down easily, and keeps its look over time.
- A satin finish serves as a softer alternative to semi-gloss. It shows fewer surface flaws and still cleans up easily.
- High-gloss paint gives the sharpest, most polished result. It makes surface imperfections more visible, so thorough prep is a must.
- Primer is needed on bare wood, stained surfaces, or dark existing colors. It improves paint adhesion and reduces the number of coats needed.
Picking the right combination of paint type and sheen upfront saves time, extra coats, and touch-up work down the line.
Essential Painting ToolsGather everything below before you start so the job runs without a stop.
|
How to Paint a Door?
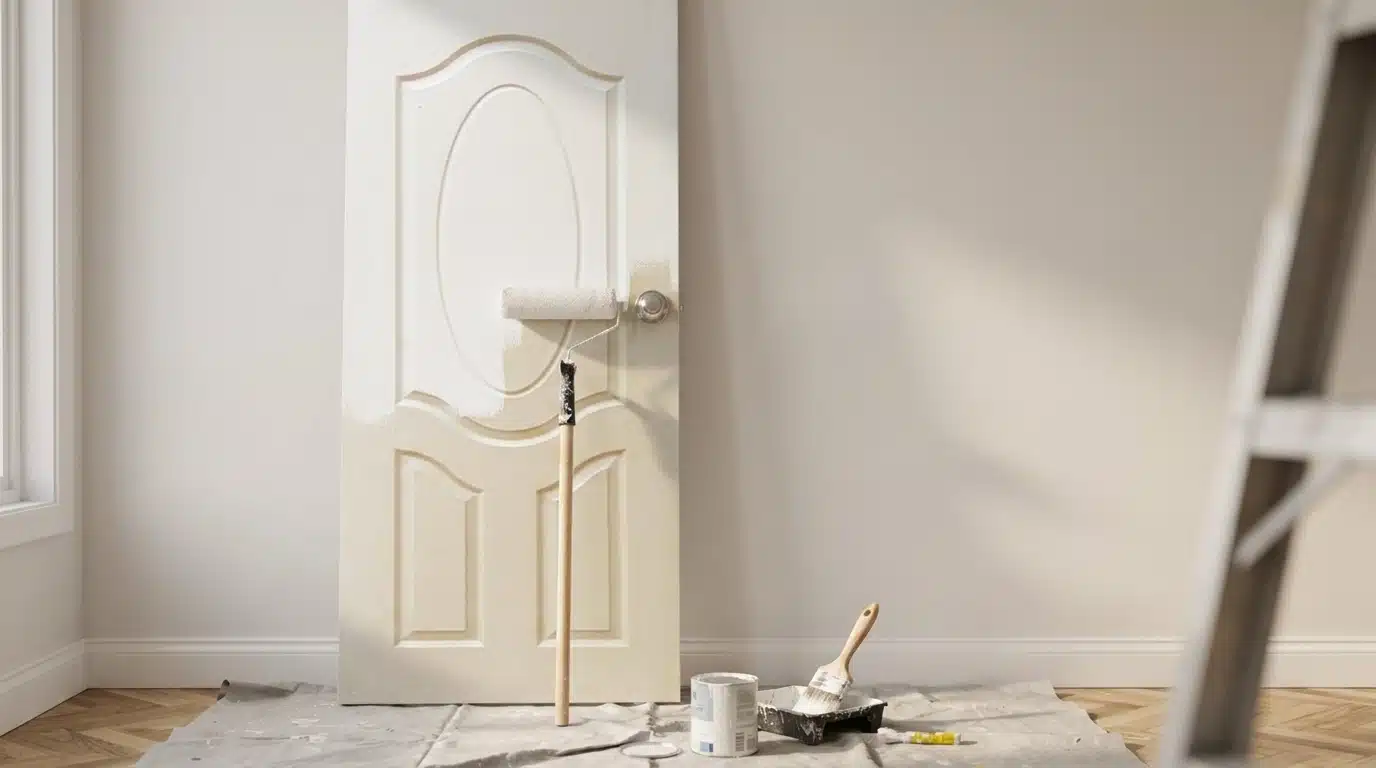
Follow this order, and you will avoid the drips, buildup, and brush marks that show up when people rush. Each step builds on the one before it.
Step 1: Remove or Secure the Door
Before you paint a door, decide whether to take it off the hinges so you can lay it flat, or leave it hanging in the door frame and paint it in place.
Removing it gives the cleanest result. Leaving it in place saves time. Either works as long as you prep correctly.
Pro tip: Lay removed doors flat on sawhorses to stop drips from forming on vertical surfaces.
Step 2: Clean the Surface Thoroughly
Wash the surface of the door with a degreasing dish soap and rinse with a clean, damp cloth to remove any soap residue.
Grease, fingerprints, and dust all block paint adhesion. Skipping this step may cause the paint to peel later.
Pro tip: Run a tack cloth over the entire door after washing to catch any remaining fine dust before you paint.
Step 3: Sand the Door Lightly
If you’re repainting an older door, fill any gouges or imperfections with wood filler, then sand those areas until smooth with 150-grit sandpaper.
Then lightly sand the entire door with 220-grit sandpaper. Sanding gives the primer and paint surface something to grip.
Caution: If the door was painted before the 1980s, it may contain lead paint. Test for lead before sanding, since dry sanding can release lead dust into the air.
Pro tip: Always wipe away sanding dust with a tack cloth before moving to the next step, or the debris gets trapped under your paint.
Step 4: Tape and Protect Hardware
Place a piece of painter’s tape on the hinge and then use a utility knife to carefully trace around the hinge to remove the excess tape.
This is much easier than using multiple pieces of tape to cover the entire hinge. Cover glass panels with tape or paper.
Pro tip: Dip a rag in rubbing alcohol and rub it on a small section of the door. If paint comes off on the rag, the door has latex paint. If nothing comes off, the door has oil-based paint and will need a bonding primer before a new coat of latex paint goes on.
Step 5: Apply Primer If Needed
If you’ve purchased brand new doors, they typically have a coat of primer and are ready for paint.
For interior doors with old paint, a coat of primer is strongly recommended because it improves adhesion, helping the new paint stick. Primer is also needed over stained or raw wood.
Pro tip: Tint your primer to match the final paint color when going dark, so fewer coats cover the base fully.
Step 6: Start Painting the Panels First
Start with the panels, using a brush to paint the recessed molding first, then switching to a roller for the center of the panel.
Use the brush to smooth out any paint that pools in the corners. This keeps wet edges clean and avoids buildup in grooves.
Pro tip: Keep a wet edge at all times by moving quickly and not letting any section dry before blending the next.
Step 7: Paint Flat Surfaces with a Roller
Many people successfully paint doors with just a brush, but using a brush and a small roller gets the job done faster and produces a much smoother finish.
Use the foam roller on all flat sections for streak-free results.
Pro tip: Roll in the direction of the wood grain to keep the finish looking natural and consistent across the door face.
Step 8: Reattach Hardware and Inspect Finish
Remove the tape while the paint is still wet or tacky to avoid tearing the paint.
Check all edges, corners, and panel grooves for drips or missed spots, then touch up as needed before the paint fully sets.
Pro tip: Pull tape at a 45-degree angle for the cleanest edge without lifting the paint underneath.
Best Painting Methods for Interior Doors
Most DIYers debate which tool gives the best result. The answer depends on what you are working with.
| Method | Best For | Trade-Off |
|---|---|---|
| Brush | Panel grooves, detail areas | Can leave brush marks on flat sections |
| Foam Roller | Smooth flat surfaces | Less control in recessed areas |
| Paint Sprayer | Full doors, multiple doors | Requires masking, more setup time |
A clean finish comes from matching the tool to the door design rather than relying on a single method.
Prep work and light, even coats matter just as much as the application method.
Community-Backed Advice
Across DIY communities and home improvement forums, the same advice appears again and again.
Most experienced DIYers say that removing the door yields the best results, but it is not required.
Foam rollers are the preferred tool for smooth, flat sections. Thin coats always outperform thick ones because they dry evenly and do not sag.
Prep work, particularly cleaning and sanding, matters more than which paint brand you choose.
Light sanding between coats makes a measurable difference in how the final finish looks and how long it holds up.
Semi-gloss latex paint is the most commonly recommended sheen across all skill levels.
The single most repeated mistake is rushing the drying time between coats, which causes tackiness, lifting, and uneven coverage that is hard to fix later.
Common Mistakes
Small errors cause most of the problems people run into with door painting. Avoid these, and the job goes smoothly.
- Skipping sanding: Paint has nothing to bond to on a glossy surface, so it will peel off within months.
- Applying thick coats: Paint drips and dries unevenly; thin layers build better coverage.
- Not waiting between coats: Recoating too soon lifts the first layer, resulting in a sticky, uneven finish.
- Using the wrong sheen: Flat paint on doors shows every scuff and is nearly impossible to clean.
- Painting in humid conditions: High moisture slows drying significantly and can cause the finish to blister.
Stick to prep and patience. Those two things account for most of the difference between a good result and one you will be repainting in a year.
Drying Time and Curing Tips
There is a difference between paint that feels dry and paint that has fully cured, and confusing the two causes problems.
Interior latex paint is dry to the touch in 30 to 60 minutes and safe to recoat at 2 to 4 hours at 70 degrees Fahrenheit and 50 percent humidity, but it does not fully cure for 21 to 30 days.
Do not close the door too soon after painting. The edges can stick together before the paint has hardened, and pulling them apart damages the finish.
Keep the room ventilated with steady airflow. The Environmental Protection Agency notes that paint can release volatile organic compounds as it dries, so good airflow helps clear them from the room and speed up the drying process.
Heat changes can affect the overall color of the paint as it dries.
Full hardness and scrubbability only come after the paint has fully cured, which can take several weeks for latex paint.
Painting Interior Doors by Type
Different door constructions need slightly different approaches. Here is how to handle each one without overcounting steps.
- Flat panel doors: These are the easiest to paint. A foam roller gives a streak-free finish across the smooth face with minimal effort.
- 6-panel doors: Paint the recessed panel areas first, then the center vertical strips, then the horizontal rails, and finish with the outer vertical strips on each side.
- Glass panel doors: Tape carefully around each pane before you start. Precision here saves a lot of cleanup and keeps edges clean.
- Hollow core doors: Hollow core doors may show seams and have a different texture. Use a good primer and consider a light skim with wood filler on seams before painting. Keep coats thin to avoid warping.
Interior Door Painting Ideas
Color choice on interior doors can do a lot of heavy lifting in a room.
Bold black doors with bright white trim create one of the most used contrasts in current home design. Soft greige tones work well in modern minimal spaces where walls are already neutral.
Deep navy reads as a rich, high-end look against light walls and natural wood floors.
Warm earth tones in clay or terracotta bring a rustic, grounded feel to older homes.
One of the more recent approaches is to paint both the door and the surrounding wall in the same color, creating a monochrome effect that makes architectural details stand out.
Each of these works across room types, though bolder choices tend to land best in spaces where the door is a visible focal point rather than a background element.
Conclusion
Knowing how to paint a door comes down to three things: good prep, the right tools, and patience between coats.
Painting interior doors is a low-cost project that delivers a strong visual return when done correctly.
Clean the surface, sand lightly, prime as needed, and apply thin coats with a brush-and-roller combination for the best results.
Start this weekend, and your doors can look professionally finished before the week is out. Pick your color, gather your tools, and get started today.
Frequently Asked Questions
How Do You Paint a Door Without Getting Brush Marks?
Use the roll-and-back-tip method: apply paint with a foam roller, then immediately drag a clean brush lightly through the wet paint to smooth out any stipple.
How Many Coats of Paint Does a Door Need?
At least two coats are recommended for full, even coverage. That count does not include the primer coat applied beforehand.
How Long Before You Can Close a Door After Painting?
Latex paint is dry to the touch in 30 to 60 minutes, but closing the door too soon risks sticking. Wait at least 24 hours before latching it shut.