Your hallway probably doesn’t get much attention. It’s just the space between rooms where you walk past quickly without a second glance.
But what if that overlooked hallway could become one of the most impressive parts of your home?
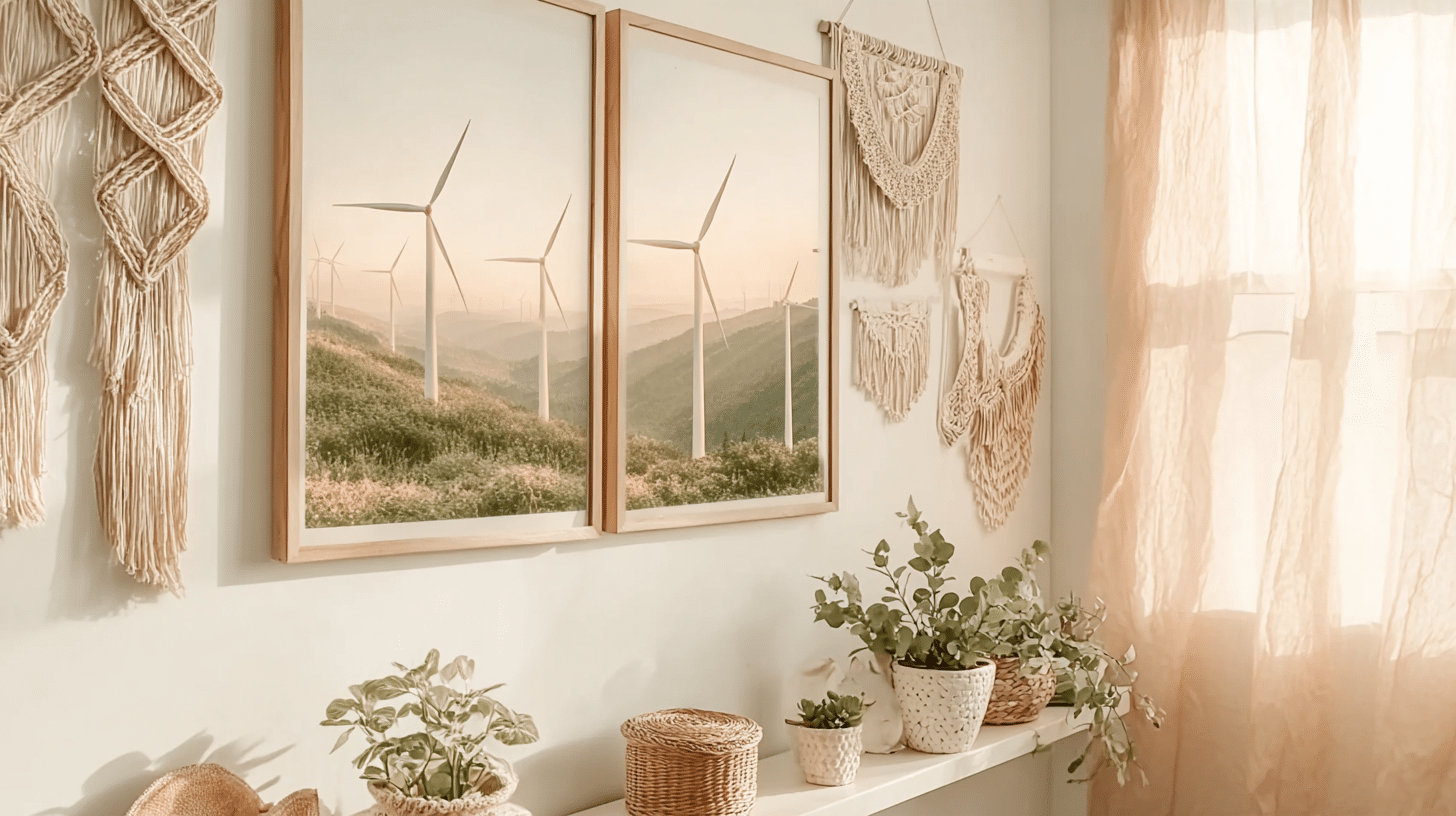
A board and batten hallway turns plain walls into something guests actually stop to admire. The vertical pattern adds depth and character while protecting your walls from daily wear and scuffs.
The best part is you don’t need professional skills to pull this off. This is a beginner-friendly weekend project that delivers results way above its difficulty level.
Let’s turn that boring pass-through into a space worth showing off.
What Is Board and Batten, and Why Does It Work in Hallways?
Board and batten is a wall treatment that combines horizontal rails with evenly spaced vertical strips called battens.
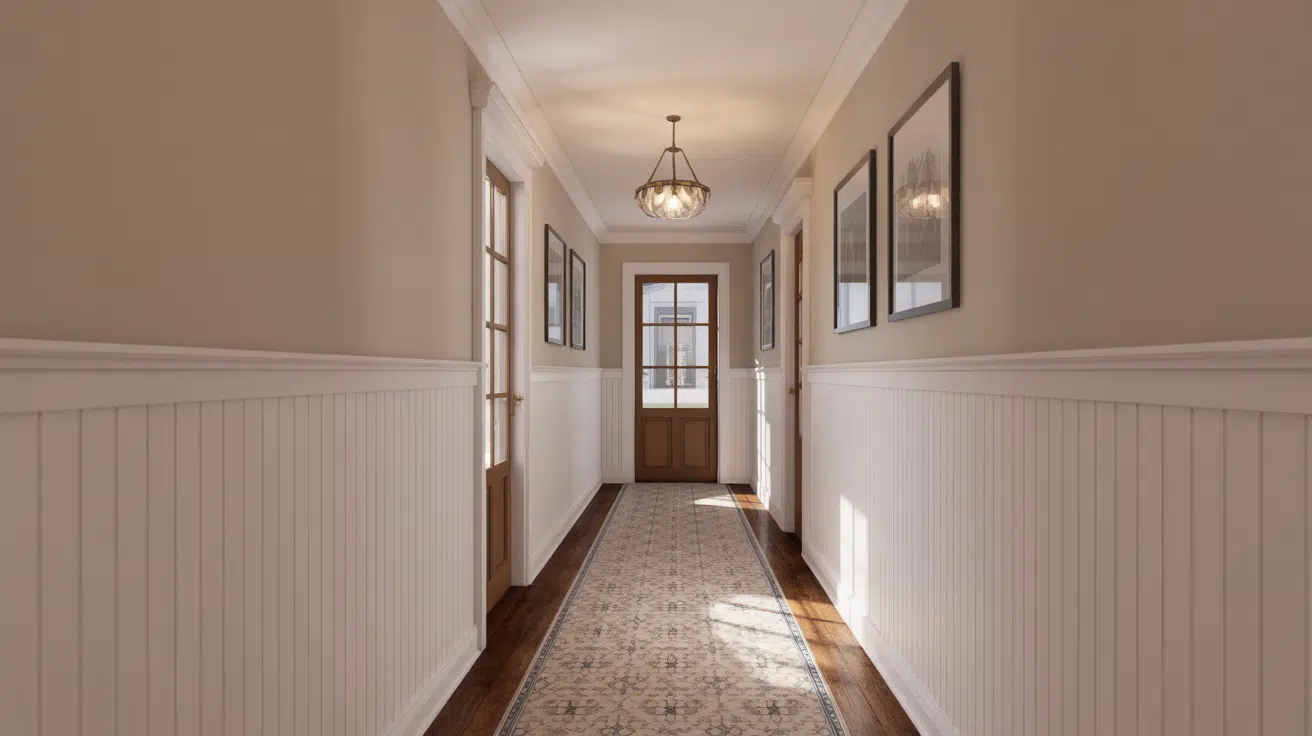
Most hallways use it like wainscoting, covering the lower portion of the wall rather than going all the way to the ceiling.
Hallways take more wear than most rooms in your home. Board and batten creates a protective barrier on the lower half of your walls, where most damage happens.
Long, narrow hallways often feel like empty tunnels. The vertical lines from battens draw your eye upward and break up the monotony of blank walls. The pattern gives the space structure and makes it feel more finished.
How to Install Board and Batten in A Hallway Step by Step
Installing board-and-batten is a manageable weekend project for most DIYers. You don’t need advanced carpentry skills, just basic tools and patience for measuring.
The process follows a logical order that builds from the foundation up.
Materials Required
Before starting your board-and-batten hallway project, it’s important to gather all the necessary materials. Having everything on hand will make the installation process smoother and help you avoid unnecessary delays.
| ITEM | PURPOSE |
|---|---|
| 1×4 boards for battens | Creates the vertical strips that form the pattern and protect the wall |
| 1×4 or 1×6 boards for top rail | Forms the main horizontal rail that caps the design |
| Decorative trim (optional) | Adds extra detail for a more finished look |
| Wood glue | Strengthens the bond and helps prevent shifting over time |
| 1.75-inch finishing nails | Secures rails and battens to the wall/studs |
| Small brad nails for trim | Attaches thin trim with minimal splitting and small holes |
| Wood filler | Fills nail holes and minor imperfections before painting |
| Paintable caulk | Seals seams and edges for a smooth, clean finish |
| Primer (BIN or similar) | Seals wood and improves paint adhesion and coverage |
| Baby wipes | Cleans up glue/caulk smears quickly before they dry |
| Paint | Provides the final color and finish |
| Clamps | Holds pieces steady while gluing and nailing |
| Painter’s tape | Protects surrounding areas for clean paint lines |
| Safety glasses and a mask | Protects eyes and lungs from dust and debris |
Once you have these materials ready, you’ll be well prepared to move into the measuring and installation steps. Double-check quantities based on your hallway length and layout before purchasing.
Step 1: Measure And Plan Your Design
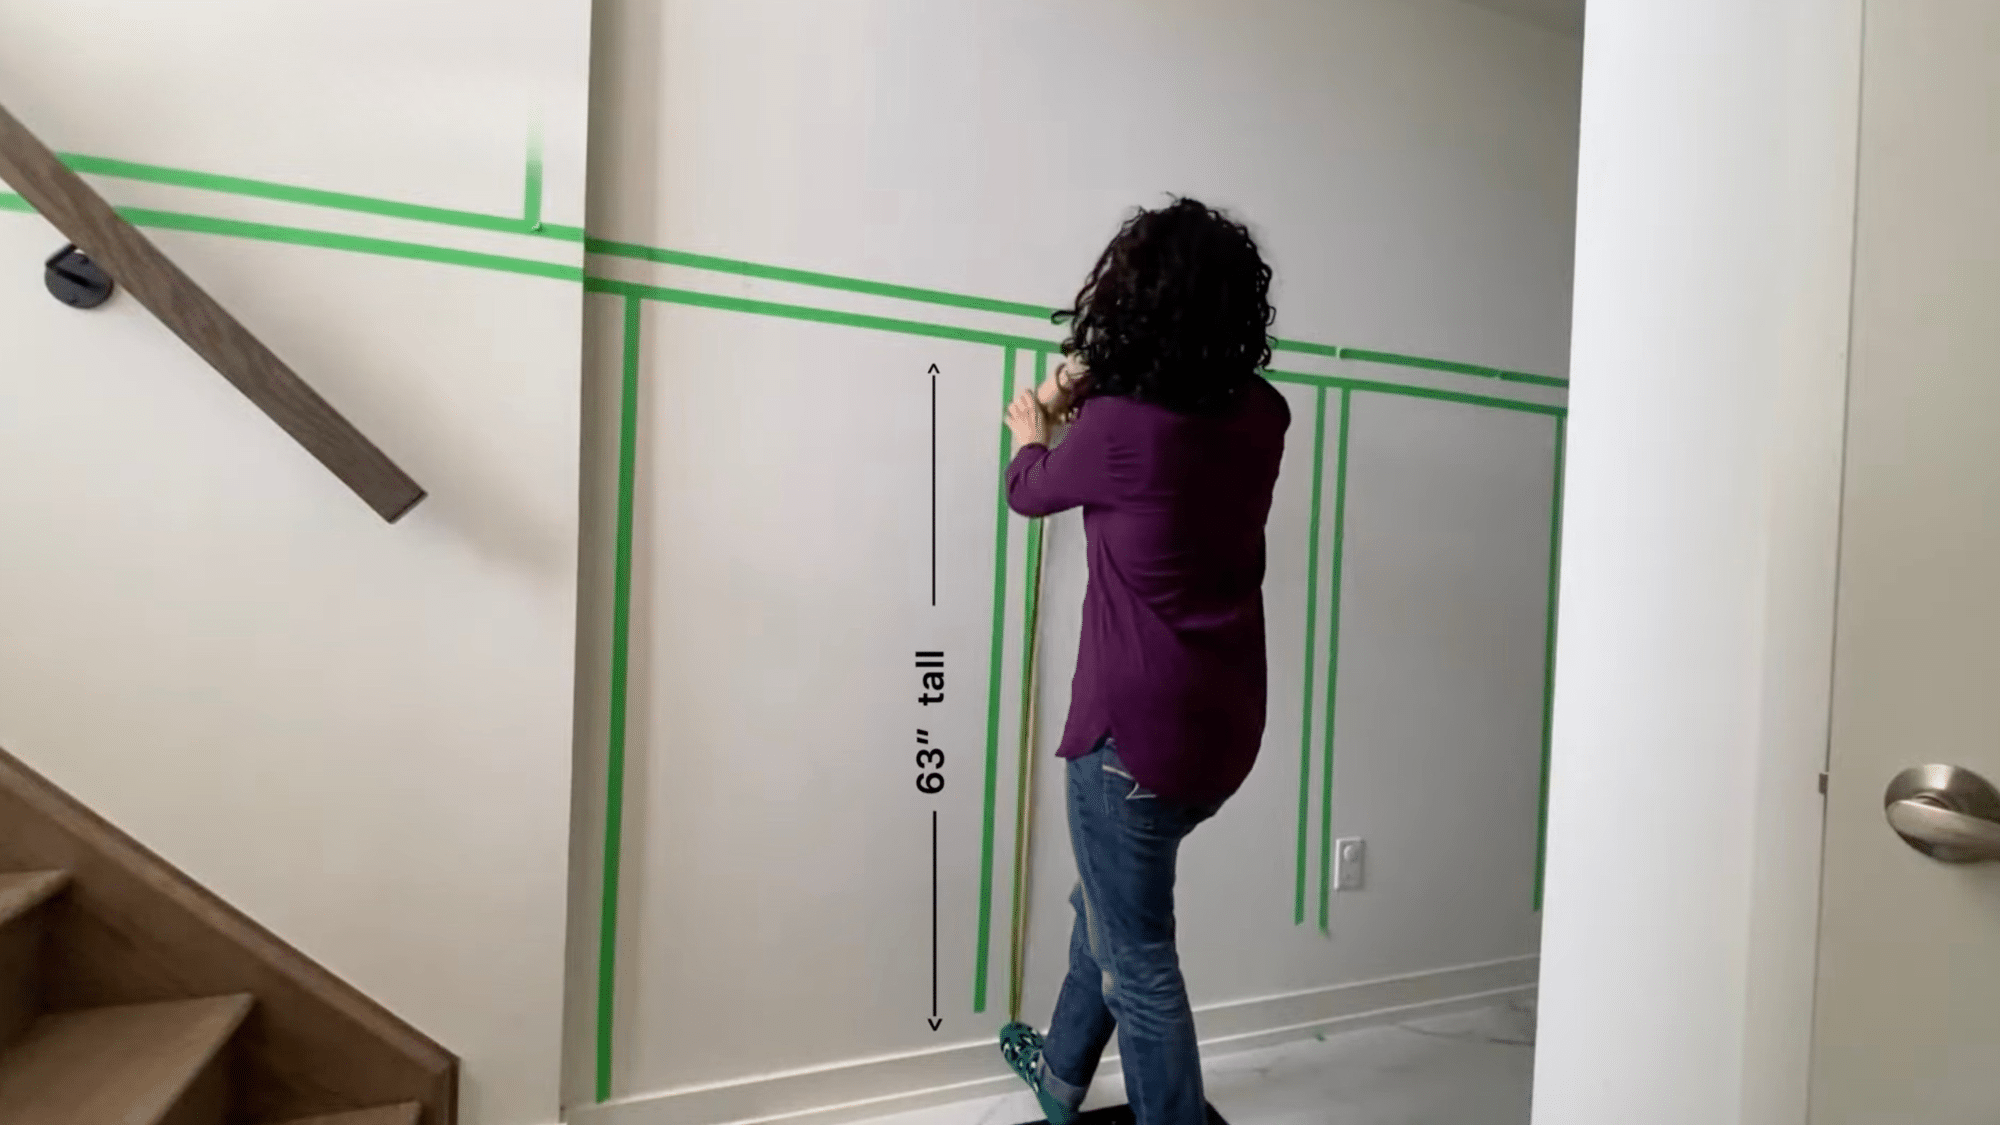
Measure wall height and mark board-and-batten at about two-thirds up with painter’s tape.
Measure wall sections and true board widths, then use a spacing calculator and tape out the whole layout to confirm it looks right before cutting.
Step 2: Cut All Your Boards Using A Stop Block
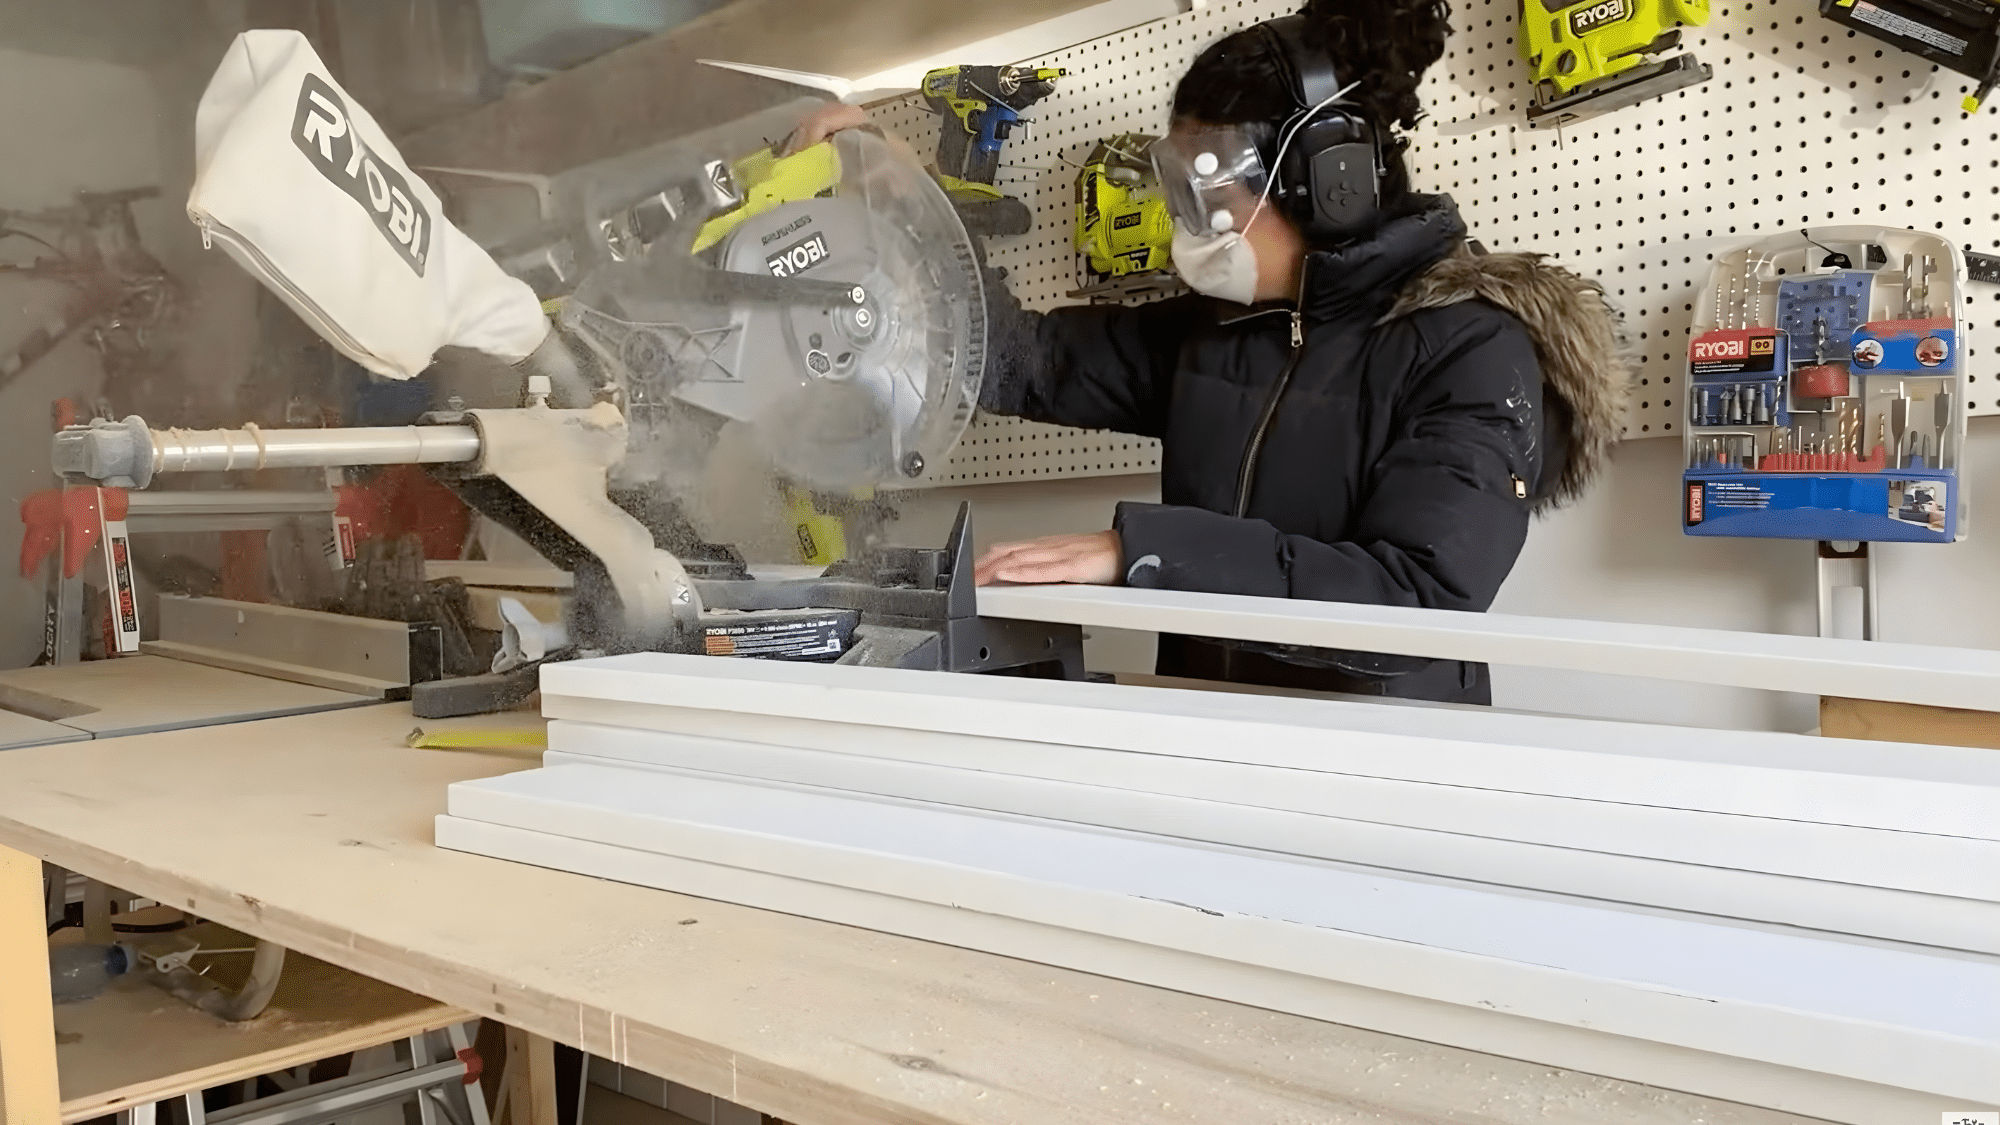
Use a stop block on your miter saw to cut all battens to the same length, then dry-fit them to confirm height.
If they extend past the baseboard, bevel the bottoms around 40°, then measure and cut the top rail for each wall section.
Step 3: Install The Top Rail And Vertical Battens
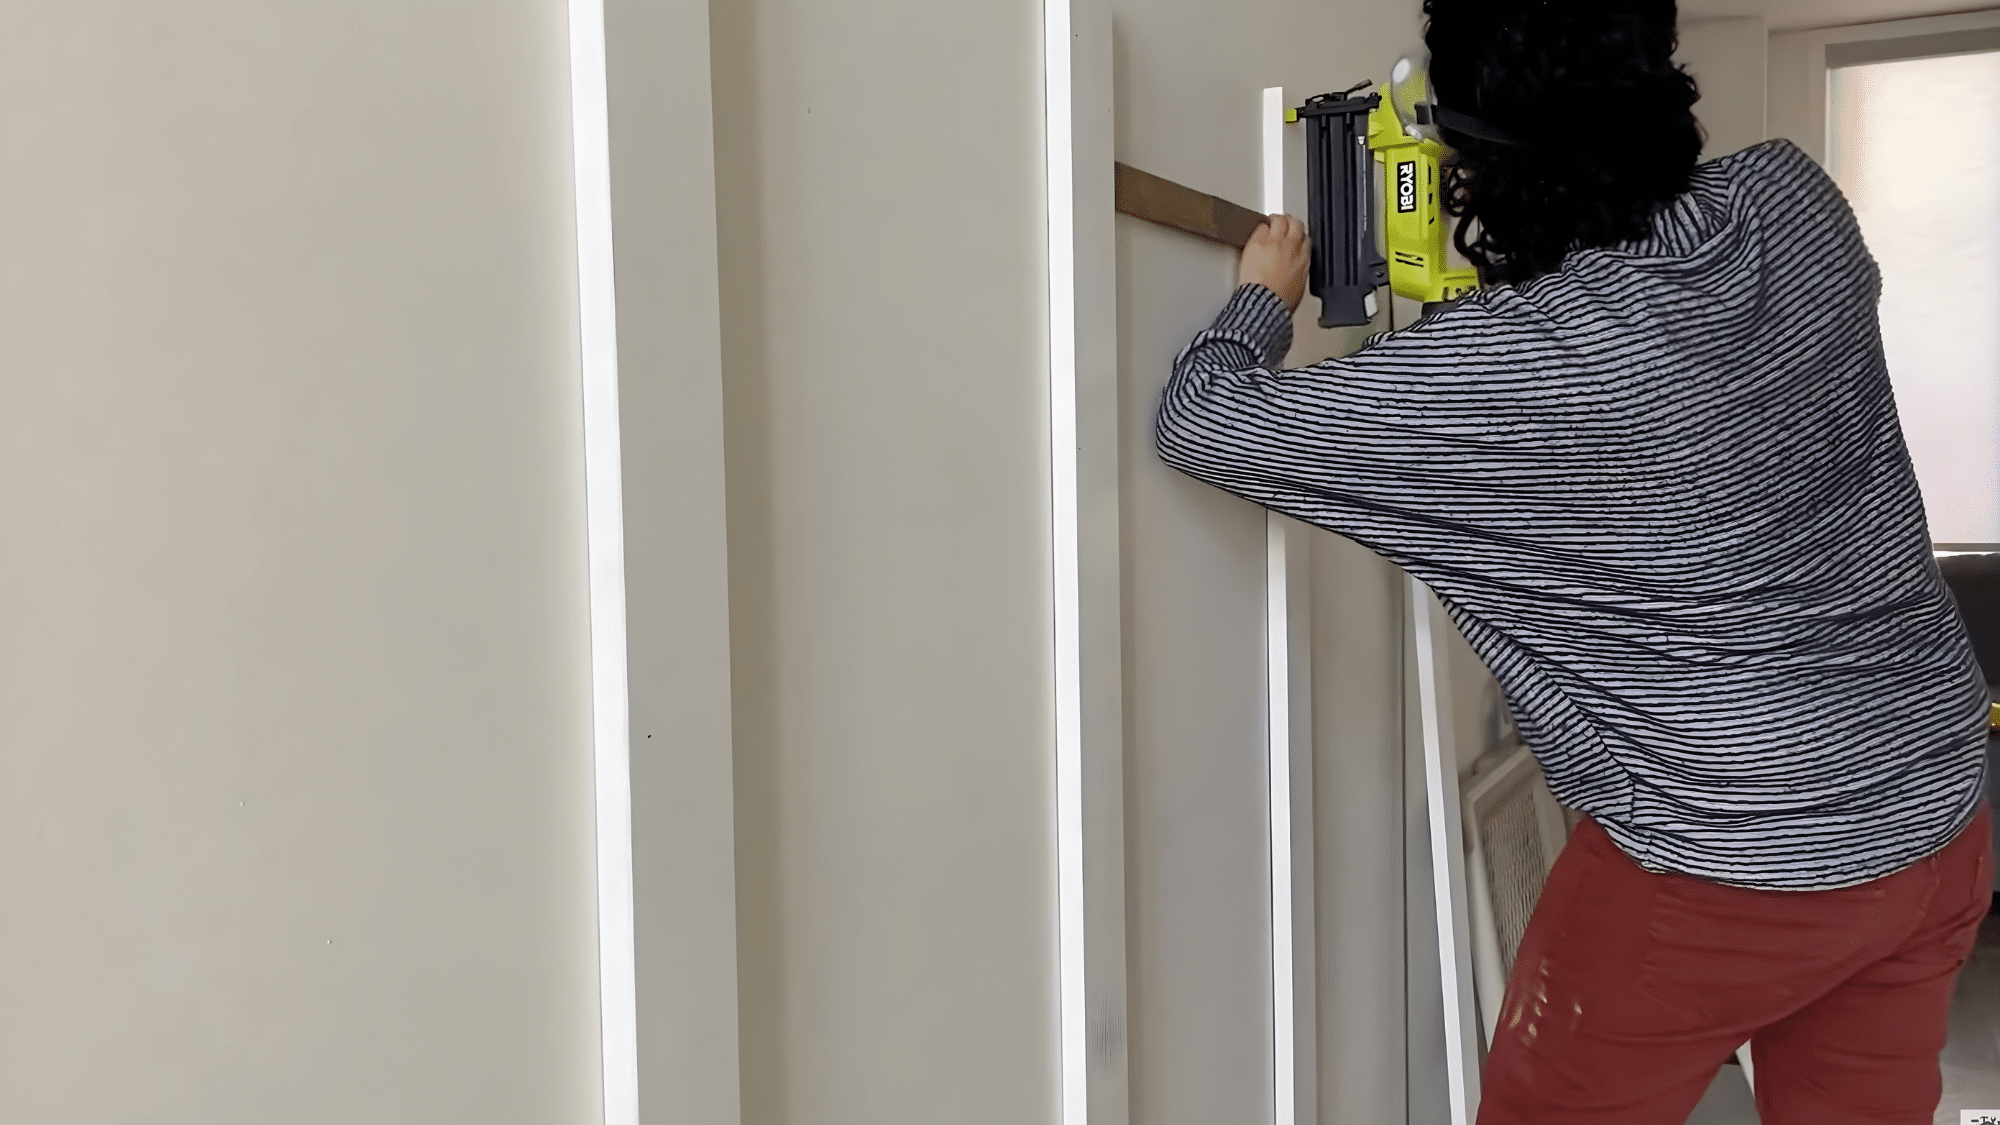
Install the top rail along your marked line, keeping it level, and secure it with 1.75-inch brads.
Use a spacer to evenly space each batten, and a level to keep them straight. Then, crisscross nails at the top and bottom for a firmer hold.
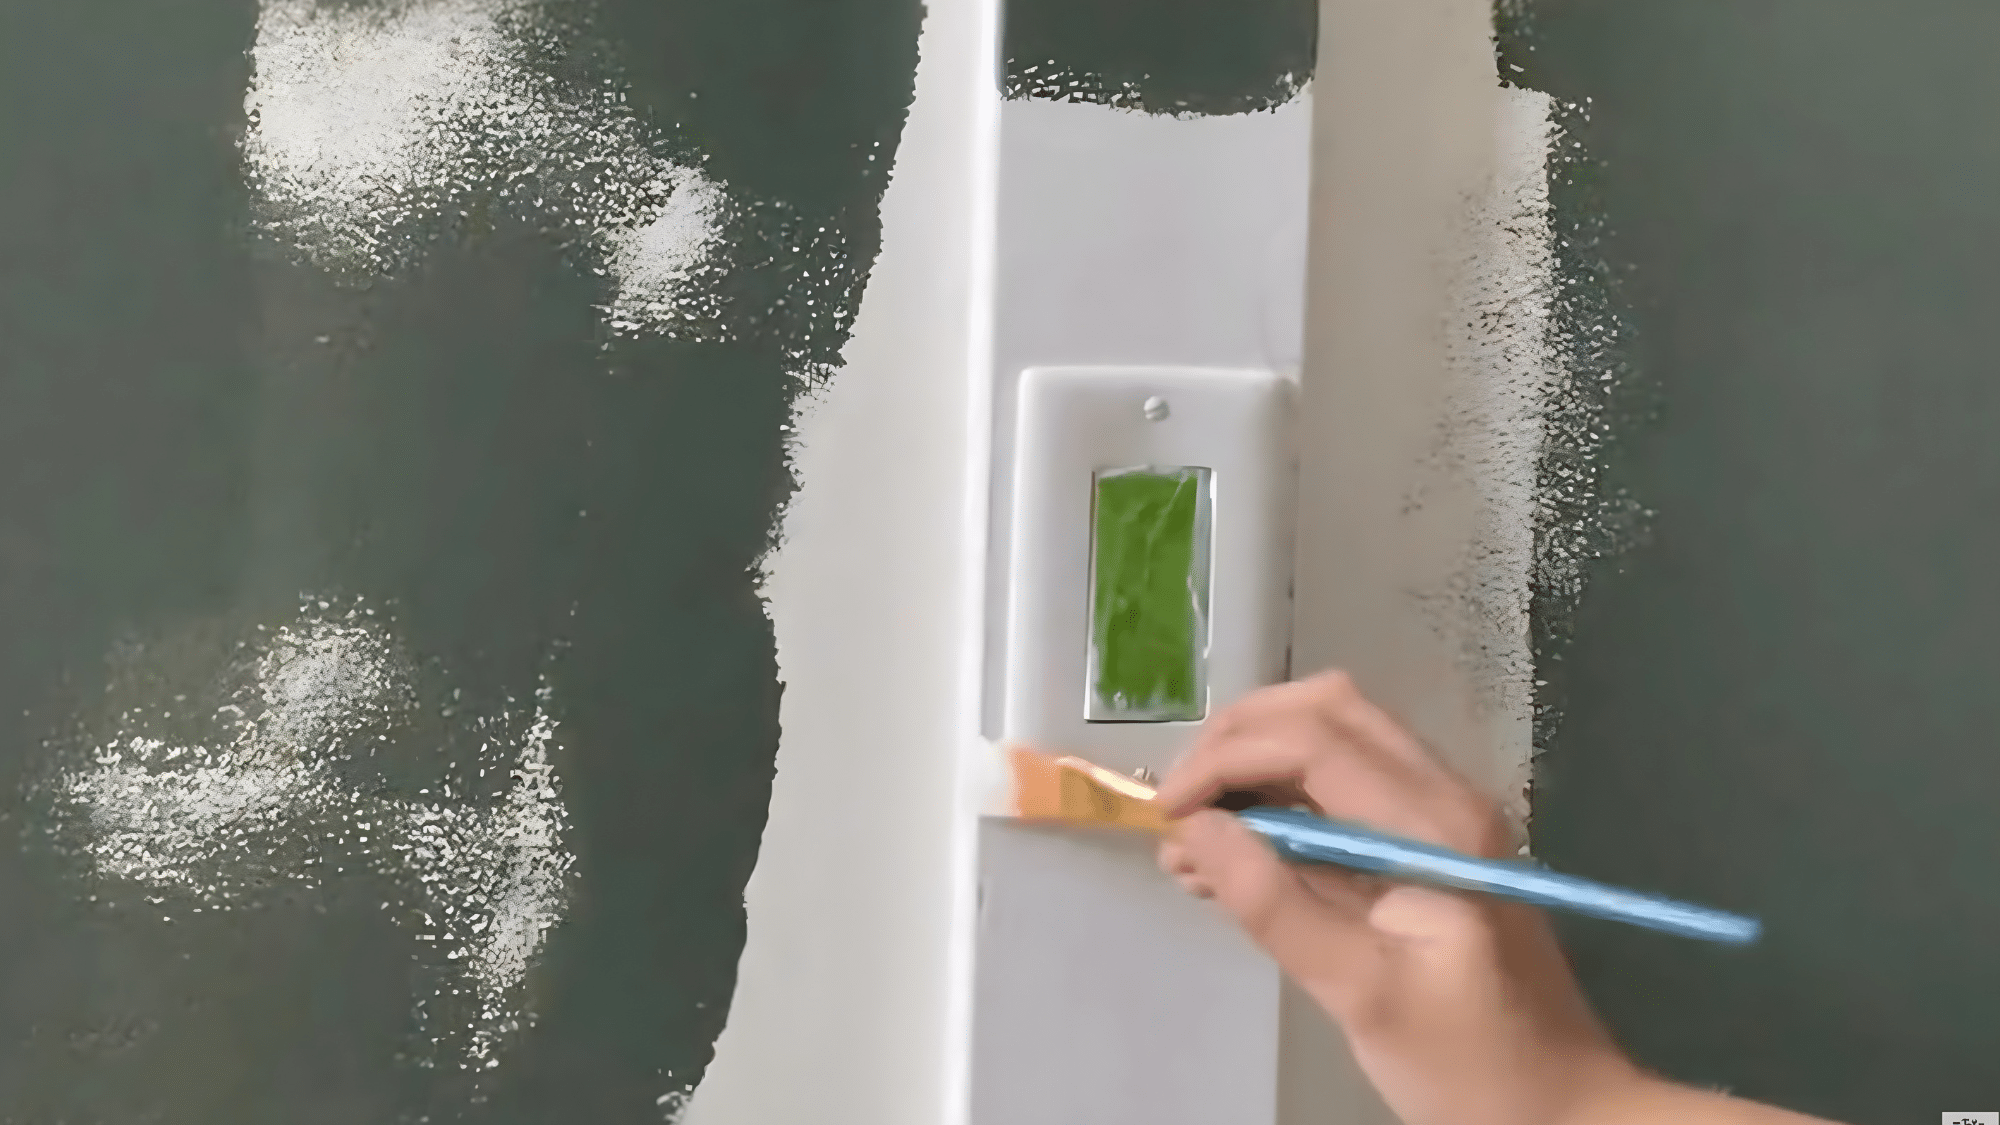
Step 4: Work Around Outlets, Vents, And Doors
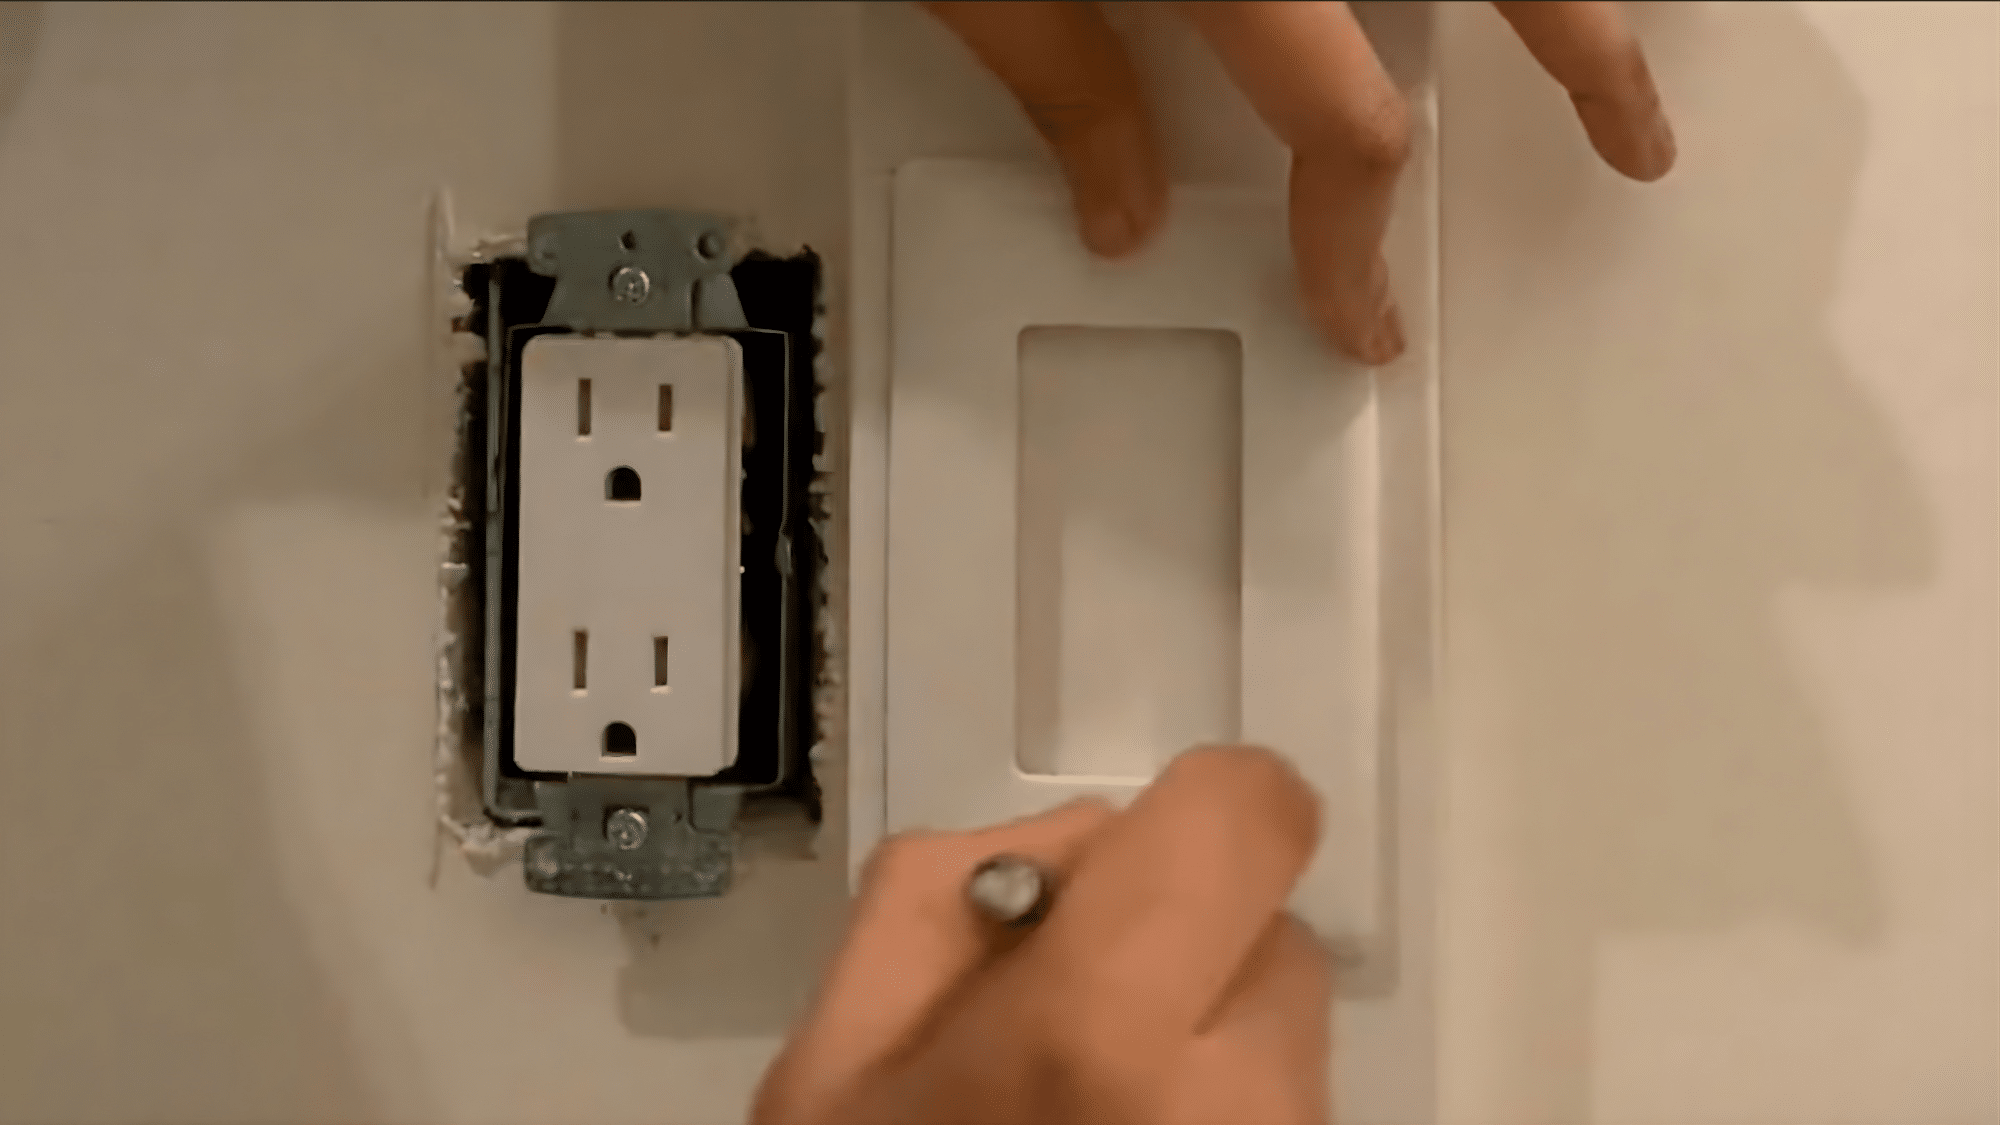
Turn off power, add outlet extenders, and jigsaw-cut battens to fit around outlets, then reinstall covers flush; for vents, shift spacing or notch a short beveled piece.
Measure near doors separately, stop the rail about 1/2 inch from casing for caulk, and paint vents/covers to match.
Step 5: Add Decorative Trim Cap (Optional)
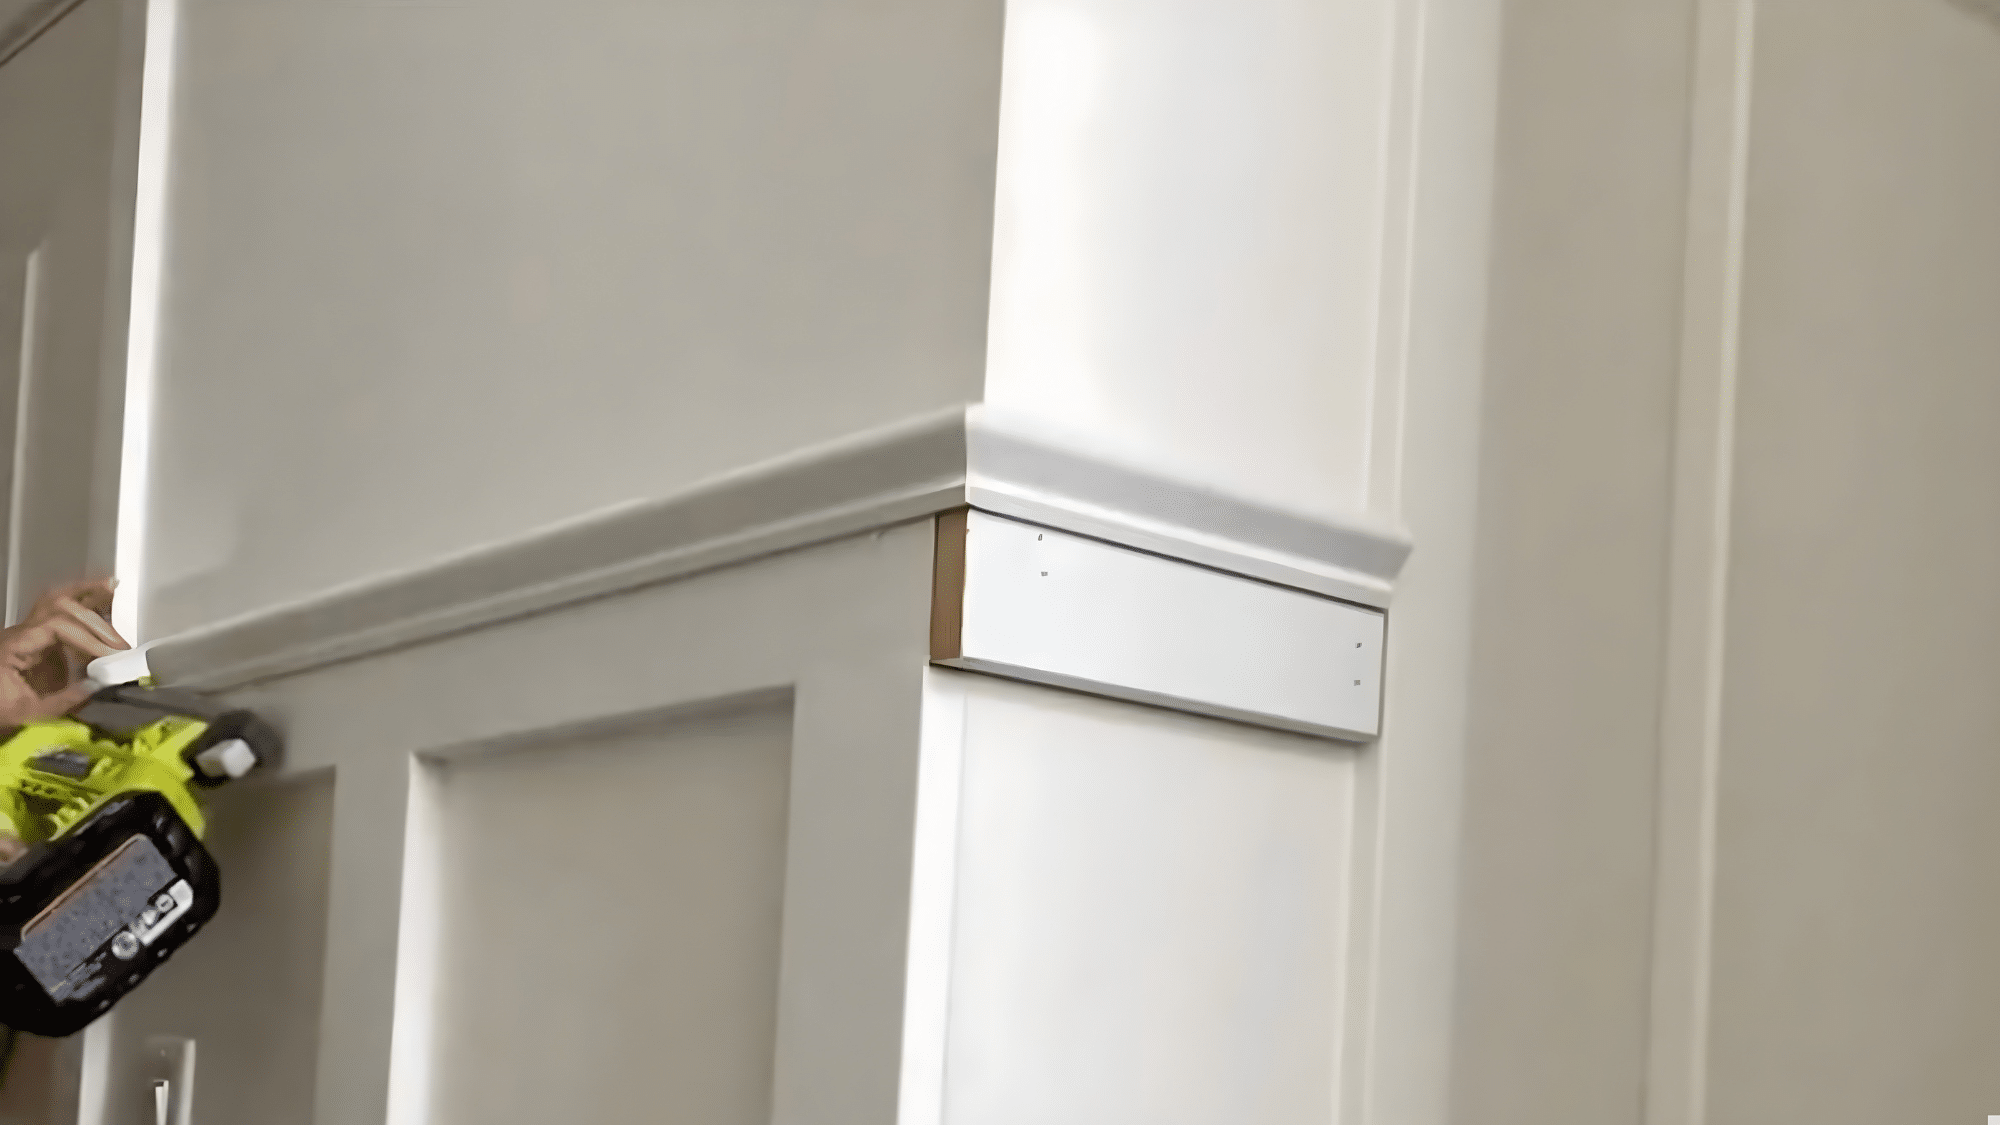
Add an optional decorative trim cap on top of the horizontal rail to give the wall a more finished look.
Measure each section. Attach the trim with a pin nailer and small brads, working slowly around corners for clean seams.
Step 6: Caulk, Fill, Sand, And Prime
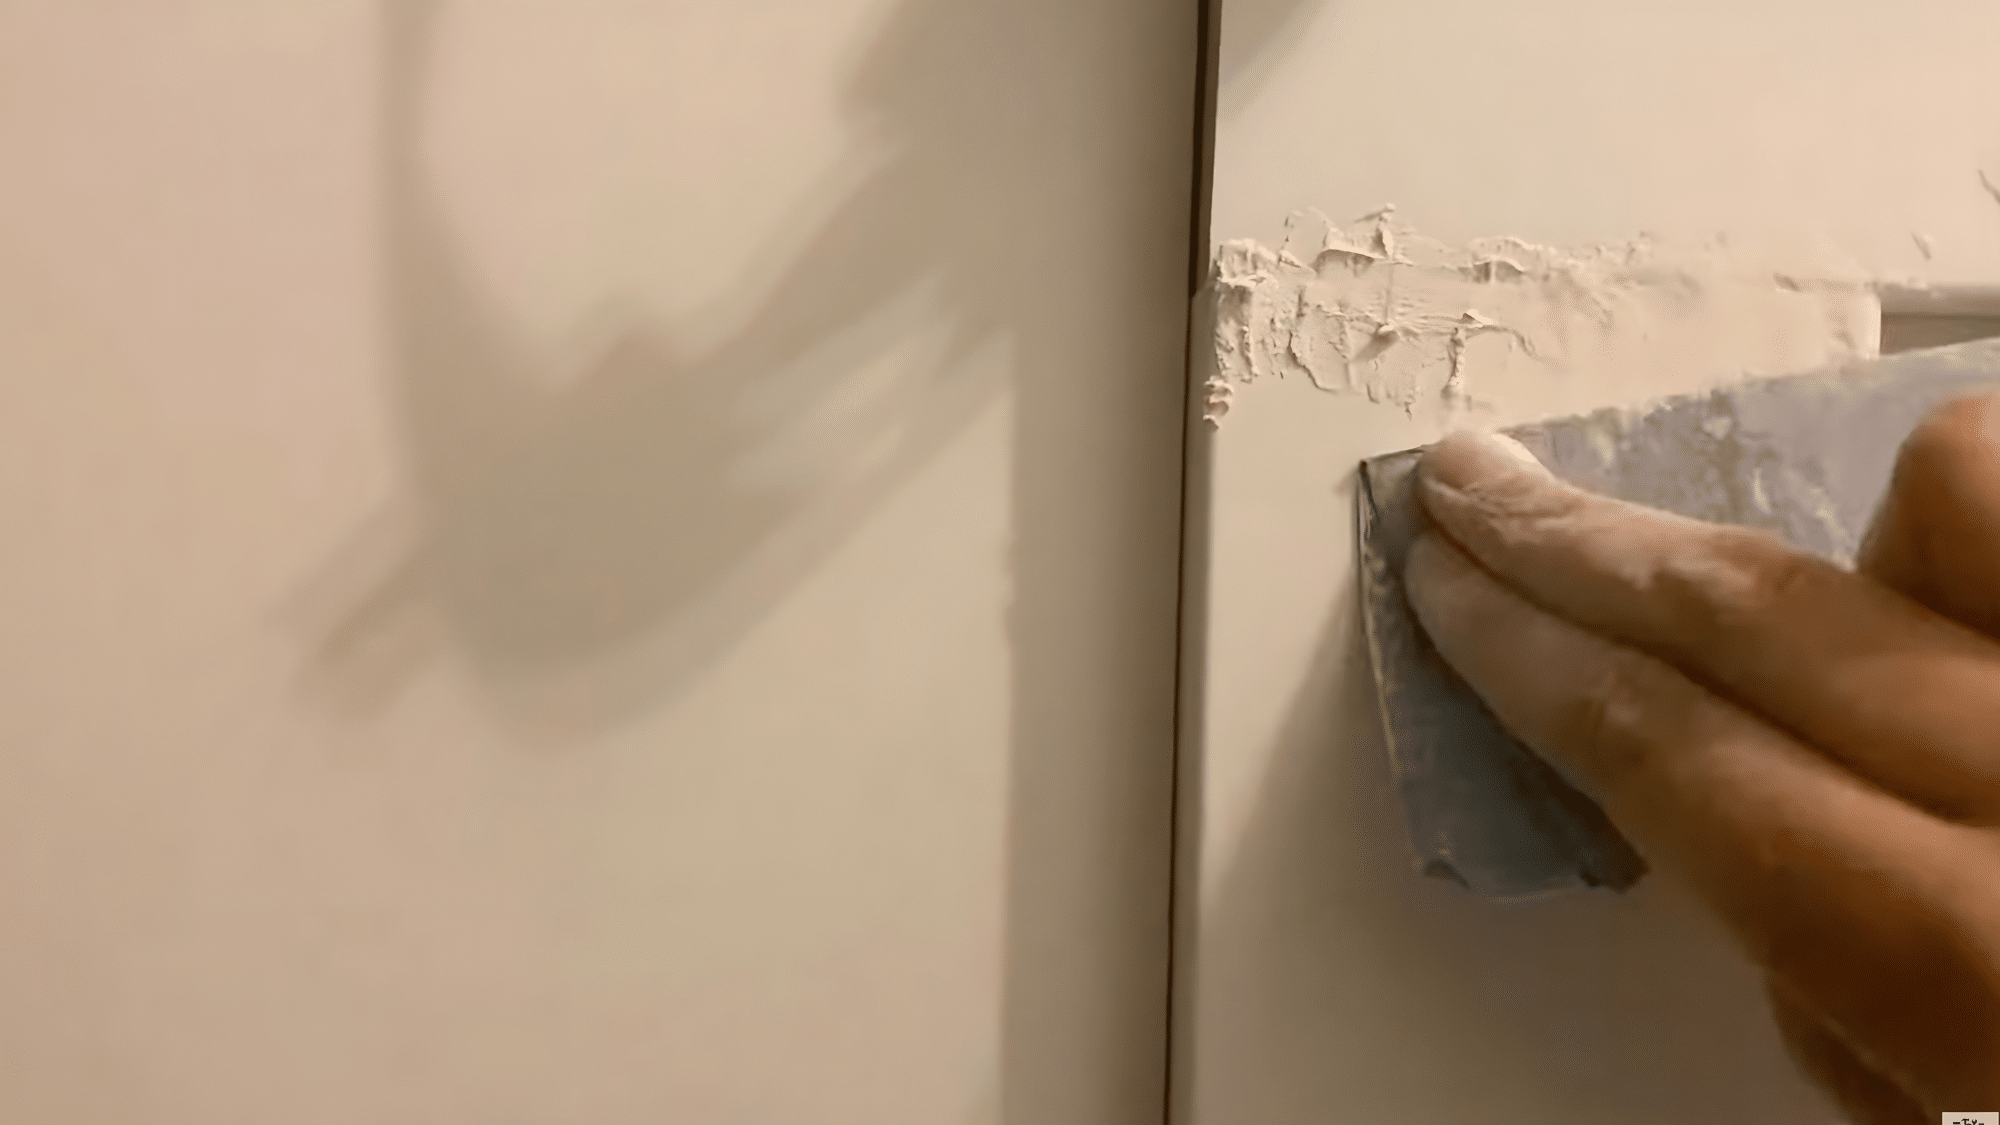
Caulk all seams where the trim meets the wall, smooth it with a damp baby wipe, and add extra layers for bigger gaps once each dries.
Fill joints and nail holes with wood filler, let it dry thoroughly, then sand smooth with 220-grit. Wear a mask and safety glasses while sanding to protect from dust.
Step 7: Paint The Final Color
Pick a paint color that suits your hallway lighting and overall home style, keeping in mind darker shades work best with some natural light.
Apply two full coats, letting the first dry completely and touching up as needed for durable, even coverage. Paint outlet and vent covers to match so everything blends, then enjoy the finished look.
Video Tutorial
Special thanks to Hana’s DIY homefor providing valuable insights in their video, which I referenced while creating these DIY steps.
Board And Batten Hallway Design Ideas
Board and batten gives you a blank canvas to create different moods in your hallway. The style you choose sets the tone for how the space feels.
These design ideas work in most hallways regardless of size.
1. Two-Tone Paint Ideas
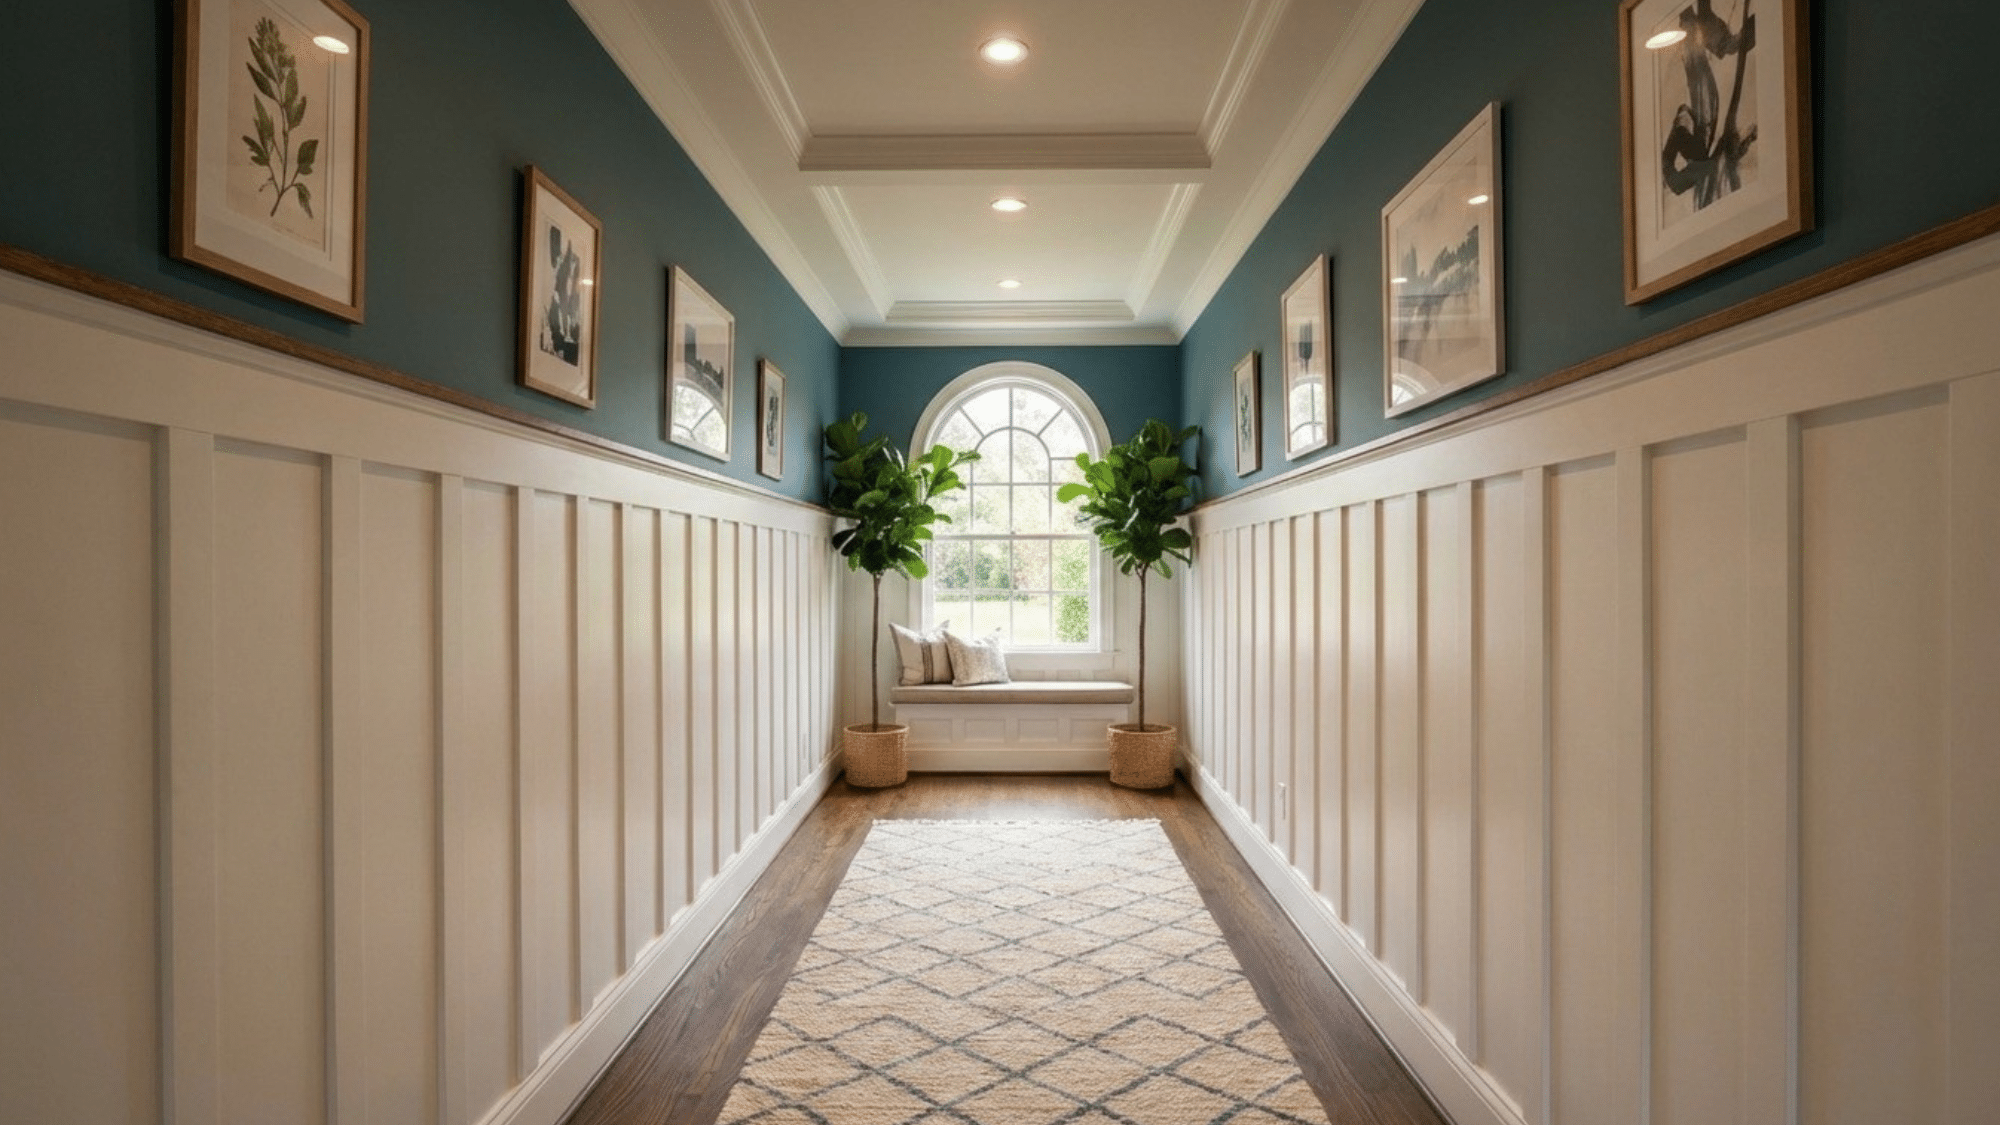
Two-tone board-and-batten uses a lighter color above and a darker color below to add contrast, make walls feel taller, and keep hallways brighter.
The darker bottom hides scuffs, and painting rails and battens to match the lower color makes the pattern stand out.
2. Dark And Moody Board And Batten
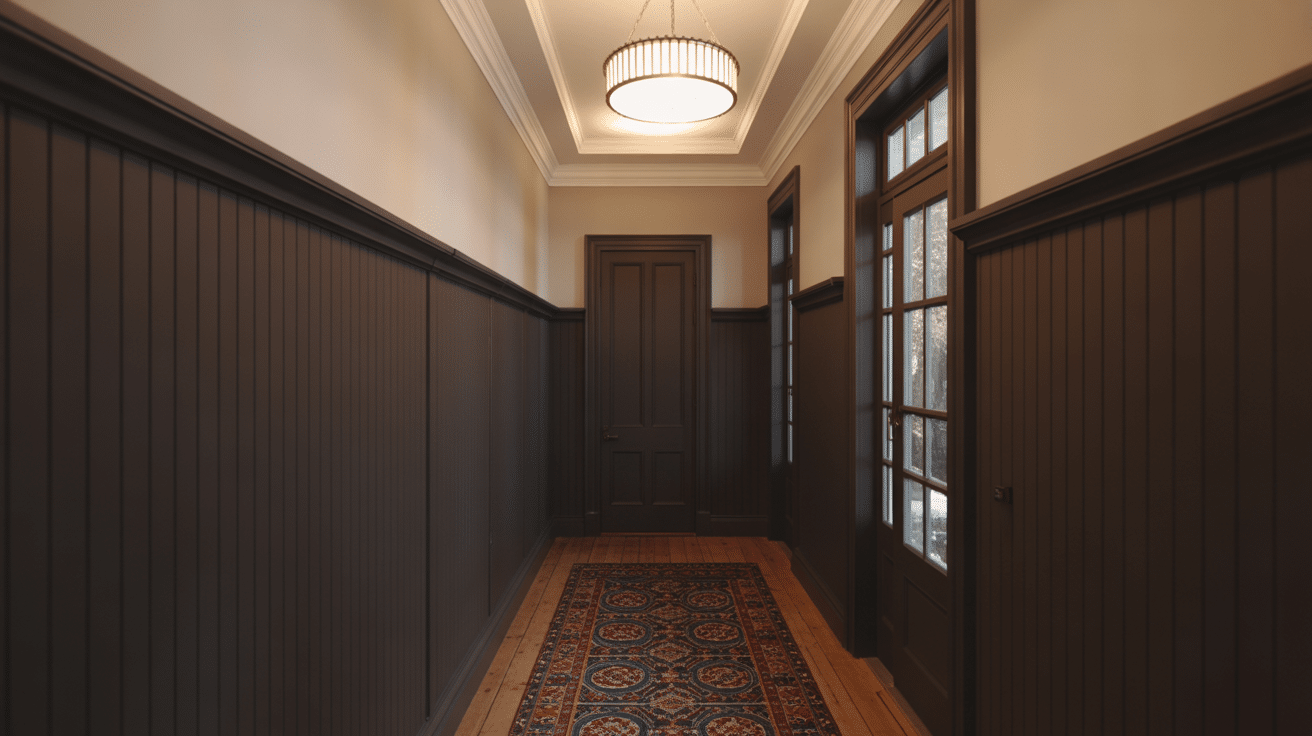
Dark board-and-batten uses deep colors (charcoal, navy, hunter green) on the lower section for a bold, dramatic look, often balanced with a lighter neutral above to keep the hallway from feeling too dark.
Finish it with intense lighting and warm brass or gold fixtures to keep the space bright and the color rich.
3. Minimal Modern Board And Batten

Modern board and batten uses thin 1×2 battens, clean lines, and no decorative trim, often with a simple flat top rail.
Paint it one color (like white or light gray) and space battens closer, around 10–12 inches apart, for a tighter, more contemporary look.
4. Classic Board And Batten
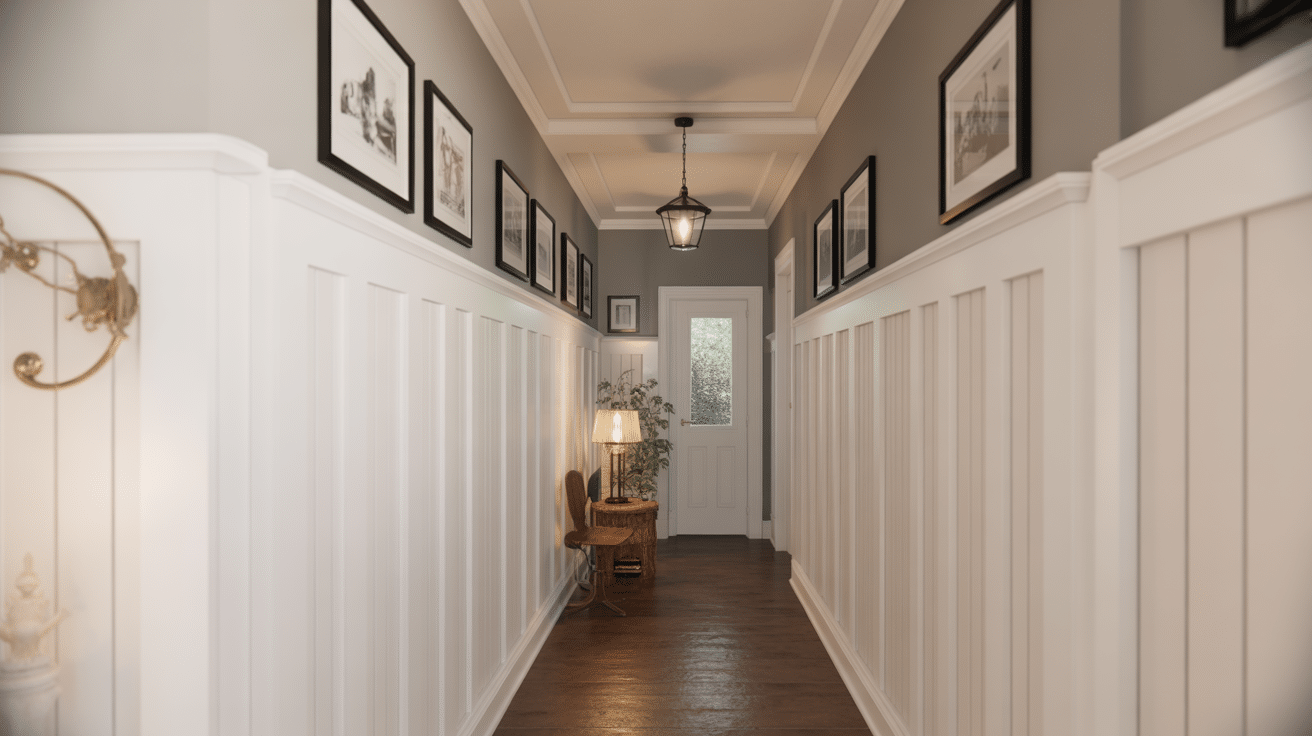
Traditional board and batten uses wider 1×4 or 1×6 battens spaced about 16–20 inches apart, plus a decorative cap or molding for a more custom finish.
Warm neutrals like cream, beige, or soft gray suit this classic style and pair well with vintage decor and traditional lighting.
5. Full-Wall Grid Look For A Statement Hallway
Full-wall board and batten runs from baseboard to ceiling, using one or two additional horizontal rails to create a full grid of rectangles for maximum impact.
It works best in wider hallways (narrower than 4 feet can feel busy) and can be painted in a single color or styled with alternating shades/patterns.
Common Mistakes To Avoid In A Board And Batten Hallway
Board-and-batten looks simple, but small mistakes can create big visual problems. Most issues arise during the planning stage rather than during installation, making them easy to avoid with a little extra prep.
- Uneven Spacing at the Ends: Plan spacing first (or start from the center) so both end gaps match. Small spacing tweaks are invisible, but a skinny end gap looks sloppy.
- Skipping Caulk and Sanding: Caulk seams and sand dried filler smooth before painting. These steps hide gaps and nail holes so the finish looks built-in, not stuck on.
- Bad Height Choices for Short Ceilings or Narrow Halls: Adjust height to your space (short ceilings go lower, tall ceilings go higher). In tight hallways, avoid full-wall grids and tape-test the height first.
- Paint Issues on MDF without Primer: MDF edges absorb paint, leaving them fuzzy. Prime all sides (with oil or shellac, like BIN), let it dry, then paint for a smooth, even finish.
Keeping these mistakes in mind sets you up for a smoother installation and better final result. When spacing is consistent, surfaces are prepped correctly, and proportions suit the space, the hallway feels thoughtfully designed.
Final Thoughts
A bare hallway is just a pass-through space, but a board and batten hallway turns it into an intentional part of your home that guests notice and remember.
The beauty of this project is its flexibility. Whether your style leans traditional or modern, the technique adapts to fit your vision. This upgrade delivers lasting value.
Unlike trendy decor that feels dated within a few years, board-and-batten has staying power.
You now have everything you need to execute this project with confidence. Have you spotted the perfect wall in your home for this treatment?
Bookmark these ideas and come back when you’re ready to start building.