Limewash is one of those finishes that rewards you for paying attention. Not to complicated techniques, but to the material itself. It’s mineral-based, which means it behaves nothing like the latex or acrylic you might be used to.
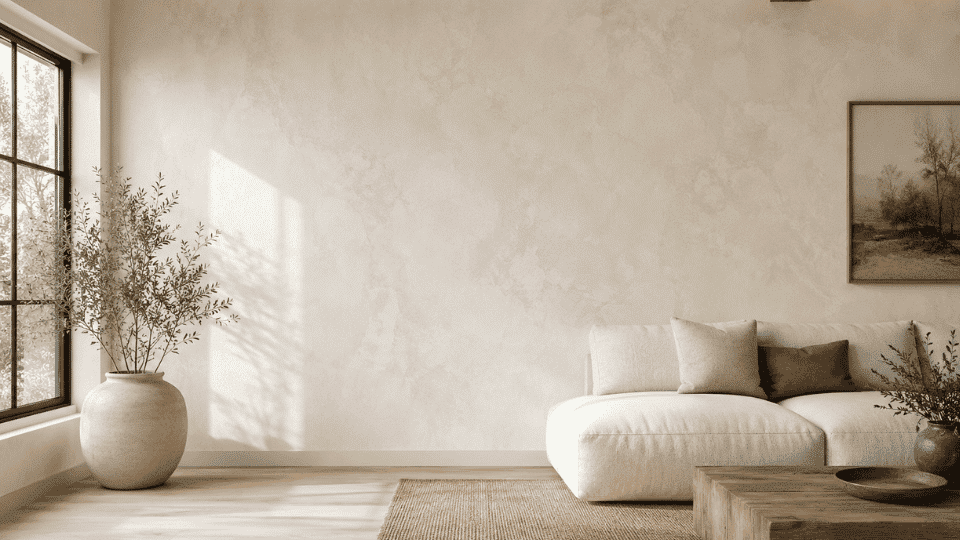
Instead of coating the wall, it soaks in and builds texture through thin layers. That’s what makes the finish look the way it does.
Knowing how to limewash walls well is really just knowing how to work with that. I’ll take you through the prep, the mix, and the application in order. Get those right, and the finish handles itself.
What Is Limewash Paint?
Limewash paint is made from burned limestone, mixed with water, and processed into a workable paste. Pigment can be added for color, but the base material stays the same.
What sets it apart from standard paint is that it contains no synthetic binders. There’s no surface film on the wall. Instead, it bonds directly to the substrate and becomes part of it over time.
That’s also why it doesn’t peel the way latex does. I’ve worked with both pre-mixed and traditional formulations, and both deliver great results when the surface is ready.
Benefits of Limewashing Walls
Limewash is worth considering beyond the aesthetic. It offers practical advantages that regular paint simply doesn’t, and those matter just as much as the way it looks.
- Breathable finish: It allows moisture to pass through the wall rather than trapping it beneath. That’s a real advantage in older homes where walls need to breathe.
- Naturally antimicrobial: Lime’s high pH makes it resistant to mold and bacterial growth on the surface.
- Low VOC: Made from natural materials, it releases far fewer chemicals into the air than most conventional paints.
What I appreciate most is that none of these are marketing claims. They’re built into the chemistry of the material itself, and you see them play out in how the finish looks and holds up over time.
Tools and Materials You Need
|
How to Prepare the Surface Before Limewashing
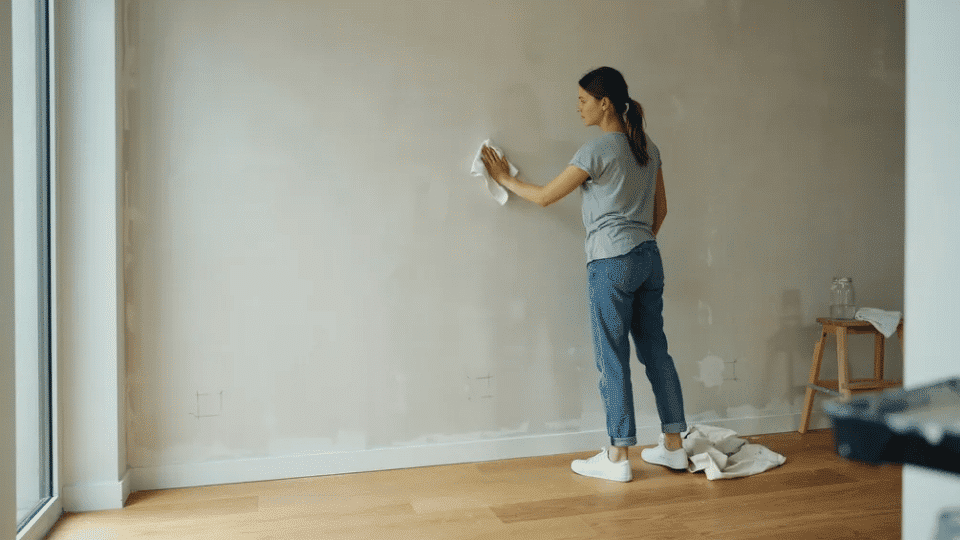
Surface prep isn’t something I rush, and for good reason. Limewash bonds directly to the substrate, so what’s on the wall before you start shapes the entire finish.
- Remove loose paint: Scrape away any flaking areas first, or strip old paint layers completely if peeling covers a large portion of the wall, since limewash won’t bond over an unstable base.
- Fill holes and cracks: Apply a suitable filler, let it dry completely, then sand it smooth.
- Sand glossy surfaces: High-sheen finishes don’t give limewash enough to grip. A quick pass with fine-grit sandpaper fixes that.
- Prime if the wall was painted before: Limewash needs a porous surface to bond to. If the wall carries an old coat of latex or acrylic paint, apply a mineral primer first. Skip this step only on bare drywall, plaster, or unsealed masonry.
- Clean the wall: Dust and grease both affect adhesion. A damp cloth wipe-down handles most of it on interior walls.
- Test porosity: Splash a little water on the surface. Quick absorption means it’s ready. If it beads up, keep prepping.
Most adhesion problems I’ve come across trace back to something missed at this stage. Getting it right saves a lot of rework later.
How to Limewash Walls Step by Step
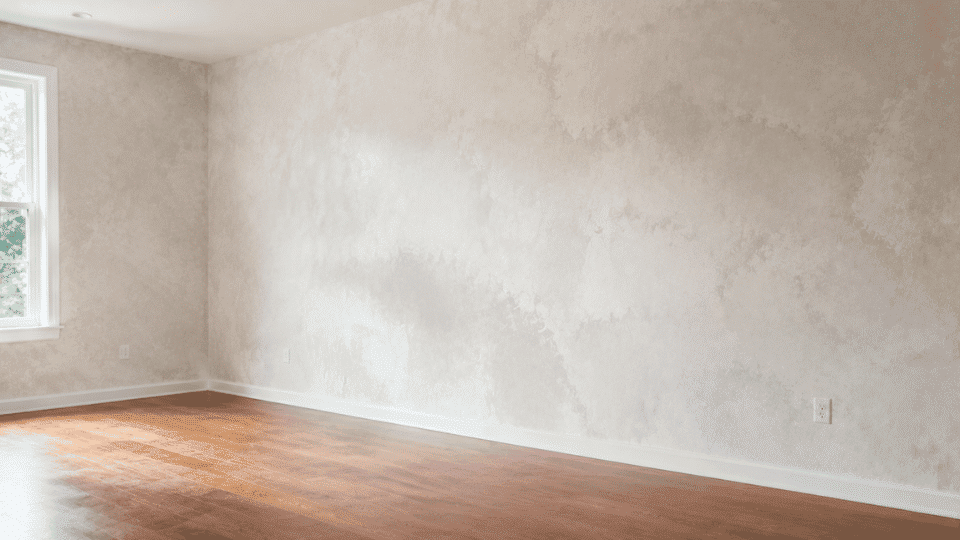
The process itself isn’t complicated. Getting the steps in the right order matters more than any individual technique, and each one builds directly on the last.
Step 1: Confirm the Wall Is Ready
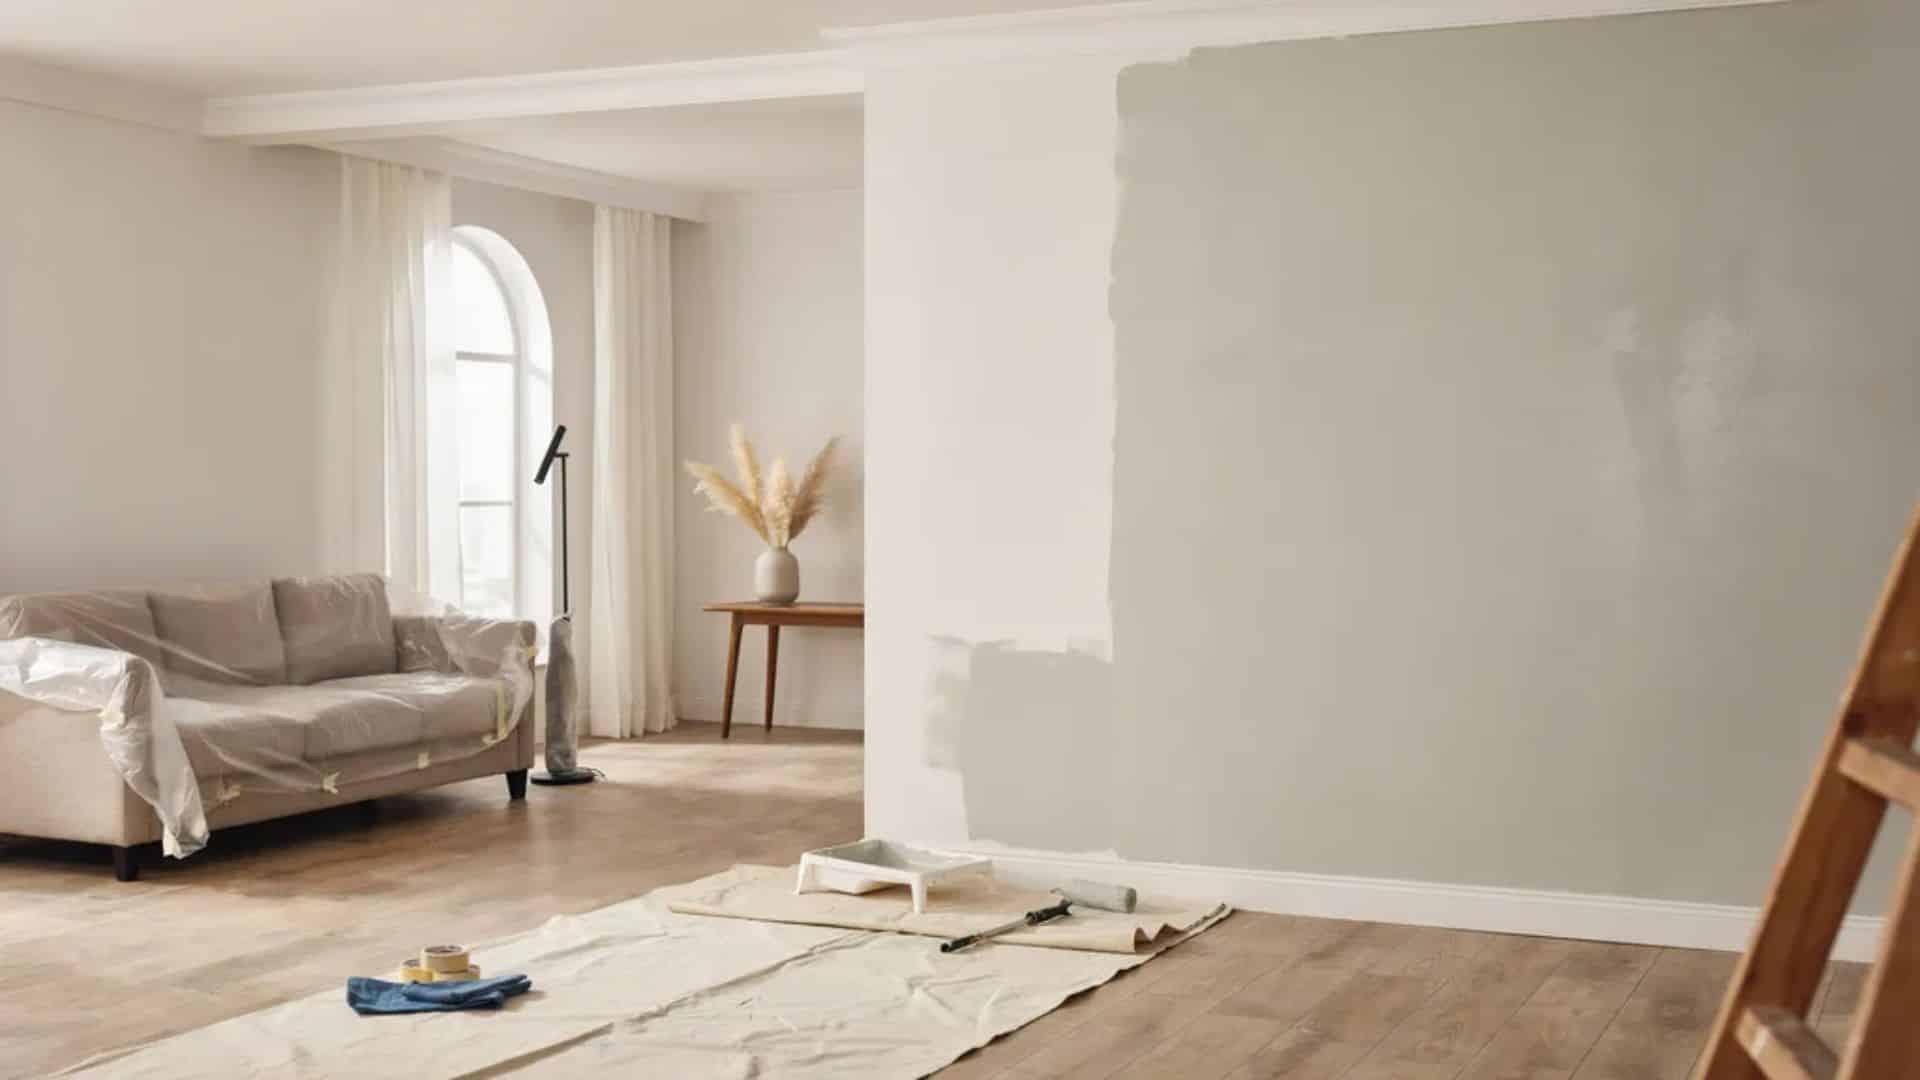
Once the wall is cleaned, patched, sanded, and tested for porosity using the steps above, you’re ready to start. Don’t skip ahead if any of those steps feel unfinished. A wall that isn’t fully prepped will show every shortcut once the limewash goes on.
Step 2: Mix the Limewash
If you’re working with powder form, mix it with water until you reach a consistency similar to whole milk. Pre-mixed versions still need thorough stirring before use.
The ratio matters. Too thick and it won’t absorb properly. Too thin and you lose the texture. I usually test the mix on a piece of cardboard before committing to the wall.
Step 3: Dampen the Wall
Lightly mist the wall with water using a spray bottle before applying limewash. This slows down absorption and gives you more time to work the product.
Without it, the finish can dry too fast and leave hard lines that are difficult to blend. The wall should feel damp, not wet. A light, even mist is all it takes.
Step 4: Apply the First Layer
Load the masonry brush and work in cross-hatching strokes rather than straight lines. This is what creates the natural, uneven texture. Don’t aim for full coverage on the first pass.
It’s supposed to look patchy at this stage. Keep the pressure consistent and move quickly so edges don’t dry before you blend them. Let this layer dry fully before adding the next.
Step 5: Build Additional Layers and Finish
Two to three layers are usually enough, but it depends on how much depth you want. Each layer shifts the finish slightly, so step back often and assess. Once you’re satisfied, let the wall cure fully.
In my experience, rushing the cure is the most common mistake I see with limewash. Let it cure fully, which usually takes several days, before treating the wall as finished. For high-traffic areas, a breathable mineral sealer helps protect the surface without affecting the texture or appearance.
The whole process is more forgiving than most people expect. Working one layer at a time gives you real control over the finish, and by the second coat, you’ll have a clear sense of where it’s going.
For more detailed instructions, refer to the YouTube video by MrsAshleyFrench below:
| How Many Coats of Limewash Do You Need Two coats work for most walls, but three give more depth and variation. I base that call on surface porosity and how bold the color needs to be, and lighter shades often need the extra layer. This is based on pre-mixed limewash, which covers most of the projects I work on. Traditional lime putty behaves differently and can take four or more coats to fully shift color, so I always check the product label before deciding the timeline. Let each coat dry before judging the result. Wet limewash always looks darker than the finished color. |
Limewashing Techniques for Best Results
Technique has more influence over the final look than most people realize. If regular paint feels too flat for your space, it helps to know that limewash isn’t the only route to texture, since several textured finish options can achieve a similar handmade look.
| Technique | How It Works | Best For |
|---|---|---|
| Cross-hatching | Brush in overlapping X-pattern strokes | Natural, uneven texture on most wall types |
| Dry brushing | Use a lightly loaded brush with minimal product | Subtle, faded finish over existing layers |
| Wet-on-wet | Apply the second layer before the first fully dries | Softer, more blended depth |
| Stippling | Dab the brush tip rather than dragging it | Heavier texture on rough or uneven surfaces |
| Layered color | Alternate two tones across coats | Dimensional, aged appearance |
I use cross-hatching most often because it gives the most control and blends naturally as you work. A quick test on a sample board before committing to the wall tells you more than any description can.
How Limewash Changes Over Time
Limewash doesn’t stay static once it’s on the wall, and that’s actually part of the appeal. In the first few weeks, the finish is still curing, and the color can shift noticeably as moisture leaves the surface.
Over months, light exposure gradually softens the tone, deepening the aged quality rather than making it look faded or worn.
In humid conditions, a subtle patina develops naturally on the surface. That gradual change isn’t a flaw in the material. It’s built into how limewash works.
Where You Can Use Limewash Paint
Limewash works on more surfaces than most people realize. Porosity is the deciding factor, and that rules out some options while opening up others worth considering.
- Interior walls: The most common application. Works best on drywall, plaster, and brick that hasn’t been sealed.
- Exterior walls: Lime is naturally weather-resistant and has been used on exterior masonry for centuries.
- Brick and stone: Porous surfaces like these absorb limewash readily and develop real character over time.
- Concrete: Works well as long as the surface is clean and free of any sealant coating.
- Fireplace surrounds: A solid choice because limewash handles heat well and adds texture to a focal point.
It doesn’t work on non-porous surfaces like glass, metal, or sealed tile. Beyond that, the application range is broader than that of most finishes I’ve worked with over the years.
Limewash vs Regular Paint
These two products solve different problems, and choosing between them comes down to what you want from the wall in the long term. I’ve worked with both across a range of projects, and the differences go well beyond their appearance.
| Factor | Limewash | Regular Paint |
|---|---|---|
| Composition | Mineral-based, natural limestone | Synthetic binders, latex or acrylic base |
| Finish | Textured, matte, naturally uneven | Smooth, uniform, consistent sheen |
| Application | Requires layering and technique | Straightforward roller application |
| Surface Requirement | Porous substrate needed | Works on most primed surfaces |
| Cost | Higher upfront investment | More budget-friendly initially |
| Maintenance | Minimal once fully cured | Repainting is needed every few years |
Neither option is universally better. Regular paint is easier to apply and costs less upfront. But for walls where longevity and finish quality matter, limewash holds up longer and rarely needs a full redo once it’s properly cured.
Maintenance and Care After Limewashing
Limewash is low-maintenance once cured, but how you clean and care for it still matters. The right habits protect the finish without disrupting the texture.
- Everyday cleaning: Wipe marks with a soft, damp cloth. Avoid abrasive sponges or chemical cleaners as they break down the mineral surface.
- No hard scrubbing: Aggressive scrubbing lifts the finish, especially in the first few months before it fully hardens.
- Touch-ups: Dampen the area first, then apply a thin layer of matching limewash, feathering the edges outward so it blends naturally.
- Moisture issues: Address damp patches before they sit too long. Standing moisture affects adhesion over time.
- Recoating: If the finish dulls unevenly after a few years, one fresh layer restores it without stripping anything back.
A limewashed wall needs less ongoing attention than most painted surfaces. Keep it simple, and it holds up well.
The Bottom Line
Limewash is one of those finishes that looks complex but becomes straightforward once you understand the material.
The prep, the mix, the layering. Each part connects to the next, and when they come together correctly, the result holds up for years without much effort.
Knowing how to limewash walls properly isn’t about being an expert from the start. It’s about working through each step with the right information. If you’re ready to start your project, pick up your materials and apply the first layer. The wall will do the rest.
Frequently Asked Questions
Can You Limewash Over Painted Walls?
Yes, but only if the surface is prepared first. Painted walls need sanding or a mineral primer so limewash can properly absorb.
Is Limewash Waterproof?
No, limewash is not waterproof. It is breathable, allowing moisture to pass through.
Can Beginners Apply Limewash?
Yes, beginners can apply limewash. It is simple to use, but technique matters for even texture and the best results.
Does Limewash Need a Topcoat or Sealer?
Not always. A sealer is optional and mainly useful in high-traffic areas where the wall is frequently touched or wiped. Untouched walls are usually left unsealed to keep the natural chalky texture.