Your garage door starts going down and then stops. Or it reverses before it even gets halfway. Maybe the sensor light is blinking, and you have no idea why. These are frustrating problems, especially when you use your garage every single day.
Most of the time, the fix is simpler than people expect. A dirty lens, a shifted bracket, or a loose wire is often all that is standing between a working door and one that refuses to cooperate.
Knowing how to fix garage door sensor issues yourself puts you back in control without waiting on a technician or spending more than you need to.
How Garage Door Sensors Work
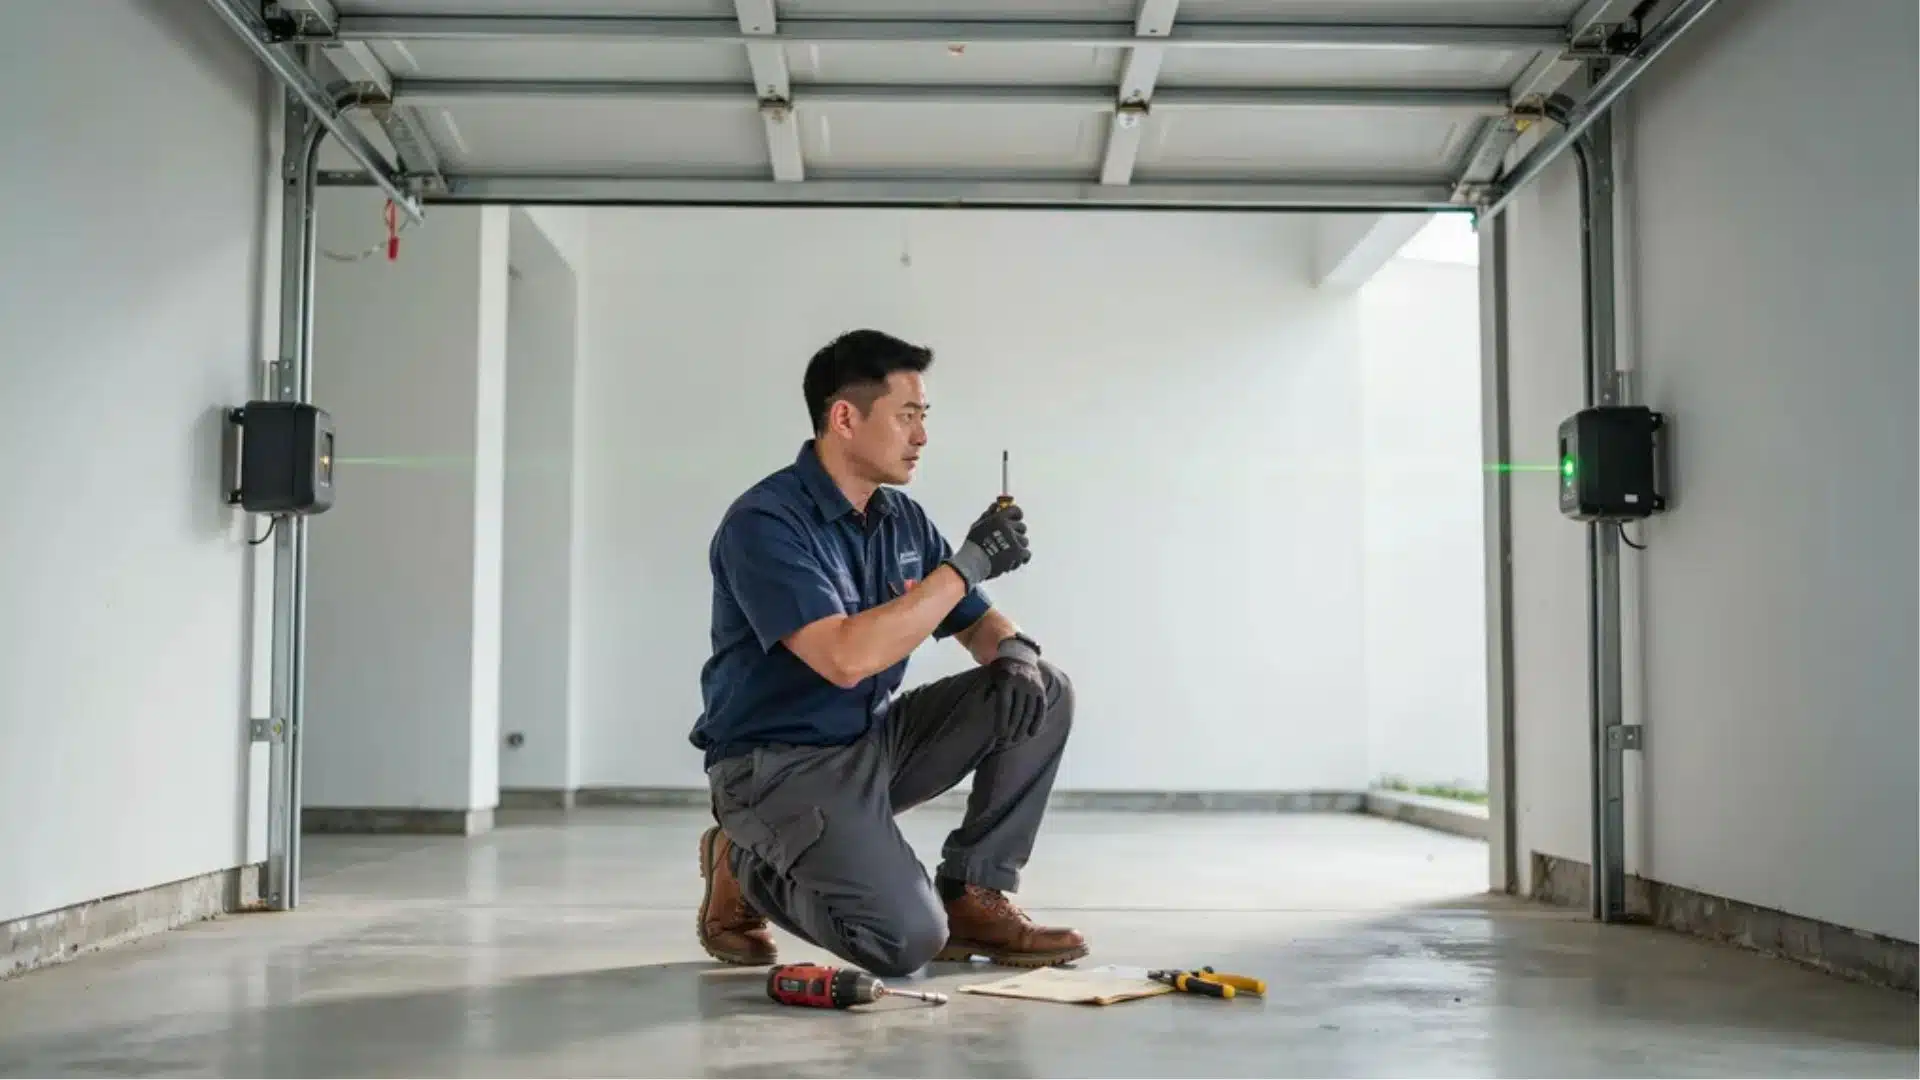
Garage door sensors are small devices mounted near the bottom of your garage door tracks, one on each side. They send an invisible infrared beam across the opening.
If anything breaks that beam while the door is closing, the door stops or reverses automatically. This safety feature prevents the door from closing on a person, pet, or object, making it one of the most important parts of the system.
Since 1993, federal law has required all automatic residential garage door openers to include these sensors. They are simple in design but critical for safe daily use.
Without functioning sensors, even a basic open-and-close cycle can pose a real safety risk to your family and belongings.
Early Warning Signs Your Garage Door Sensor Is Not Working Properly
Knowing the signs early helps you fix garage door sensor problems before they get worse or put anyone at risk.
- Garage door refuses to close completely: The door starts down and stops halfway, often because the sensor beam is blocked or misaligned.
- Sensor lights flicker or blink without reason: Blinking indicator lights usually point to a wiring issue or a sensor that is losing its connection.
- Door reverses after starting to close: If the door goes down and immediately comes back up, the sensors are likely detecting a false obstruction.
- No response from the wall button or remote: When nothing happens after pressing the button, a faulty sensor may be cutting off the signal entirely.
- Door only closes when holding the wall button down: If the automatic close stops working but the door moves when you press and hold the wall switch, the sensors are likely not communicating with the opener.
If you notice any of these signs, it is time to inspect and fix your garage door sensor right away.
Safety Steps to Follow Before You Fix Garage Door Sensor Issues Before you start any inspection or repair, disconnect the power to your garage door opener from the outlet or breaker. Make sure the door is fully open or fully closed, so it stays in a stable position while you work. Check the wiring around the sensors before touching anything. Sensors mounted on older garage frames with worn exterior home materials may also need a structural check before any repair work begins. If any wires look frayed or damaged, avoid contact until you know it is safe to handle. |
Tools and Materials You Need Before You Start
Having everything ready before you begin saves time and helps you fix garage door sensor issues without stopping midway through the repair.
| Tool / Material | Purpose |
|---|---|
| Soft dry cloth or cotton swab | Cleaning sensor lenses without scratching |
| Screwdriver (flathead and Phillips) | Loosening and tightening bracket screws |
| Wire stripper | Repairing or replacing damaged sensor wiring |
| Electrical tape | Securing and insulating loose wire connections |
| Replacement sensor pair | Swapping out a sensor that cannot be repaired |
| Ladder or step stool | Reaching sensors mounted on taller garage frames |
| Smartphone or camera | Photographing wiring before disconnecting anything |
Gather all of these before disconnecting power so the repair moves smoothly from the first step to the last.
Common Garage Door Sensor Problems and How to Fix Them
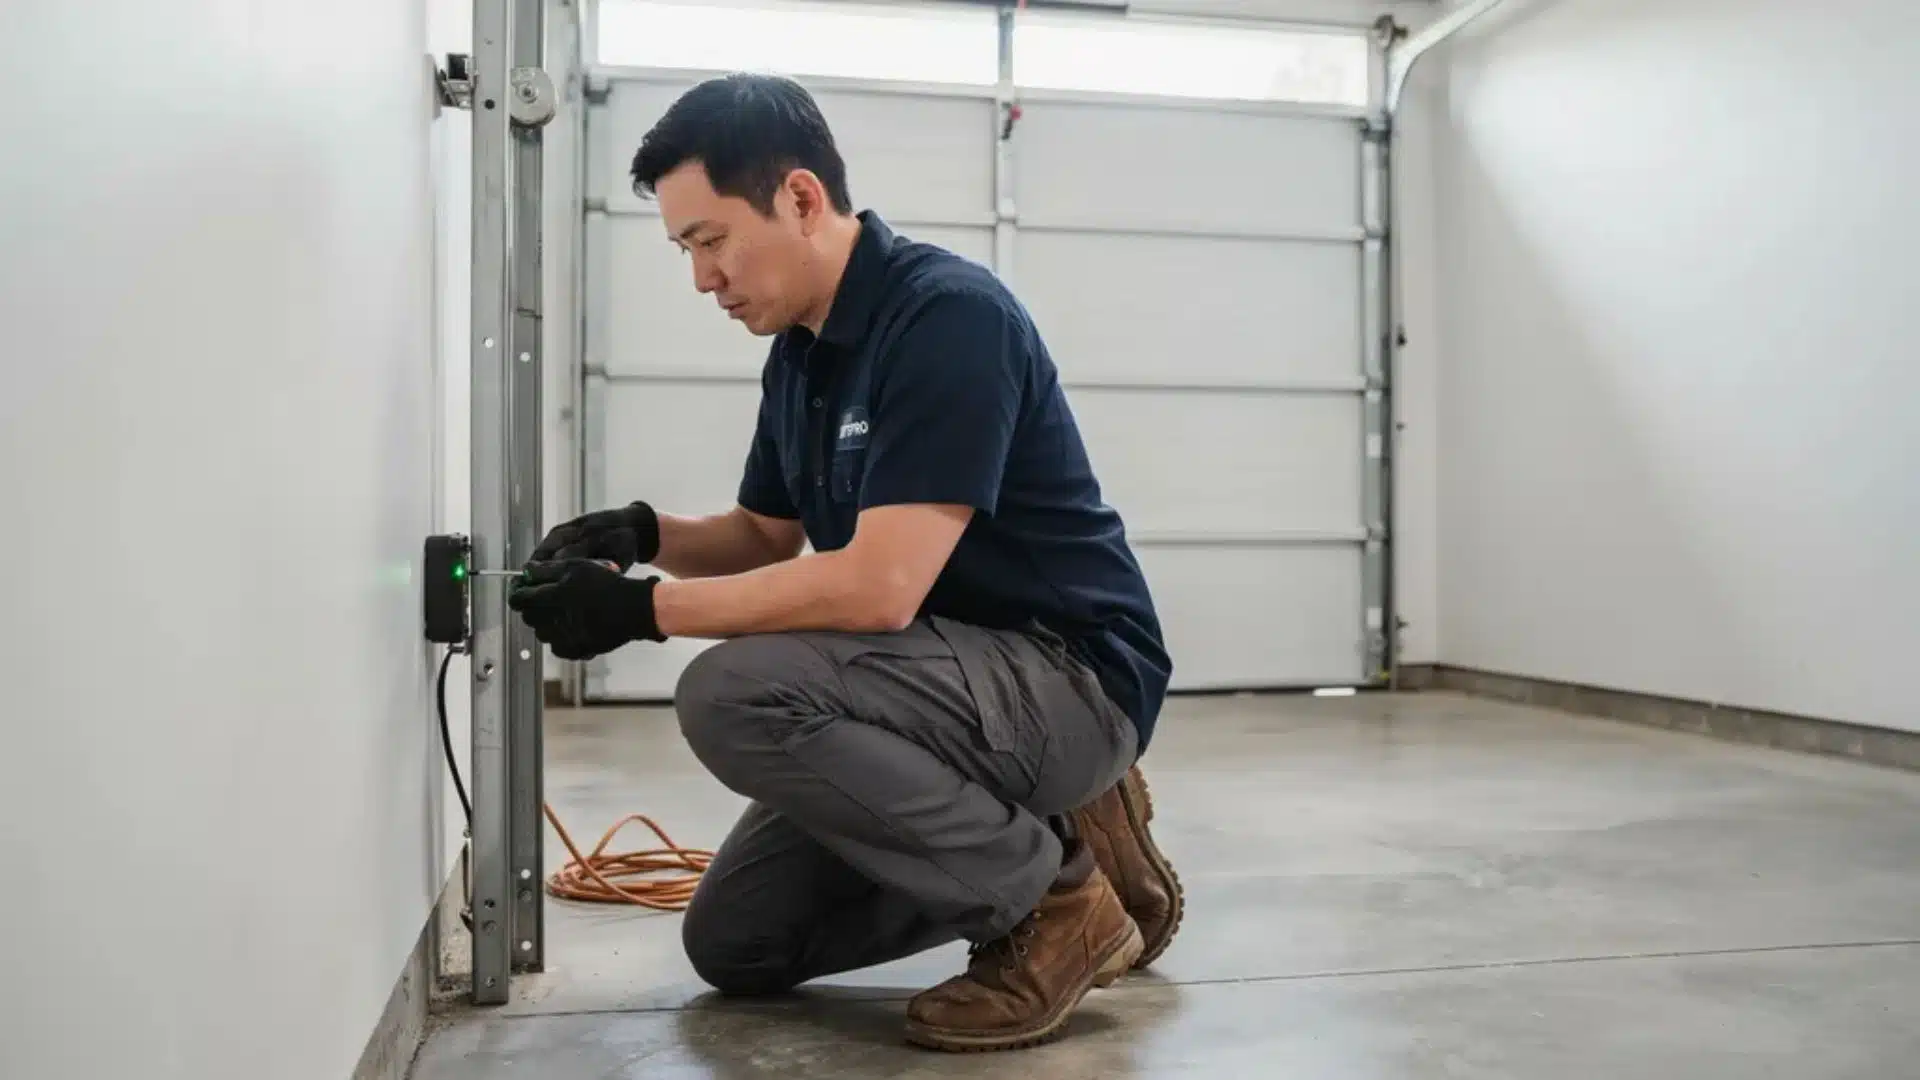
Sensor problems tend to fall into four main categories. Knowing which one you are dealing with helps you fix your garage door sensor faster and with the right approach.
1. Step to Fix Garage Door Sensor Alignment Problems
Misaligned sensors often cause a garage door to reverse or stop working, but a few simple adjustments can usually fix the alignment quickly.
- Loosen the bracket screws on both sensors slightly so they can move.
- Face each sensor directly toward the other until the indicator lights on the sending side turn solid amber and on the receiving side turn green.
- Adjust the height of both sensors so they sit at the exact same level on each side.
- Tighten the screws back once both lights are steady and green.
- Test the door by closing it slowly and watching for any reversal or stopping.
2. Steps for Cleaning Garage Door Sensors
Dust and dirt on the sensor lens can block the infrared beam, leading to inconsistent door response; regular cleaning helps prevent issues.
- Use a soft, dry cloth or cotton swab to gently wipe each lens.
- Avoid using water, sprays, or rough materials that can scratch the surface.
- Never rub too hard, since even small scratches on the lens can affect how the sensor reads the beam.
3. Steps for Fixing Wiring and Connection Issues
Loose, disconnected, or damaged wires are common causes of sensor failure, and carefully checking the connections can help identify the source of the problem.
- Look for wires that have pulled away from the terminal or show visible fraying along the cable.
- Gently press each wire back into its connection point and secure it firmly.
- Replace any section with a worn or cracked plastic coating before powering the system back on.
4. Troubleshooting Unresponsive Garage Door Sensors
Flickering lights or unresponsive sensors usually point to sunlight interference or an internal fault, and understanding the cause helps decide what fix is needed.
- Direct sunlight hitting the sensor lens can cause the system to misread the beam and trigger false reversals.
- Shade the sensor or slightly reposition the bracket to reduce sunlight interference.
- If blinking persists after cleaning and realigning, the sensor may have an internal electrical issue that requires a full replacement.
5. Steps for Resetting Your Garage Door Sensor if Nothing Else Works
When alignment, cleaning, and wiring all appear normal, but the door still will not work, a full power reset can often resolve the remaining issue.
- Unplug the opener from the power outlet and wait 30 seconds before plugging it back in.
- This forces the system to restart and re-establish communication with both sensors.
- Once power is restored, check that both indicator lights return to a steady state.
- Replace the sensor if the lights keep blinking after the reset.
Practical Troubleshooting Table for Quick Garage Door Sensor Problems
Use this quick-reference table to match what your sensor is doing right now to the most likely cause and fix.
| Symptom | Likely Cause | Recommended Fix |
|---|---|---|
| The door refuses to close | Sensor misalignment | Realign both sensors until the indicator lights turn solid |
| Lights blinking constantly | Loose wiring connection | Check and resecure all wire terminals |
| The door reverses immediately | Blocked or dirty lens | Clean both sensor lenses with a soft, dry cloth |
| No response from the remote | Power or sensor failure | Check the power supply and inspect the sensor condition |
| Flickering sensor light | Sunlight interference | Shade the sensor or adjust the bracket angle |
If your symptom is not listed here, a full sensor replacement or a professional inspection may be the next step.
How to Decide Whether to Repair or Replace Your Garage Door Sensors
Not every sensor problem needs a full replacement. In many cases, cleaning the lens, realigning the bracket, or securing a loose wire is all it takes to restore normal function.
But if the sensor has internal damage, keeps failing after repeated fixes, or is too old to work reliably, replacement is the smarter choice.
Most sensors last between 10 and 15 years before exposure to heat, moisture, and daily vibration starts to affect their reliability. If yours are in that range and failing repeatedly, replacement is the right call rather than another round of repairs.
Buying a new sensor pair typically costs between $20 and $80 for the parts alone, depending on the brand, while a repair usually takes under an hour with basic tools.
What Your Garage Door Sensor Light Colors Are Telling You
Each sensor light color points to a specific problem. Reading them correctly saves you time and helps you fix garage door sensor issues without second-guessing the cause.
| Light Color / Pattern | Sensor Side | What It Means | Action Needed |
|---|---|---|---|
| Solid amber or yellow | Sending sensor | Powered and transmitting normally | None |
| Solid green | Receiving sensor | Beam received, system aligned | None |
| Blinking green or red | Either sensor | Misalignment or obstruction detected | Realign sensors |
| Solid orange | Sending sensor | Wiring damage present | Inspect and repair wires |
| No light on either sensor | Both | No power is reaching the sensors | Check the breaker and the power outlet |
Note: Genie and Guardian openers use red as the normal indicator color instead of green. Always check your opener’s manual if the light pattern does not match the table above.
Choosing New Garage Door Sensors the Right Way
Picking the right replacement sensors saves you from repeat problems and makes the installation process much smoother from the start.
- Checking compatibility with your garage door opener brand: Always match the sensor model to your opener brand, since mismatched units often fail to communicate correctly with the system.
- Wired versus wireless sensor differences: Wired sensors are more reliable for daily use, while wireless options work better when running new cables is not practical.
Safety features to look for before buying: sensors with auto-reverse detection, weather resistance, and a solid indicator light system.
Choosing the right sensors from the start means fewer repairs and a garage door that works safely every time.
How to Install New Garage Door Sensors Safely at Home
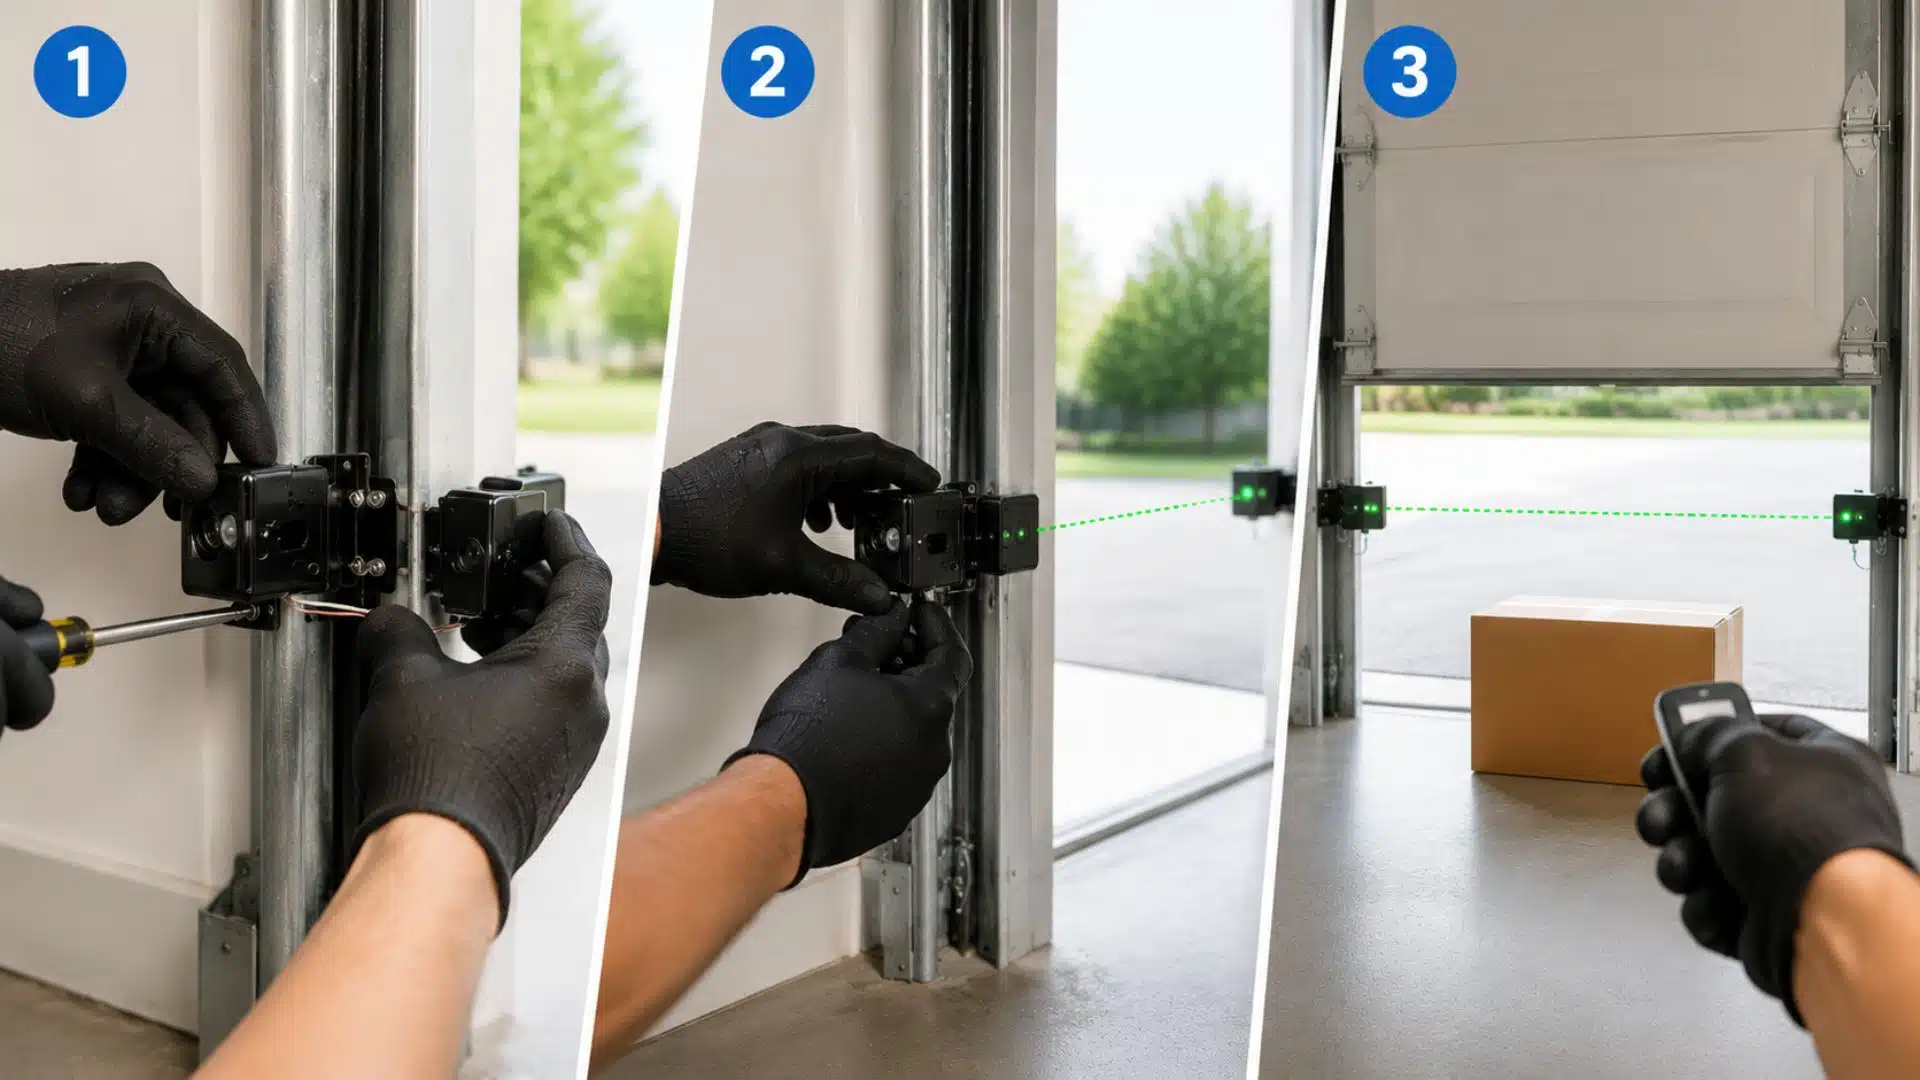
Installing replacement sensors is straightforward when you follow the right order and take basic precautions throughout the process. Having the right tools nearby before you start makes the job faster and reduces the chance of errors.
1. Removing Old Sensors Without Damaging Wiring
Disconnect the power before touching anything. Loosen the bracket screws and carefully slide the old sensor off.
Label each wire before detaching so you know exactly where each one reconnects on the new unit. Take a photo of the wiring setup before removing anything for easy reference.
2. Mounting and Positioning New Sensors Correctly
Attach the new sensors to the brackets at the same height on both sides, around four to six inches off the ground.
Face each sensor directly toward the other and tighten the brackets once the position feels right. Double-check the alignment visually before moving on to wiring.
3. Wiring Connection and Final Testing Process
Reconnect each wire to the matching terminal on the new sensor. White wires connect to the white terminal. Black-and-white striped wires connect to the gray terminal.
Reversing these will prevent the sensors from powering on correctly. Restore power and check that both indicator lights turn solid.
Run two or three test cycles, closing the door fully, to confirm the sensors are reading the beam correctly. Place an object in the door path to test the auto-reverse function as well.
How to Prevent Garage Door Sensor Issues in the Future
Keeping your sensors in good condition does not take much effort. Wipe the lenses with a dry cloth every few weeks to stop dust from building up.
Check the alignment after any strong vibration or accidental bump to the door frame. If you are making broader upgrades to the garage structure, it is a good time to inspect sensor placement as part of the process.
Make sure the sensors are protected from direct water exposure, especially during heavy rain. Small routine checks like these prevent most of the common sensor problems before they have a chance to develop.
Running through these five steps covers most sensor problems and helps you fix your garage door sensor without unnecessary costs.
When to Stop DIYing and Call a Professional
Most sensor fixes take under an hour and cost very little. But some situations are better handled by a technician from the start.
Call a professional if the sensors show no LED light at all even after checking power and connections, if the wiring insulation is cracked or rodent-damaged across a long section of cable, if the door continues reversing randomly after cleaning, realignment, and a full reset, or if the opener itself is more than 15 years old and showing multiple system failures at once.
Professional sensor repair typically costs $100 to $200, and full sensor replacement with installation costs $150 to $300, depending on your area and opener brand.
Conclusion
Garage door sensors fail for simple reasons most of the time. A dirty lens, a shifted bracket, or a loose wire is usually all that stands between you and a door that closes the way it should.
Now you know how to fix garage door sensor problems yourself, from reading LED colors to resetting the opener and deciding when a replacement makes more sense than another repair.
Run through the steps, check the basics first, and you will solve it faster than you think. Still stuck? Drop your question in the comments, and we will help you figure it out.
Frequently Asked Questions
Why Is My Garage Door Sensor Not Working After Cleaning?
The sensor may be misaligned or have internal damage that cleaning alone cannot fix.
Can I Bypass Garage Door Sensors Temporarily?
Yes, but only for testing. Running the door without sensors over the long term is unsafe and not recommended.
How Do I Know Which Garage Door Sensor Is Faulty?
Check the indicator lights. A sensor with no light or a blinking red light is usually the faulty one.
How Much Does It Cost to Replace Garage Door Sensors?
A replacement sensor pair typically costs between $20 and $80, depending on the brand and model
How Far Off the Ground Should Garage Door Sensors Be?
Sensors should be mounted no more than six inches off the ground on both sides of the door track.