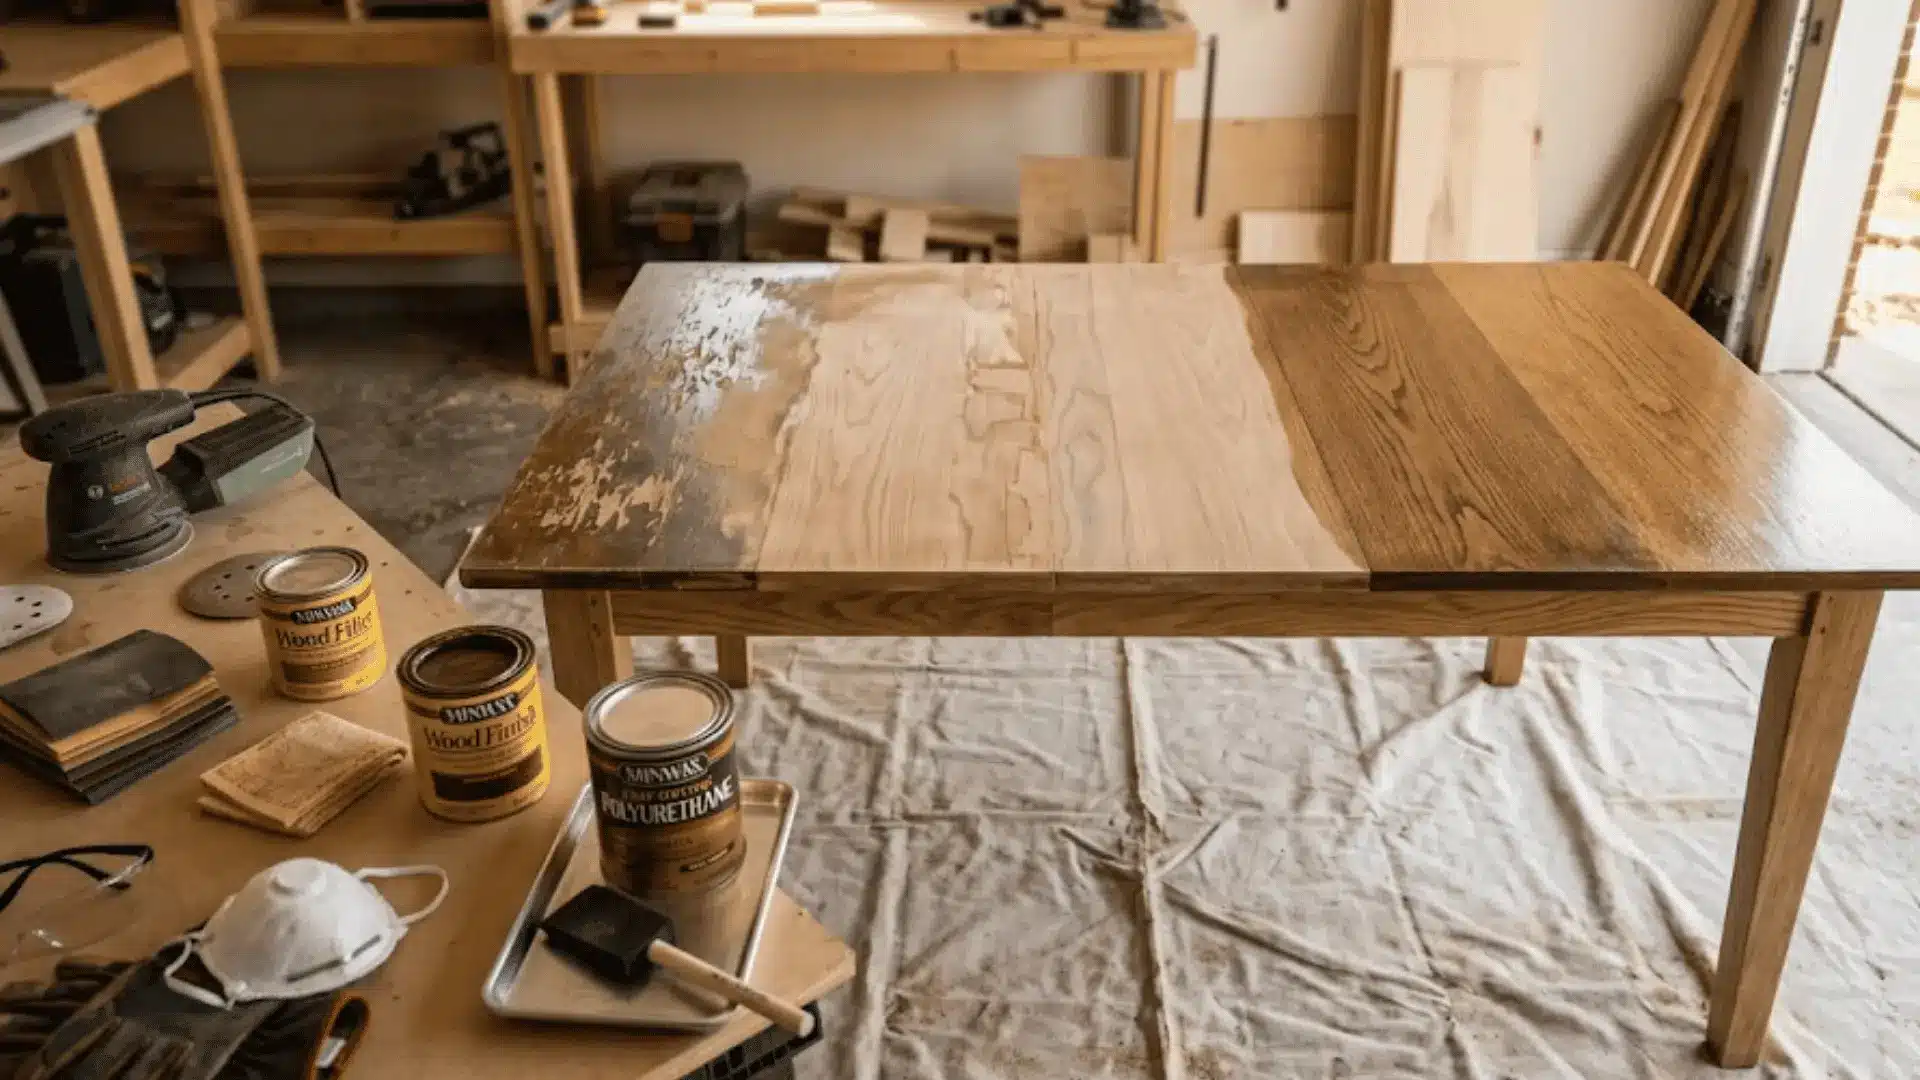
You found an old table sitting in the garage or inherited one from a relative. Now you’re stuck wondering: is it worth refinishing your table, or should you let it go?
Not every table is worth the effort. Some have good bones and need surface work. Others are falling apart and will waste your weekend.
Learning how to refinish a table starts with knowing if yours is even worth saving. The difference comes down to a few quick checks that take under a minute.
You’ll walk through a simple evaluation. Check if it’s solid wood or veneer. Test the structure. Look at the surface damage. Compare costs. Then decide if refinishing makes sense or if you should skip it entirely.
You’ll know exactly if your table deserves a second chance or belongs at the curb.
Is Your Table Worth Refinishing?
Before you buy supplies or start sanding, take a minute to evaluate your table. These simple checks will tell you if refinishing makes sense.
Look at the wood first. Solid wood can handle heavy sanding and will last for decades. Veneer is different. It’s a thin layer over a cheaper material, and it peels easily if you sand too deeply. Laminate has a printed surface that chips at the corners, so skip refinishing it entirely.
Test the structure next. Sit on the table and lean hard. Does it wobble or creak? Check the legs for cracks. Look at the top for splits. You can fix loose joints with glue, but missing chunks of wood mean trouble.
Now examine the surface damage. Water rings and heat marks sand out easily, yet deep gouges need filler.
Traditional vs Quick Refinishing Method
Choose a method based on your table’s condition, time, and goals. This quick comparison shows what each approach involves.
| Basis | Traditional Method | Quick Method |
|---|---|---|
| Best For | Peeling, cracked, or uneven finish | Dull finish that is still firmly attached |
| Prep Level | Full strip or heavy sanding to bare wood | Clean and light scuff sanding only |
| Sanding Work | Multiple grits, full surface leveling | Light scuff with fine grit only |
| Color Change | Easy to change stain color | Limited usually keeps the current color |
| Time Needed | Several days due to stripping and dry time | Often 1 day plus drying time |
| Cost | Higher (more supplies and abrasives) | Lower (fewer supplies) |
| Finish Quality | Most even and long-lasting result | Good refresh, but it depends on the old finish |
| Risk Of Problems | Lower after full removal and proper prep | Higher if the old finish has wax, grease, or weak spots |
Pick the method that fits your situation. Both approaches can give you good results when matched to the right table condition.
How to Choose the Right Method
Choosing the right refinishing method depends on your table’s condition, your skill level, and your goals. Consider these factors to decide which approach works best for you.
- Assess Your Table’s Current Condition: Deep scratches and peeling finish require full stripping and sanding. Minor wear and dullness can be addressed with the no-sand restoration method instead.
- Consider Your Time Availability: Traditional refinishing takes 2 to 4 days, with drying time. The no-sand method finishes in 1 to 2 hours of actual work time.
- Evaluate Your Skill Level: Beginners should start with the no-sand method using minimal tools. Traditional refinishing needs more experience with sanders and chemical strippers to avoid damage.
- Determine if You Want to Change Colors: Changing stain colors requires traditional stripping down to bare wood. Keeping the same color works with either method for refreshing the surface appearance.
- Check Your Budget Constraints: The no-sand method costs $15 to $30 for supplies. Traditional refinishing runs $50 to $150, depending on table size and materials needed.
- Think About Long-Term Durability Needs: Daily-use dining tables require traditional refinishing with a polyurethane topcoat. Occasional-use tables work fine with the no-sand method, lasting 1 to 2 years.
- Factor in Workspace Requirements: Traditional refinishing requires a well-ventilated outdoor space or a garage to handle fumes and dust. The no-sand method works in smaller indoor spaces with windows open.
- Review the Table’s Value and Purpose: Sentimental family pieces deserve traditional refinishing for long-term preservation. Temporary furniture works well for quick restoration, with no major investment required.
Take time to think through these factors before starting. The right choice now saves you from having to restart the project later.
Special Considerations for Different Table Types
Not all tables are the same. The type you own affects how you refinish it and whether refinishing even makes sense. Here’s what you need to know before starting.
| Table Type | Key Consideration | What to Do |
|---|---|---|
| Antique & Vintage | Refinishing reduces value | Consult an appraiser first; test for lead paint |
| Veneer Tables | Thin wood layer over particle board | Sand very lightly or use the no-sand method |
| Pine & Soft Woods | Absorbs stain unevenly, creates blotches | Always use wood conditioner; try gel stains |
| Oak & Hard Woods | Forgiveness takes strain well | Can handle multiple sandings over time |
| Painted Tables | Takes more work to strip | Test for lead paint; can paint over existing coat |
| Budget Furniture | Particleboard falls apart | Focus on solid wood or quality pieces only |
Know your table type before you start working, and you’ll avoid expensive mistakes. This prevents wasted time and helps set realistic expectations for your final results.
Safety and Setup Before You Start
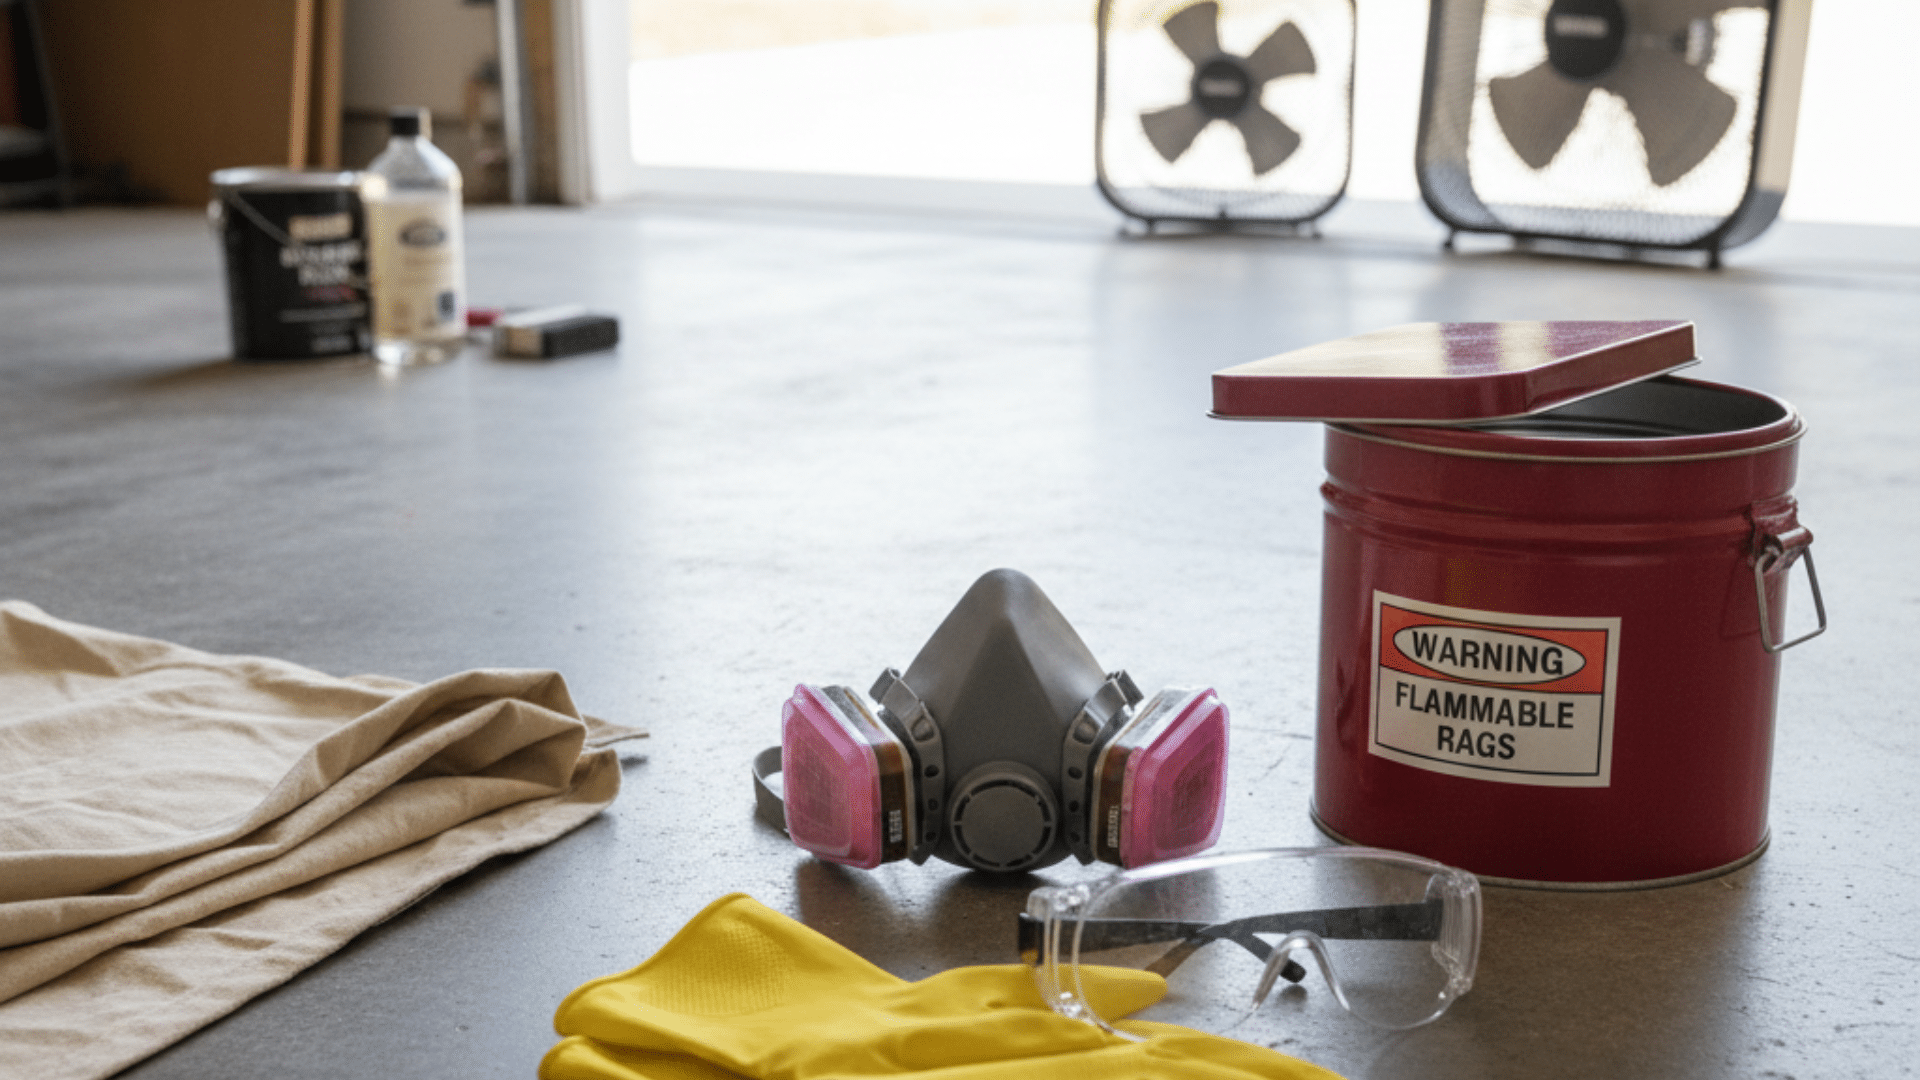
Refinishing involves chemicals, dust, and fire hazards. Work outside or in a garage with the door open for proper ventilation. Chemical strippers and oil-based finishes release harmful fumes that cause headaches and breathing problems.
Wear chemical-resistant gloves, safety glasses, and a dust mask while working. Use a respirator for heavy sanding or strong fumes.
Oil-based products can spontaneously combust, so never pile used rags; lay them flat on concrete to dry, then dispose of them in a sealed metal container.
Clear space around the table, cover the floor with drop cloths, and keep products away from heat sources. Have clean rags and water nearby for spills.
Tools and Materials Needed
Gather these basic tools and materials first so you can sand, stain, and seal smoothly without stopping mid-project to grab supplies.
| Item | Qty |
|---|---|
| Sander | 1 |
| Sandpaper | 18 |
| Steel wool | 1 |
| Stain | 250 ml |
| Polyurethane | 750 ml |
| Mineral spirits | 150 ml |
| Brushes | 4–6 |
| Towels | 10–15 |
| Cloths/rags | 2 |
| Drop cloths | 1–2 |
| Driver | 1 |
| Gloves | 1 pair |
| Glasses | 1 |
| Mask | 1 |
Having everything ready before you start saves frustration. You can work straight through without stopping to run to the hardware store.
How to Refinish a Table?
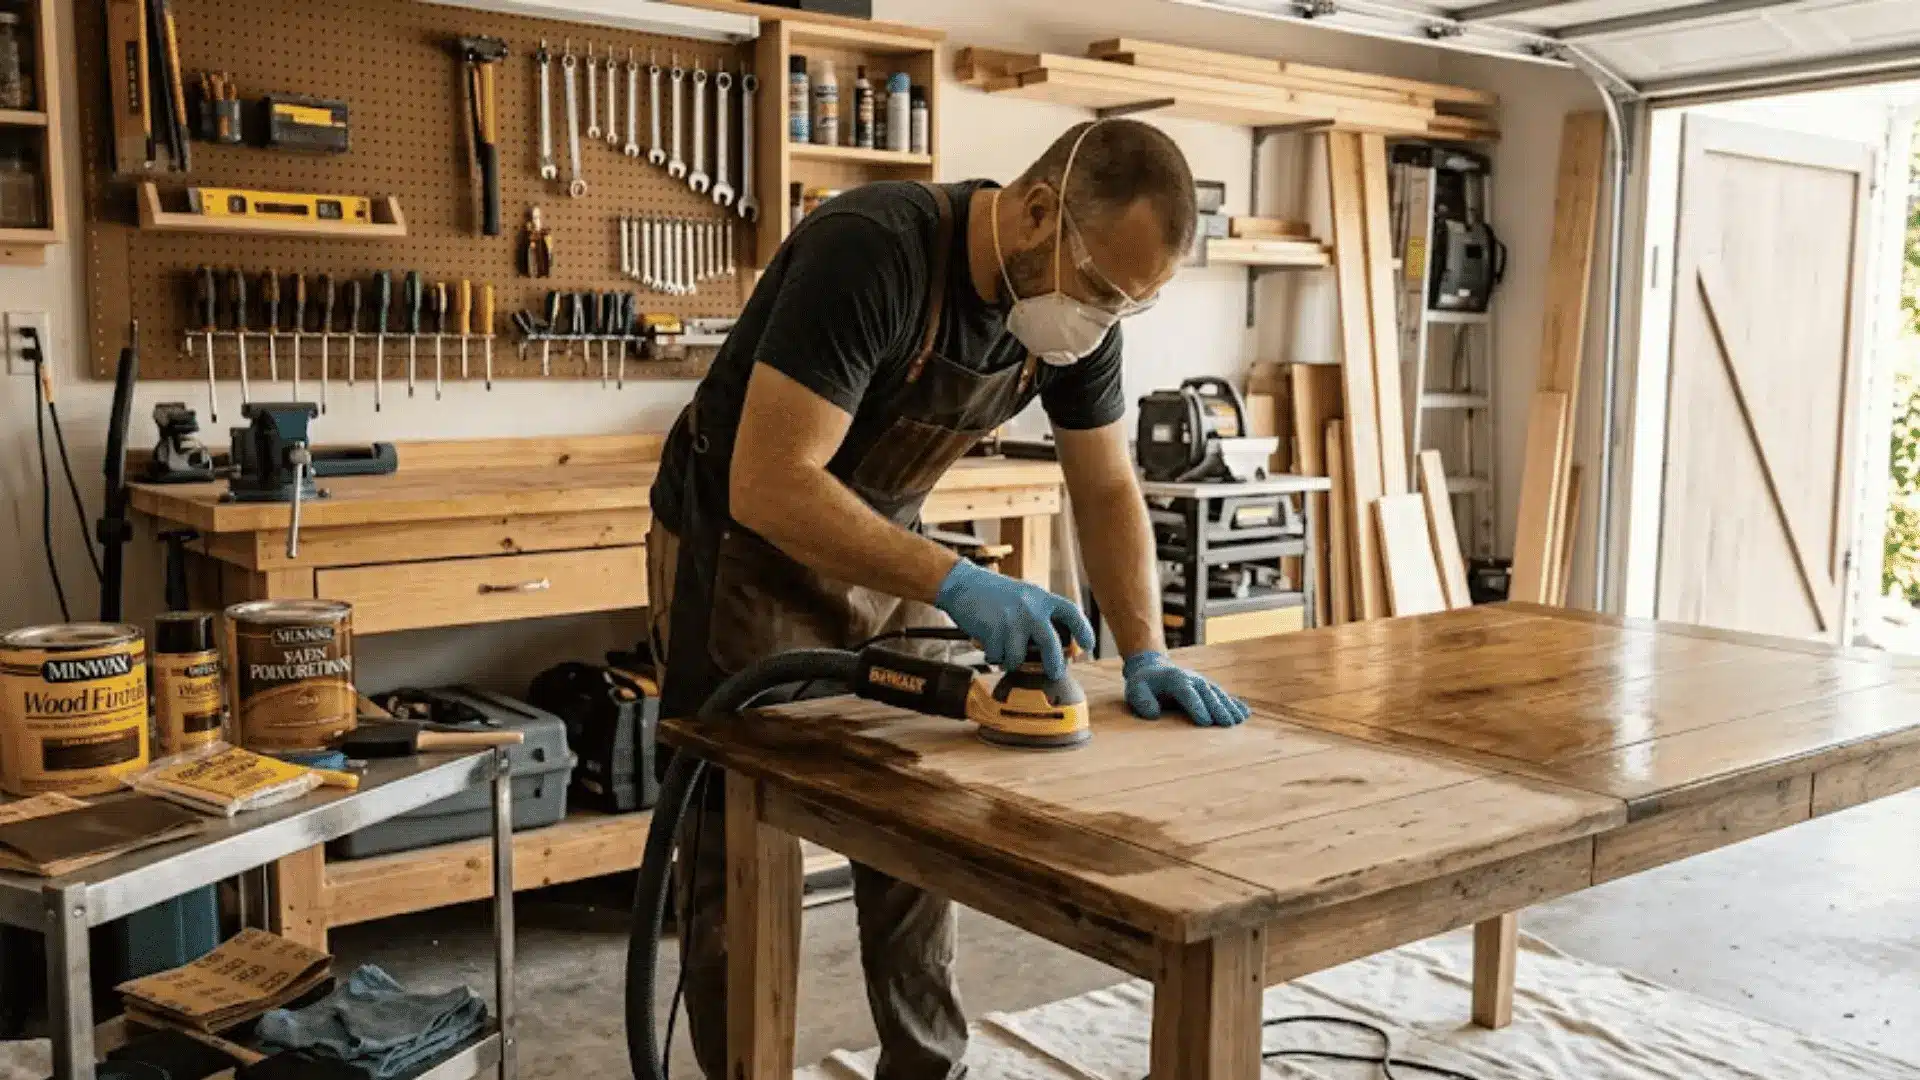
Once you’ve decided your table is worth saving, follow these steps in order. Each one builds on the last, so don’t skip ahead.
Step 1: Set Up, Protect the Area, and Check the Table
Place the table in a garage or outside, in an area with good airflow. Lay a drop cloth and clear a space to move around. Keep stain, polyurethane, and mineral spirits away from heaters or flames.
Put on gloves, safety glasses, and a dust mask. Tighten screws or bolts, glue and clamp loose joints, and fill chips with wood filler. Let the filler dry.
Step 2: Remove the Old Finish and Smooth the Surface
Use a random-orbit sander with heavy-grit sandpaper to remove the peeling finish. Work in slow, overlapping passes and change paper when it clogs.
Keep sanding until most of the shine is gone and the bare wood shows. Hand sand edges and corners. Move through finer grits and finish at 220. Sand with the grain when working by hand.
Step 3: Clean Off Dust And Prep For Color
Wipe the tabletop to remove dust using a tack cloth or slightly damp microfiber rag, then let it dry. Check for leftover finish, swirl marks, or uneven areas under the side lighting, and fix them before finishing. If the color may look too light, apply a light stain with a rag or paper towel. Wipe off the extra and let it dry fully.
Step 4: Apply Polyurethane in Thin Coats
Stir the polyurethane until consistent. Apply a thin coat with a foam brush, covering the whole top. Finish with long, straight strokes from end to end to reduce lap marks.
Let it dry fully. Lightly scuff with fine steel wool or very fine sandpaper, wipe clean, and apply two more thin coats. Stop after three coats if it looks even.
Step 5: Level, Apply a Thinned Final Coat, and Reassemble
If the surface feels bumpy, lightly sand with 220-grit sandpaper to level it, using light pressure to avoid sanding through. Wipe off dust.
Thin polyurethane with a small amount of mineral spirits to make a wipe-on style mix. Apply a thin, even final coat and let it dry. Tighten leg brackets and reattach hardware once finished.
Refinishing a table is a simple DIY project that can restore beauty and extend the life of your furniture. With the right tools and a bit of patience, you can change an old, worn table into a fresh centerpiece for your home.
For a complete visual walkthrough of the refinishing process, watch this helpful tutorial by Home Built Workshop (Jeff Baker)
How Much Does It Cost to Refinish a Table?
Wondering if refinishing fits your budget? Good news, it’s way cheaper than buying new. You’ll spend anywhere from $15 to $150, depending on your method, and that’s a fraction of what a decent table costs these days.
| Method | Materials Cost | Time Needed | Best For |
|---|---|---|---|
| Quick Restoration (No Sanding) | $15-30 | 1-2 hours | Minor wear, scratches, dullness |
| DIY Traditional Refinishing | $50-150 | 2-5 days | Complete transformation, color change |
| Professional Refinishing | $200-500+ | 1-2 weeks | Antiques, complex pieces, no DIY experience |
Compare that to $300- $ 2,000 for a new table, and refinishing makes total sense. Plus, you get to keep the piece you already love. Win-win.
How to Maintain Your Refinished Table
Refinishing doesn’t always go perfectly the first time. Here are the most common issues and quick fixes to get your project back on track.
- Sticky Finish: You applied the coat too thickly, or the room was too humid. Let it dry longer or strip it off and start over with thinner coats.
- Bubbles or Brush Marks: Brushing too hard or repeatedly going over the same spot traps air. Use long, smooth strokes and leave it alone. Light sanding between coats smooths out most marks.
- Dust Nibs or Rough Feel: Dust landed on the wet finish. Sand lightly with 320-grit after it dries. Wipe clean and apply another coat. Work in a clean area, and close windows when you finish.
- Uneven Stain, Dark Edges, Light Patches: You left the stain on too long in some spots or wiped it off too fast in others. Sand it off and try again. Use conditioner on soft woods to prevent blotching.
- Rings Still Visible After Sanding: Deep water damage goes into the wood, not just the finish. Sand deeper with 80-grit or use oxalic acid to bleach out the stain. If that does not work, the rings might be permanent. Accept them or paint the table instead.
Most problems have simple fixes if you catch them early. Don’t panic when something goes wrong during the refinishing process.
The Bottom Line
You now know how to refinish a table from start to finish. More importantly, you know whether your specific table is worth the effort.
Solid wood tables with surface damage deserve to be saved. The right method depends on your time, budget, and the condition you’re dealing with.
Minor repairs and structural checks come first. Then you choose between stripping everything or using restoration products. Both approaches work when matched correctly to your situation.
The table sitting in your garage might become your favorite piece, or it might belong at the curb. Either way, you can decide with confidence now.
What table are you planning to refinish first? Share your project in the comments below, and let us know if you have questions along the way.
Frequently Asked Questions
How Long Does It Take to Refinish a Table?
Traditional refinishing takes 2 to 4 days, including drying time between coats. The no-sand method using Restore-A-Finish takes 1 to 2 hours of total work time.
Can You Refinish a Table without Removing the Old Stain?
Yes. Use products like Howard Restore-A-Finish to refresh the existing finish without stripping or sanding. This method works for minor wear but cannot change the stain color.
What’s the Best Finish for a Dining Table?
Oil-based polyurethane offers superior durability for dining tables that get daily use. Apply 3 to 4 coats. Water-based polyurethane works well if you want low odor and faster drying.