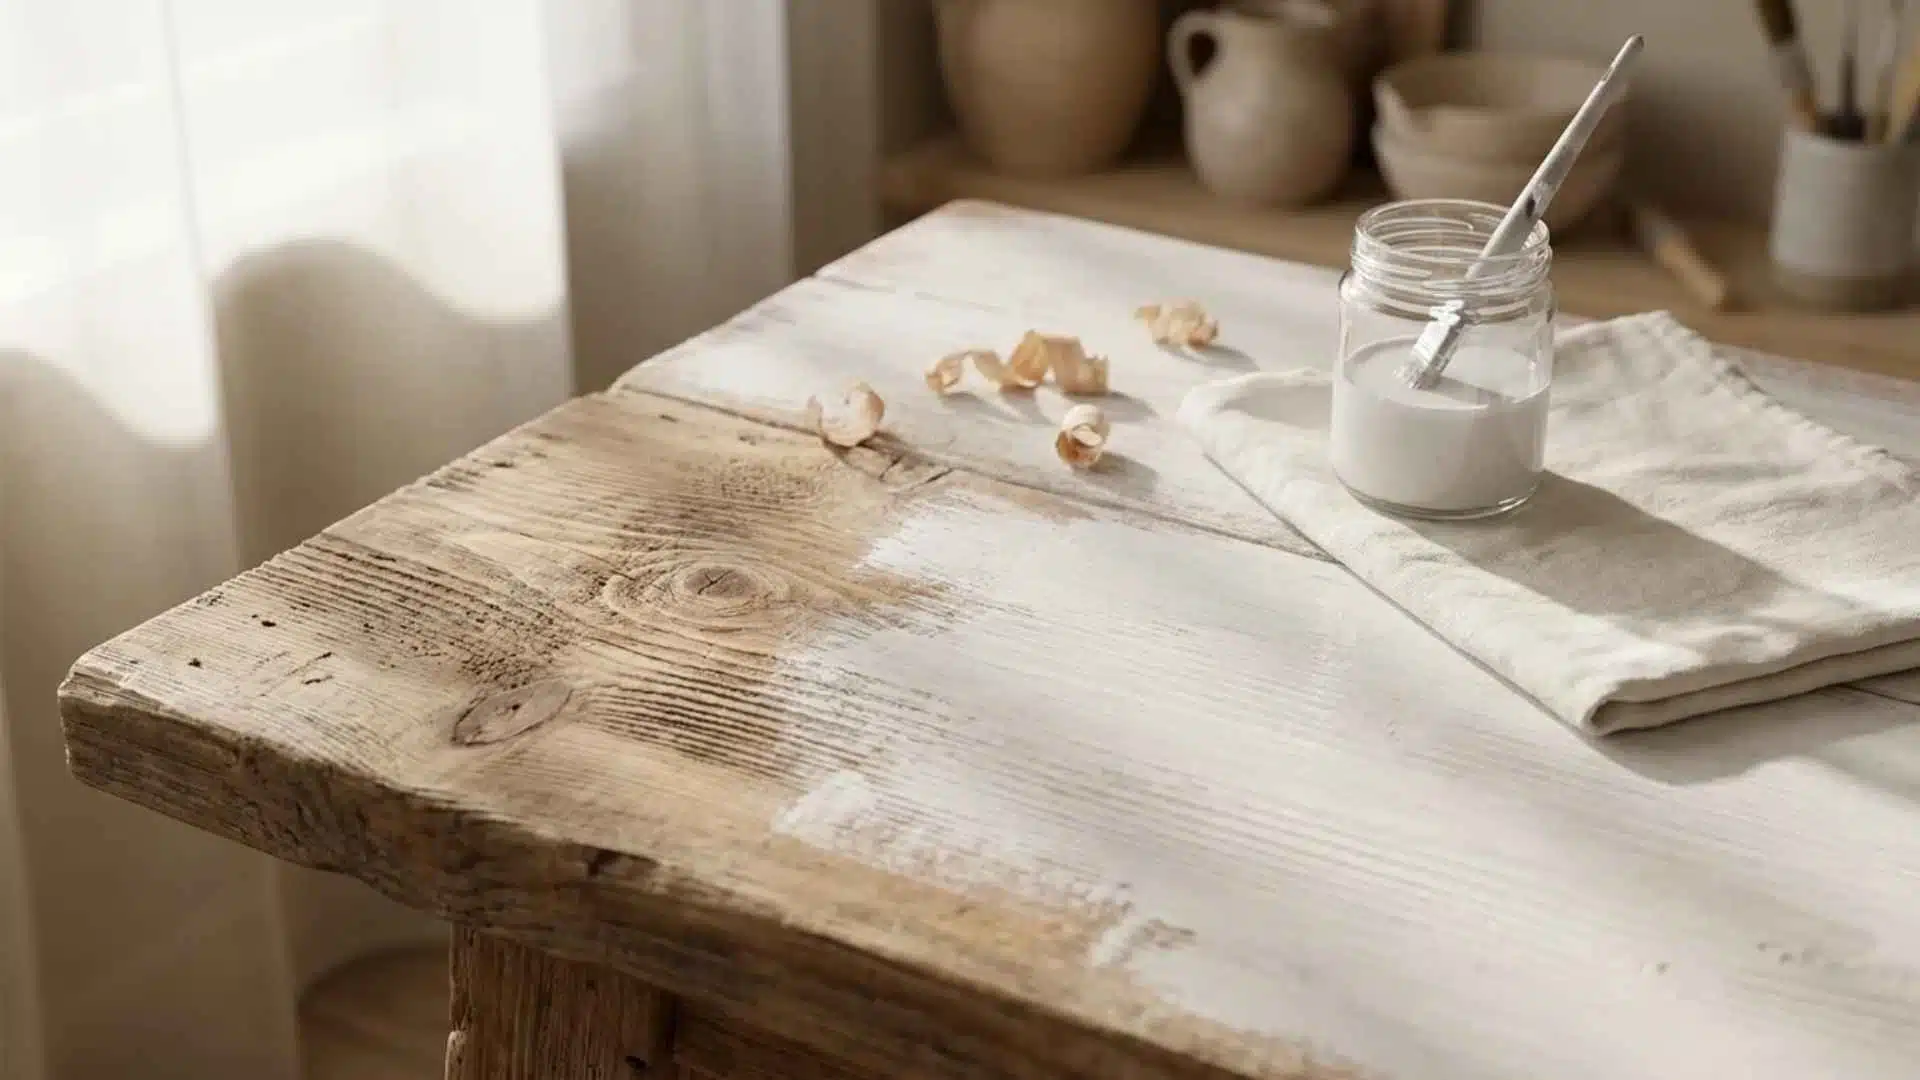
Whitewashing wood gives any surface a soft, washed-out look that feels both rustic and fresh at the same time. It works on furniture, floors, walls, paneling, and even outdoor structures.
The finish is lighter than paint and lets the natural wood grain show through, which is exactly what makes it so appealing. You do not need to strip or sand the wood down to bare material in most cases, and the supplies are simple and inexpensive.
Learning how to whitewash wood the right way, from surface prep to final coat, is what separates results that look clean and intentional from ones that end up patchy and rushed.
What is Whitewashing Wood?
Whitewashing has been used for centuries, originally inspired by limewash methods applied to walls and wood for sanitation, brightness, and surface protection. Today, the process is much easier and more decorative.
Whitewash is thinned white paint brushed onto wood so the grain still shows through. Unlike regular paint, it sits lightly on the surface and settles into the grain, creating a soft, semi-transparent finish rather than a solid, opaque layer.
It is popular because it suits farmhouse, cottage, Scandinavian, coastal, and organic modern styles. It is also budget-friendly, often needing only white latex paint, sandpaper, and a brush.
Whitewashing vs. Limewash vs. Pickling
Although these techniques create lighter wood finishes, they differ in materials, application, and appearance. Here’s a quick comparison to help you choose the right option.
| Feature | Whitewashing | Limewash | Pickling |
|---|---|---|---|
| What It Is | Thinned white latex paint applied to wood. | Natural lime-based coating made from crushed limestone and water. | A white or light-colored stain designed specifically for wood. |
| Appearance | Soft, semi-transparent finish with visible wood grain. | Chalky, matte, weathered look with natural texture. | More even color with subtle grain visibility. |
| Best For | Furniture, shiplap, trim, and DIY décor. | Rustic wood, brick, stone, and historic finishes. | Hardwood floors, cabinets, and fine wood furniture. |
| Durability | Good when sealed with a water-based topcoat. | Naturally durable but may need periodic recoating outdoors. | Excellent when protected with polyurethane. |
| Difficulty | Easy and beginner-friendly. | Moderate, requiring multiple thin coats. | Moderate, requiring even stain application and wiping. |
| Cost | Low, using inexpensive latex paint and water. | Moderate, depending on lime products. | Moderate, since specialty pickling stains cost more than paint. |
| Ideal Style | Farmhouse, Scandinavian, coastal, cottage, and modern rustic. | Traditional, Mediterranean, rustic, and historic homes. | Traditional, coastal, and light contemporary interiors. |
Choose the method that matches your project, desired finish, and maintenance needs to achieve beautiful, long-lasting results on any wood surface.
What You Need Before You Start
You do not need many tools or expensive supplies. Most people already have several of these at home.
1. Paint and Mixing
Before starting a whitewash project, it’s important to gather the right materials and understand how each works with the others.
- White latex paint: water-based, not oil-based, if you are working indoors
- Tap water: no special water needed
- Mixing container: an old bucket or disposable paint tray
These basic materials are all you need for a successful whitewash mix. Keeping the process simple ensures better control over consistency and final finish.
2. Application Tools
The right application tools make a big difference in how smooth and natural your whitewash finish looks.
- Wide paintbrush: A 2 to 3-inch brush covers surfaces quickly.
- Lint-free rags: for wiping back excess and creating a more natural finish.
With just a brush and a few clean rags, you can easily manage application and texture. These tools keep the process simple while giving you control over the final look.
3. Prep Tools
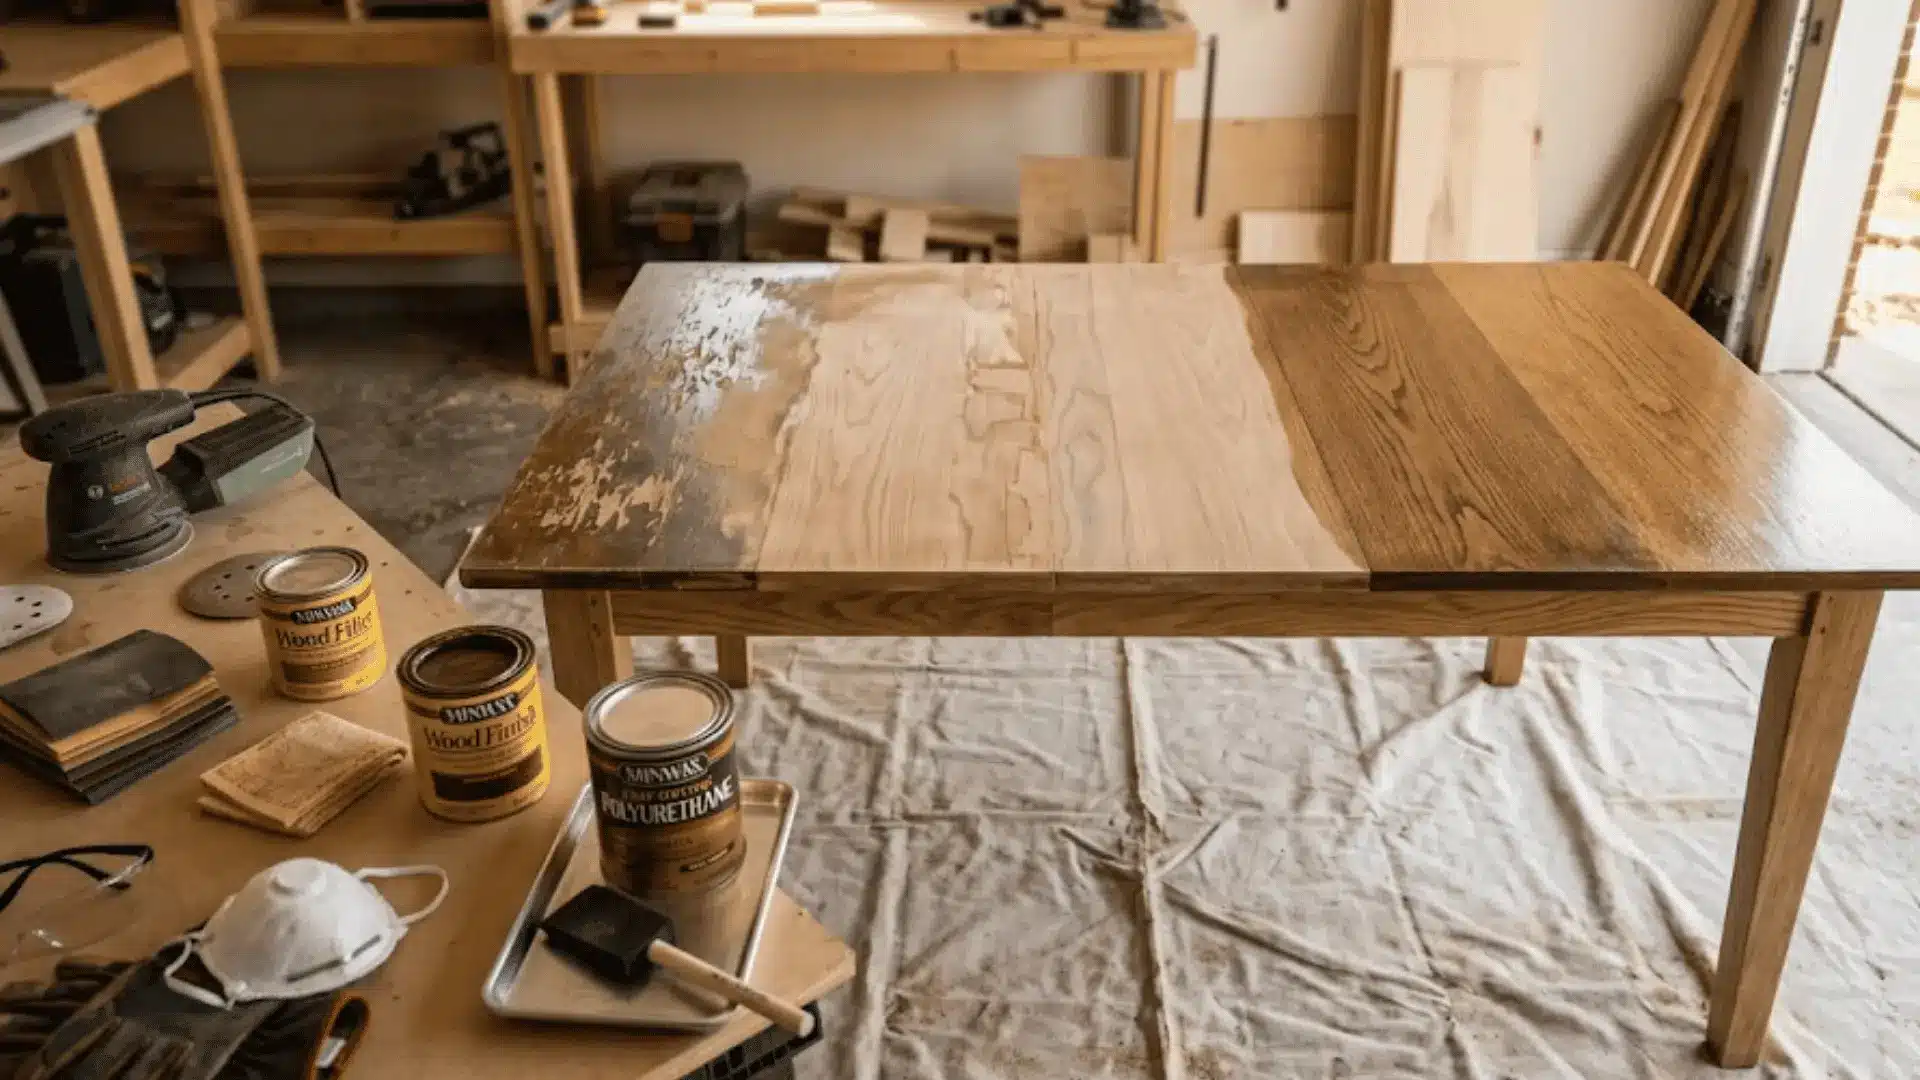
Good preparation is what makes whitewashing look clean and long-lasting. These simple tools help you remove old finishes, smooth the surface, and clear away dust so the paint bonds properly.
- Medium-grit sandpaper (120-grit): to remove old finish.
- Fine-grit sandpaper (220-grit): for smoothing between coats.
- Tack cloth: pulls up sanding dust more effectively than a regular rag.
Taking time with prep tools improves both finish and durability. A clean, smooth surface ensures the whitewash applies evenly and lasts longer.
4. Finishing
Clear water-based polyurethane or polycrylic is used as a protective topcoat after whitewashing.
It seals the surface, adds durability, and helps resist stains, moisture, and light wear while keeping the natural, matte look of the finish intact without yellowing over time.
5. Safety
Working with paints and sanding materials is generally safe, but a few basic precautions help protect your skin, eyes, and lungs during the process.
- Gloves: Gloves protect your hands from paint, dust, and irritation.
- Safety glasses: Safety glasses shield your eyes from sanding dust and fine particles.
- Mask: A mask is useful for indoor work with limited airflow.
Safety Note: For furniture or trim built before 1978, avoid sanding dust, check EPA lead-safe guidance before refinishing, and follow EPA lead-safe renovation practices before sanding or refinishing older wood surfaces.
Pro Tip: Always buy slightly more paint than you think you need. You will likely want to add a second coat once the first one dries, and the color looks different wet versus dry.
How to Prep Wood for Whitewashing
Prep is the step most people rush through. It is also the main reason most whitewashed jobs turn out streaky, uneven, or patchy. Whitewash works best on raw or properly prepped wood.
Step 1: Clean the surface
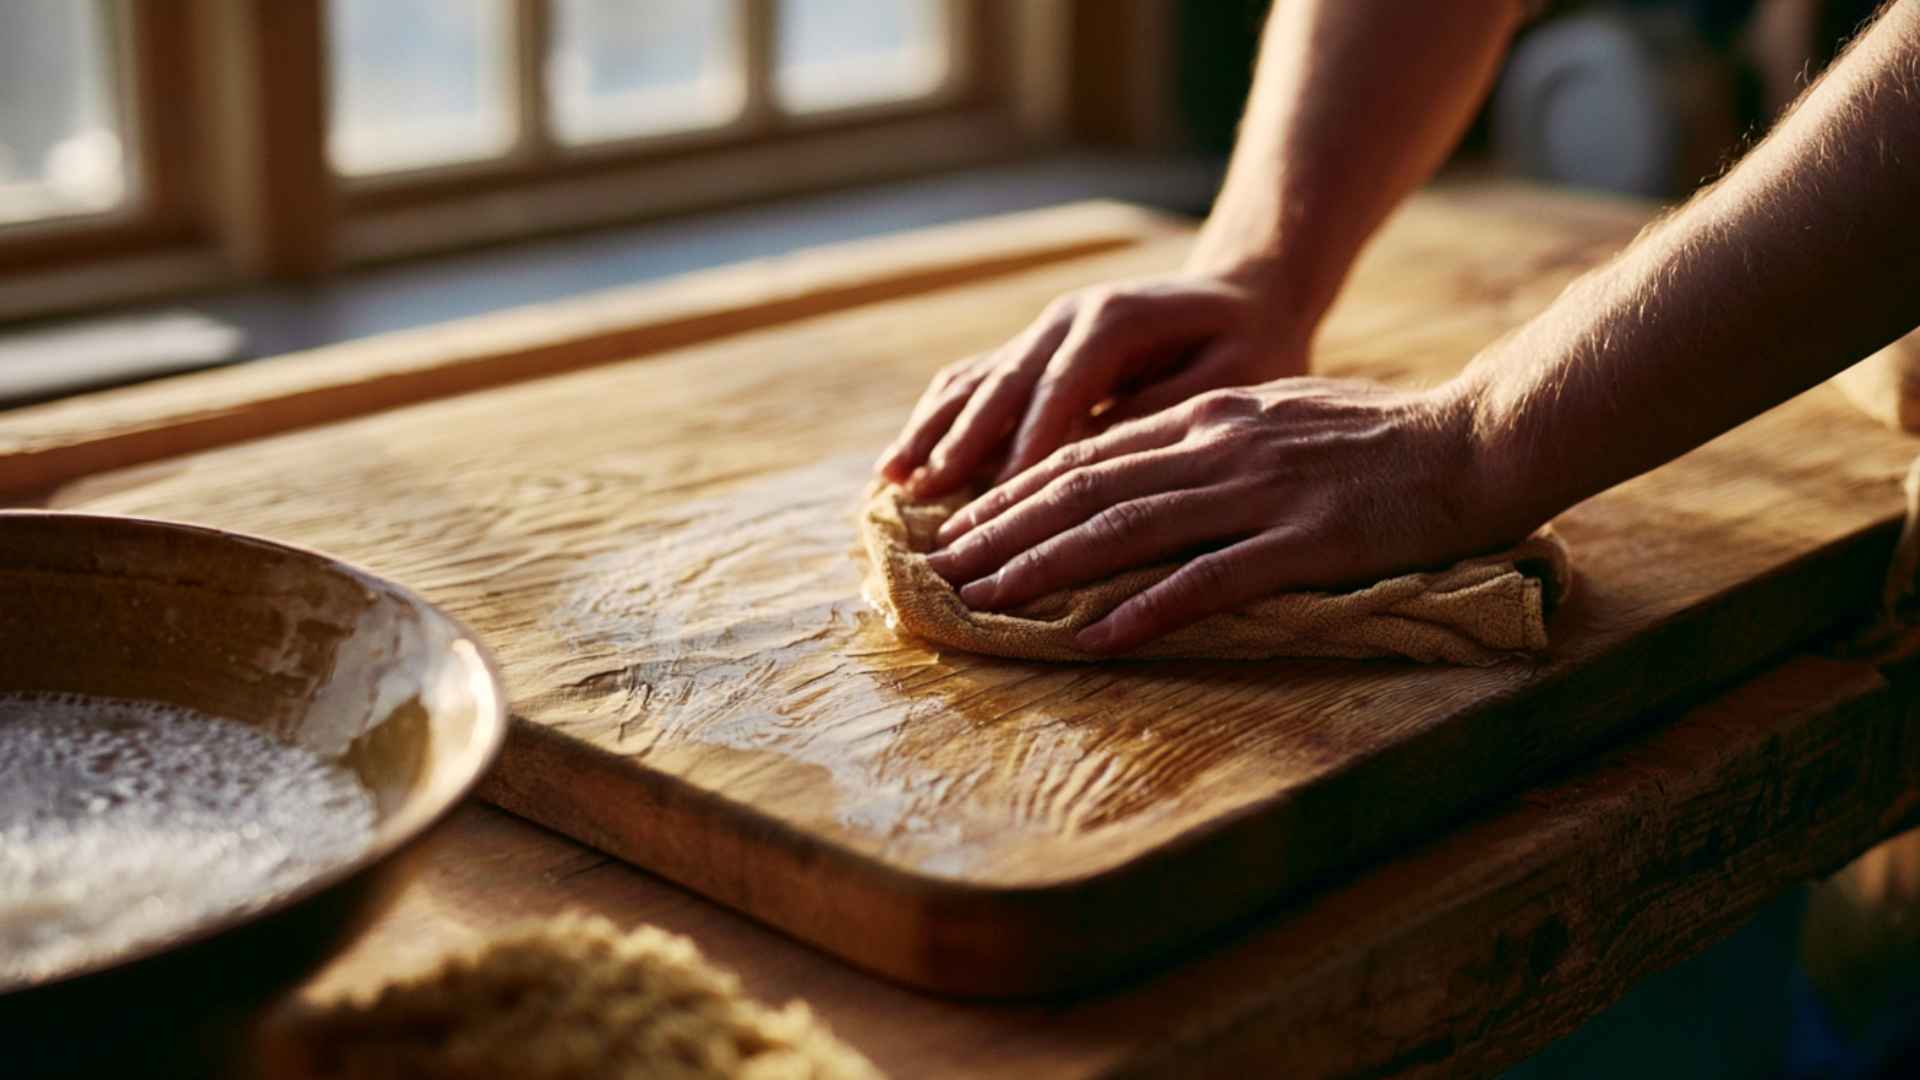
Start by wiping the wood thoroughly using warm soapy water to remove dust, dirt, grease, and any surface residue. This ensures the whitewash adheres properly without interference from contaminants.
Allow the wood to dry completely before moving forward. If the piece was stored or exposed to the outdoors, repeat the cleaning for better results and a more even finish overall.
Step 2: Sand it down
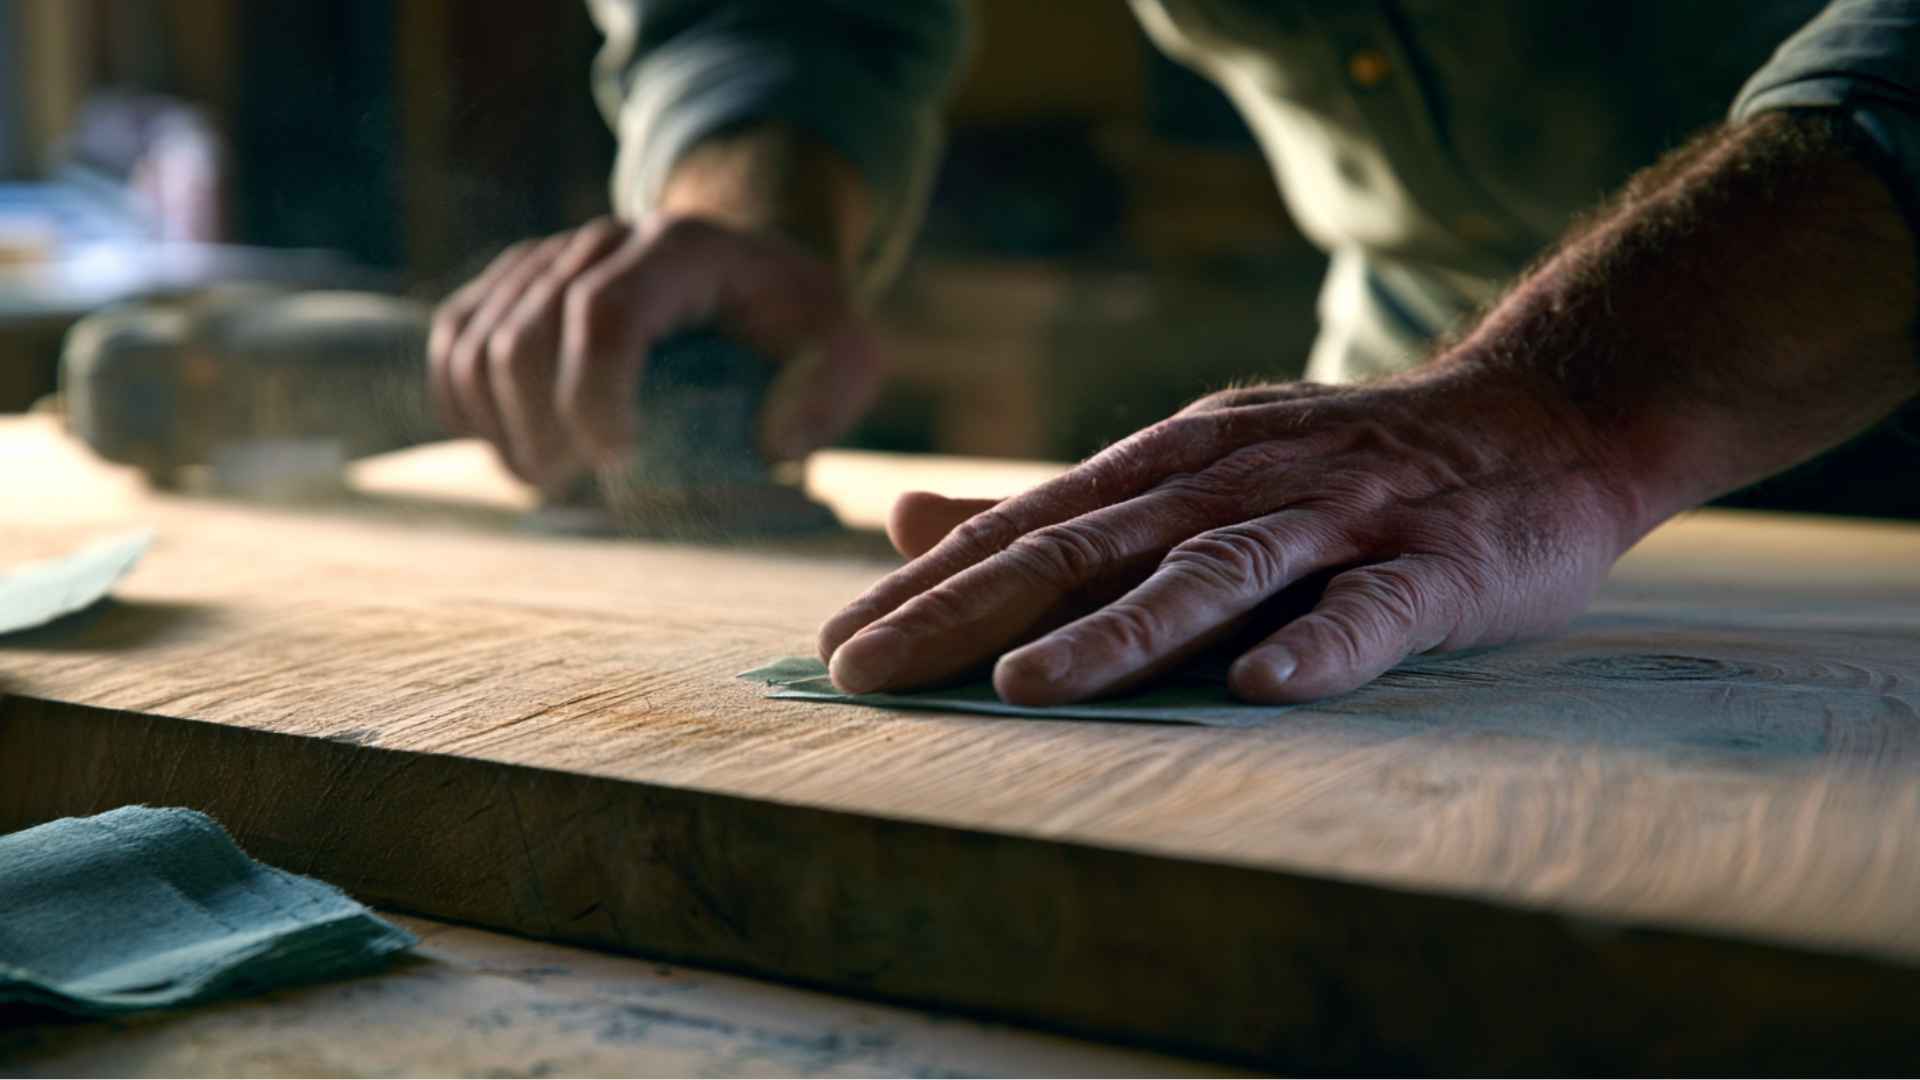
Use 120-grit sandpaper to strip away old paint, varnish, stain, or sealers. Always sand along the grain of the wood to avoid scratches and uneven texture.
A power sander can help achieve faster and more consistent results. Continue sanding until the surface feels evenly rough and matte, ensuring proper absorption and adhesion of the whitewash in later steps.
Step 3: Wipe with a tack cloth
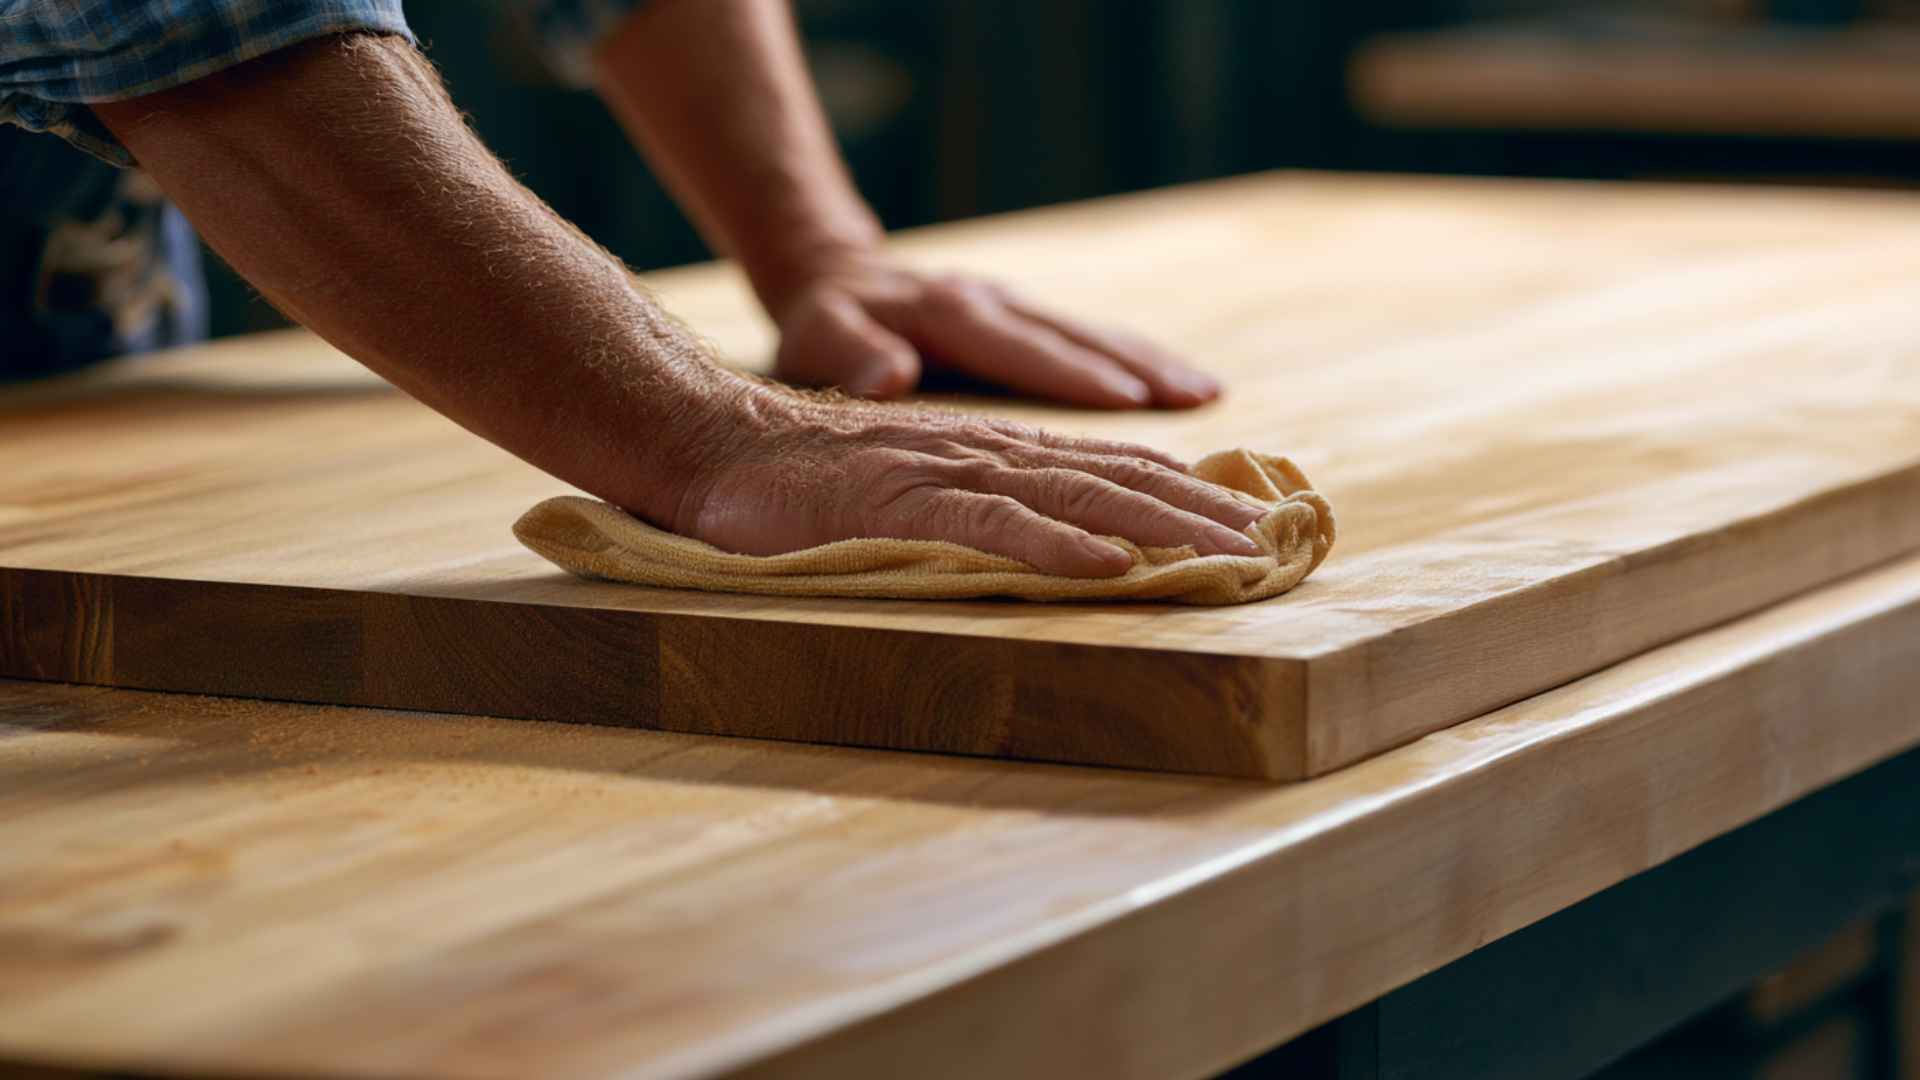
After sanding, wipe the entire surface with a tack cloth. Do this twice. Fine sanding dust settles back onto the surface quickly, and even a small amount affects how the whitewash absorbs.
Make sure to reach corners, edges, and any carved or detailed areas. A clean surface helps the whitewash spread evenly and prevents patchy spots.
Step 4: Check for old sealer
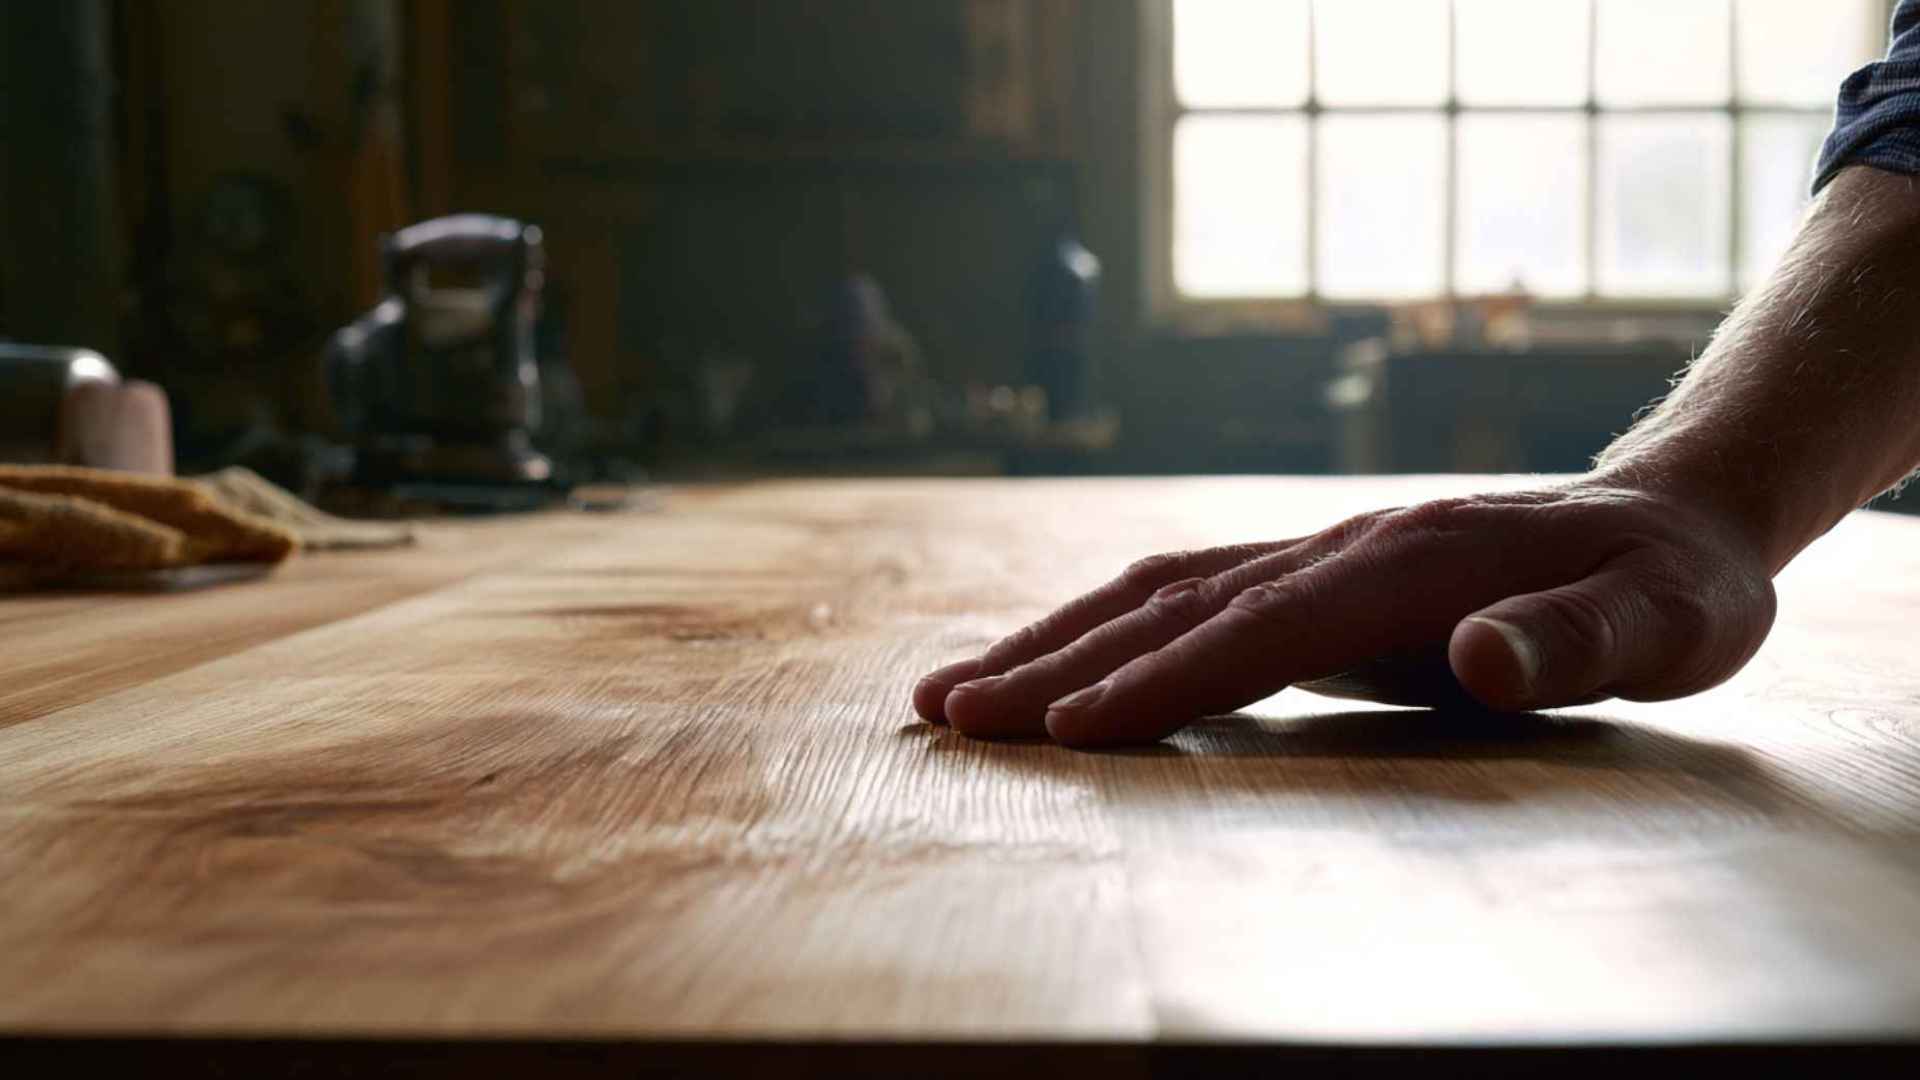
Run your hand across the wood surface to detect any remaining sealer. If it feels smooth or slightly glossy, continue sanding until it becomes matte and slightly textured.
Sealer blocks absorption, leading to uneven whitewash results. This step ensures proper bonding between the wood and the finish, resulting in a consistent, long-lasting, and natural-looking whitewashed surface overall.
Step 5: Test a small area
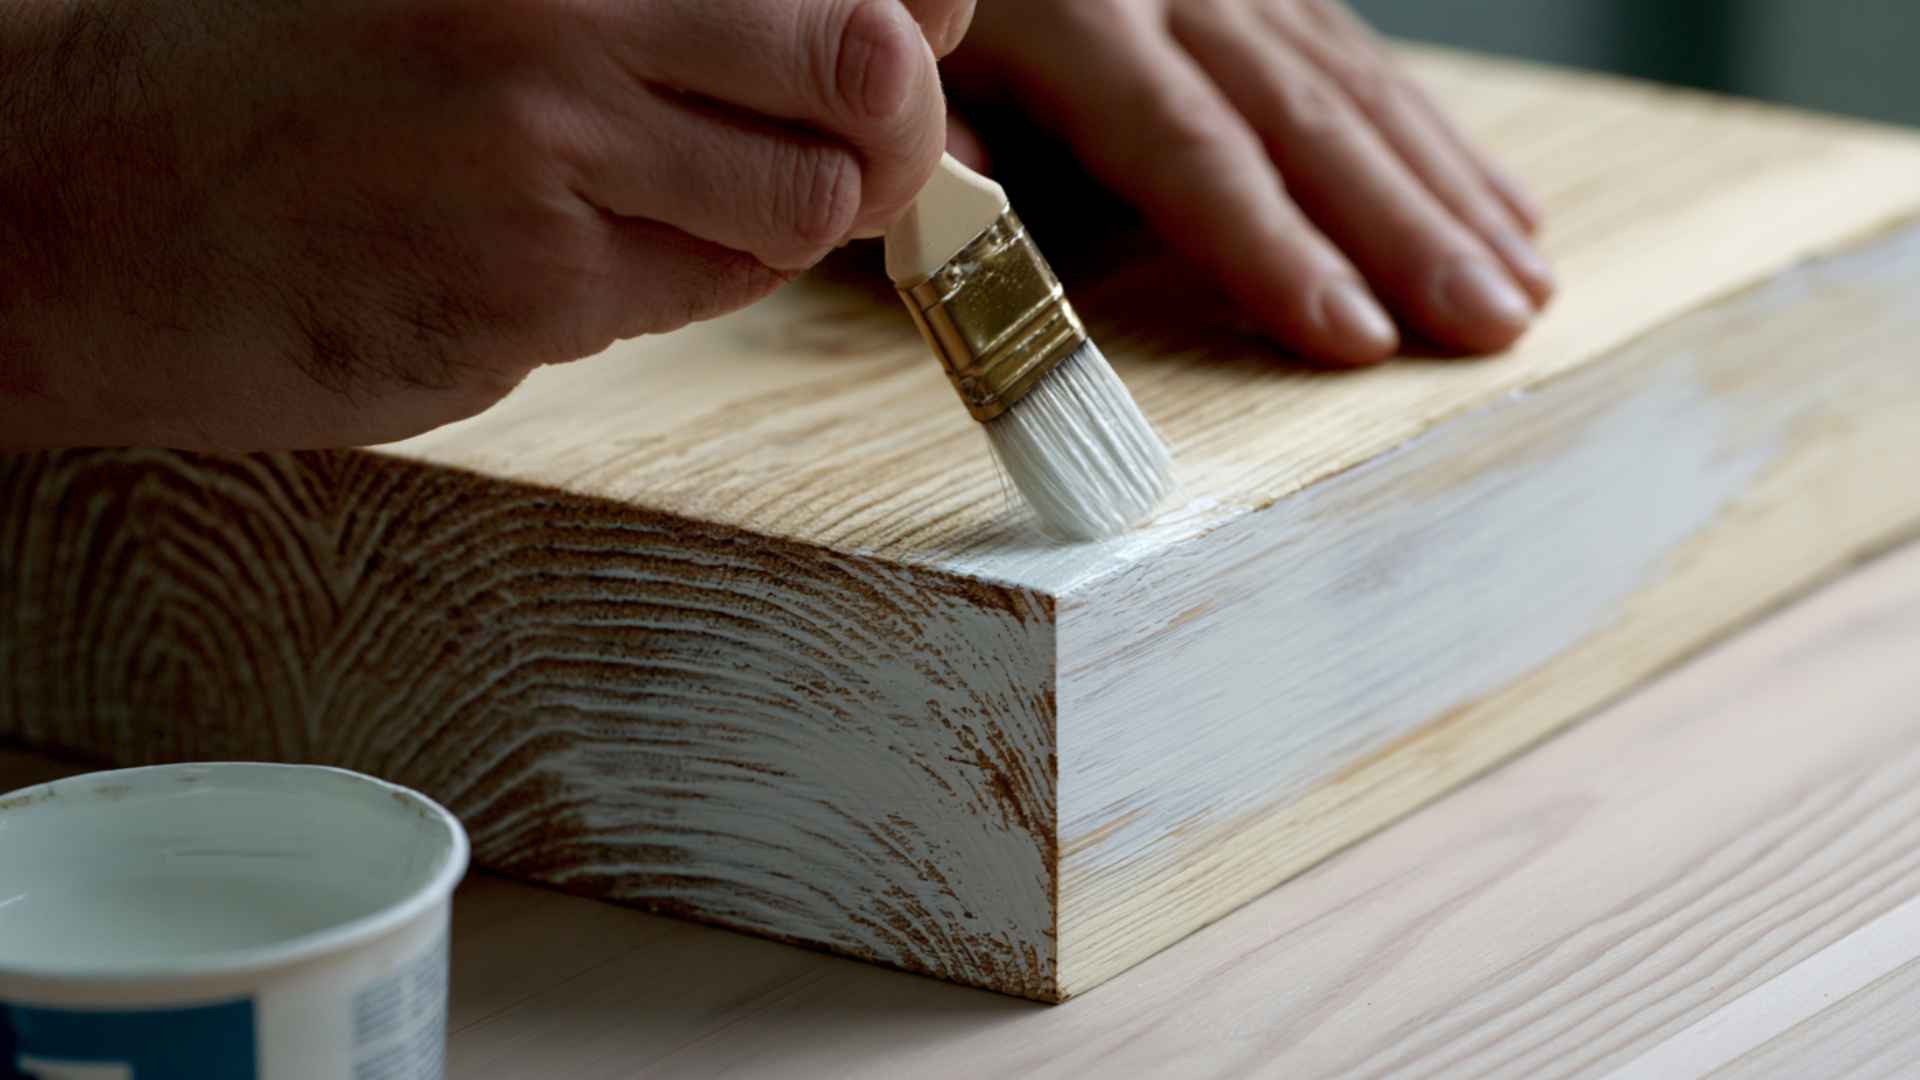
Before covering the whole piece, apply your whitewash mix to a hidden spot, the underside of a shelf, the back of a drawer front, or the inside of a leg. Let it dry and see if you like the result.
Check how the wood absorbs the mix and whether the tone feels too light or too heavy. Adjust the paint-to-water ratio if needed before moving on to the full surface.
Good prep is everything. Most whitewashing problems start here, and most of them are completely avoidable.
How to Mix Your Whitewash
Mixing whitewash is straightforward. There is no complicated recipe. You are simply diluting white paint with water until you reach the finish you want. From there, you adjust based on how light or heavy you want the finish:
If you want more grain definition on newer or smooth wood, apply a medium brown stain first and let it dry fully before whitewashing. The whitewash will then settle into the grain more visibly, giving the piece a warmer, more natural depth.
| Finish Look | Paint: Water Ratio | Wood Grain Visibility |
|---|---|---|
| Very light, barely-there wash | 1 : 3 | Very high, almost like a tint |
| Standard farmhouse finish | 1: 1 | High, grain clearly visible |
| More coverage, softer grain | 2: 1 | Medium grain shows but softly |
| Heavy wash, less grain | 3: 1 | Low, mostly white |
Mix your paint and water in a container and stir well. The paint will feel noticeably thinner than standard paint; that is normal.
Pro Tip: Mix more than you think you need before starting. Matching a batch mid-project is tricky because even a small change in the ratio shifts the color. Store leftover mix in a sealed container for touch-ups.
Start with 1:1. Test it. Adjust from there. Getting the ratio right before you start the full piece saves time and materials.
Different Ways to Whitewash Wood
There is more than one way to get the whitewashed look. Each technique creates a slightly different finish.
The right one depends on the type of wood you are working with and the look you want.
Method 1: The Diluted Paint Method
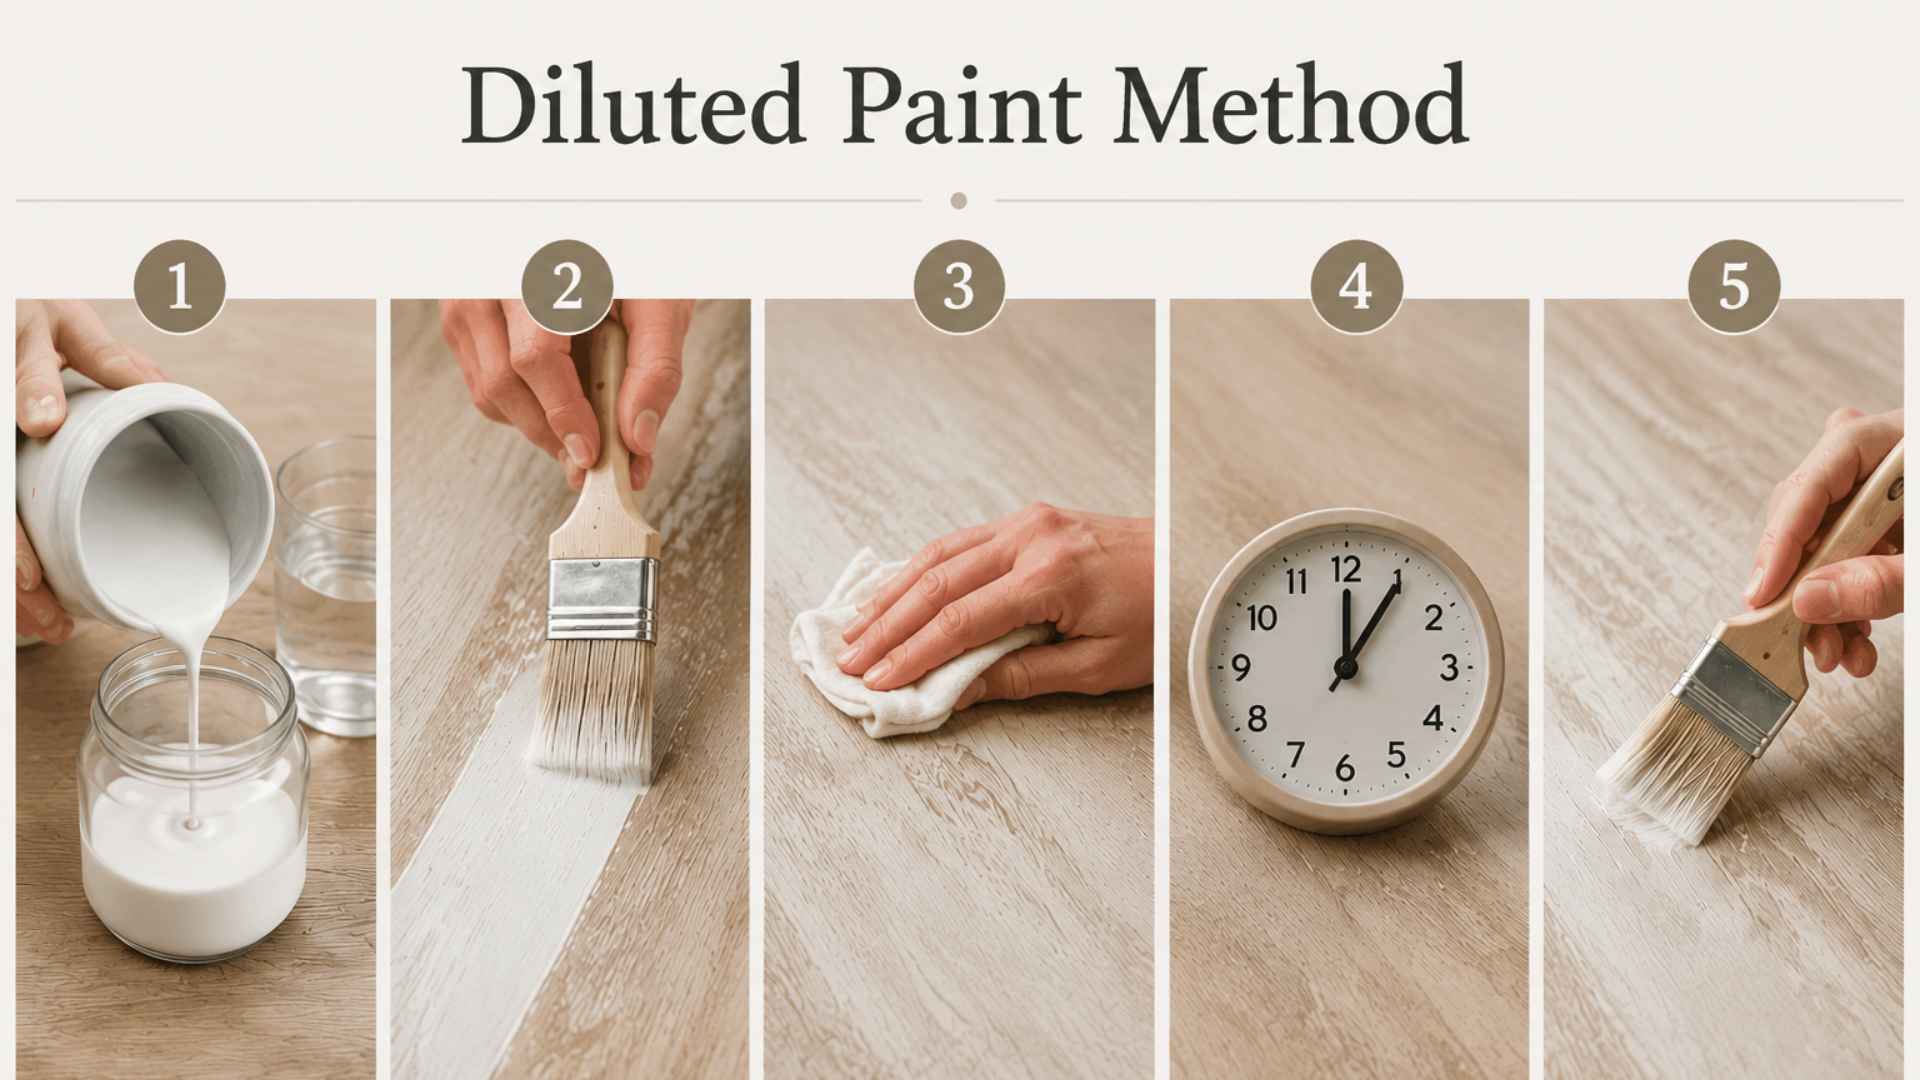
This method is the simplest way to achieve a soft, even whitewash finish. It works well on clean wood and gives a natural, lightly aged farmhouse appearance.
Best for: Smooth, new, or raw wood. Beginner projects. A clean, even farmhouse finish.
How to Do It
Mix your whitewash at a 1:1 paint-to-water ratio for a balanced, natural finish.
Apply using a lint-free rag or wide brush, following the wood grain in long, even strokes.
Work in small 12-inch sections, wait 30 to 60 seconds for the wash to penetrate, then wipe back excess to control transparency.
Let the first coat dry completely for about 1 hour before touching or reapplying.
Check the finish and add another coat if you want more coverage or a softer grain effect.
Result: Soft, even, semi-transparent white finish. The grain shows through clearly. This is the look most people picture when they think of farmhouse whitewash.
Method 2: The Candle Wax Method
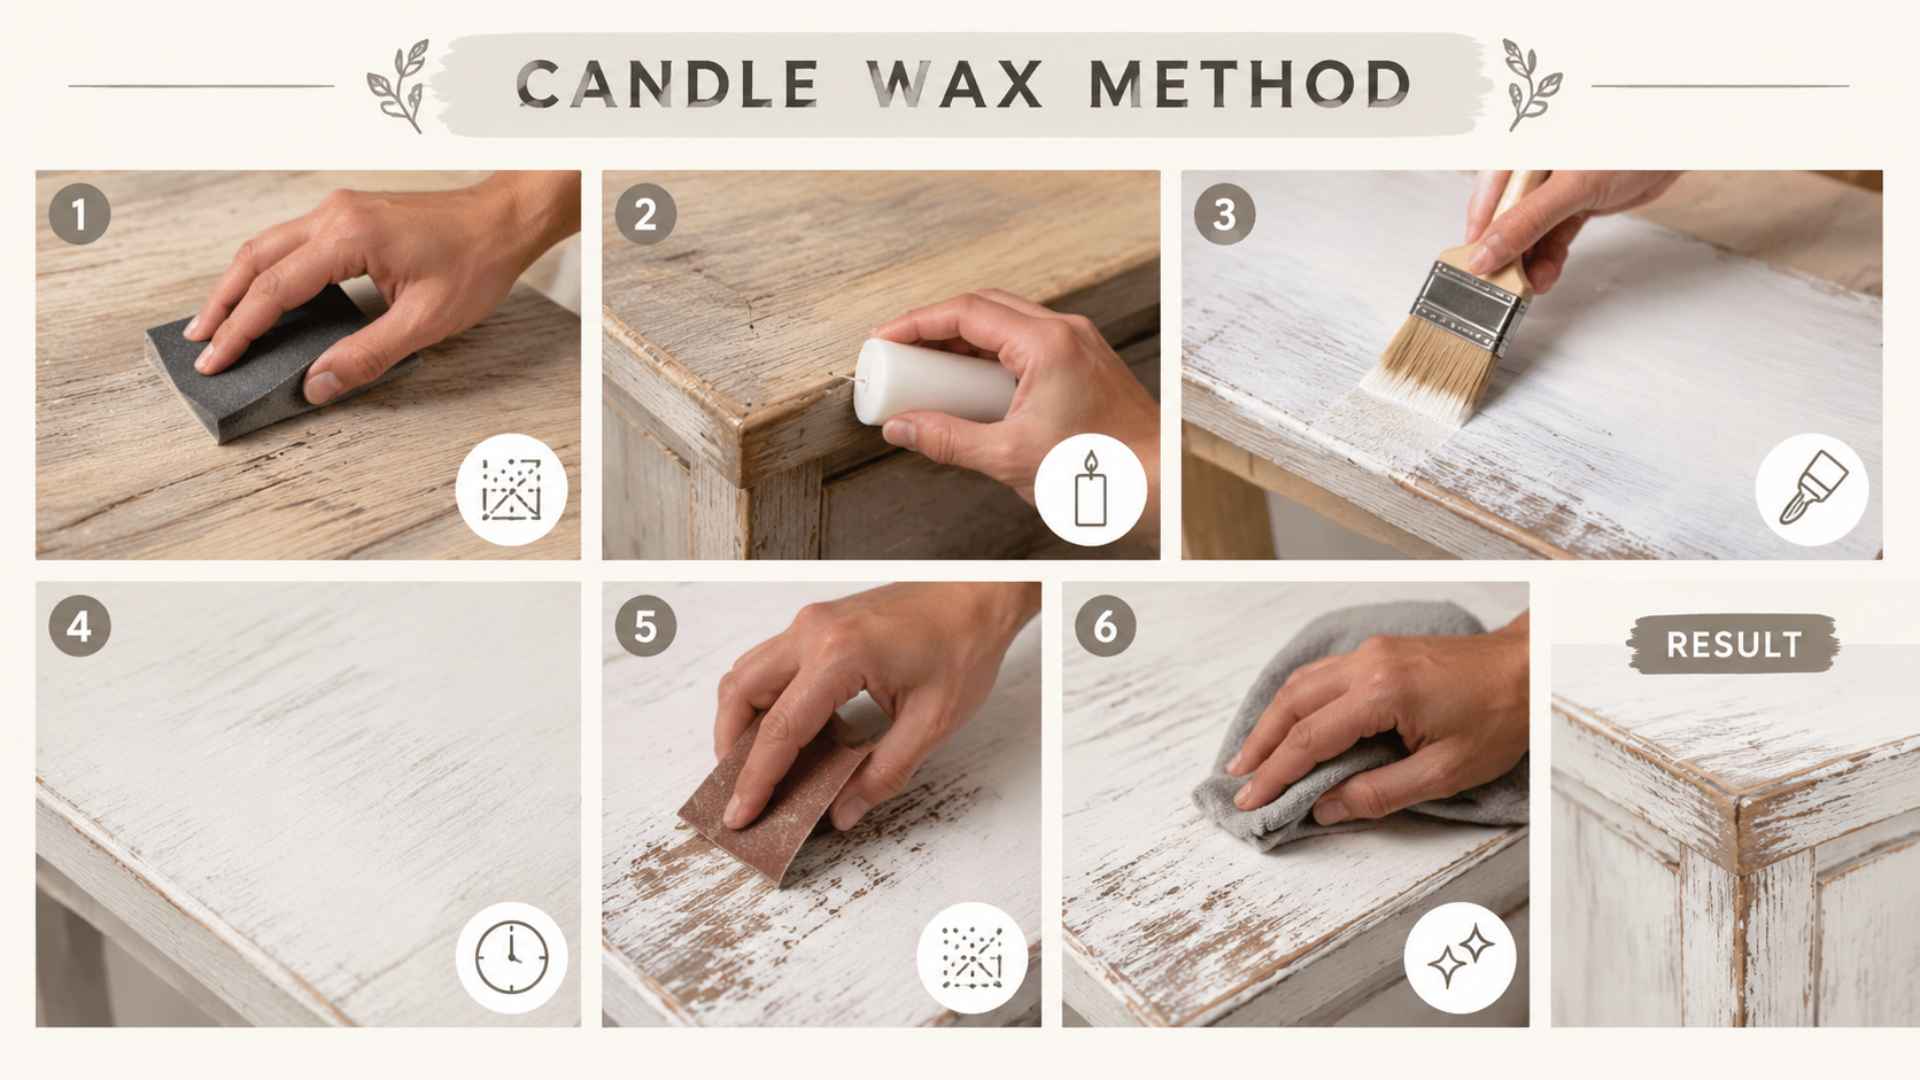
This technique uses candle wax to block the paint from sticking in certain spots. Those spots look naturally worn once the paint dries, like the wood has years of use behind it.
Best for: Reclaimed wood, older furniture, shabby-chic, or heavily distressed looks.
How to do it:
- Sand your wood and prepare it as normal.
- Rub a plain white candle firmly over the areas where you want the paint to resist; edges, corners, knots, and raised grain lines work best.
- Apply your whitewash mixture over the entire surface using Method 1 above.
- Let it dry completely.
- Lightly sand the waxed areas with fine-grit sandpaper. The paint lifts off easily anywhere the wax blocked it.
- Wipe away the sanding dust with a tack cloth.
Result: A naturally chippy, worn, layered finish. The raw wood shows through in just the right spots, and if you want to push that further, pairing this technique with wood-aging methods can give the piece an even more convincing worn finish. This is the method to use if you want a true farmhouse distressed look.
Method 3: The Scraper Method
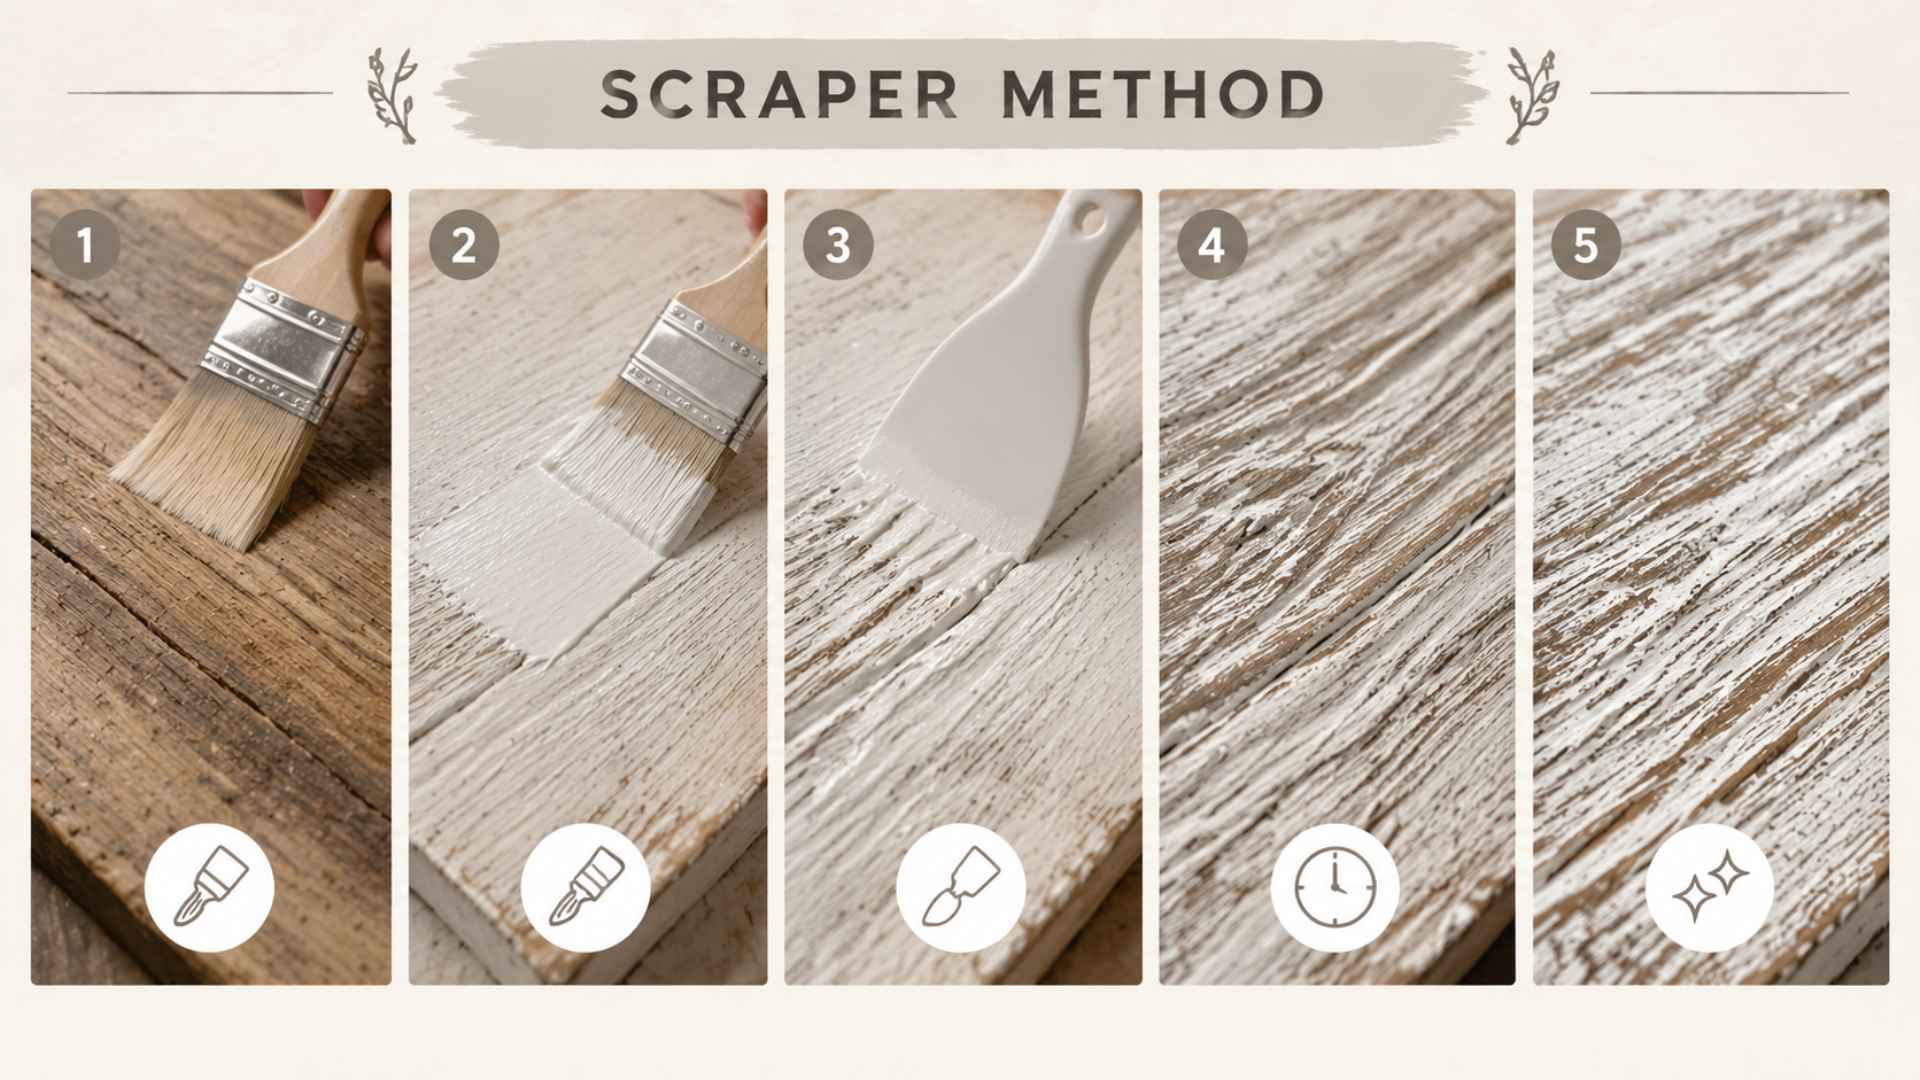
This method works by letting the whitewash sink into the grooves and low spots while lifting it off the raised grain.
Best for: Rough or textured wood; pallet wood, reclaimed barn wood, rough-cut planks.
How to do it:
- Mix your whitewash slightly thicker; try 2 parts paint to 1 part water.
- Apply the mixture generously with a wide brush over the entire surface.
- Immediately drag a wide plastic scraper or a wide putty knife across the surface before it dries.
- The scraper pulls paint off the raised grain and pushes it into the grooves, creating a layered, textured look.
- Let it dry and add a second layer if you want more depth.
Result: A heavily textured, layered, rustic finish. The grain detail stands out clearly. This is the most dramatic of the three methods and works especially well on rough wood where you want to highlight the natural texture.
How to Whitewash Different Wood Surfaces
The same basic steps apply across all surfaces. But there are a few extra things to know depending on what you are working on.
| Surface Type | Key Steps | Tools / Materials |
|---|---|---|
| Wood Furniture | Remove hardware, work section by section, apply with the grain, and wipe back excess. | Rag or brush, sanding tools, whitewash mix |
| Wood Floors | Use a pickling stain, apply in sections, wipe back evenly, and seal after drying. | Wide brush or mop applicator, pickling stain, water-based polyurethane |
| Wood Walls and Shiplap | Roll large areas, brush edges, work plank by plank, and wipe before drying. | Roller, 2-inch brush, whitewash mix |
| Pine | Use a lighter paint-to-water ratio and test first, as pine absorbs whitewash quickly and can look blotchy. | Whitewash mix, lint-free rag, sanding tools |
| Oak | Apply thin coats to highlight the prominent grain. Use shellac first if tannin bleed-through appears. | Whitewash mix, shellac (optional), brush |
| Cedar | Clean thoroughly and apply thin coats to preserve the wood’s natural color variations and texture. | Whitewash mix, brush, tack cloth |
| Reclaimed Wood | Remove dirt and loose debris, keep the aged texture, and whitewash lightly for a rustic appearance. | Stiff brush, sanding tools, whitewash mix |
| Plywood | Sand smooth, remove dust, and apply evenly to avoid uneven absorption between veneer layers. | Fine-grit sandpaper, tack cloth, whitewash mix |
The surface changes, but the technique stays the same. Know your wood type and adjust your prep accordingly for the best adhesion and consistent finish across all projects every single time.
Can You Whitewash Over Stained or Painted Wood?
Yes, and both are doable with a little prep work first. For stained wood, test a small hidden area before starting. If the wash beads up instead of absorbing, there is a sealer underneath. Sand with 120-grit until the surface feels matte, then retest.
For painted wood, lightly scuff the surface with 220-grit sandpaper first so the wash has something to grip. It will sit on top rather than soak into the grain, which gives a softer, more layered look than raw wood but still works well. Any water-based paint works for the mix itself, including chalk, acrylic, and standard latex paint.
How to Seal Whitewashed Wood
Sealing isn’t needed for decorative pieces, but daily-use surfaces should be sealed. Use water-based polyurethane or polycrylic to prevent scratches and wear.
Avoid oil-based sealers, as they yellow and dull white finishes over time. Water-based options remain much clearer than oil-based sealers and are preferred for preserving whitewashed finishes, though slight aging can occur over time depending on the product.
Sheen options: Matte, Satin, Gloss
How to apply:
- Wait for the final whitewash coat to dry fully, at least 2 hours, or overnight to be safe.
- Apply a thin, even coat of water-based sealer with a clean brush. Work in the direction of the grain.
- Let it dry completely (follow the product’s drying time, usually 2 hours).
- Sand lightly with 220-grit sandpaper to knock down any raised grain or brush marks.
- Wipe with a tack cloth, then apply a second thin coat.
Two thin coats protect better than one thick coat and are less likely to cloud or bubble.
Common Whitewashing Mistakes and How to Fix Them
Even simple projects can go wrong. Here are the most common problems and the fixes.
- Streaky finish: This occurs when you cover too large an area before wiping, resulting in uneven drying. Work in 10–12-inch sections, apply and wipe immediately, keeping pressure consistent for an even whitewash finish.
- Paint is not sticking: Old sealer blocks absorption, so whitewash won’t take. Re-sand until matte and slightly rough, clean with a tack cloth, then reapply carefully for proper adhesion and even finish.
- Tannin bleed-through: Orange or yellow tones bleed through white, common in pine, oak, and cherry. Apply Zinsser Bulls Eye Shellac first, let it dry, then whitewash. It blocks tannins while preserving the grain’s clean finish.
- The finish looks too white and opaque: Your mix is too thick. Increase water to a 1:2 or 1:3 paint ratio. Apply a thin coat, let it dry, then lightly sand with 220-grit sandpaper to soften the coverage and enhance the visible wood grain.
- Uneven coverage across panels or planks: You are not wiping consistently. Apply wash, wait 30 seconds, then wipe with steady pressure. Inconsistent timing or pressure creates visible lines between sections.
Most mistakes are fixable. The key is to work slowly, test first, and not cover too much area at once.
The Bottom Line
Whitewashing is one of those finishes that looks expensive but costs very little to achieve. Once you get the ratio right and work with the grain, the whole process becomes straightforward and even enjoyable.
And the results speak for themselves: a soft, lived-in look that holds up well over time. Now you have everything you need to know about how to whitewash wood at home without second-guessing every step.
Start with a small test piece, get comfortable with the technique, and then move on to the bigger surface. Ready to start? Pick up your supplies and give it a go this weekend.
Frequently Asked Questions
Do You Need to Sand Wood Before Whitewashing?
Only if there is an existing finish on the surface. Raw, unfinished wood does not need to be sanded first.
Can You Whitewash Stained Wood?
Yes, but sand off the old stain first so the whitewash can absorb properly into the wood.
How Long Does Whitewash Last on Wood?
When done well and sealed, it can last many years indoors, with some sources citing up to 20 years, depending on use and maintenance. Outdoors, with a proper sealer applied, plan to recoat every 3 to 5 years.
Does Whitewash Wash Off in Rain?
Unsealed whitewash fades outdoors. Always seal any exterior wood project with a water-based polyurethane.
Can You Use Chalk Paint to Whitewash?
Yes. Any water-based paint works, including chalk paint, latex, and acrylic. Chalk paint is particularly useful over previously painted furniture because it absorbs more evenly than standard latex on a sealed surface.