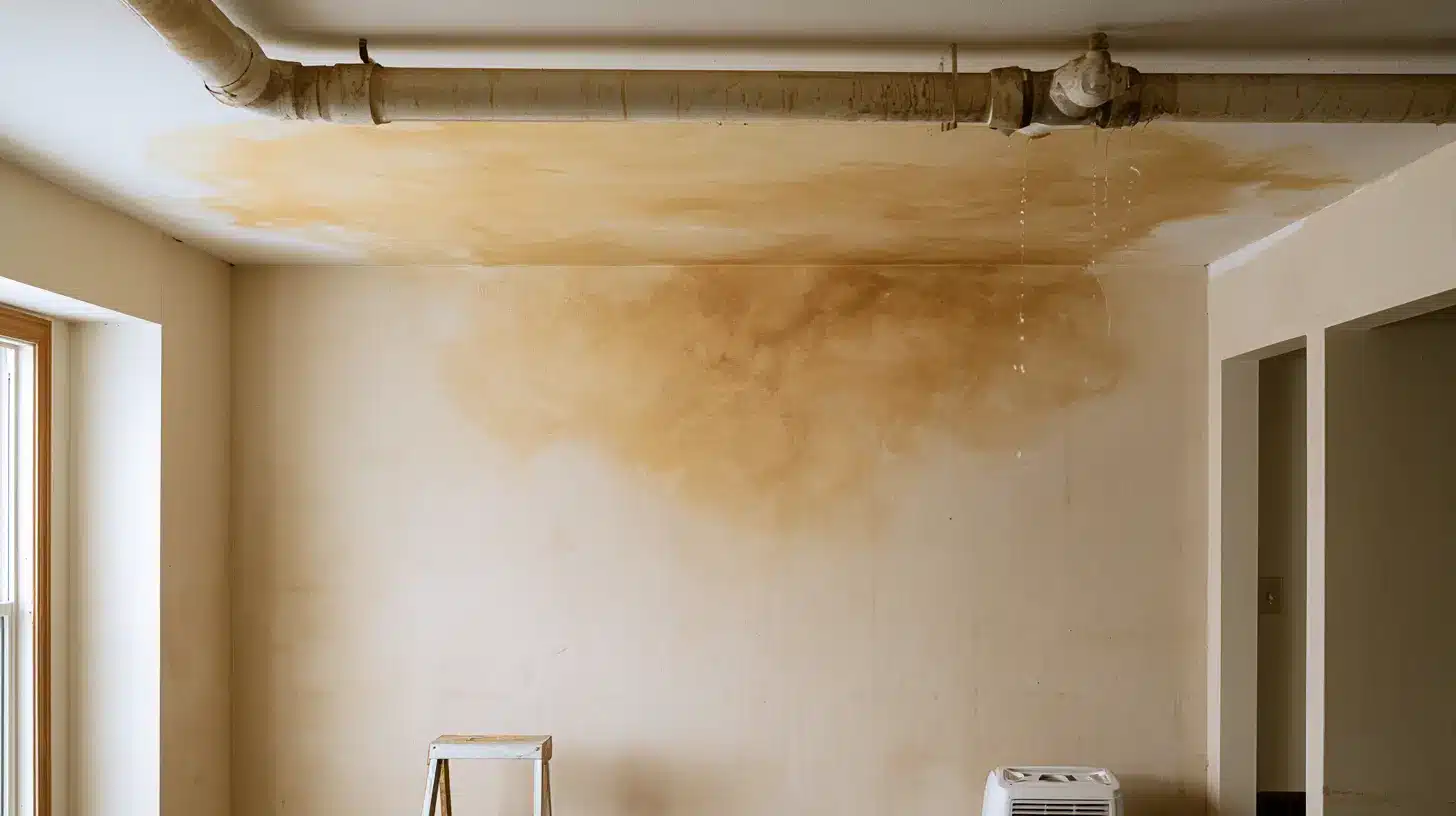
A water stain on the ceiling is hard to ignore once you spot it.
That yellow-brown ring above your head is more than an eyesore; it usually signals something is wrong inside your home.
Moisture travels through joists, insulation, and drywall before it finally leaves that familiar brown mark behind.
Understanding all about ceiling stains, how to check and assess them properly before you touch anything, how to fix and cover them the right way, and what steps actually keep them from coming back for good.
What a Water Stain on Ceiling Tells You About Your Home
A ceiling stain before any repair makes sense; it helps to understand what the stain is actually telling you about your home.
Water follows gravity, but it also moves sideways along joists and insulation before pooling at one spot.
The visible stain only tells you where the water landed. The brown or yellow ring you see is mineral residue left behind after the water evaporated, which means the actual leak could be several feet away.
By the time a stain is visible, moisture has already been at work for a while, weakening drywall, feeding mold in wall cavities, and slowly damaging nearby wood framing.
Main Causes of Water Stains on the Ceiling
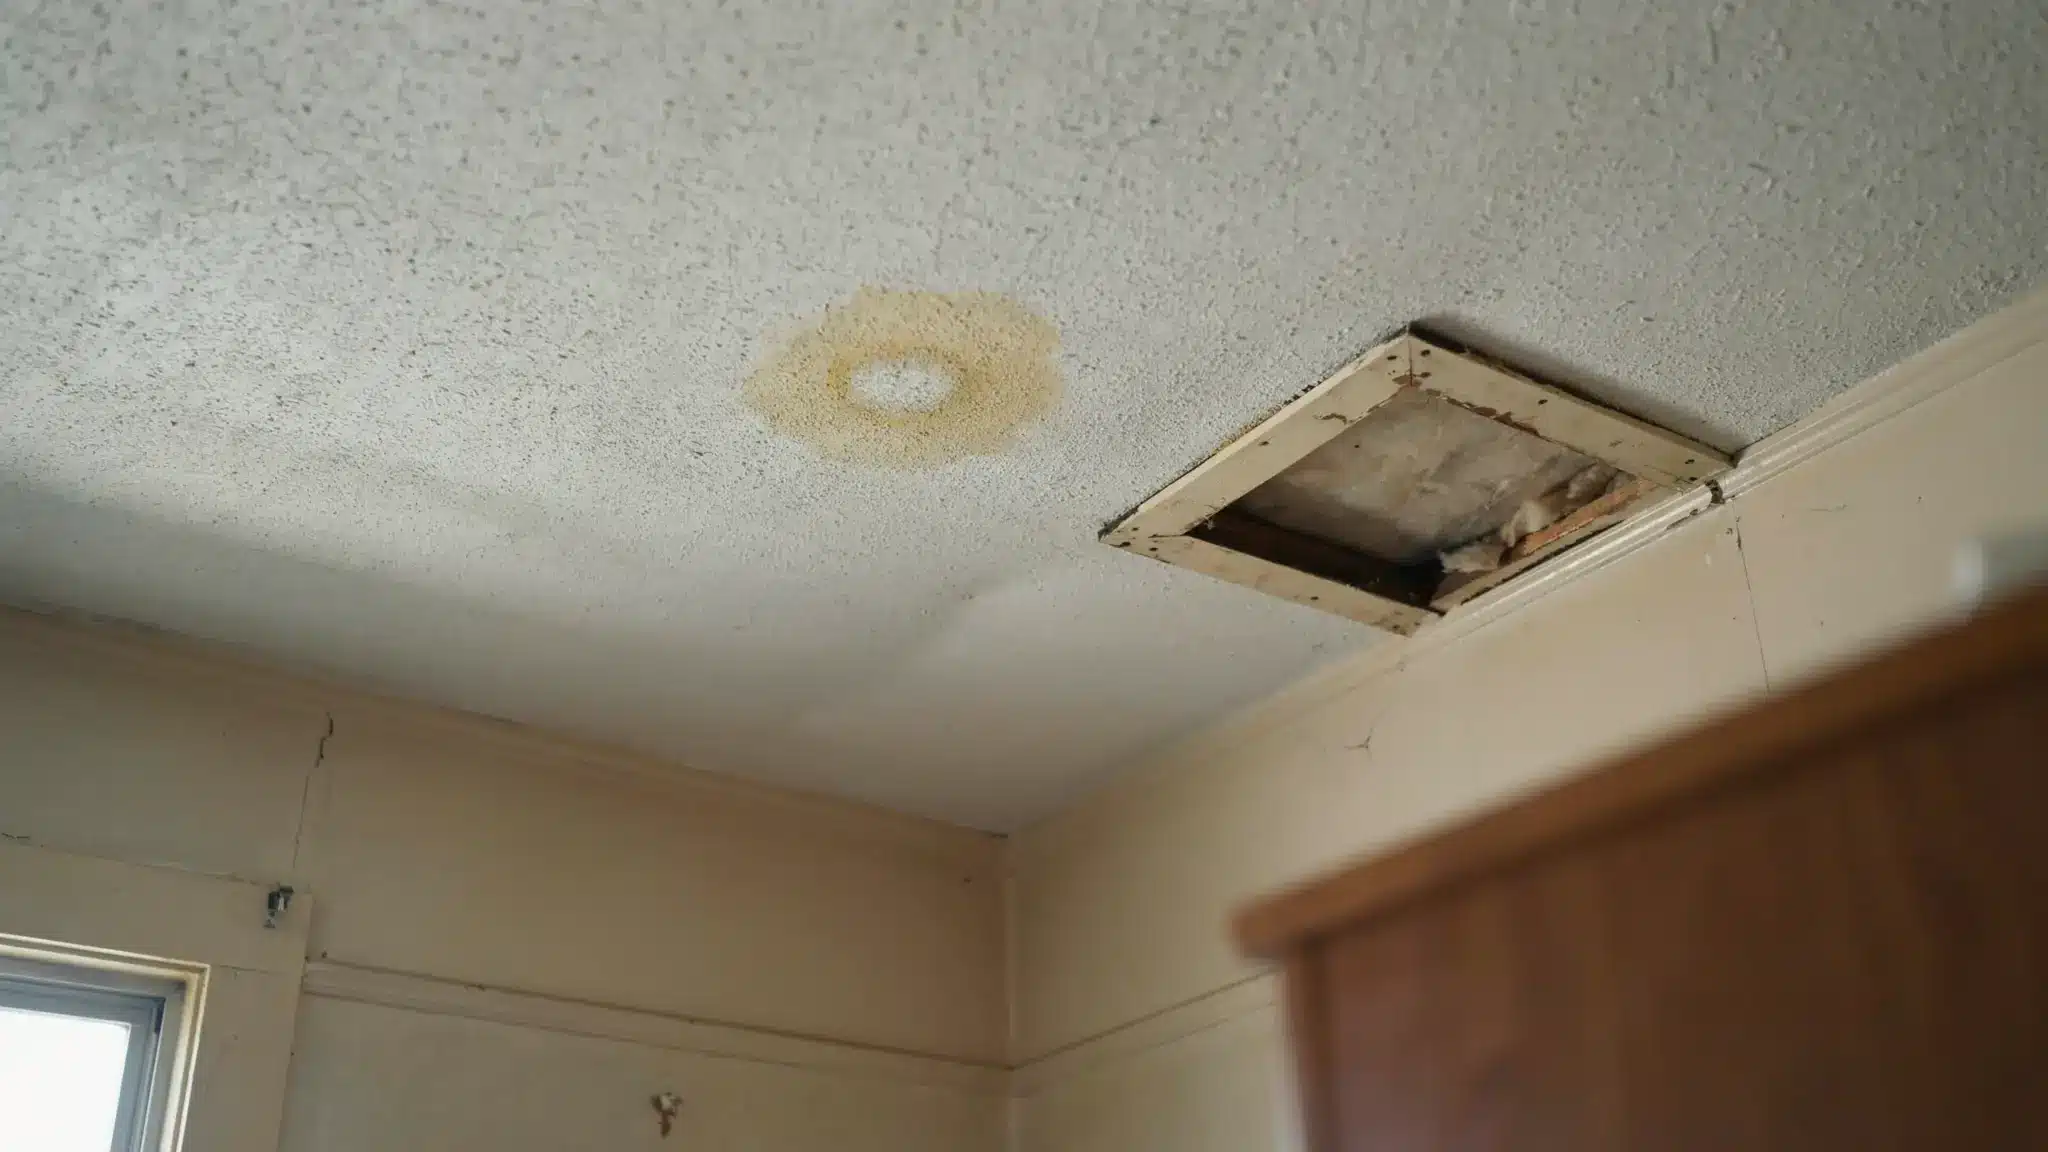
Ceiling stains come from several different sources, and the location of the stain is usually the first clue.
Here are the five causes that account for most cases in American homes.
1. Roof Leaks from Damaged Shingles or Flashing
Cracked or missing shingles allow rainwater to work its way under the roof surface.
Rusted or lifted flashing around chimneys, skylights, and roof valleys is another common failure point that channels water straight into the attic and down to the ceiling.
2. Plumbing Leaks from Pipes Above the Ceiling
Supply lines, drain pipes, and toilet connections above your ceiling can develop slow drips due to corrosion or aging seals.
Stains from plumbing sources typically appear near bathrooms or kitchens and often align with a fixture directly overhead.
3. Bathroom Moisture Buildup and Poor Ventilation
Steam from a poorly ventilated bathroom rises, hits the cooler ceiling, and condenses repeatedly.
Over time, that moisture soaks in and creates a soft, diffuse stain rather than the sharp ring a drip leak usually leaves.
4. HVAC Condensation and Duct Leakage
Clogged condensate drain lines on AC units can cause overflow from the drip pan.
Unsealed or uninsulated ducts also sweat in humid conditions, dripping condensation onto surrounding ceiling materials; stains often appear near vents or along duct lines.
5. Appliance Overflow or Upper Floor Water Spills
Washing machines, refrigerators with water lines, and dishwashers on upper floors can cause water to leak into the ceiling below.
These stains tend to appear suddenly after a specific event rather than building slowly over weeks.
How to Check a Water Stain on a Ceiling
A few quick checks will tell you what you are actually dealing with before any time or money is spent.
- Confirm if the Leak Is Still Active or Already Dried: Press lightly on the stain with a gloved hand. Mark the edges with a pencil and recheck in 48 hours to see if the boundary has moved.
- Trace the Highest Point of Moisture Spread: Look for the darkest or oldest-looking part of the stain. If you can access the floor above, check directly above that spot for wet insulation or water marks.
- Check Nearby Bathrooms, Roofs, or Plumbing Lines: An exterior wall stain points to the roof. One under an upstairs bathroom suggests plumbing or condensation. Location alone narrows the source before inspection.
How to Fix a Water Stain on a Ceiling Step by Step
The order of these steps matters. Skipping or rearranging them is what causes repairs to fail and stains to come back within weeks of finishing.
Step 1: Stop the Source of the Leak First
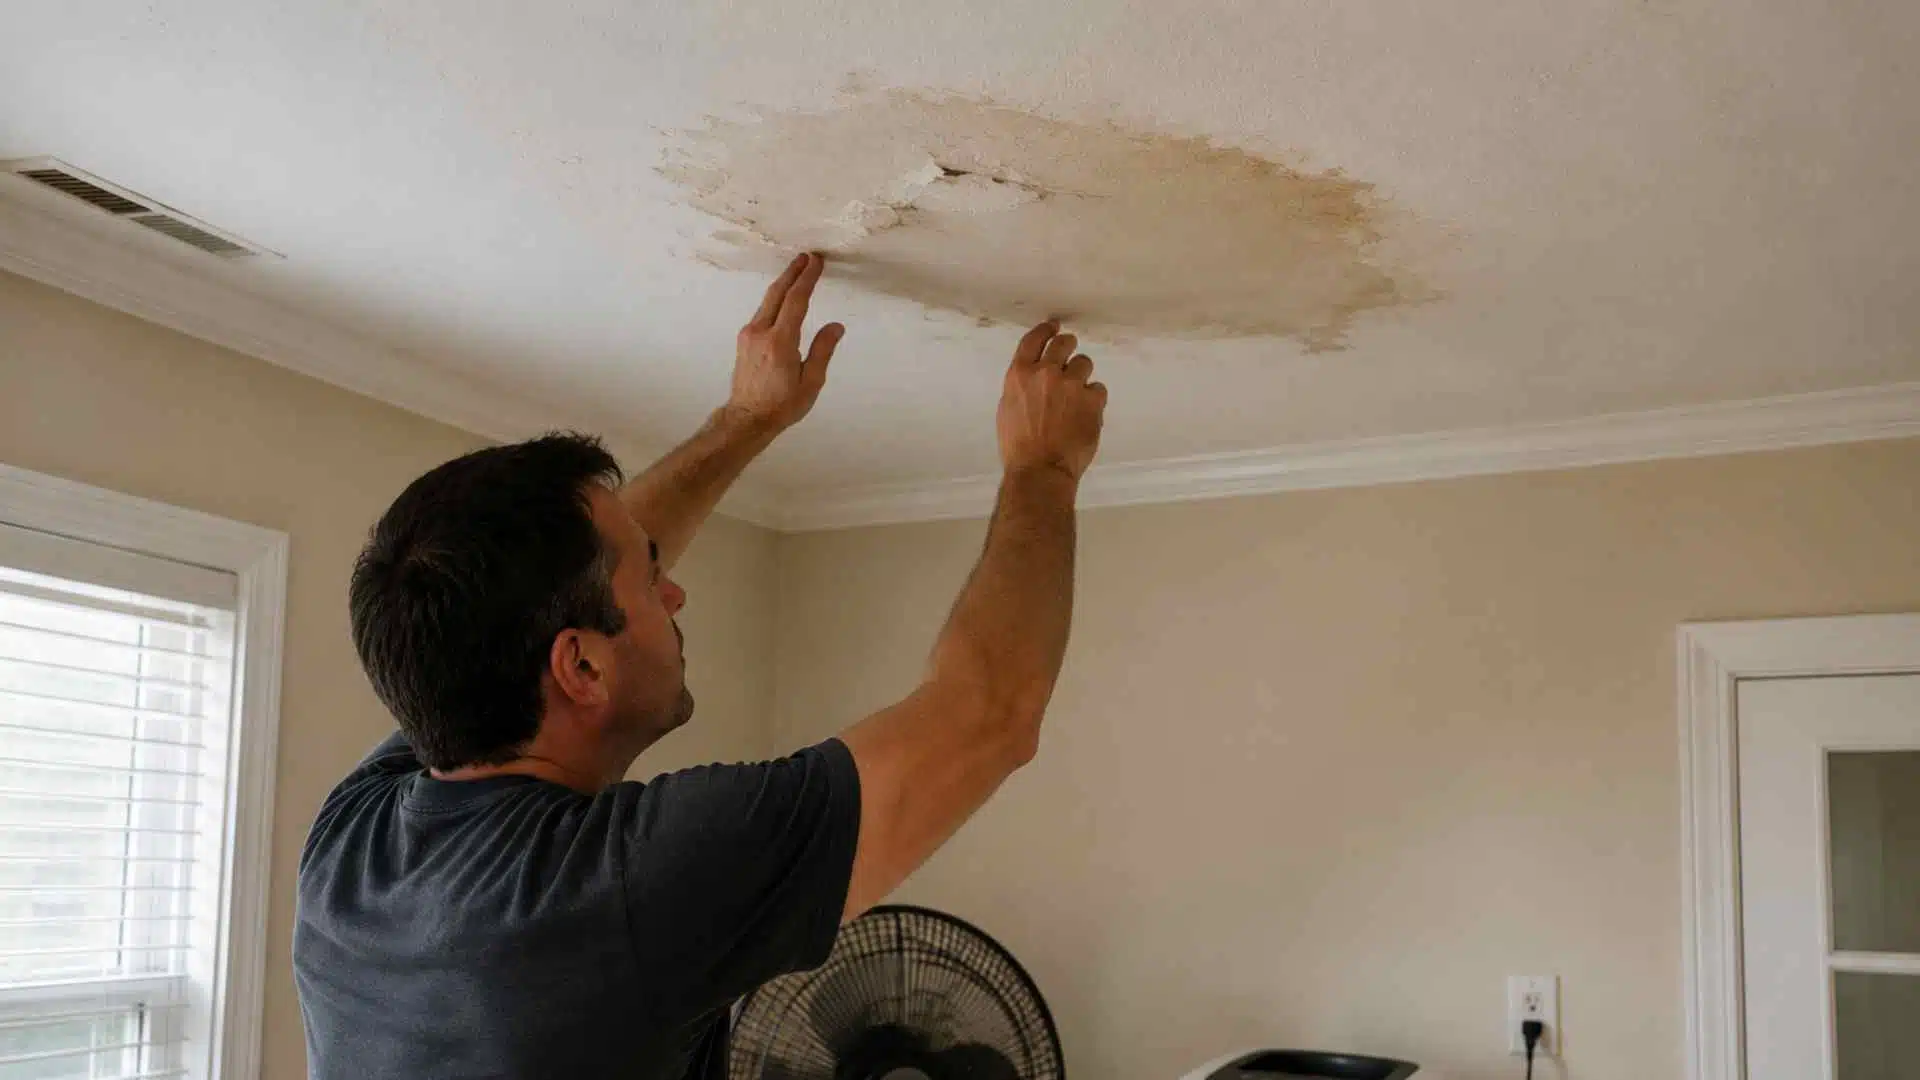
No repair holds if the source is still active. Have a plumber address leaking pipes, a roofer repair damaged flashing, or a technician clear a blocked HVAC drain line, before doing anything to the ceiling surface.
Step 2: Dry the Ceiling Completely Before Any Repair
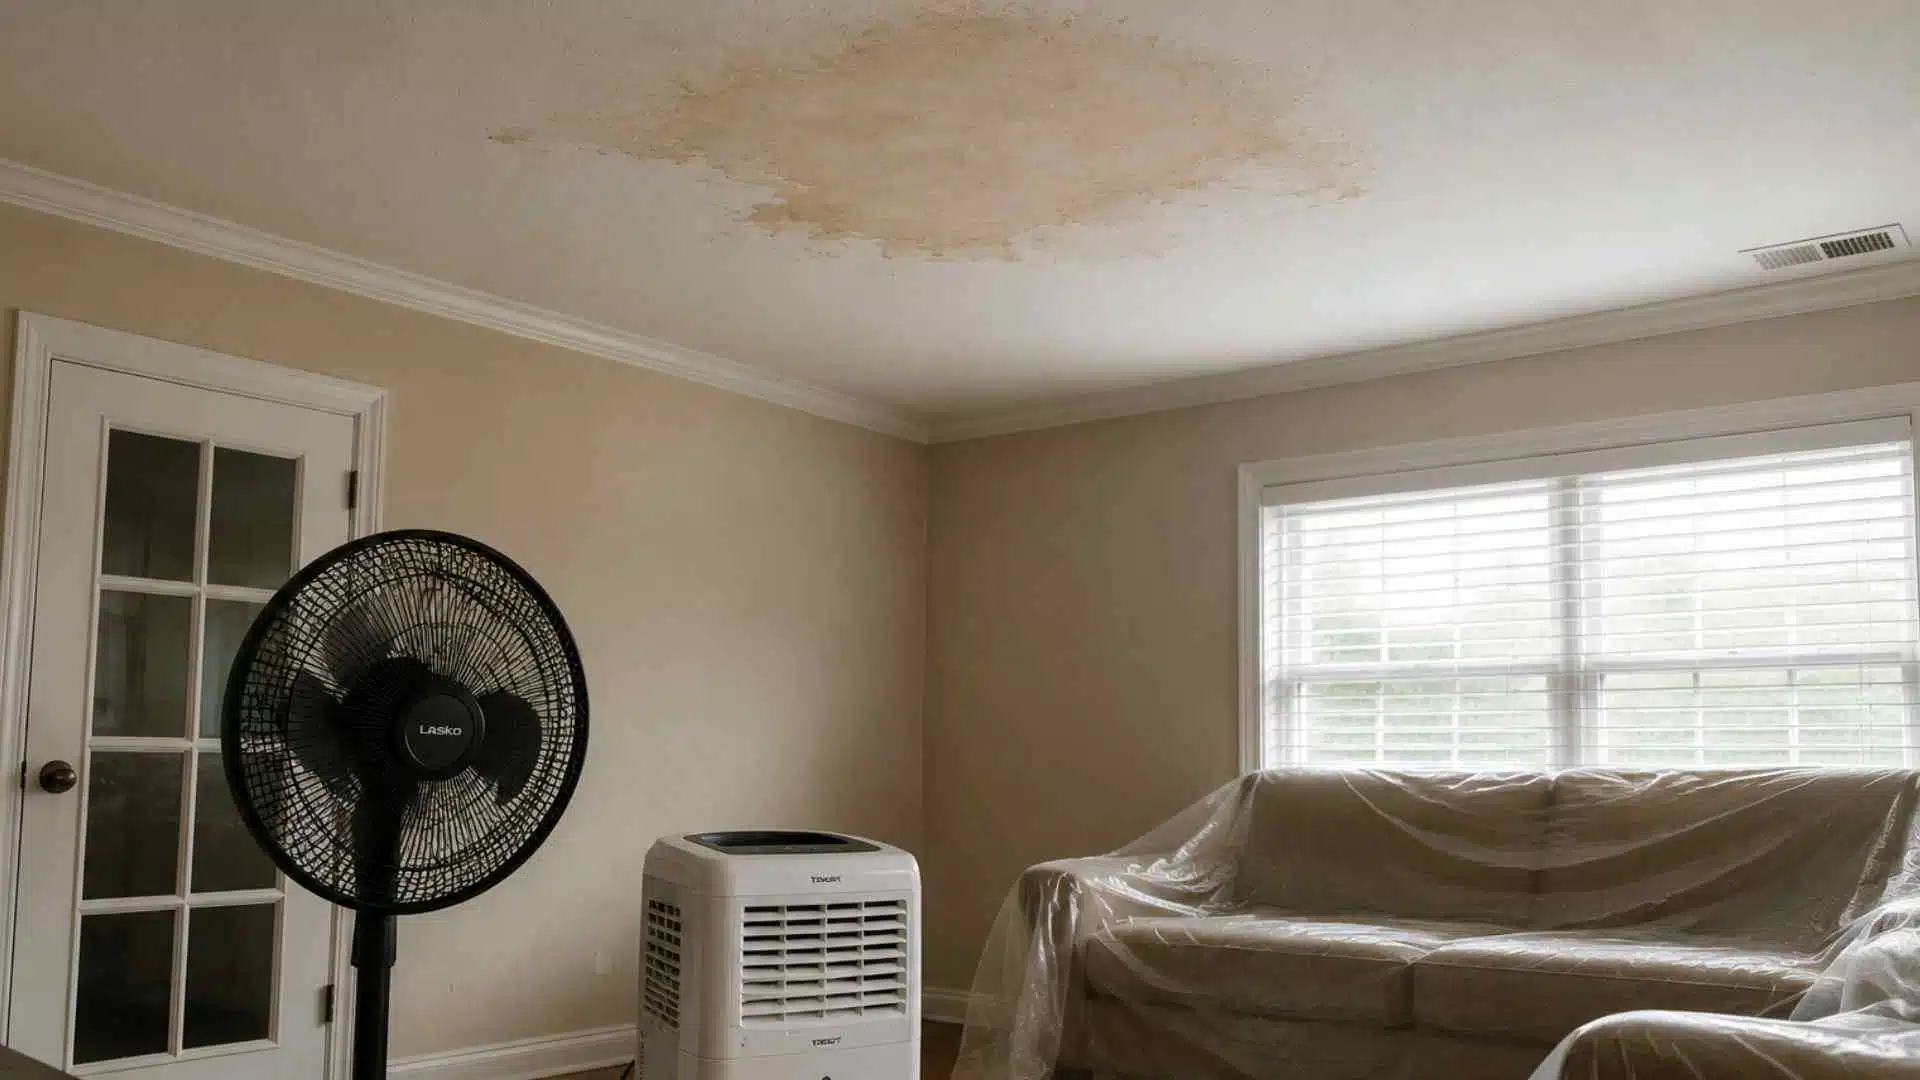
Minor moisture needs at least 24 to 48 hours to dry in normal conditions. Run a dehumidifier and a box fan to speed the process.
Primer or paint applied over a damp ceiling will bubble, peel, and fail within weeks.
Step 3: Clean and Prepare the Stained Surface
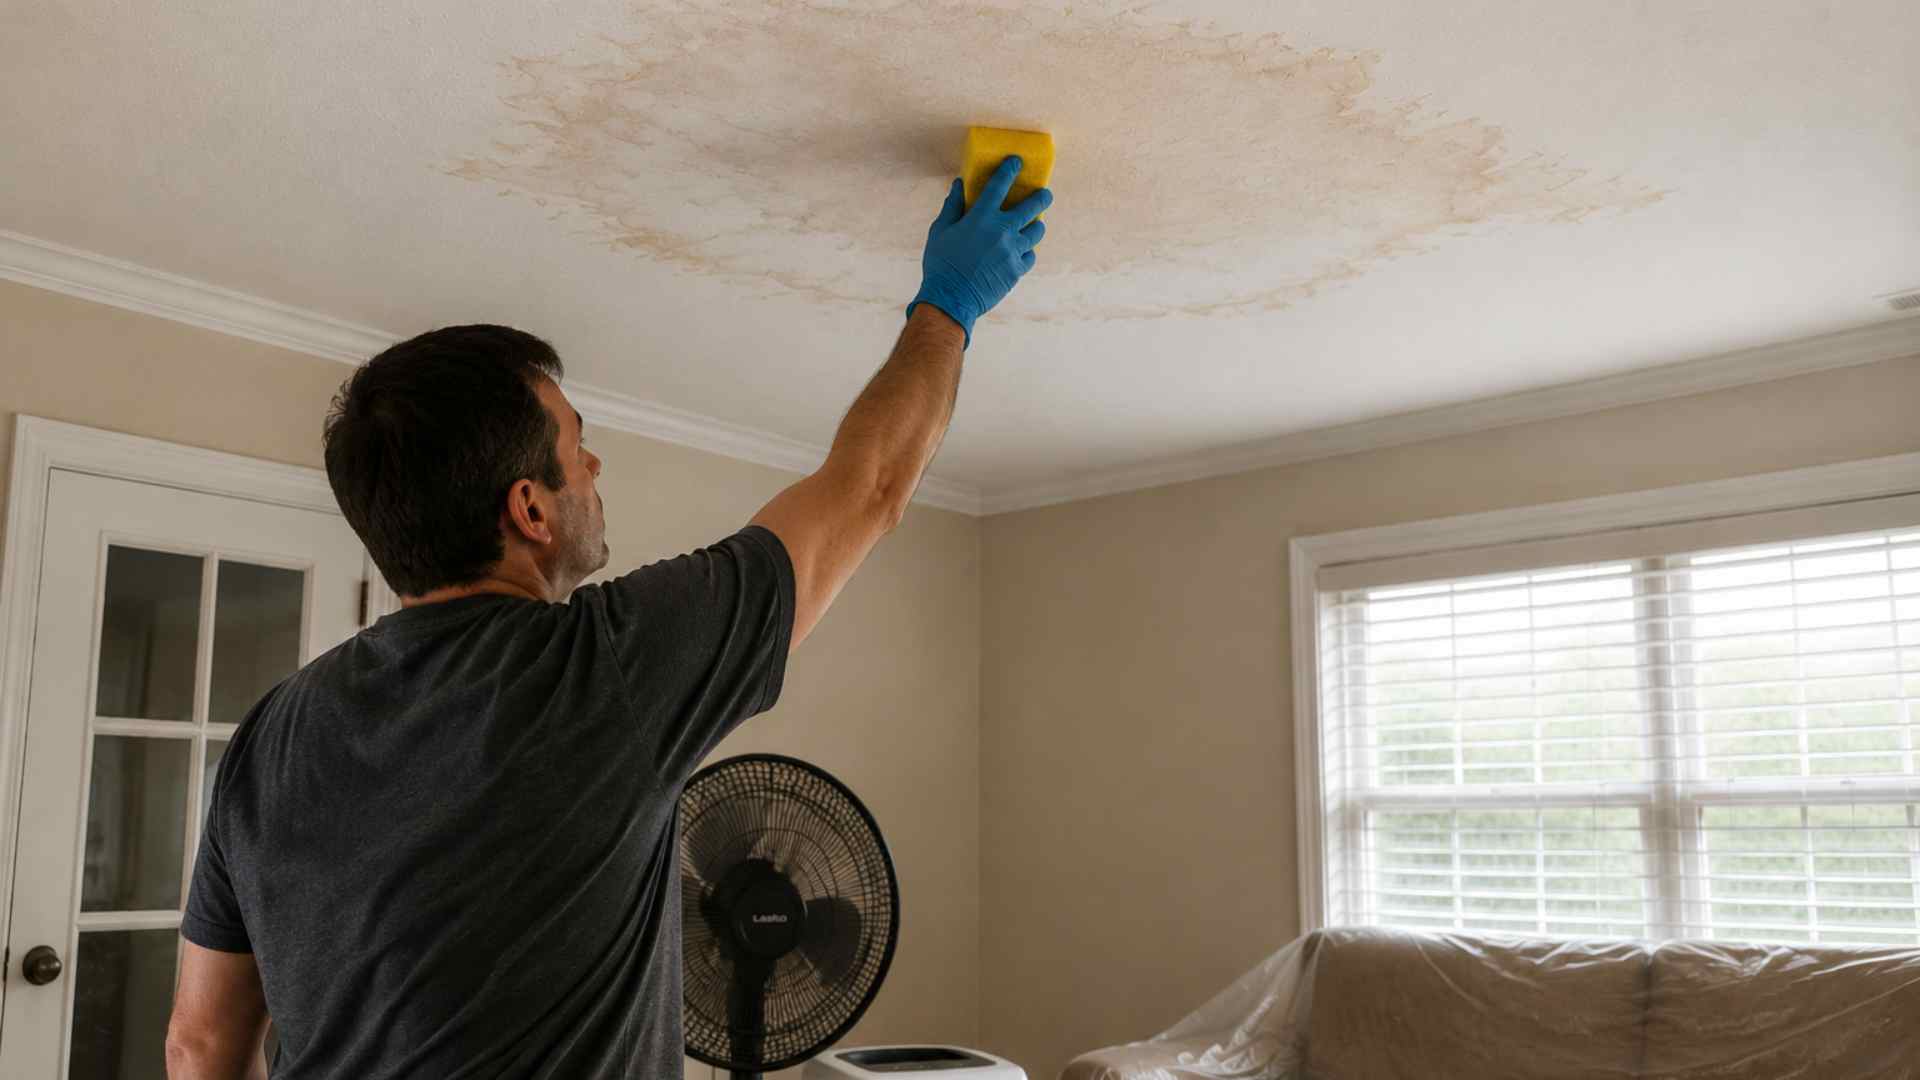
Mix one part bleach with five parts water and apply lightly to the stain with a sponge. Let it sit for 10 to 15 minutes, rinse, and allow it to dry fully.
Wear gloves and eye protection, and keep the room ventilated.
Step 4: Repair Minor Ceiling Damage If Needed
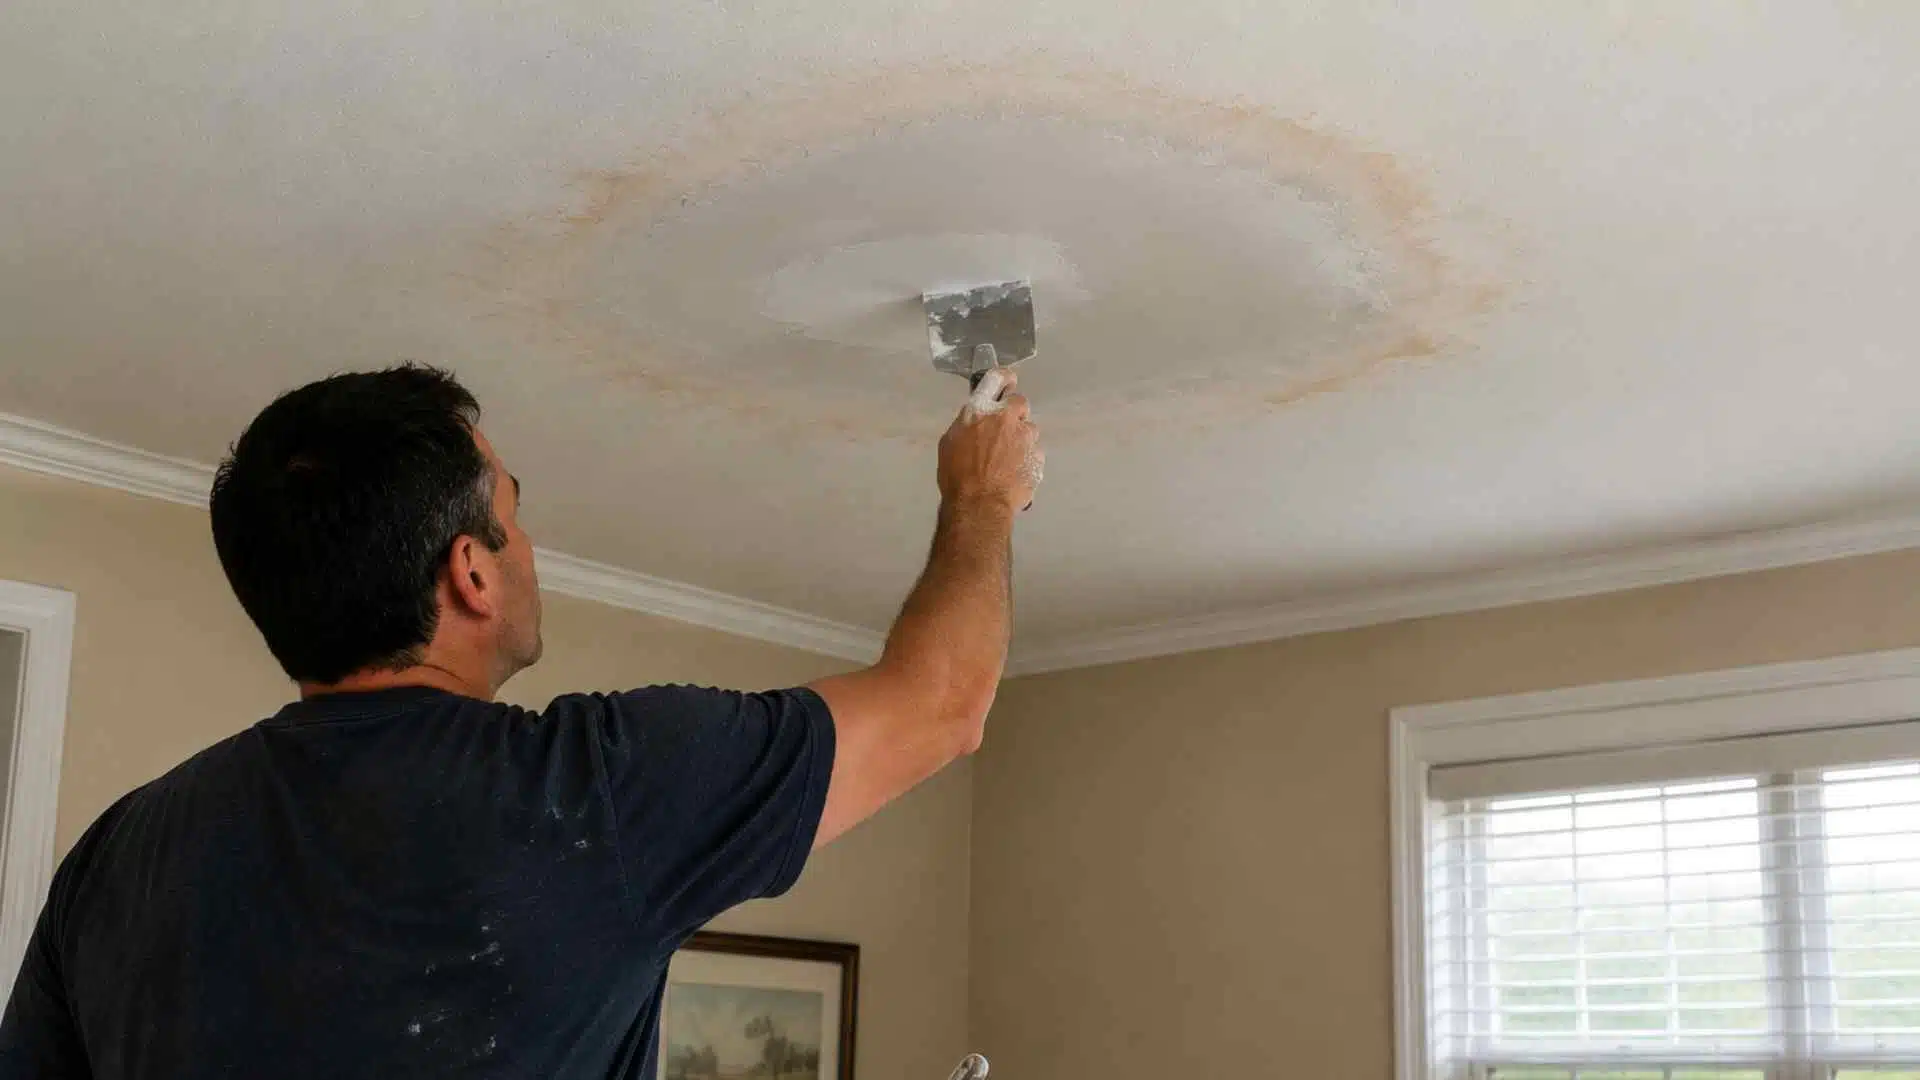
Scrape off loose material with a putty knife, fill small gaps with joint compound, let it dry, then sand smooth.
Sections that still feel soft after drying should be cut out and replaced with new drywall entirely.
How to Cover Water Stains on Ceilings the Right Way
Covering a stain is not just a matter of painting over it. Standard ceiling paint will not stop a stain from returning.
Tannins and minerals in a water stain are water-soluble, so they redissolve and bleed through standard water-based paint.
Regular latex paint may look fine at first, but the yellow ring usually returns within weeks.
This is partly because most homeowners reach for standard wall paint out of habit, without realizing ceilings need a different formulation altogether to handle stains and drips.
Best Way to Apply Stain Blocking Primer
Use an oil- or shellac-based primer, such as Zinsser BIN. Roll on with a 3/8-inch nap roller, extending past the stain edges, and add a second coat if discoloration shows through.
Final Coat Painting for a Clean, Even Ceiling Finish: Once the primer is dry, apply matte ceiling paint with a medium-nap roller. Two coats are usually needed over spot-primed areas. Feather the edges to blend with the surrounding ceiling.
Gentle Cleaning Methods for Fresh Stains
Mix equal parts white vinegar and warm water and spray lightly onto the stain. Wait five minutes, then wipe gently with a clean cloth.
Vinegar works well on light condensation stains and mineral deposits that have not fully set.
When Bleaching or Sanding Becomes Necessary
Stains that do not clear with vinegar respond to a 1:5 bleach-and-water solution applied with a sponge for 10 to 15 minutes.
If peeling paint left texture behind, sanding with 150- to 220-grit paper smooths things before priming.
How to Remove Water Stains On Your Ceiling Without Painting Not every ceiling stain needs primer and paint. Fresh or very mild stains can sometimes be cleared with basic cleaning methods before any heavier work is needed. |
How to Prevent Water Stains on the Ceiling from Coming Back
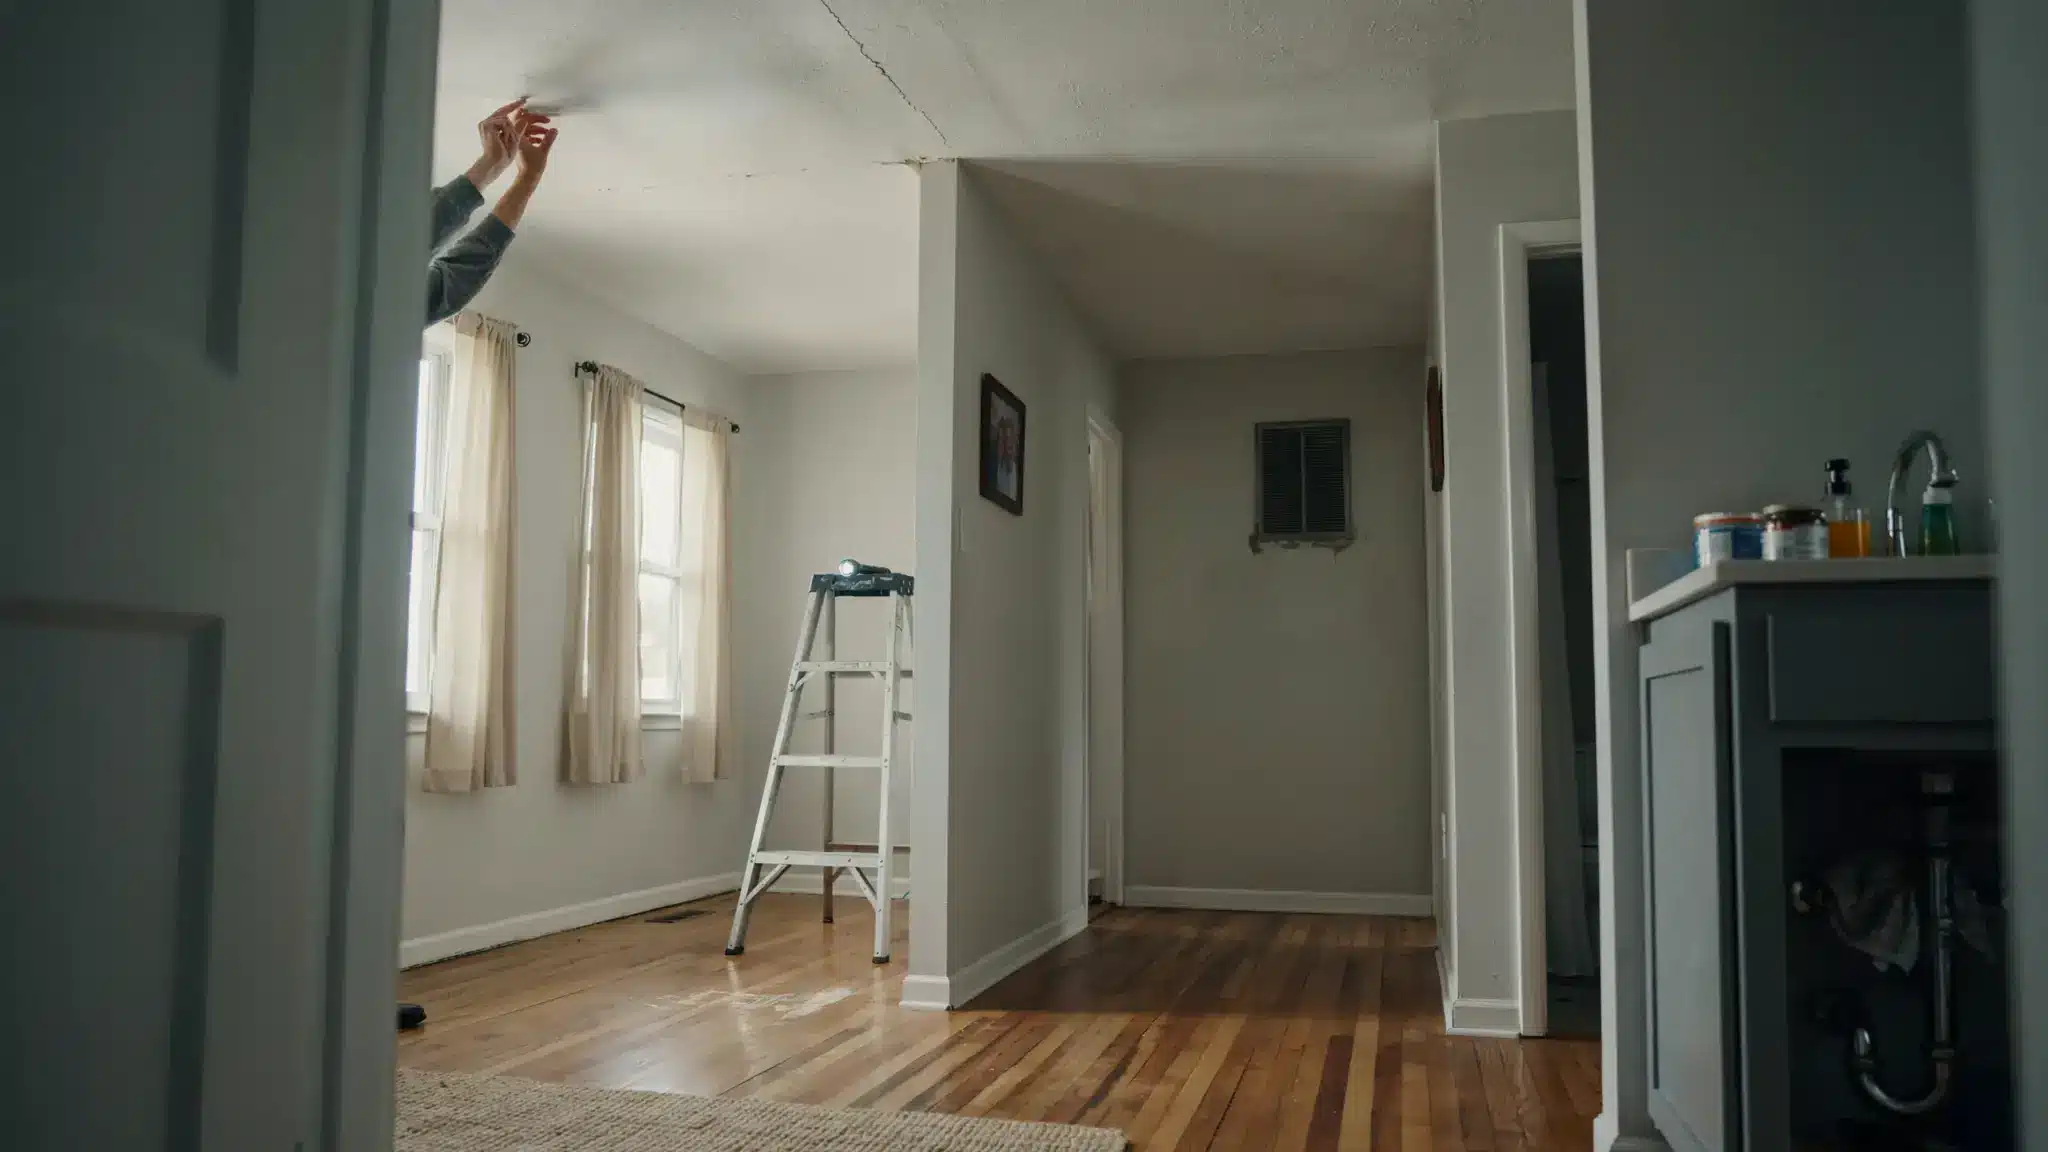
Most ceiling stains are preventable. A few consistent maintenance habits address the most common sources before they can reach the ceiling.
1. Roof and Gutter Maintenance Habits That Matter: Inspect the roof once a year for lifted shingles, cracked caulking, or rusted flashing. Clean gutters twice a year. Proper attic insulation reduces ice dam formation in cold climates.
2. Improving Ventilation in Kitchens and Bathrooms: Bathroom exhaust fans should be ducted to an exterior vent and run for15 minutes after every shower. Kitchen range hoods should also vent outside to reduce condensation stains.
3. Routine Plumbing and Moisture Checks at Home: Check supply lines under sinks and behind toilets annually for corrosion. Re-caulk around tubs wherever seals have cracked. The EPA estimates the average household loses more than 10,000 gallons of water per year to leaks.
4. When a Water Stain on Ceiling Needs Professional Repair: Some ceiling stains are beyond what DIY repairs can fully address. Knowing when to call a professional saves time and prevents further damage from going undetected.
Signs of Hidden Leaks or Structural DamageA ceiling that still feels soft after drying, shows sagging, or has wide bubbling paint has damage deeper than the surface. Any mold, black, green, or gray spotting with a musty smell requires a licensed remediation professional. |
Conclusion
A water stain on the ceiling always starts as a moisture problem long before it becomes a paint problem.
Spotting the cause early, whether it is a roof leak, a tired pipe, or poor bathroom ventilation, saves you from having to repeat the same repair months later.
Once the source is addressed, fully drying the ceiling and using the right primer before repainting are what make the fix permanent.
Treat the cause, not just the mark, and your ceiling stays stain-free for years, not just weeks.
Spotted a stain on your own ceiling lately? Bookmark this page so you have every step ready the moment you need it.
Frequently Asked Questions
Can I Paint Over a Water Stain on the Ceiling Without Priming?
Standard ceiling paint will not block a water stain. The minerals and tannins bleed back through within weeks. Always apply a shellac-based or oil-based stain-blocking primer first.
What Causes a Water Stain on the Ceiling but No Leak?
A stain with no visible leak usually comes from condensation. Poor ventilation lets moisture settle on the ceiling repeatedly until a stain forms, even without any active drip.
Why Is There a Water Stain on the Ceiling in My First-Floor Room?
A first-floor ceiling stain almost always traces to plumbing on the floor above, a slow pipe drip, a worn toilet wax ring, or an overflowing appliance.